
I need to route out the body to accept the Floyd Rose style tremolo. I’m trying to save money so I’m making my own routing templates.
I want to make this a recessed tremolo so I can lower the pitch and also raise the pitch (pull up on the bar). This is more complicated and requires extra modificationz.
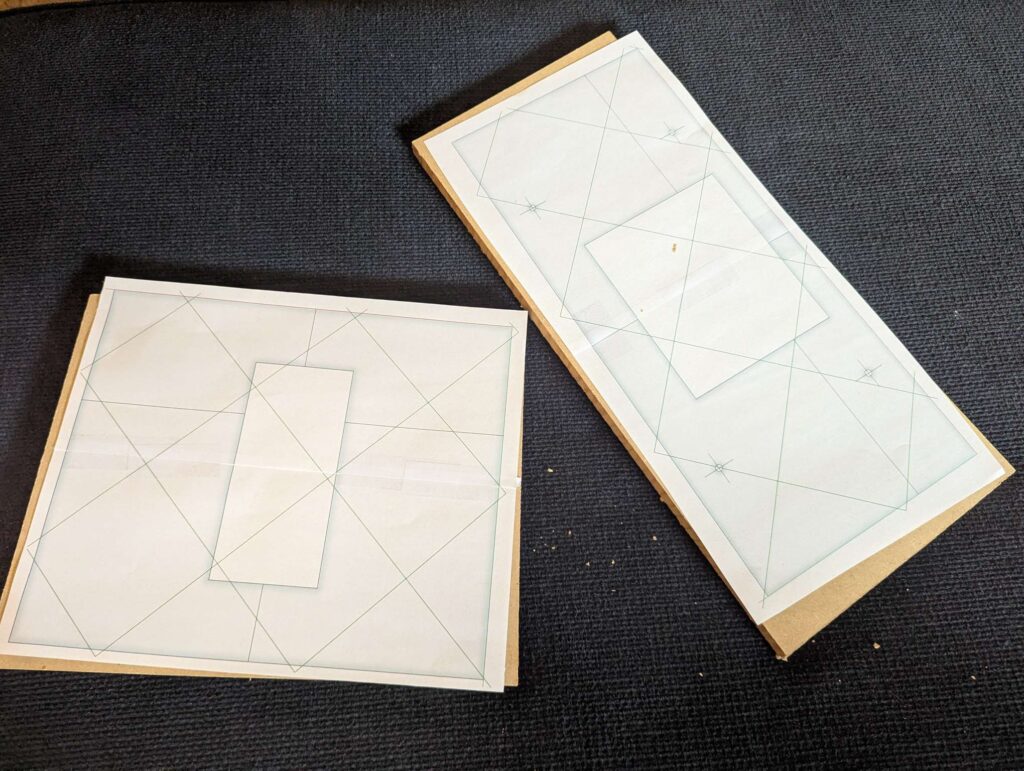
Lucky for me, the website Project Guitar has a great set of plans for making a set of templates for this. I redrew their plans using Sketchup and printed them out full size on paper.
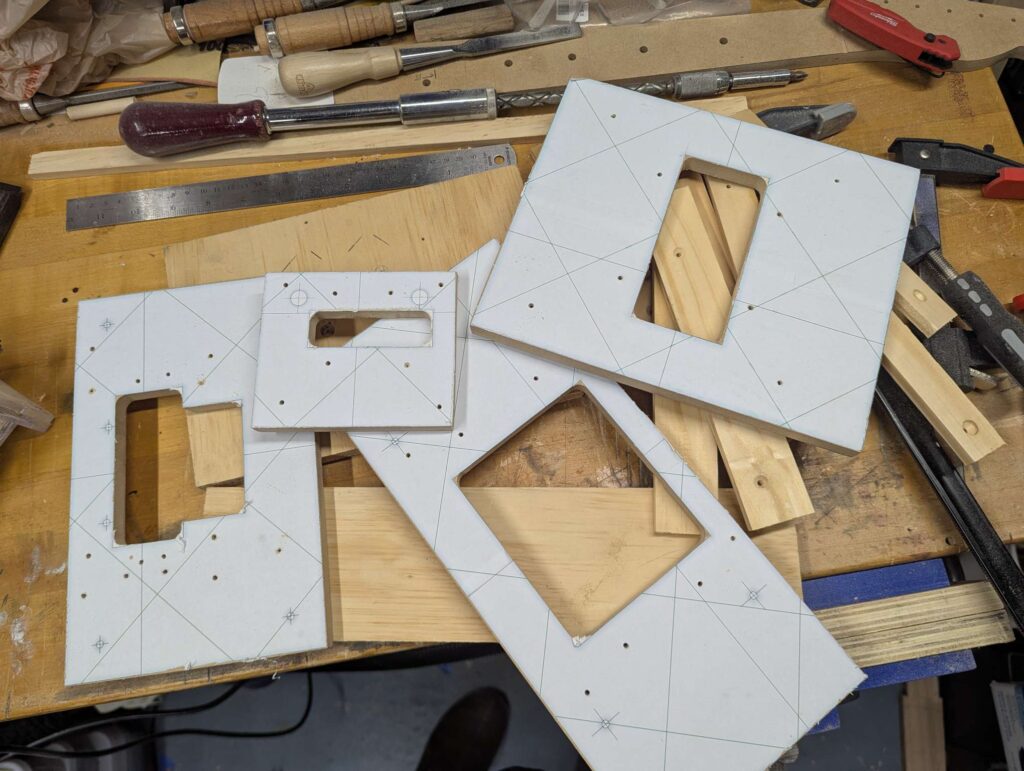
I’m making my templates out of some MDF material I had. After spray gluing the paper templates on to pieces of MDF, I can use my tools to cut them out to the lines.
Now it’s time to start making wood chips on that beautiful guitar body!
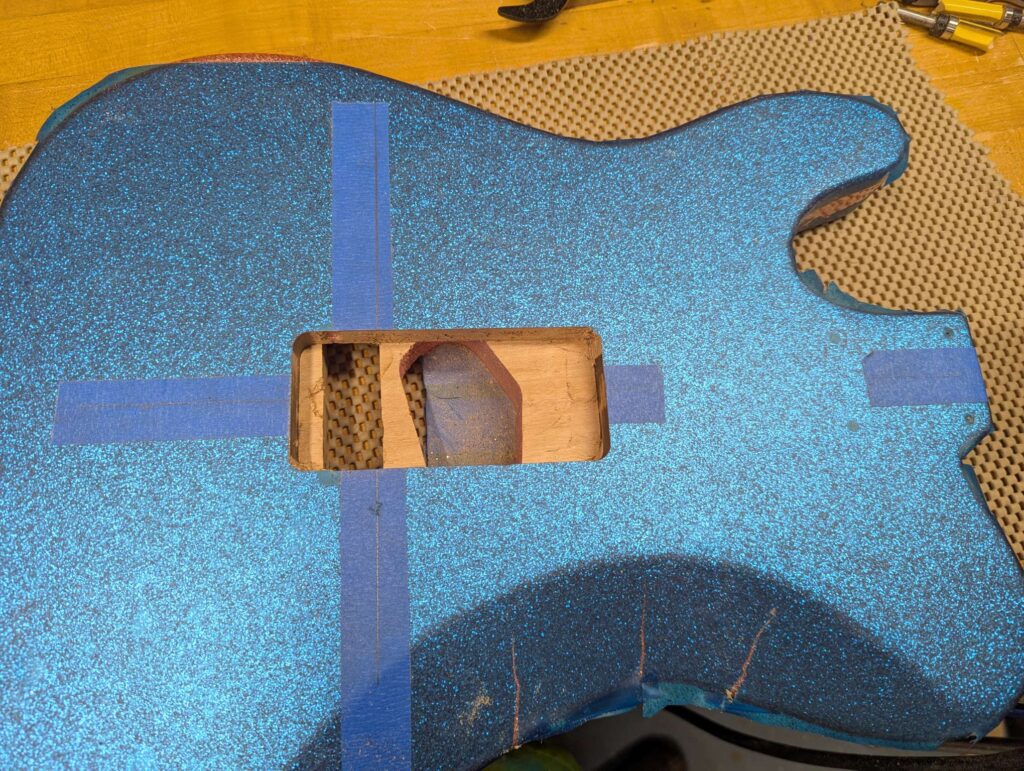
I covered the body in Frisket film to protect it while I rub wood and power tools all over it. I laid out the centerline of the guitar and the intonation line and clamped one of the template holders in place.
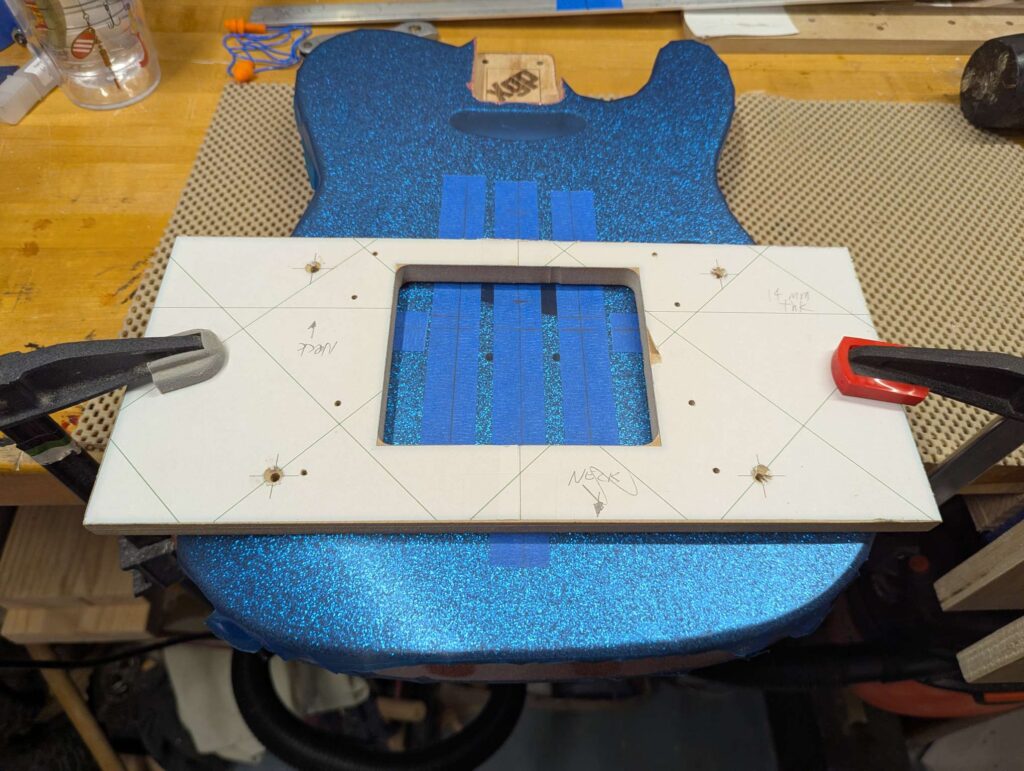
Now time for some sawdust on the top!
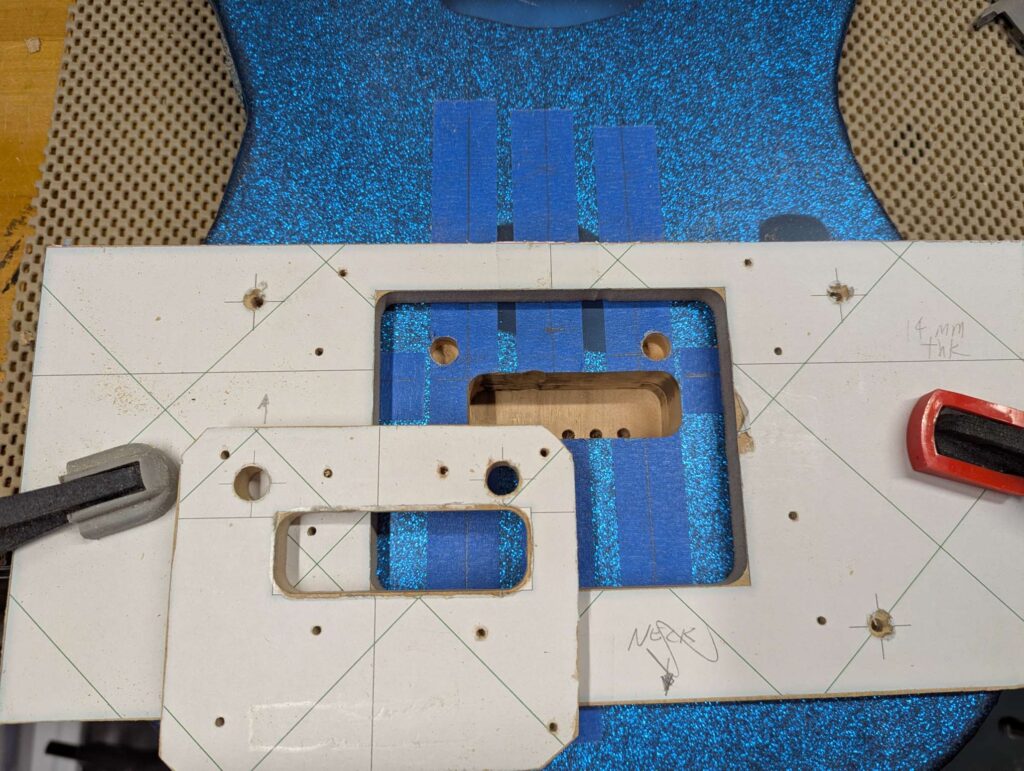
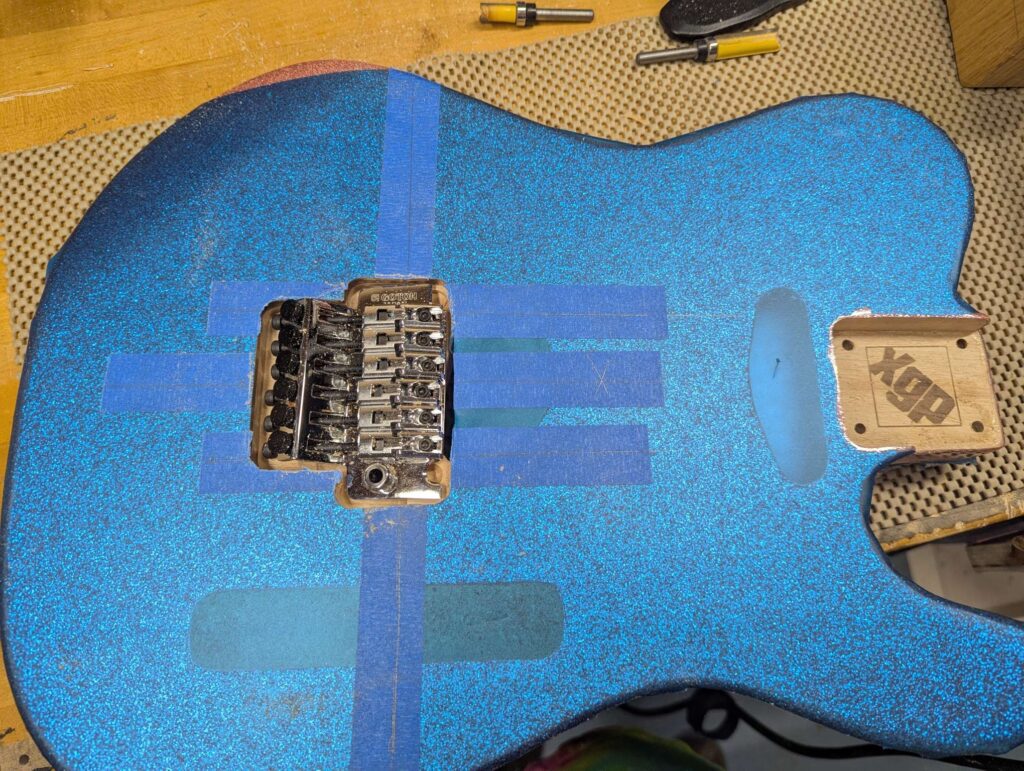
Then on to the back side!
The tele bridge pickup cavity is pretty deep. I might have to fix that ☹️
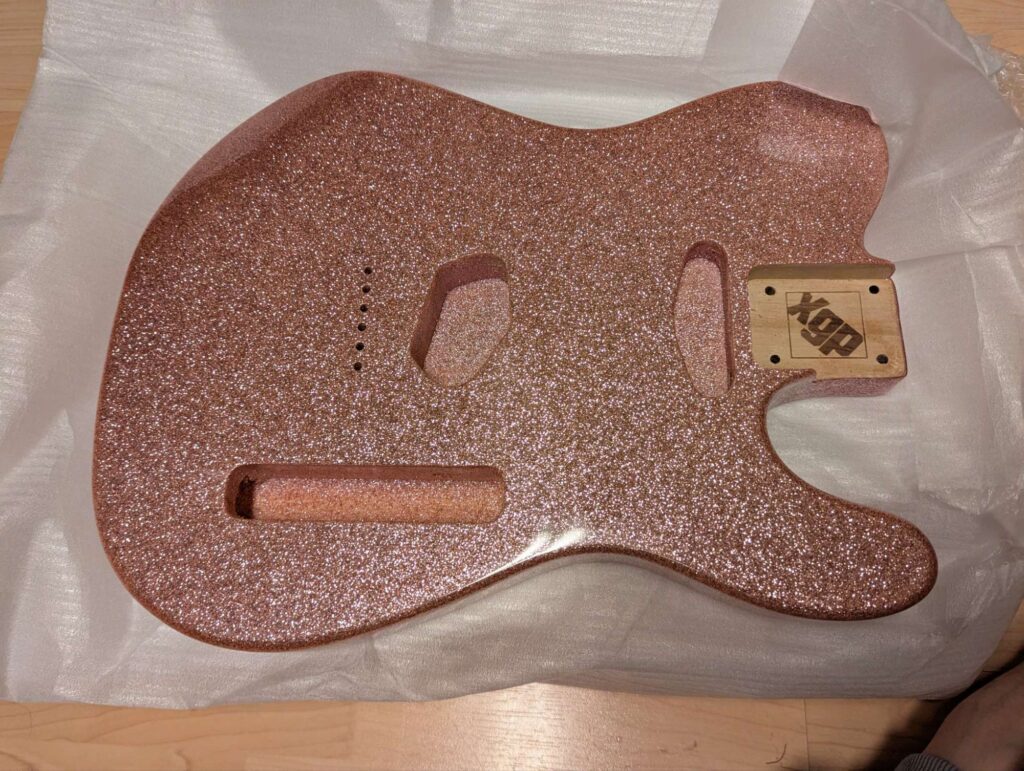
Next up is routing for the pickups.
You must be logged in to post a comment.