Categories
Teenycaster

Teenycaster Side Marker Dots

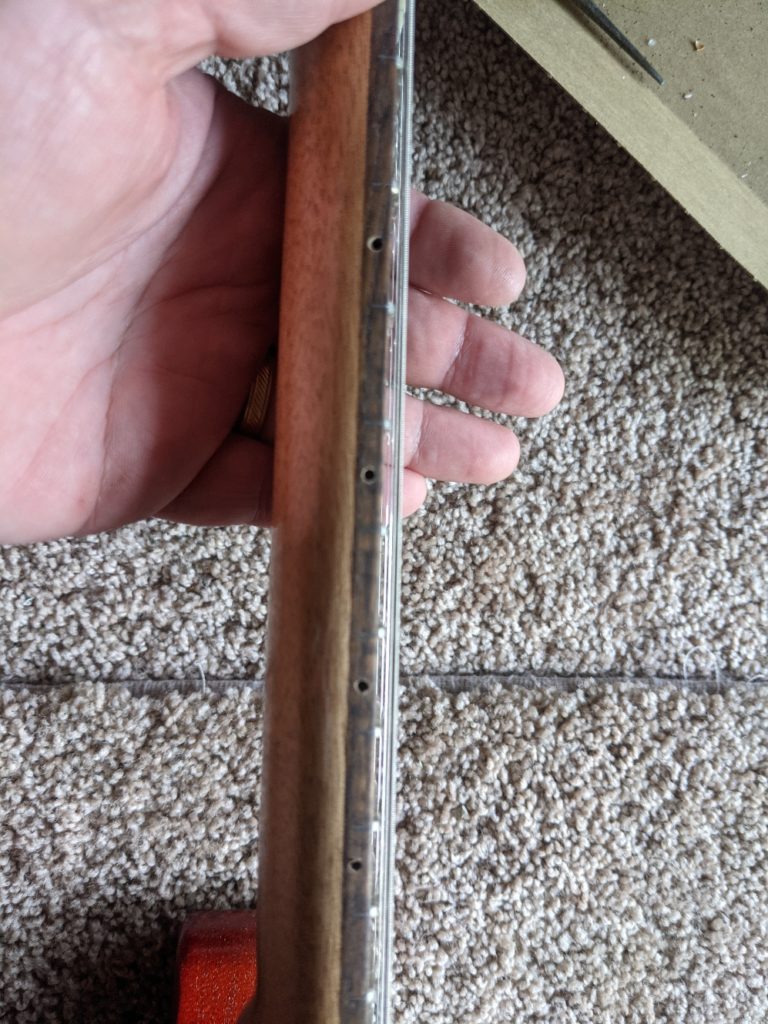
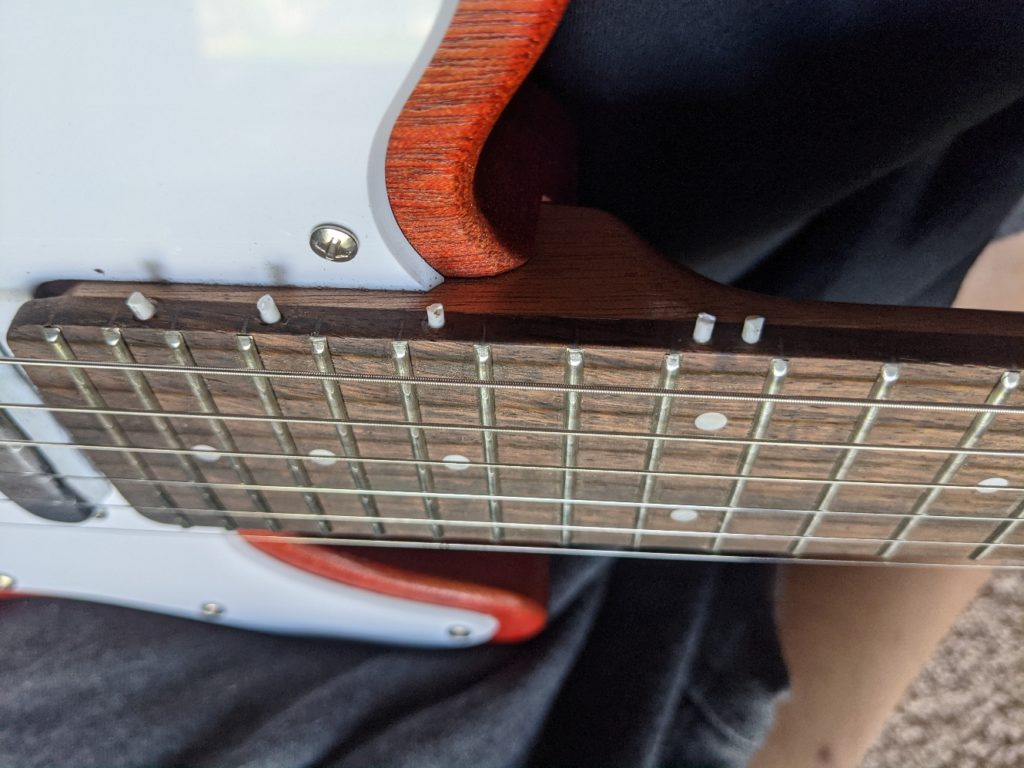
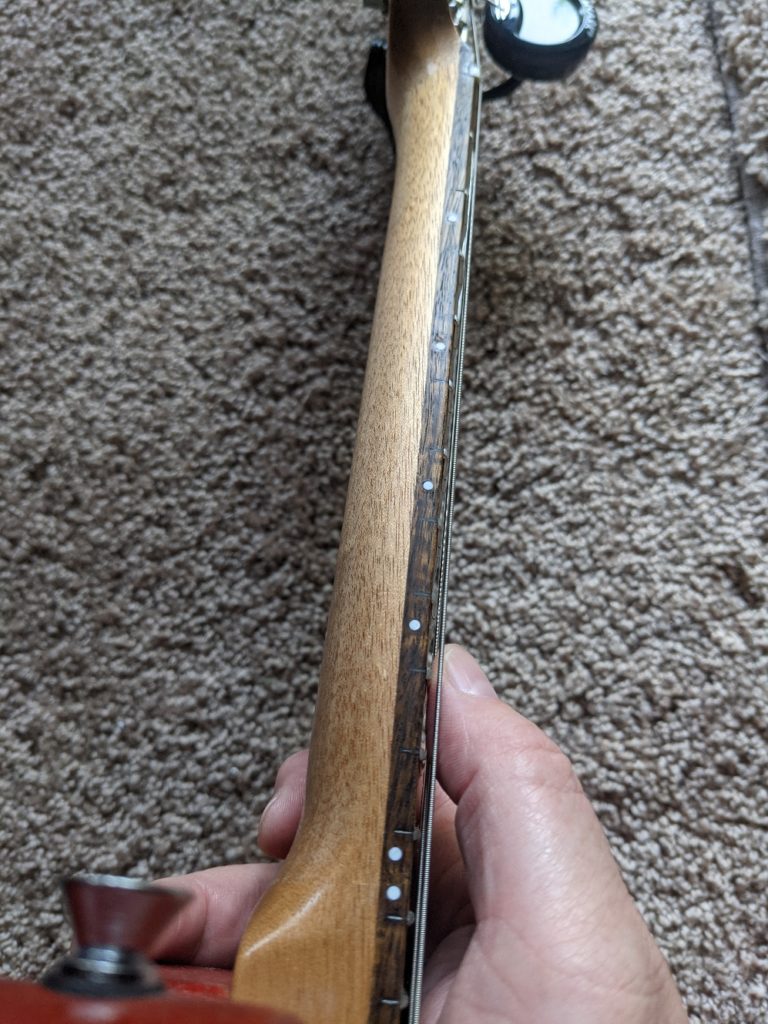
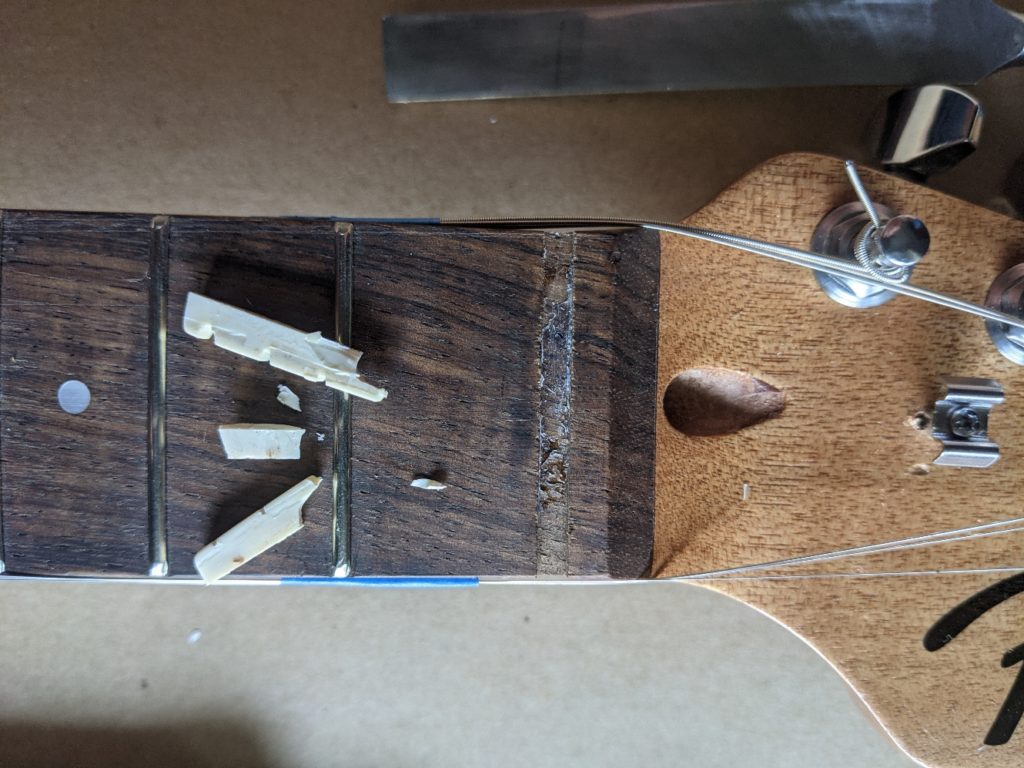
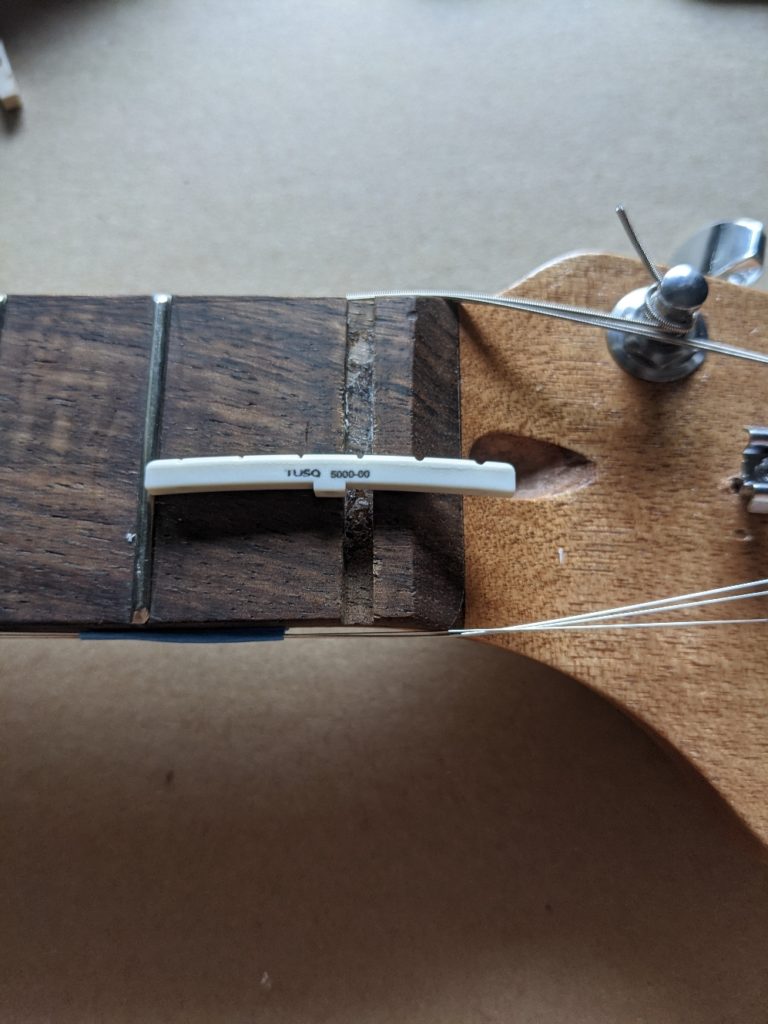
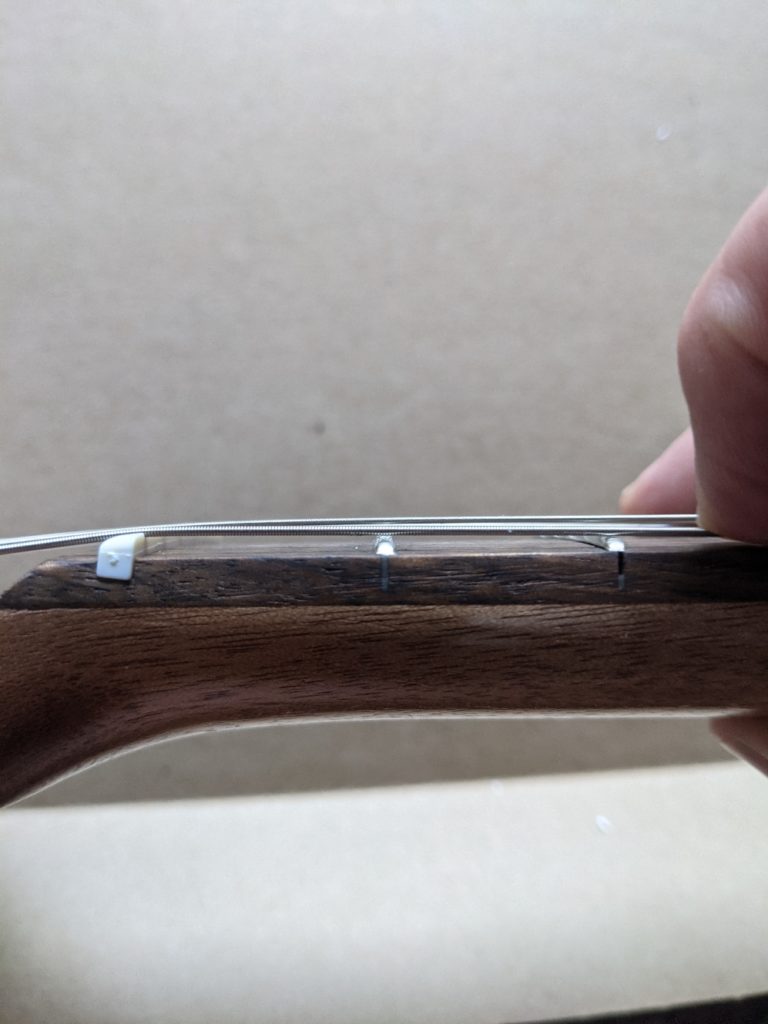
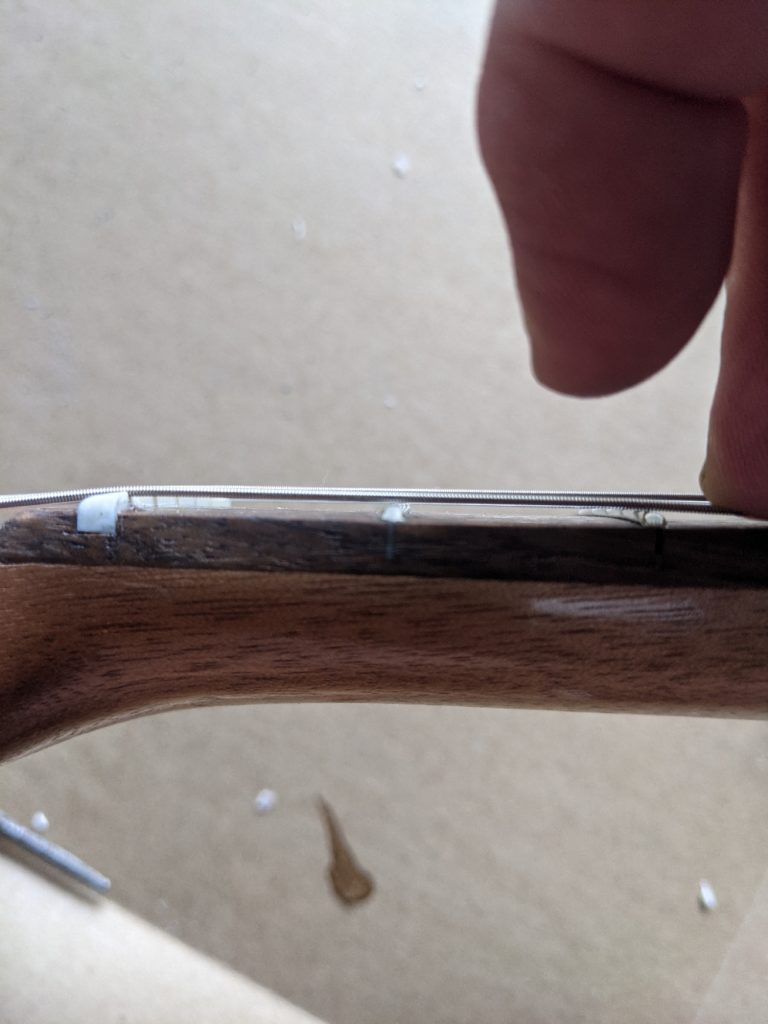
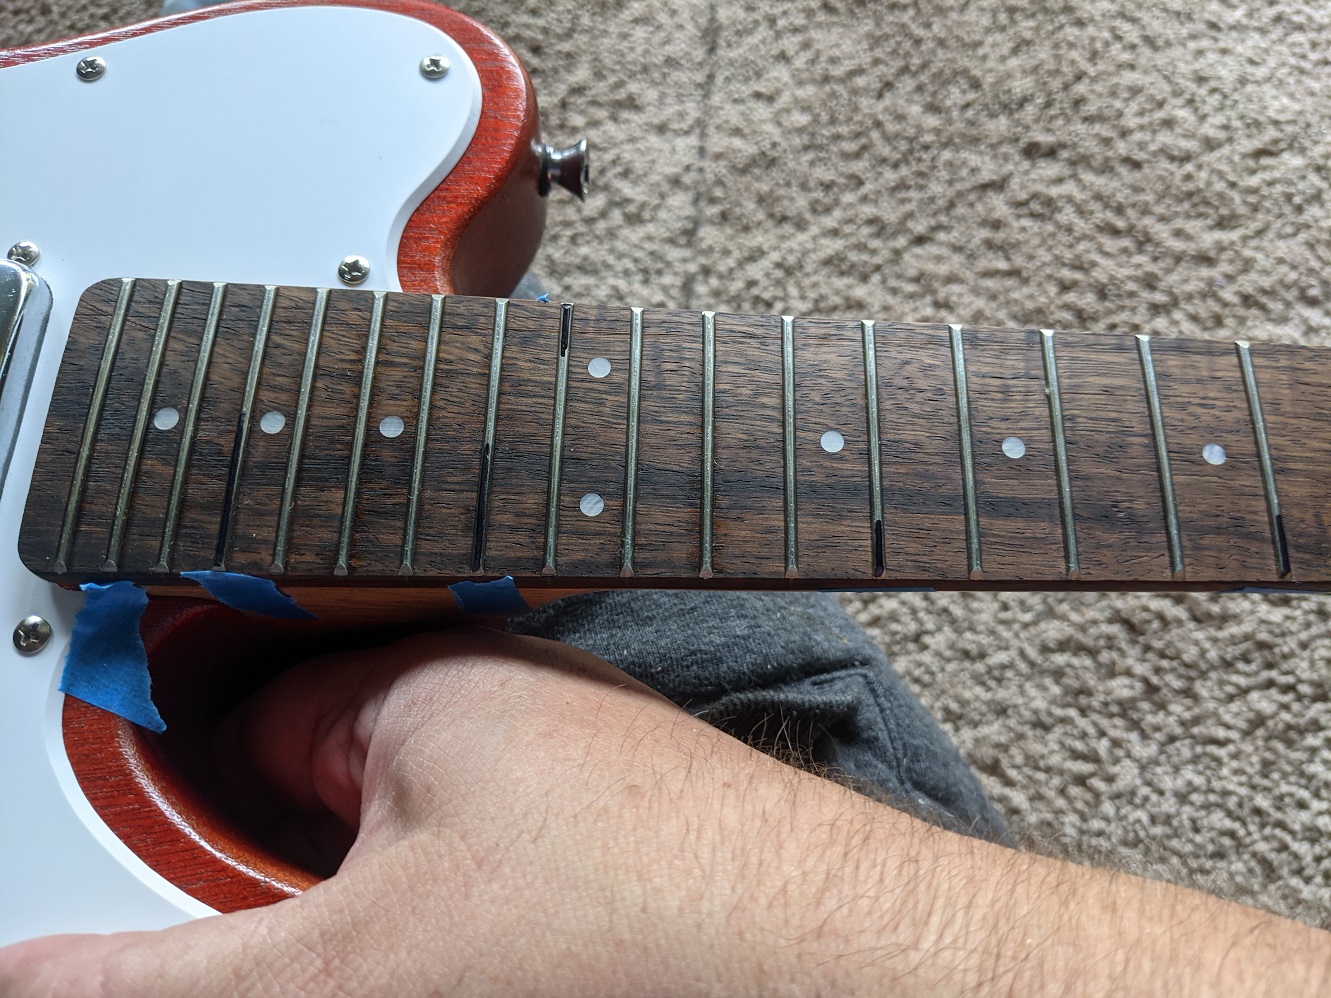
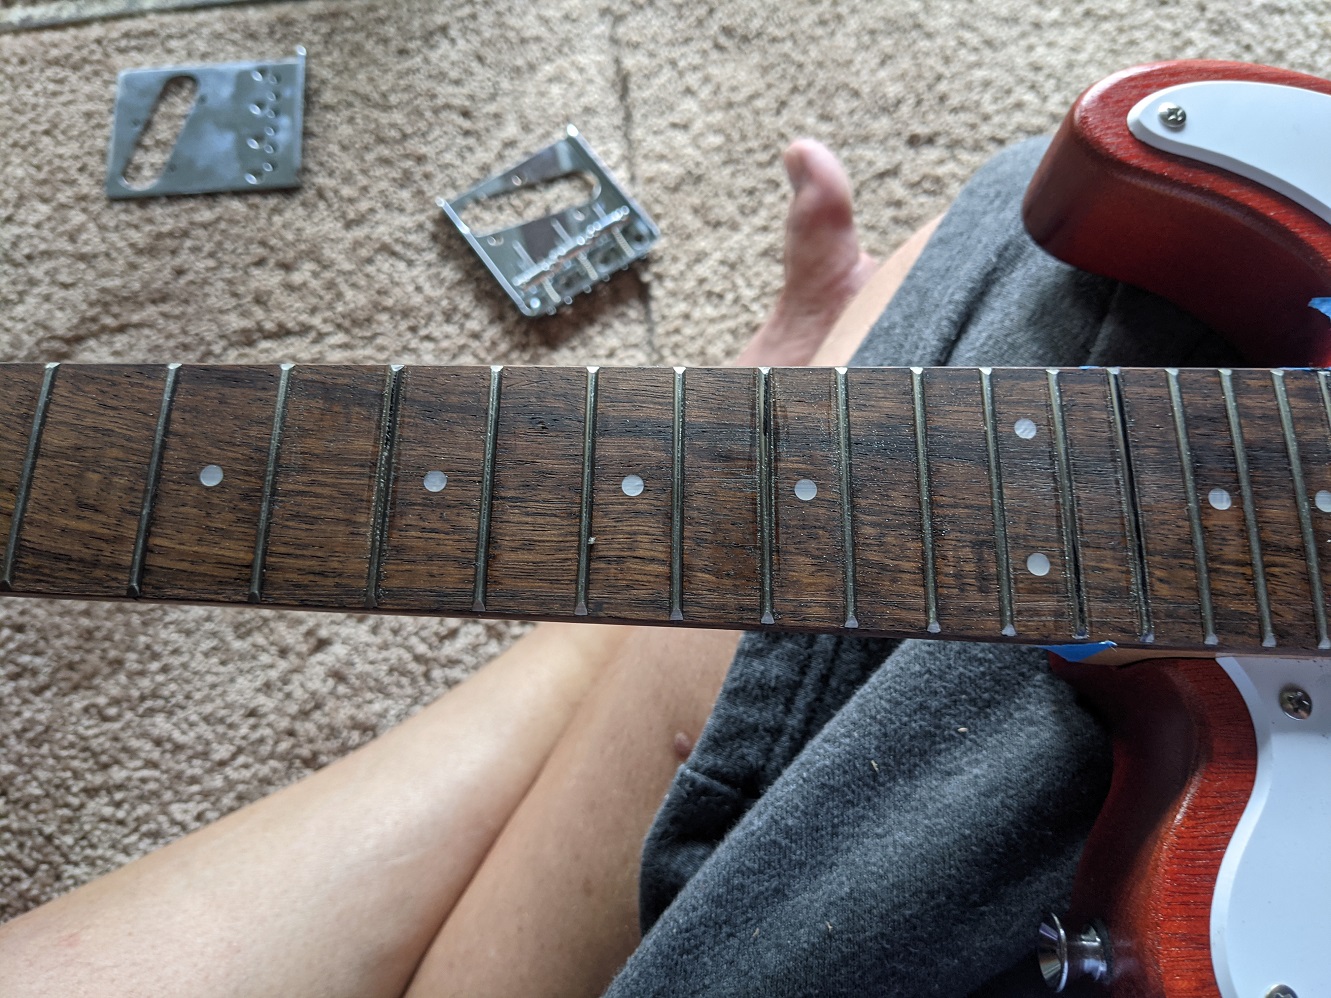
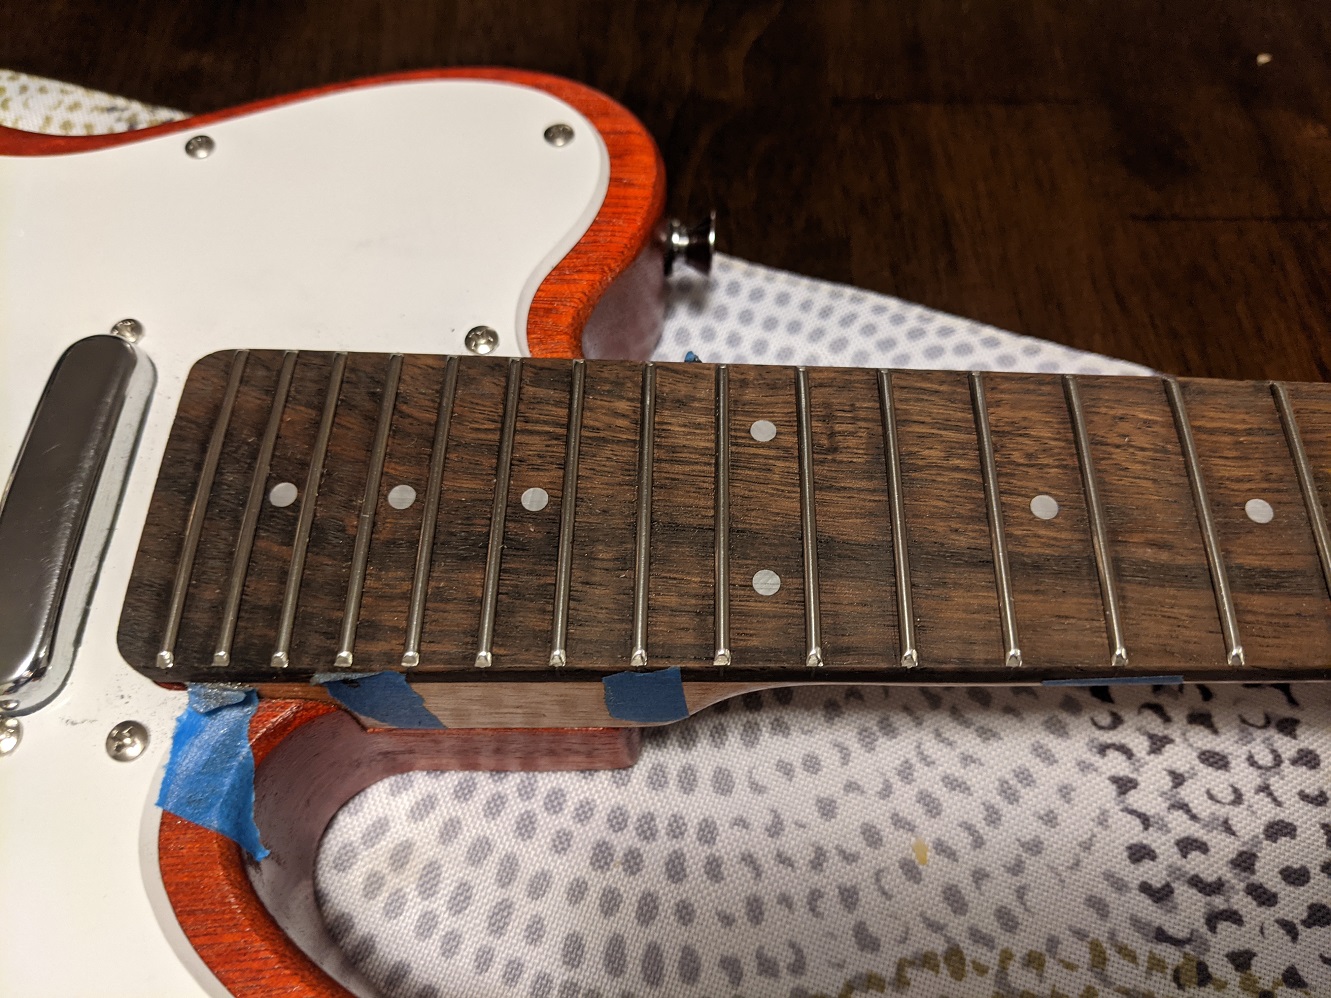
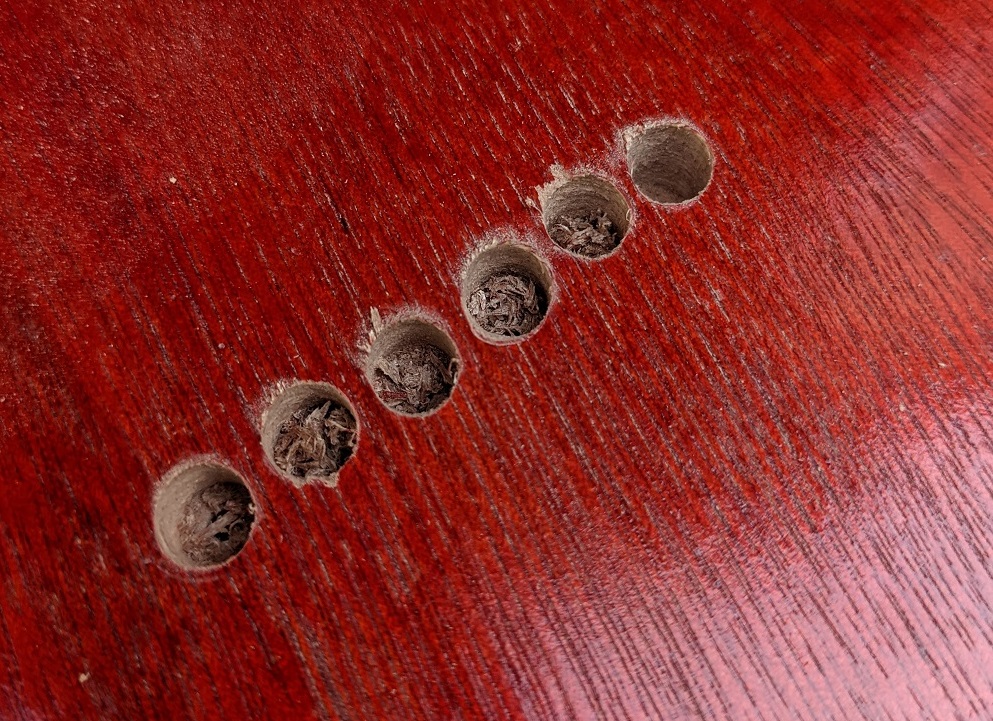
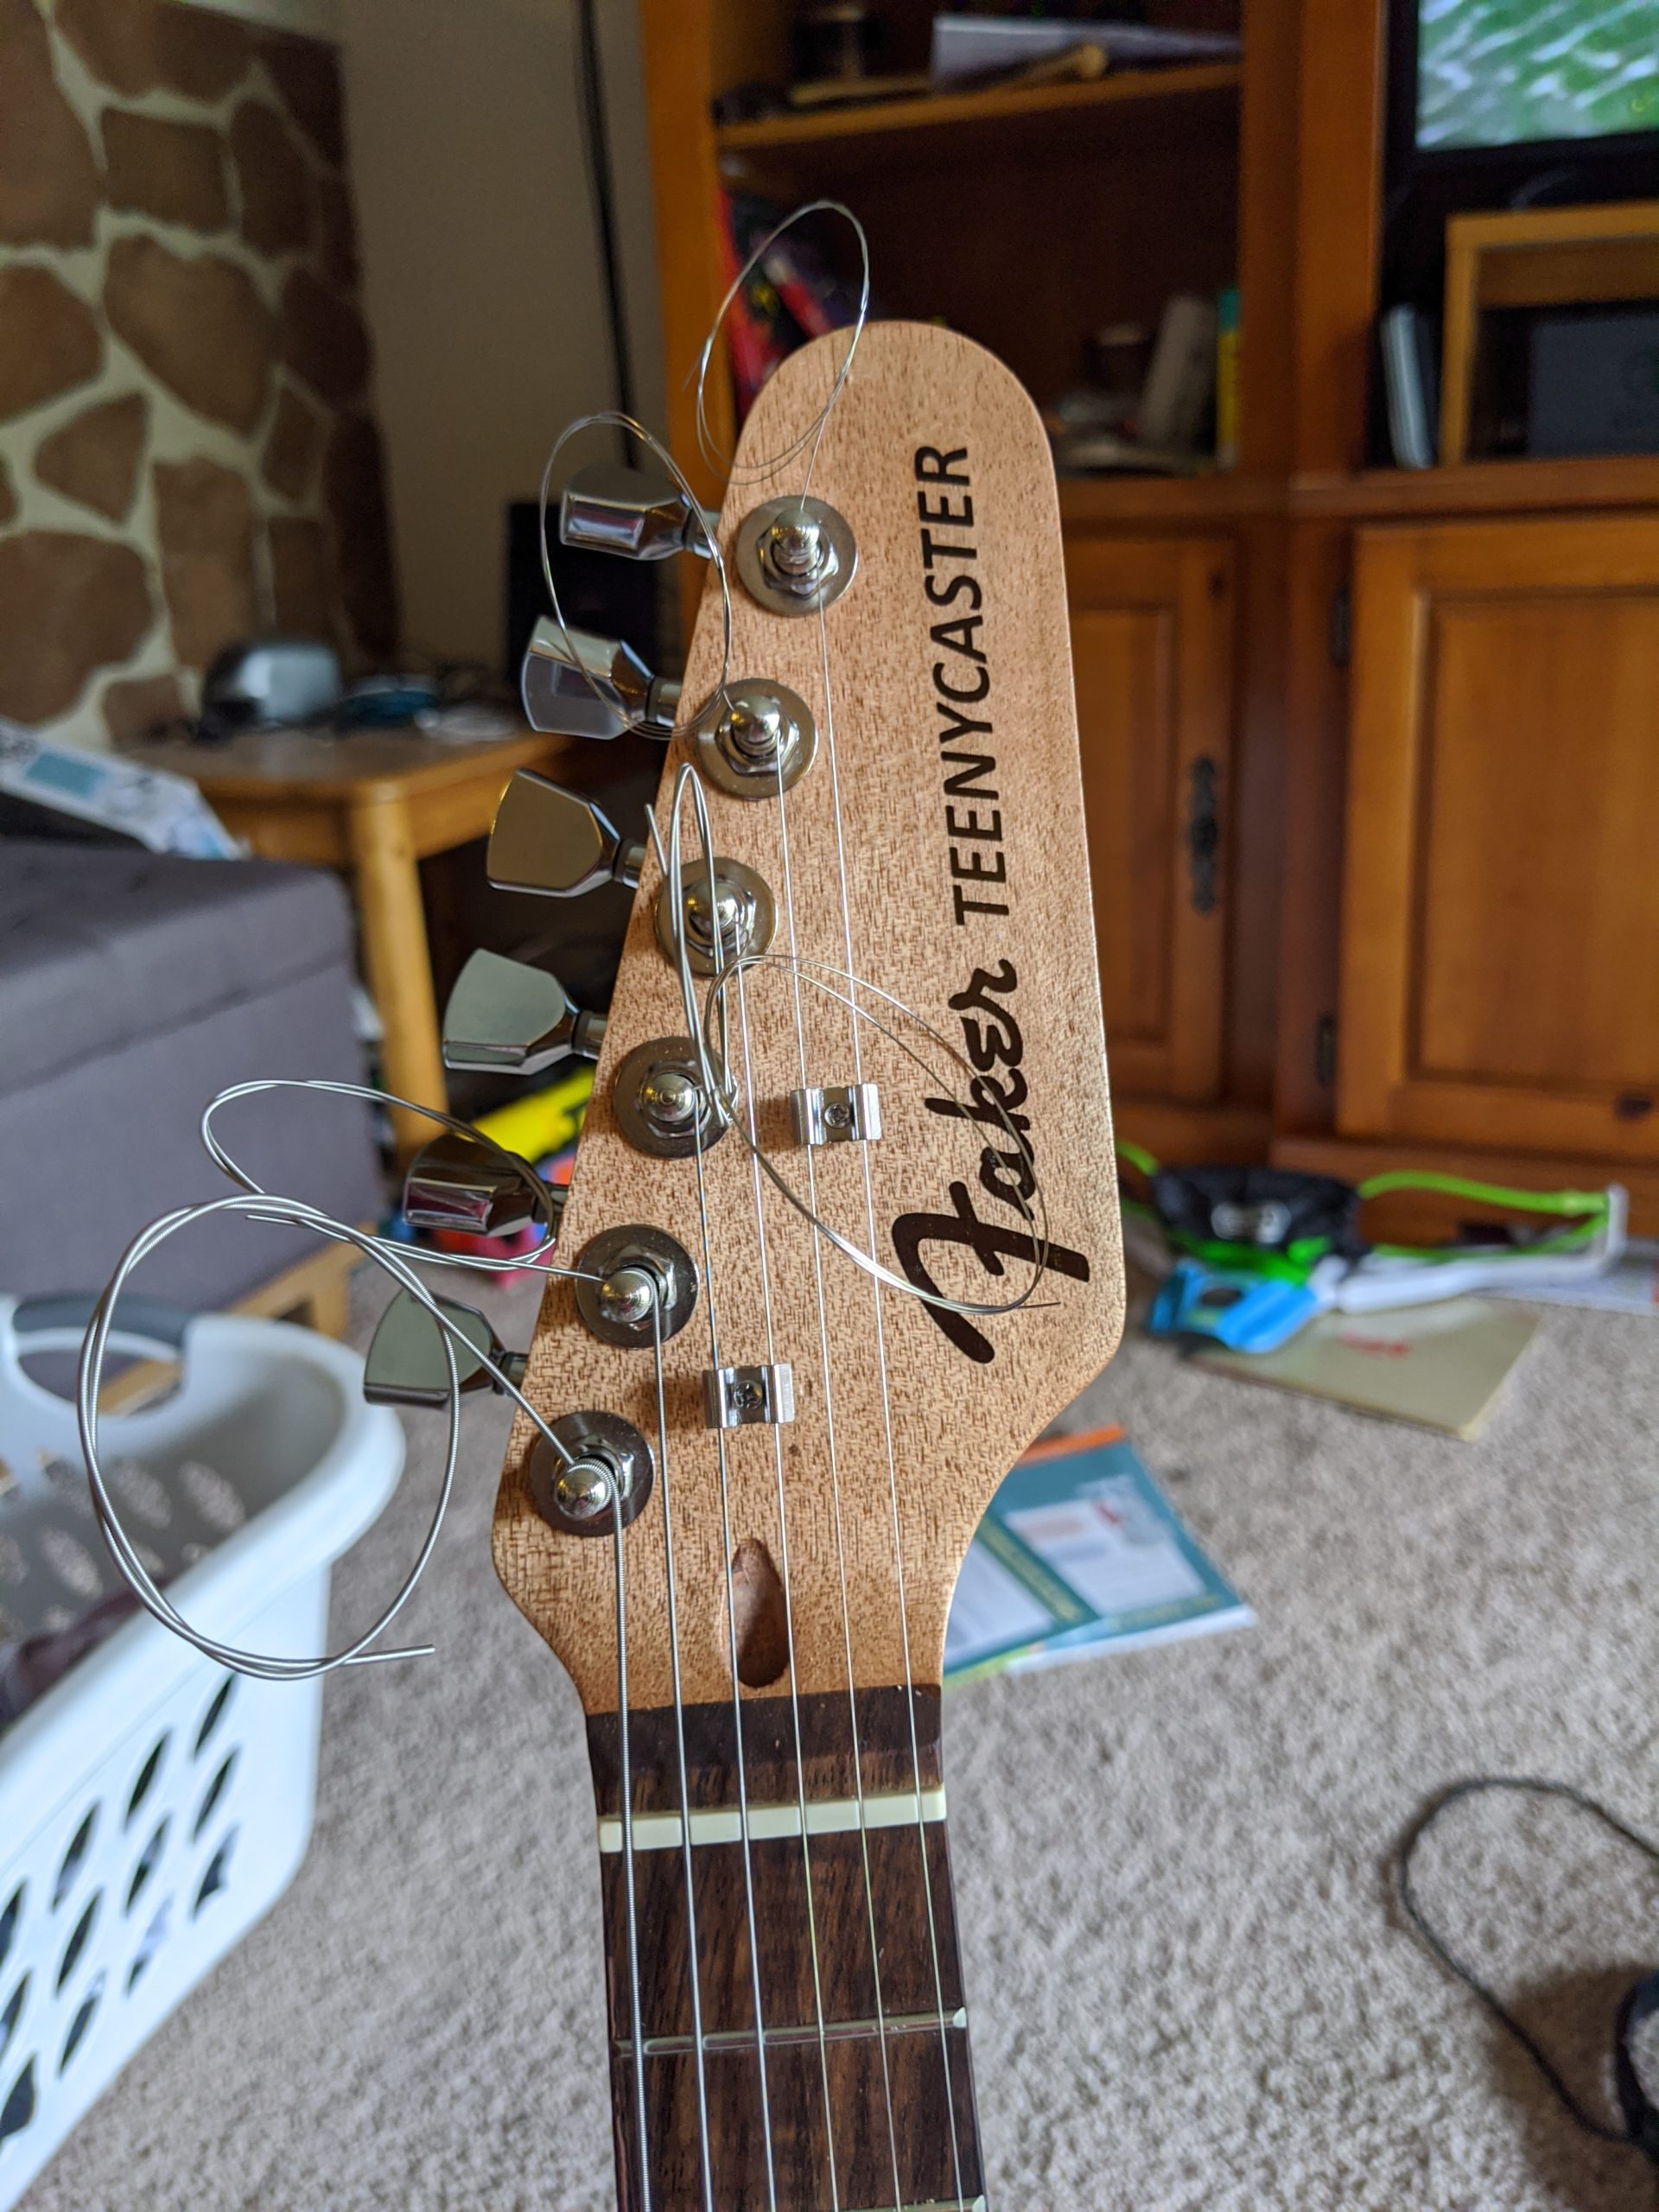
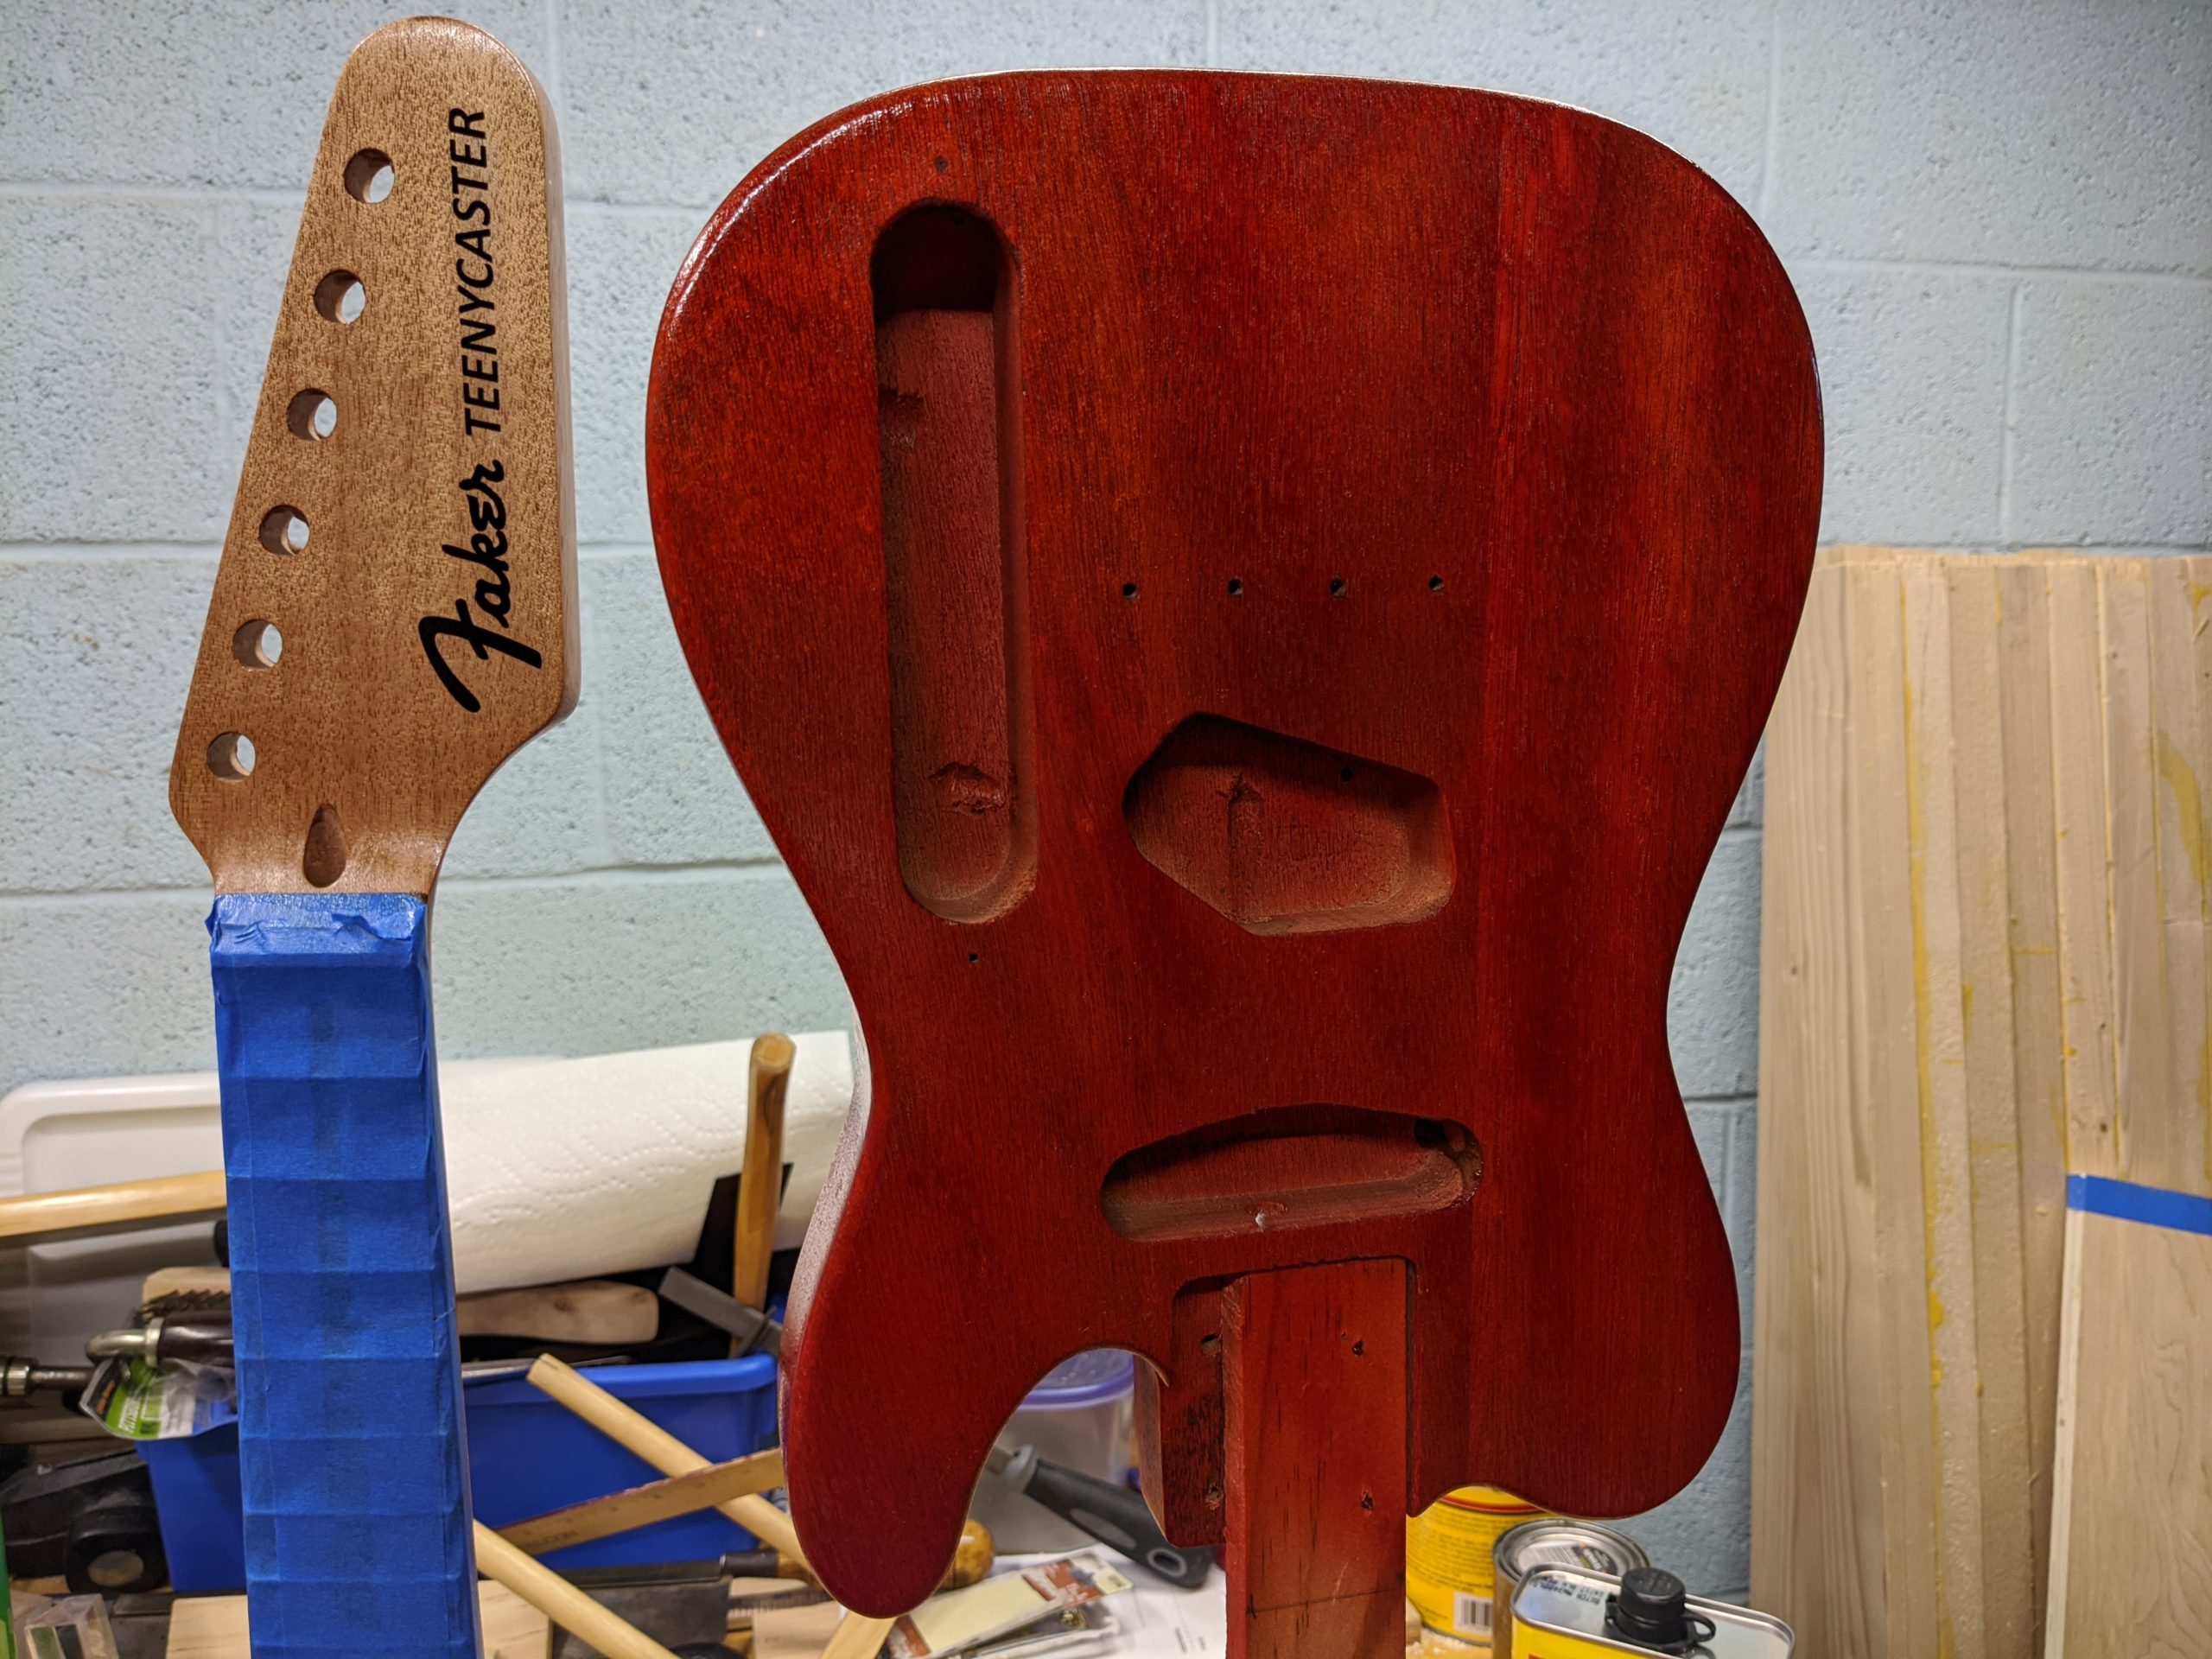
The neck that came with the kit did not have side marker dots. Time to fix this (actually I should have done this before). I eyeballed the locations and drilled some holes, glued in some side dot material, then trimmed them off and sanded smooth. A little oil made everything nicey nice.

A bunch of holes!
Dot material glued in.
Trimmed off flush, sanded, and oiled up.
Categories
Teenycaster

Teenycaster New Nut

Time to replace the crappy plastic nut with something better. I picked up a new TUSQ nut, removed the crappy chinesium nut (it came out in pieces lol), cleaned up the nut slot in the fretboard, sanded the nut down to get the nut slots about right, and added a couple drops of super glue to hold it in place. Easy least.

Oh no! The plastic nut broke. I chiseled out the remaining shards of it’s broken dreams.
There is a new nut in town, and she is much nicer.
The nut is too thick, so gap at the first fret is too big
Some sandpaper fixed the nut. Now the gap is mucho holder.

Next I’ll refine the nut slots with my files and redo the intonation and action.

Categories
Teenycaster

Teenycaster Frets and Tuners

The Teenycaster neck needed some attention. The frets sucked (they are dull, the ends are sharp, and some are high and buzz) and the tuners suck (they are wobbly and the ratio is too low). I bought an inexpensive set of Wilkinson tuners that are really nice. They are much better quality than the tuners that come on most inexpensive guitars and they don’t cost an arm and a leg.

First it is time to fix the frets…

Use a fret rocker to mark out the high spots on the frets.
Use some special fret files (and a trusty triangle file) to knock down the high spots ad crown the tops.
Polish the frets to a mirror finish using some high grit sandpaper and micro polishing pads.

Now it’s time to address the tuners.

Old cruddy tuners with loose posts, sloppy gears, and too low of a ratio.
New tuners with tight tolerances and an 18:1 gear ratio.
Tuner booty shot. These are thicc, but were a drop in replacement for the originals.

Categories
Teenycaster

Teenycaster Bridge Upgrade

I hate Telecaster bridges.

  • They have the stupid lips to attach a cover that nobody uses.
  • They only have 3 saddles so you can’t get the intonation right (especially on a short scale like this)

Time to upgrade.

Original bridge

I bought a new replacement bridge with six saddles so it can be properly intonated. The new bridge is a “string through” bridge which should make it sound better too. Also, the new one is thicker metal so it should resonate some more.

New and hot bridge

Time to install it. The first step is marking the location where the strings will go through the body. Then I need to drill the holes through the body as straight as I can without a drill press (spoiler, they are crooked). Then some counterbores on the back side and then installed the ferrules to hold the ends of the strings. Next up is installing the bridge and voila!

Marking the holes where the strings go.
Drilling holes for the strings
Ferrules
Counterbores for ferrules
Ferrules installed (crookedly)
Bridge installed

Categories
Teenycaster

Teenycaster Size

I’ve been working on the Teenycaster again after a hiatus, and doing some upgrades as well. It’s a lot more fun that I initially thought. For giggles, here is a photo comparing the Teenycaster to my normal size PRS.

Teenycaster on the left, PRS SE Custom 24 on the right.

The Teenycaster has a ~16″ scale length compared to the 24″ scale length of the full size PRS. After my upgrades I hope to get it tuned to E standard tuning.

Categories
Teenycaster

Teenycaster Assembly

Today, I assembled the Teenycaster. It went together good and looks cool as hell.im having a problem with intonation unfortunately so I can’t play it right now.

Categories
Teenycaster

Body Paint and Clear

I painted the body today. I wanted to make it blue using a dye, but it didn’t work out good with the mahogany body. So back to my fallback plan: cherry red lacquer left over from the Less Paul.

I also applied some tung oil finish, which I really really like. It’s easier to apply than wipe on polyurethane, and it looks better.

Categories
Teenycaster

Headstock Decal

It’s time to put the logo on the Teenycaster headstock. I put a couple coats of tung oil on the neck and let it sit overnight.

I downloaded a font named Strato that mimics the Fender script logo and fired up Photoshop. I used the Calibri font for the TEENYCASTER part. This is what I came up with.

Print that out a billion times on waterslide paper and I’m good to go.

The end result looks great!

Categories
Teenycaster

Seal Coat

Today I sanded off the grain filler and applied a few cards of vinyl sealer. This is what the parts look like now.

Categories
Teenycaster

Teenycaster Grain Fill

I filled the grain on the Teenycaster neck and body today. I used the stewmac mahogany colored grain filler. I’m going to leave the neck natural color and dye the body blue. I’m going to finish the neck and body with Tung Oil.

The green filler is a powder that you mix with water and slather all over the wood.

It dries pretty quickly, and then you sand it down to remove most of it. All that’s left is little pockets inside of the grain.