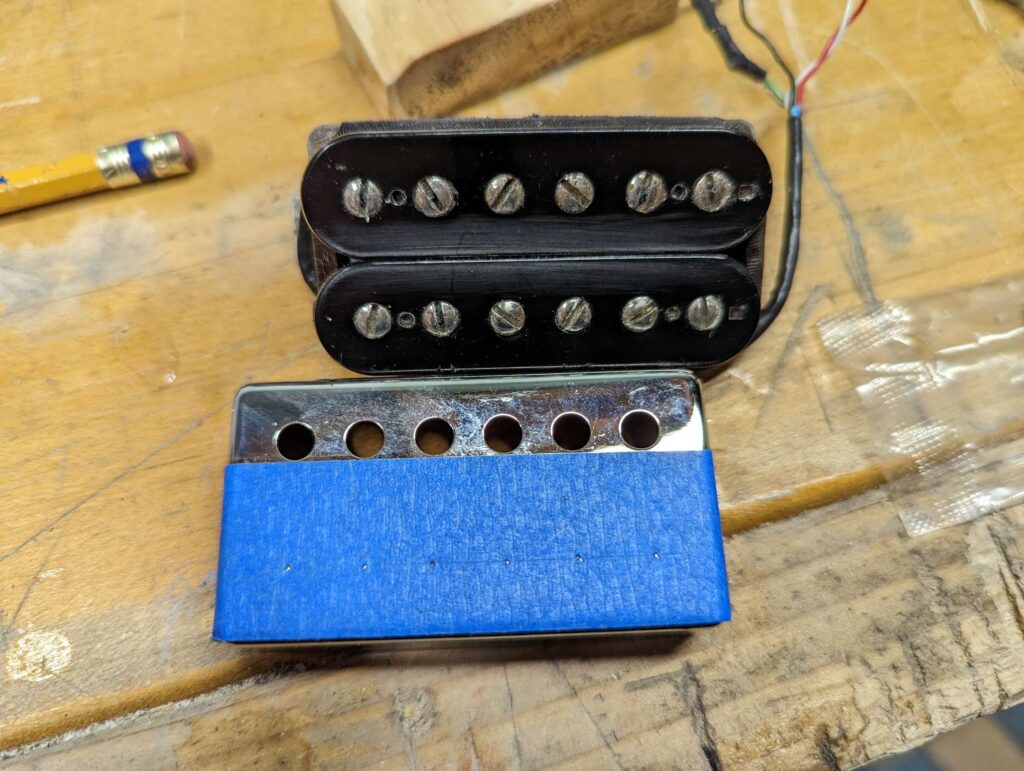
The pickup is black and I wanted to have chrome cover pickups. Santa brought me a cover and I installed it.
It needed some modifications to fit right. I drilled a second row of holes so the screws will peek out. I had to file some corners on the pickup and flatten it a bit.
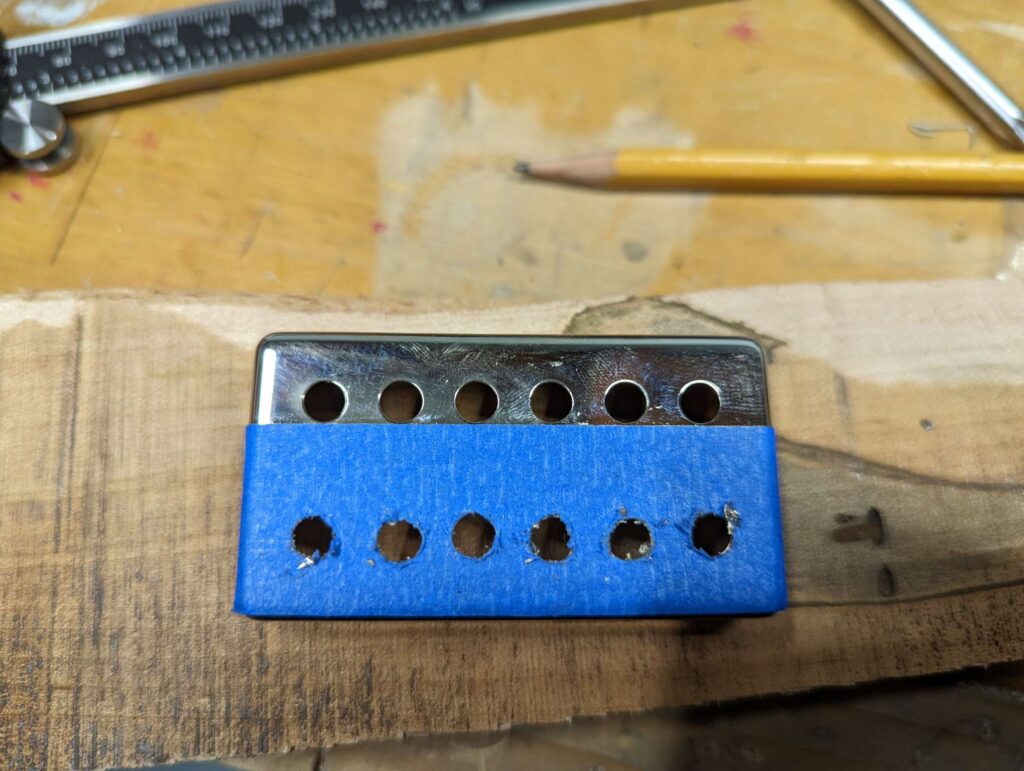
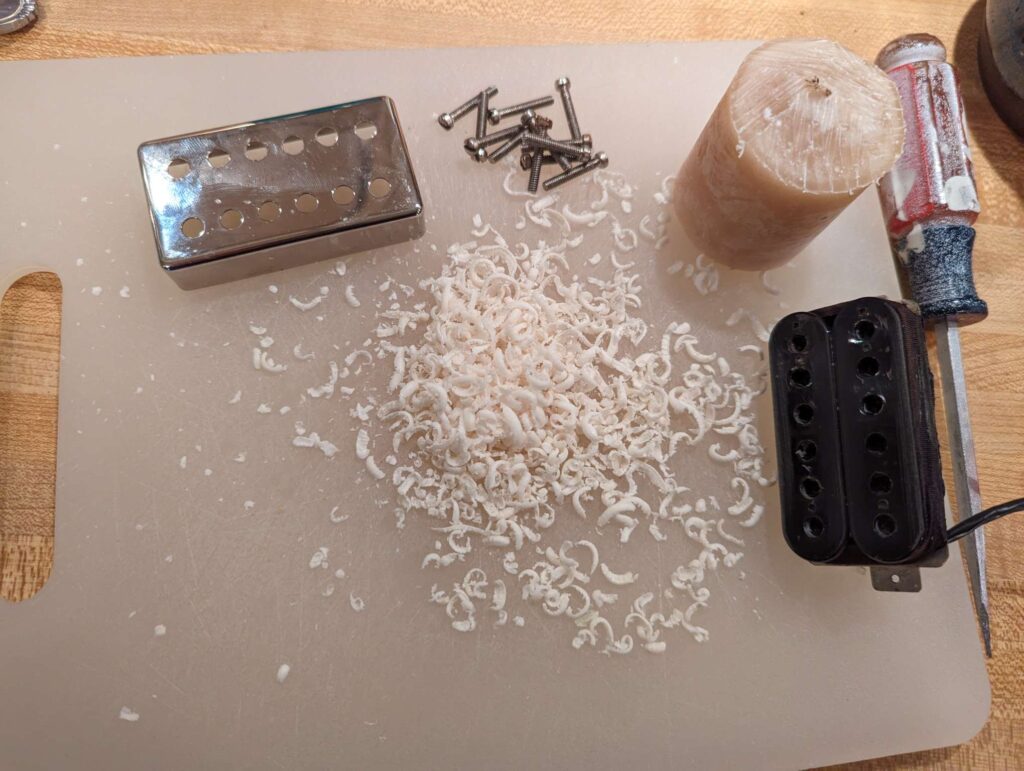
Marking out locations for new holes.New holes!I removed and polished all the screws and got some wax to pot the pickup.I melted the wax using my stove.
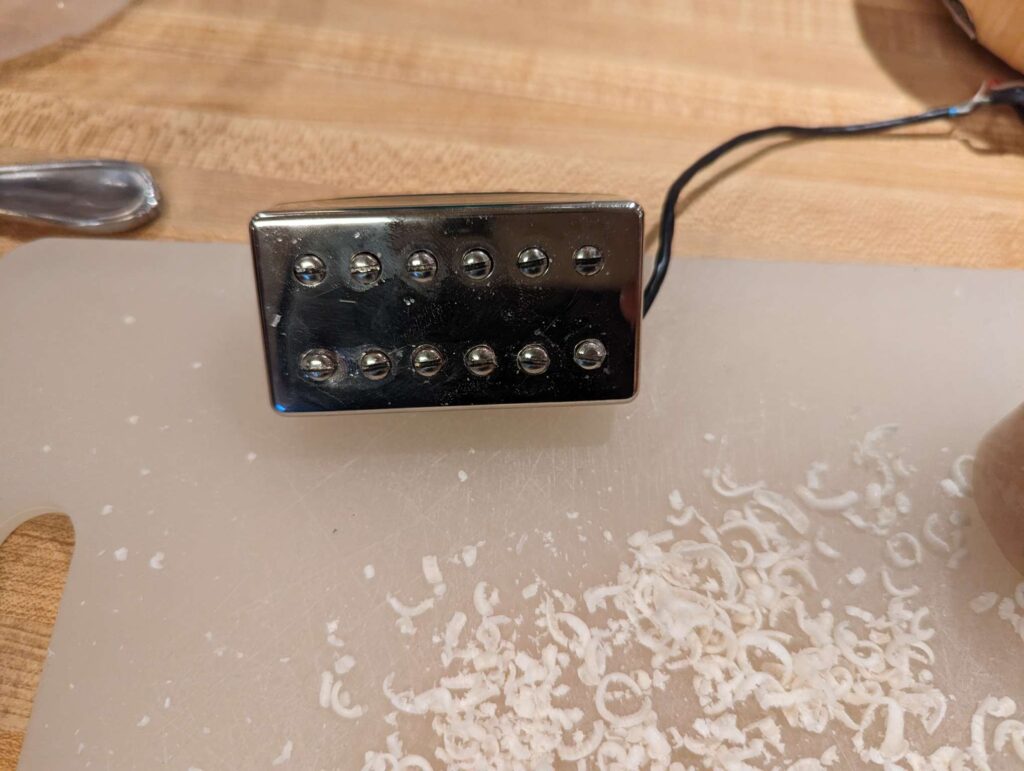
Now the pickup is ready to install. It also smells really nice. I’m not sure if I have ever seen a pink guitar with nice smelling pickups.
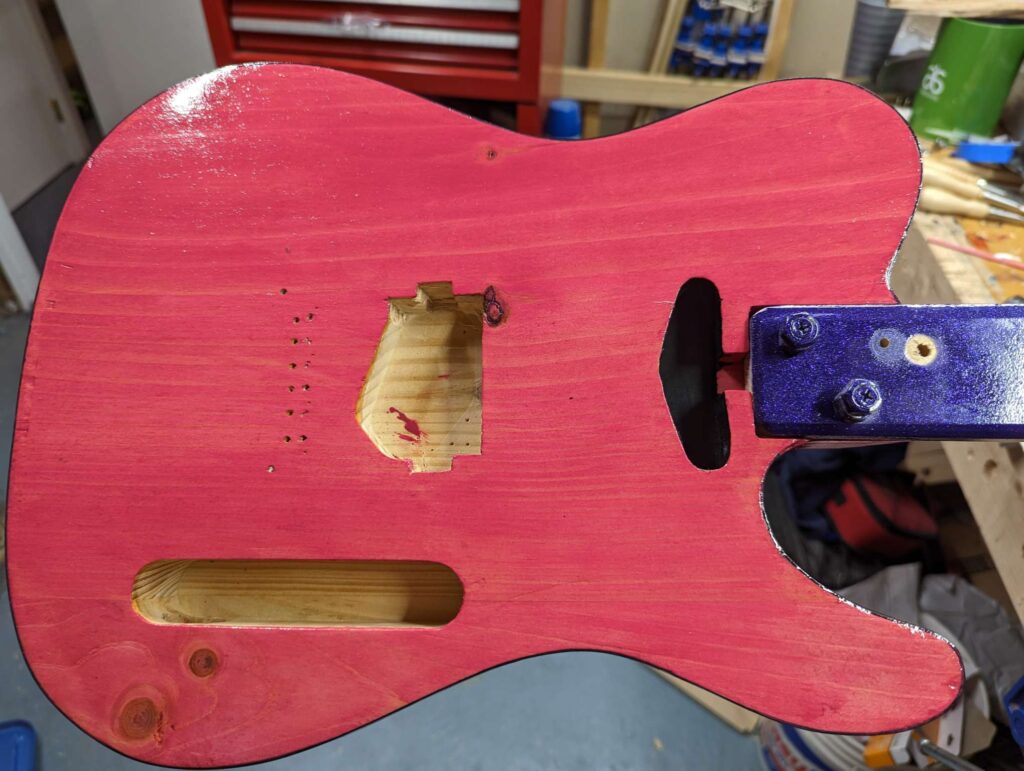
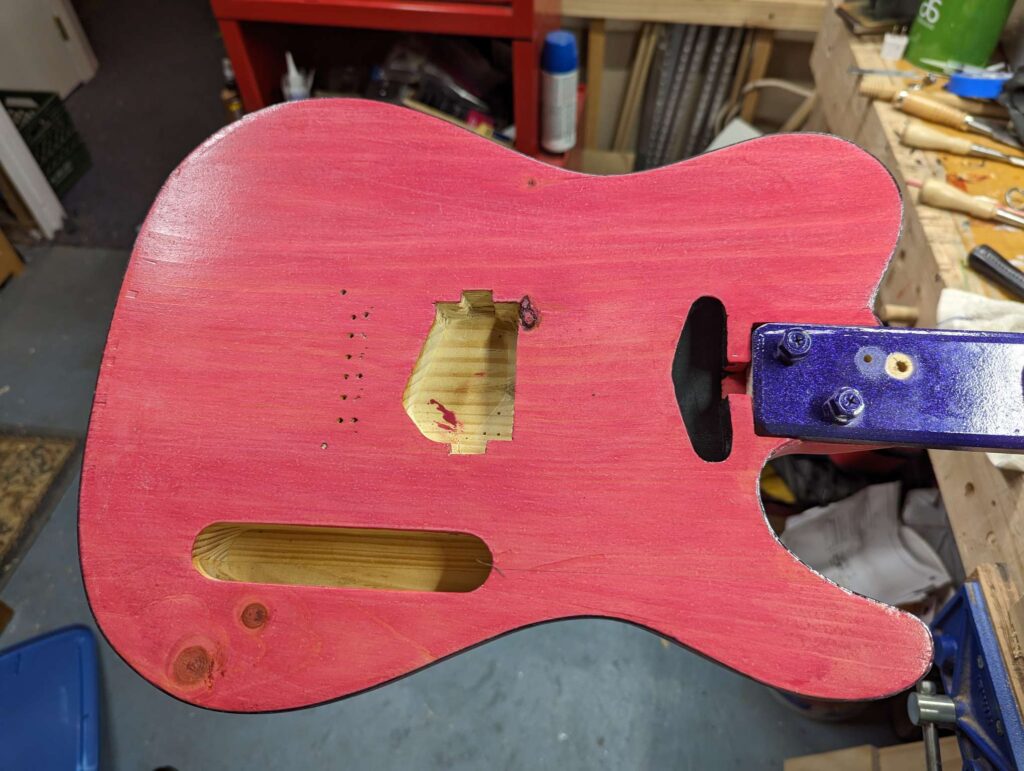
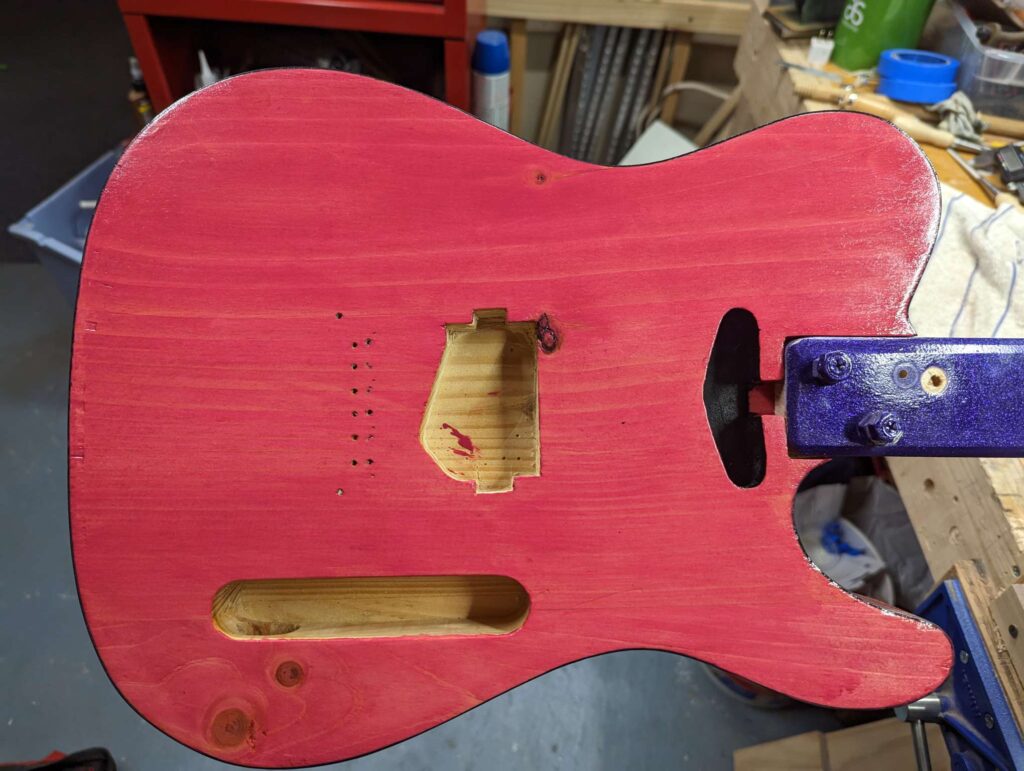
Now that the pink and black are dry, it’s time to put some top finish on the body. I’m going for a half glossy finish. Shiny, but not glassy like my Vanguard. I’m using tung oil for this.
Tung oil is a traditional wipe on oil finish that is used on furniture and guitars. You can wipe on many coats and after it dries, it hardens up a bit. The exact stuff I’m using is polymerized tung oil. This stuff has some polyurethane mixed in that makes it dry harder and more durable.
The finish I’m usingFirst coat of finish.
The first coat gets sucked up by the wood. The subsequent coats add layers of shine.
This is about 5 or 6 coats in. It’s pretty slow going but starting to get the shine I want.After the last coat dried overnight, a light sanding made everything smooth while keeping the topcoat intact.
A few more coats of oil, a very light sanding, and one more very light coat of oil will finish this for now.
I’ll let this sit for a week or so to cure and harden. Then buff it a bit to make it shine!
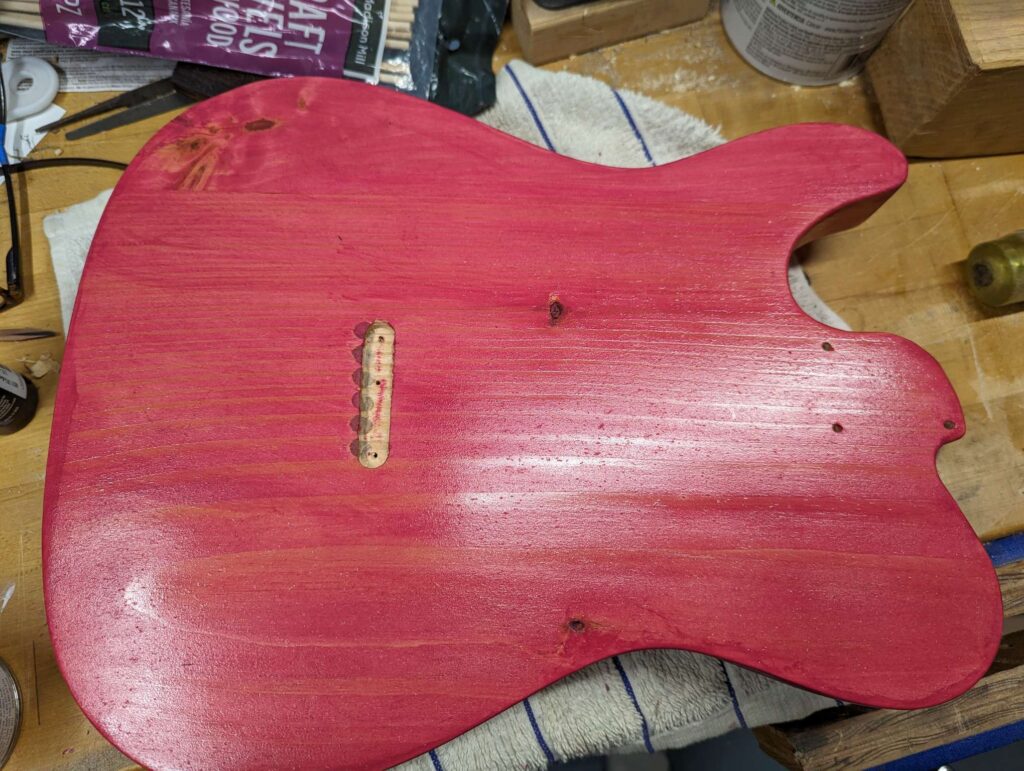
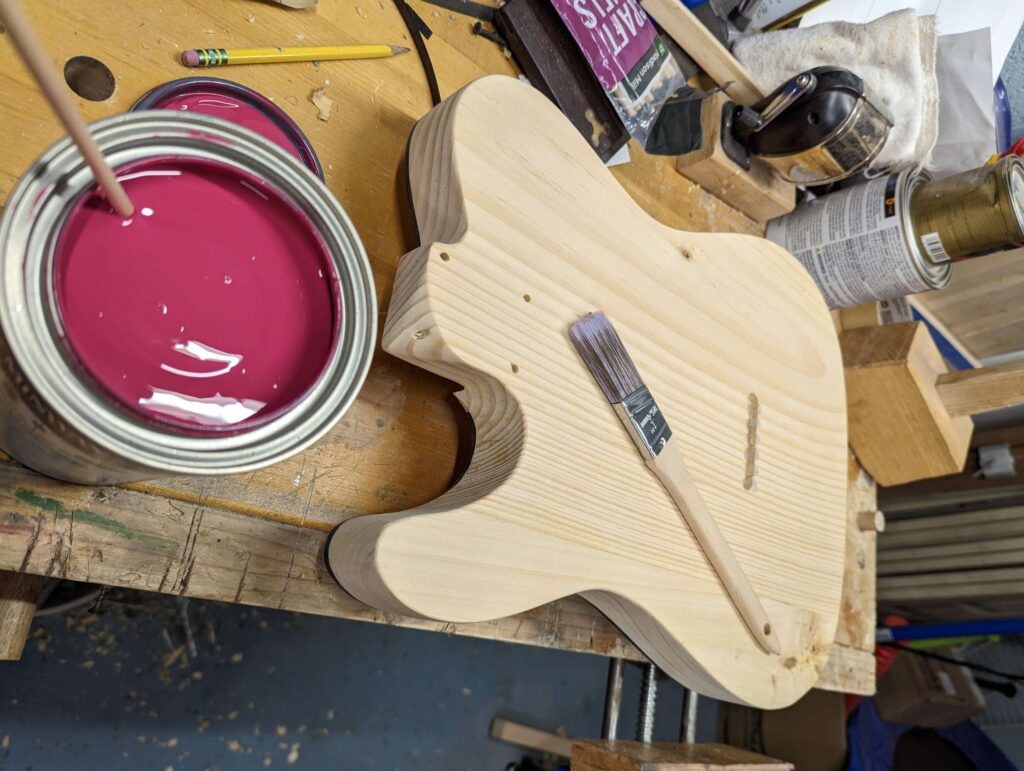
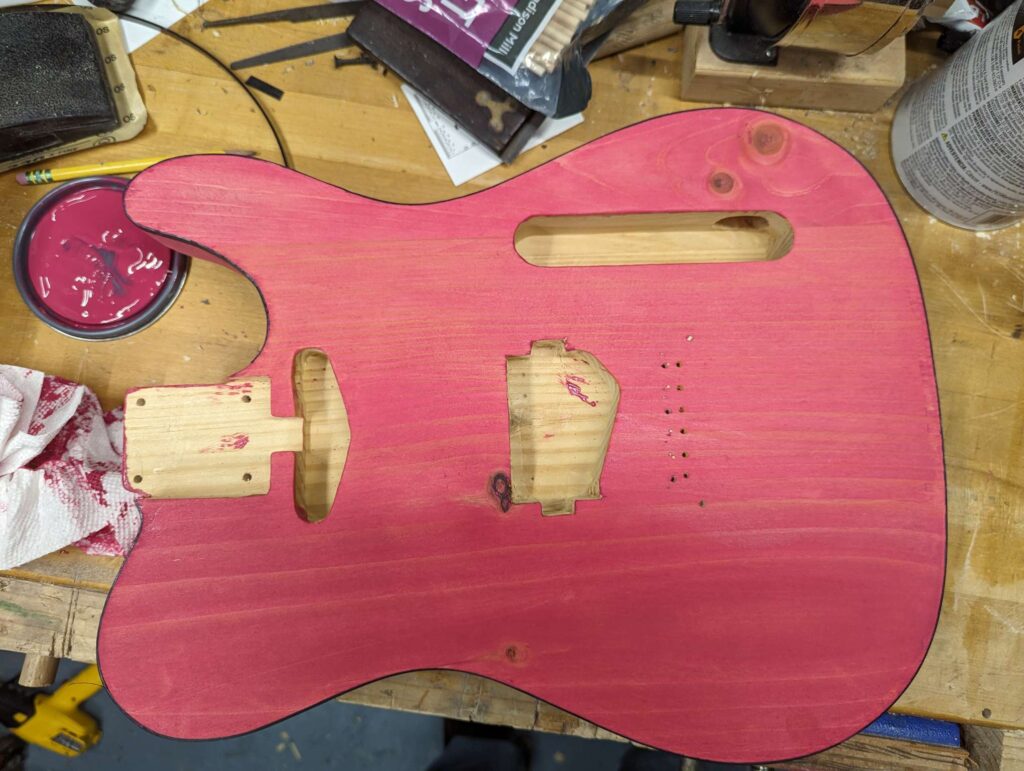
I put the pink stain on the body and it looks suuuuuper sexy. I used a water based stain from Minwax. I got it from Lowes and they mixed the color for me.
Here goes nothing!Oozing with sex appeal. I LOVE how the knots in the wood look.
Front looks wicked!
I also painted the neck pickup cavity black. Since I’m not using a pickguard, the inside will show.
After this dries, I’m going to put some polymerized tung oil on it. That’s some old school tung oil mixed with some new school polyurethane to make it more durable. I can build up as many coats as I want until I get the level of shine I like.
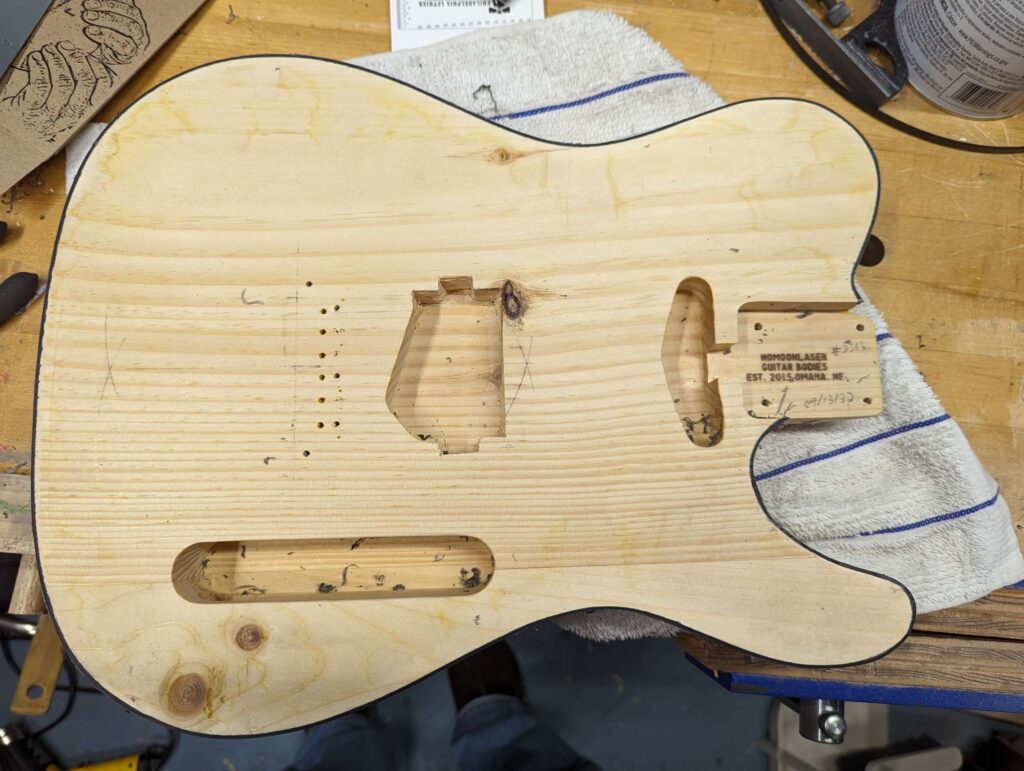
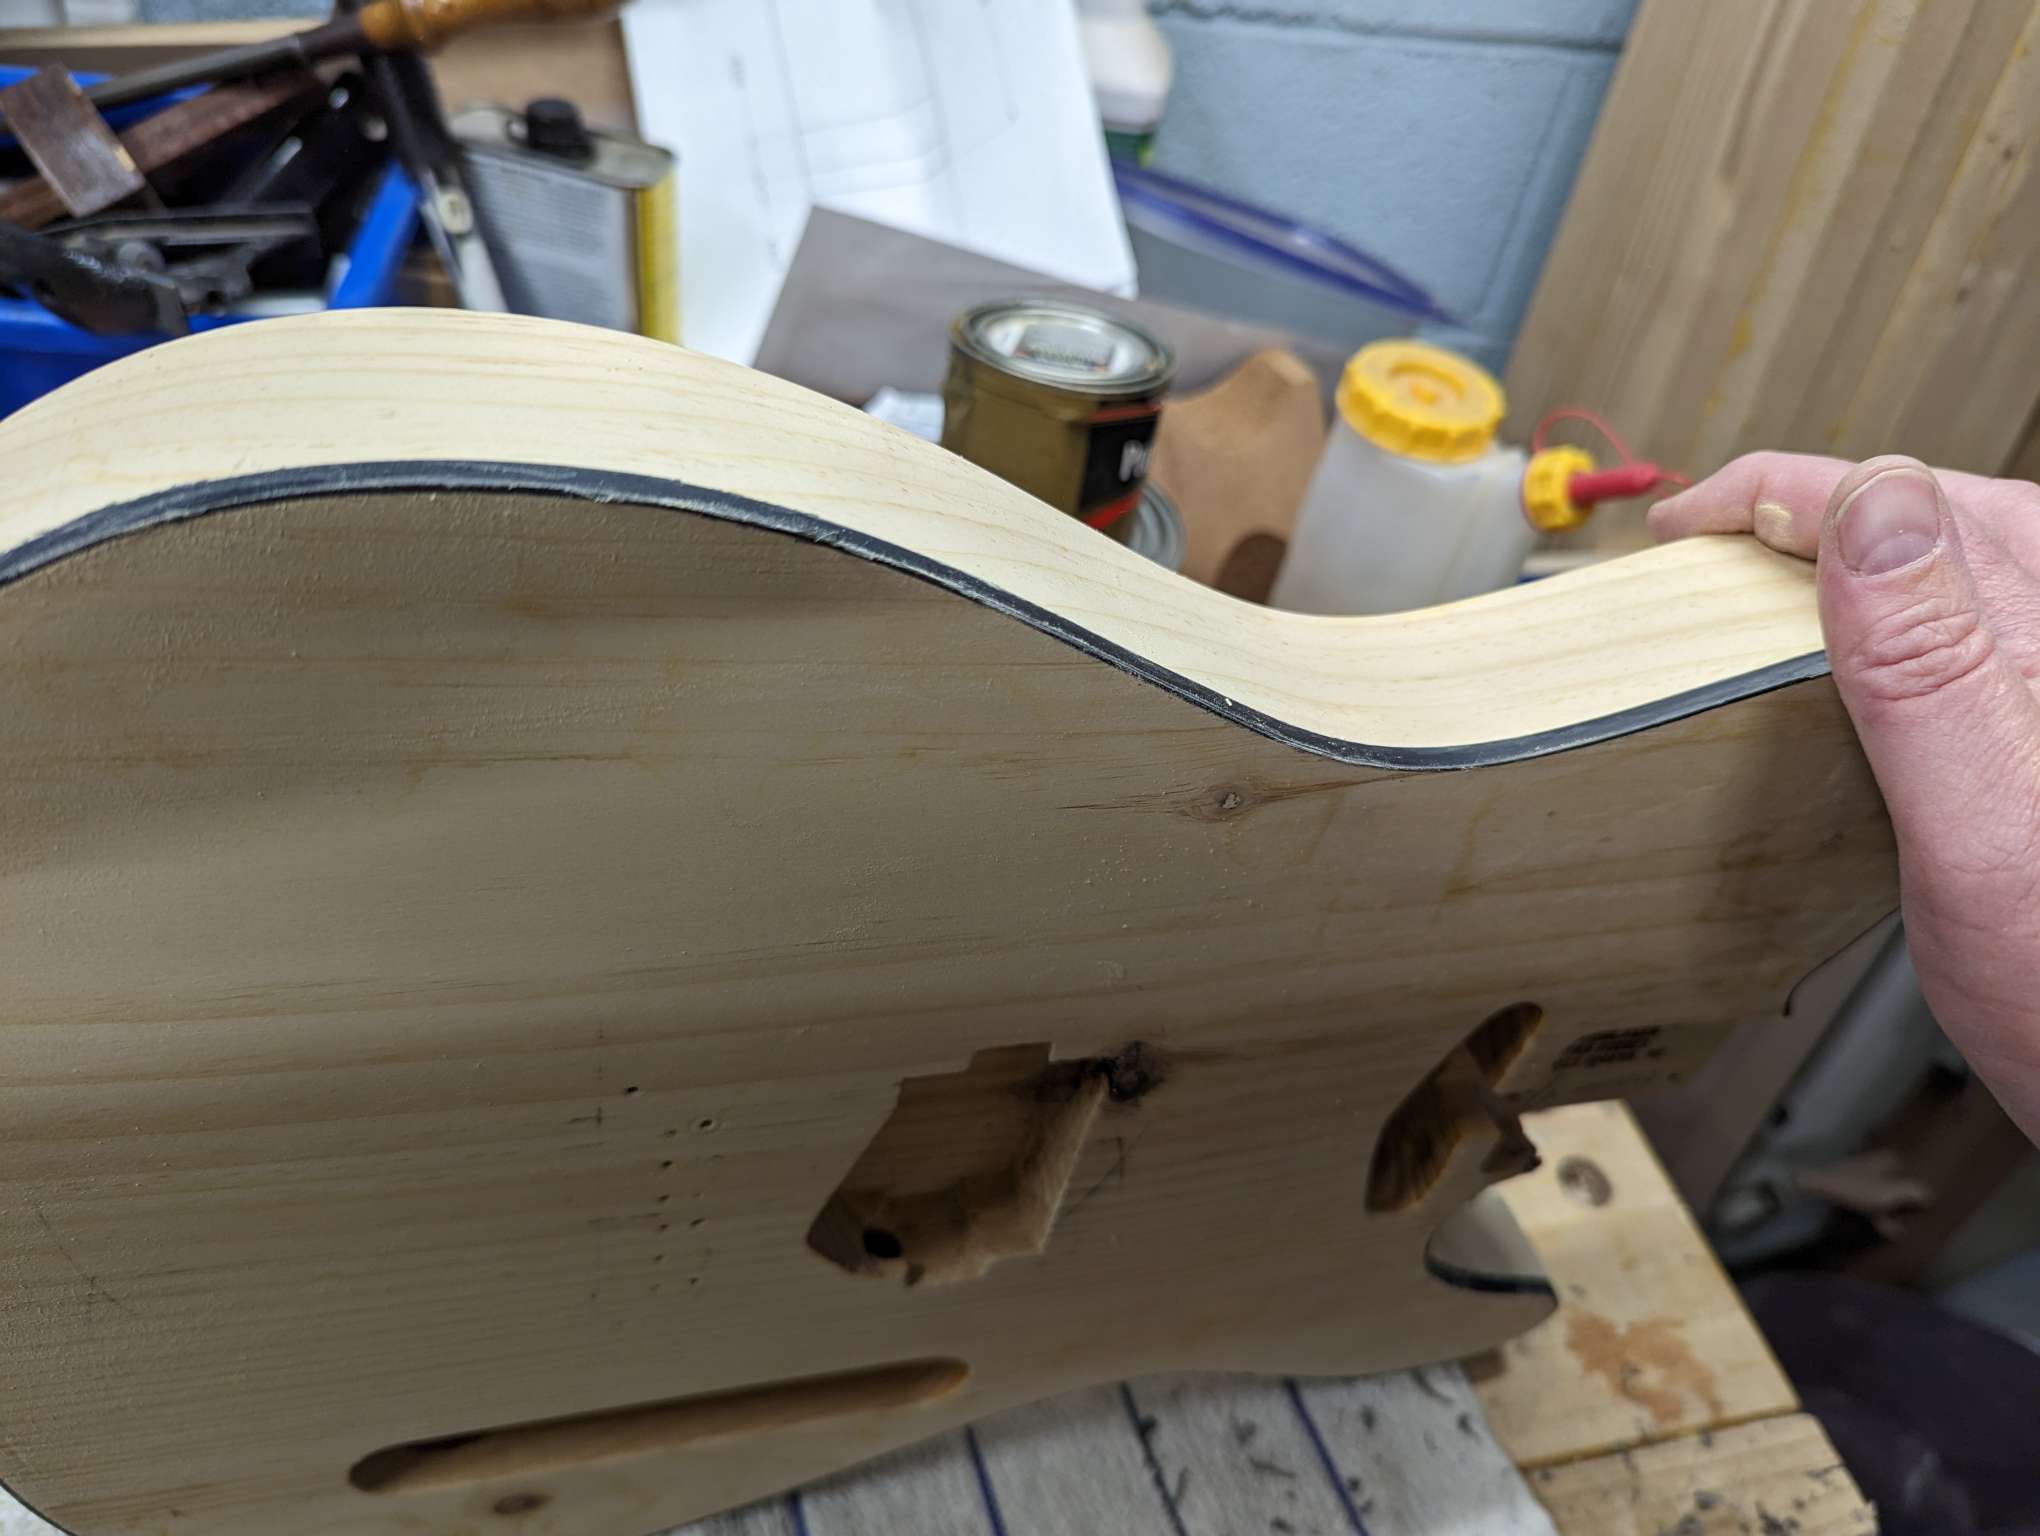
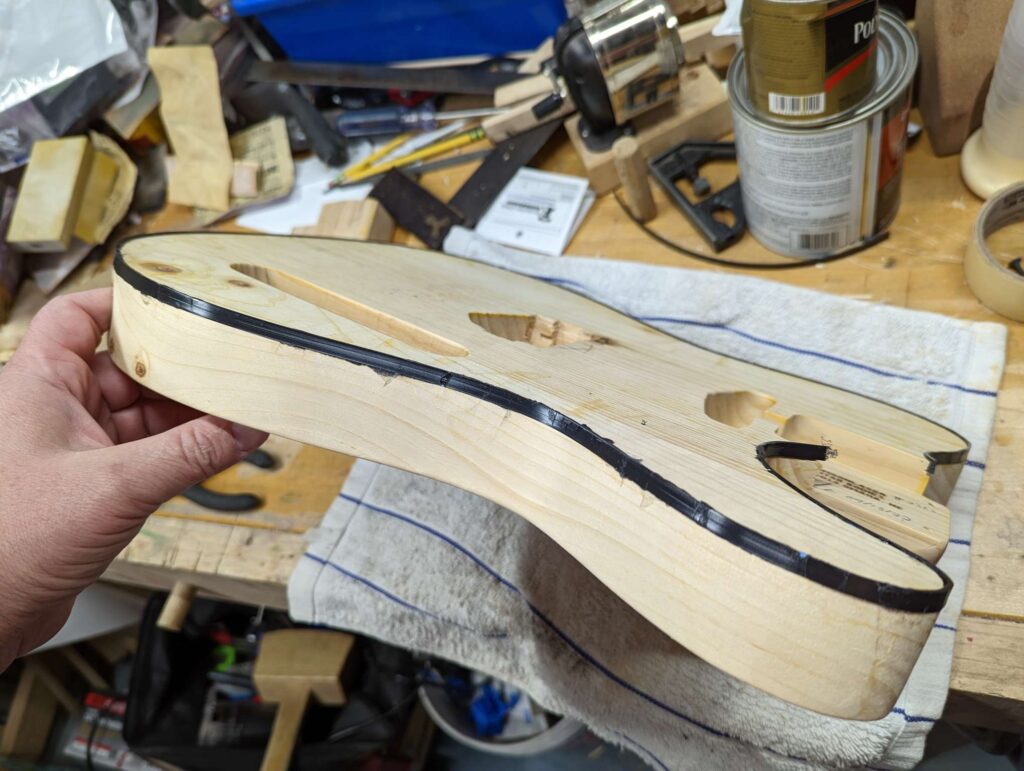
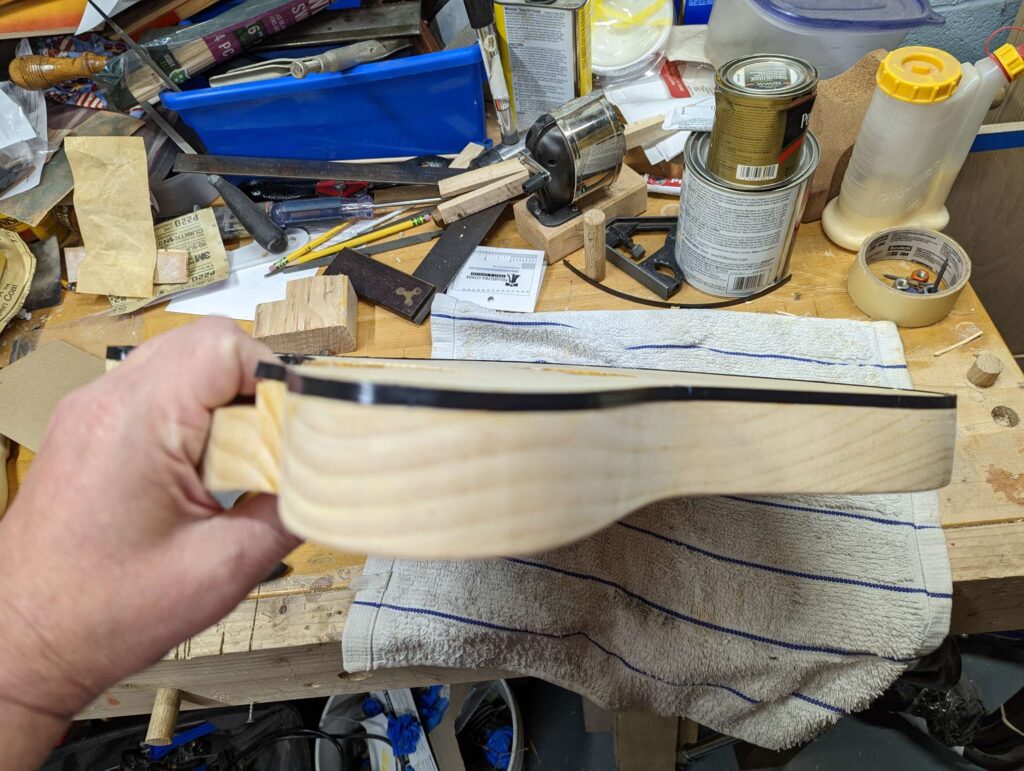
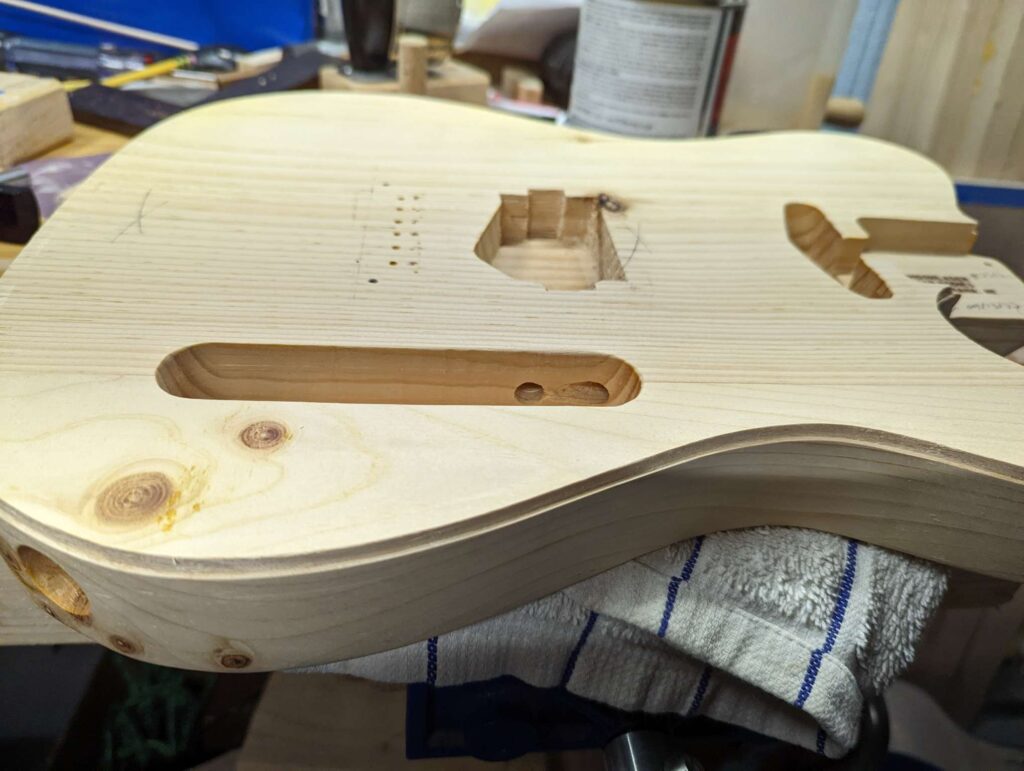
Now that the binding is attached to the Tele body, I needed to scrape it flush with the surface of the body (so you can’t feel it). Then some final sanding of the whole body. After the sanding was done, I found another small mod to make.
To smooth out the binding, I used a card scraper. This is a piece of thin steel with a straight/smooth edge and a burr added to one edge. The burr is a small sharp hook that scrapes off incredible thin pieces of material and leaves a nice smooth finish.
One area scraped. You can see the scraper in the background.It looks much nicer now!Nice and smooth. The fuzzy stuff will come off during sanding.
NGL, this was a royal pain and very tedious! I broke a small piece off near the neck pocket that will need to be glued back on.
Next step is sanding. I use 220 to sand everything nice and smooth. Then wipe it with water to raise the grain and sand it again after it dries. Then some light sanding with 320.
Sanded with 220 and then wiped with water.Sanded all smooth likeThis thing definitely wants to be touched
The binding and sanding came out great! I left a few “apprentice marks” in there that will add to the character.
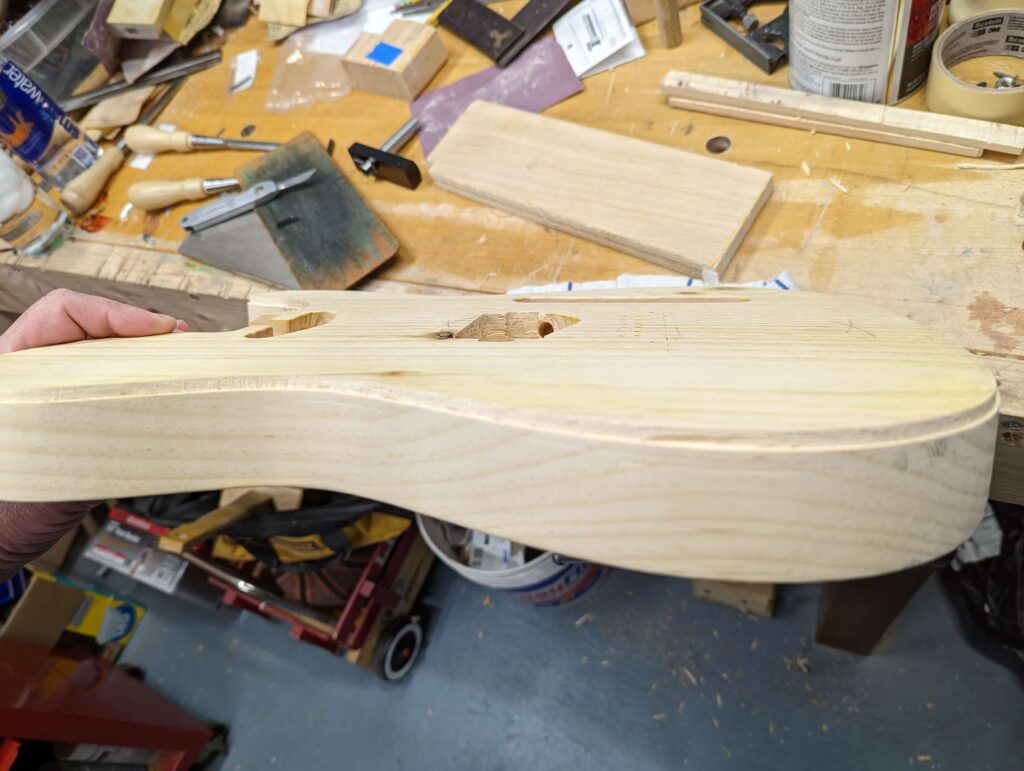
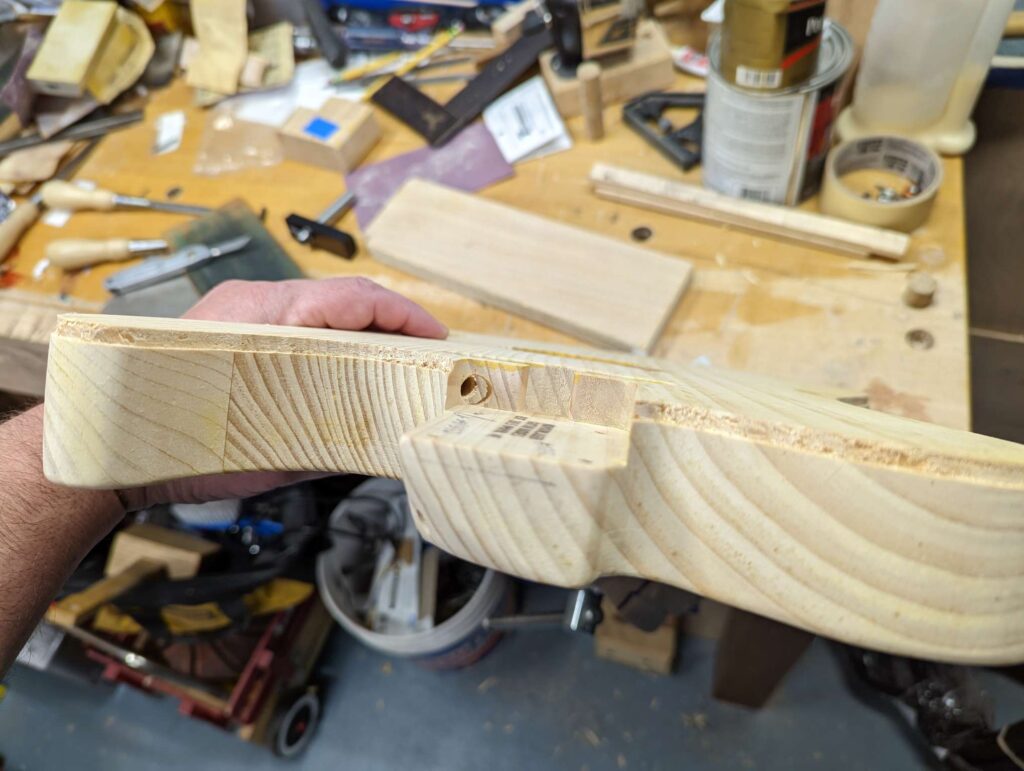
I got the neck on and noticed an adjustment I wanted to make. The fretboard was a bit high off the body for my taste, so I decided to make the neck pocket deeper by 3/32″. This means I get to use my favorite tools again!
I marked off the new neck pocket depth with a marking gauge. Then I got to work with my router plane.
Hogging out some pine. You can see the depth mark on the heel.All done nice and smooth like I also wanted to square off the corners a bit so the neck bottoms out.Some sharp chisels made short work of that.
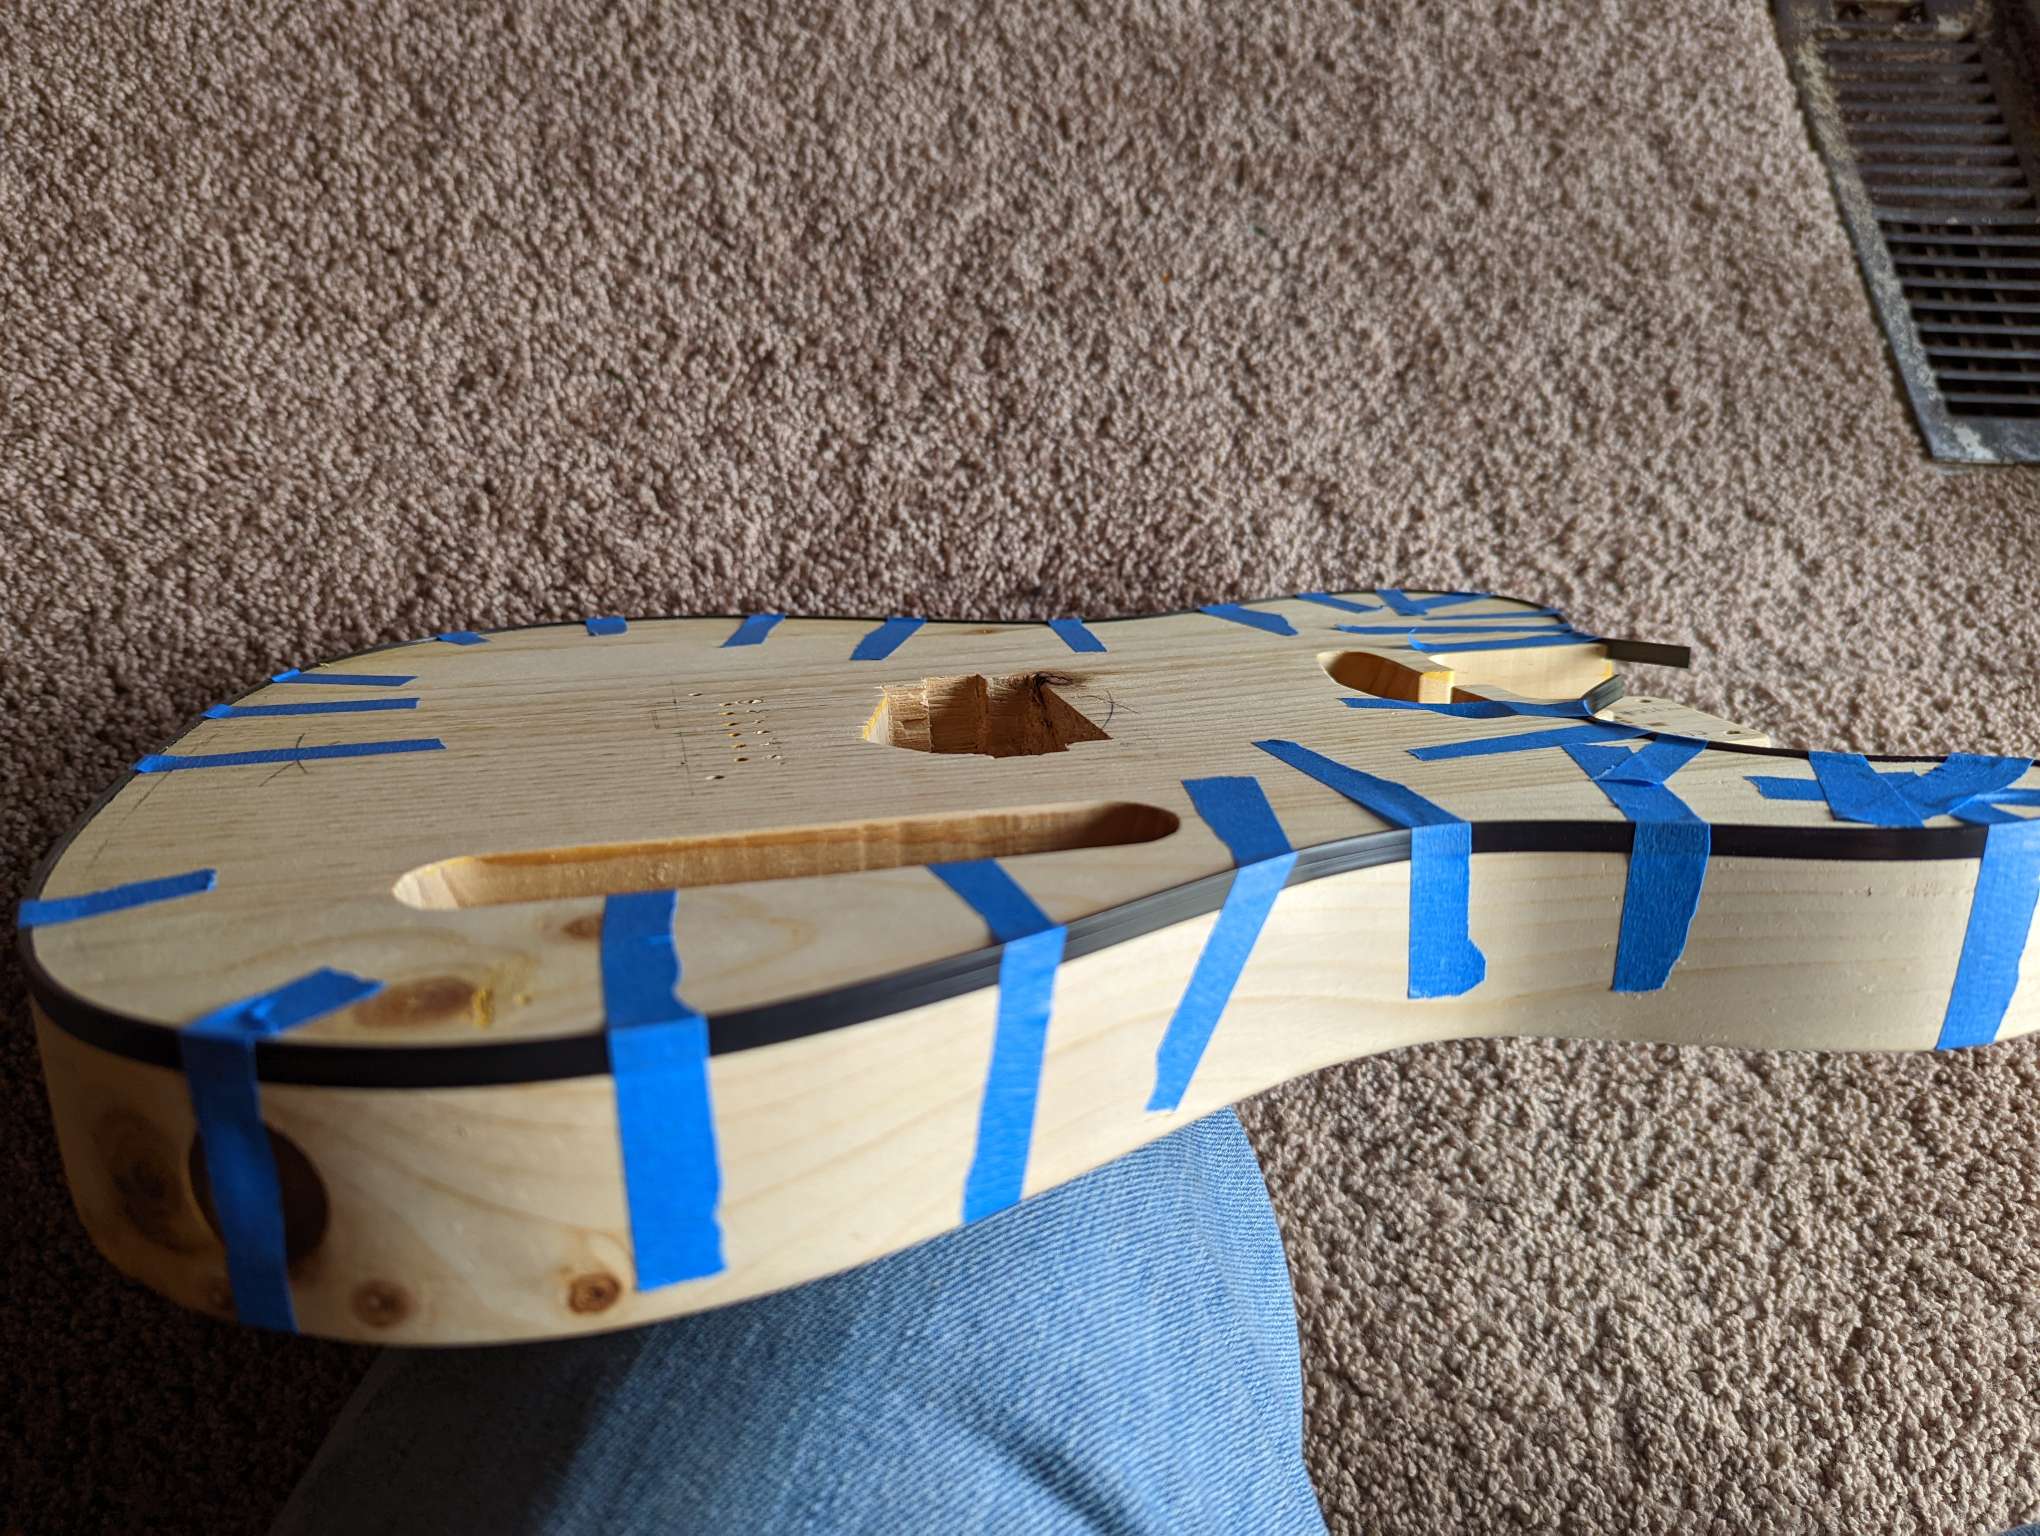
Now is the time to install the binding on the body. The general steps are;
Starting at the centerline of the butt, tape the center of the binding on the body tightly
Use a heat gun to soften the binding in areas with tighter radius or the opposite direction
Make any fine tuning needed to close gaps and relieve strain
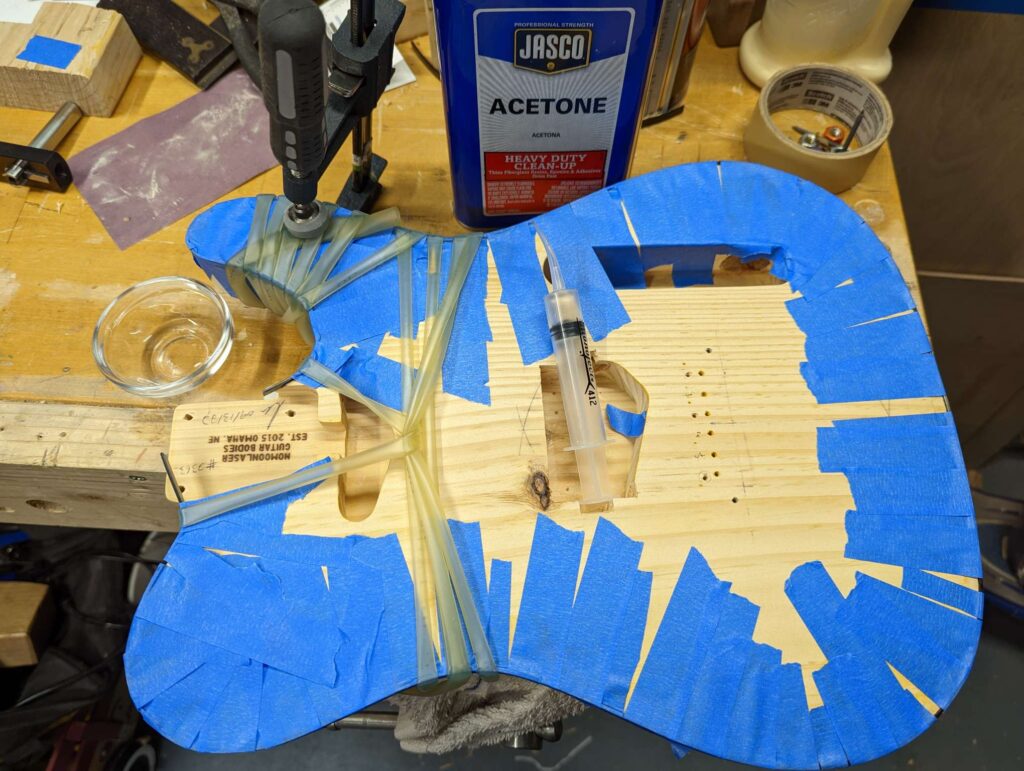
Wick some acetone between the binding and body
Apply more tape or surgical tubing to hold the binding in place
Let it sit over night to set up
Using heat to make the curve in the waistThe binding is bent and mostly fits with just a little tapeSo much tape
Next is to “glue” the binding on. I use acetone. I did some research and watched a few videos like this one and decided to use acetone. Acer NE dissolves the binding and makes goo, the goo sticks to wood and the acetone evaporates (at least that’s the plan).
I used a small syringe with a thin tip and squeezed some acetone in and then pulled the binding tight with a million pieces of tape. I used some rubber tubing around the trouble areas to give some extra holding power.
Cross your fingers. Acetone is applied and 11 square miles of blue tape.
After letting it sit overnight to harden up, I removed the rubber tubing and made a giant ball of blue tape.
The binding came out pretty good! There are some gaps in conspicuous and inconspicuous locations, but over it looks cool as shit.
The black binding is going to look sick with the pink stain!Bam!
Now the binding needs to be scraped level with the body. I will use my card scraper and some fine grit sandpaper for this job. I’ll probably sand the top of the guitar at the same time.
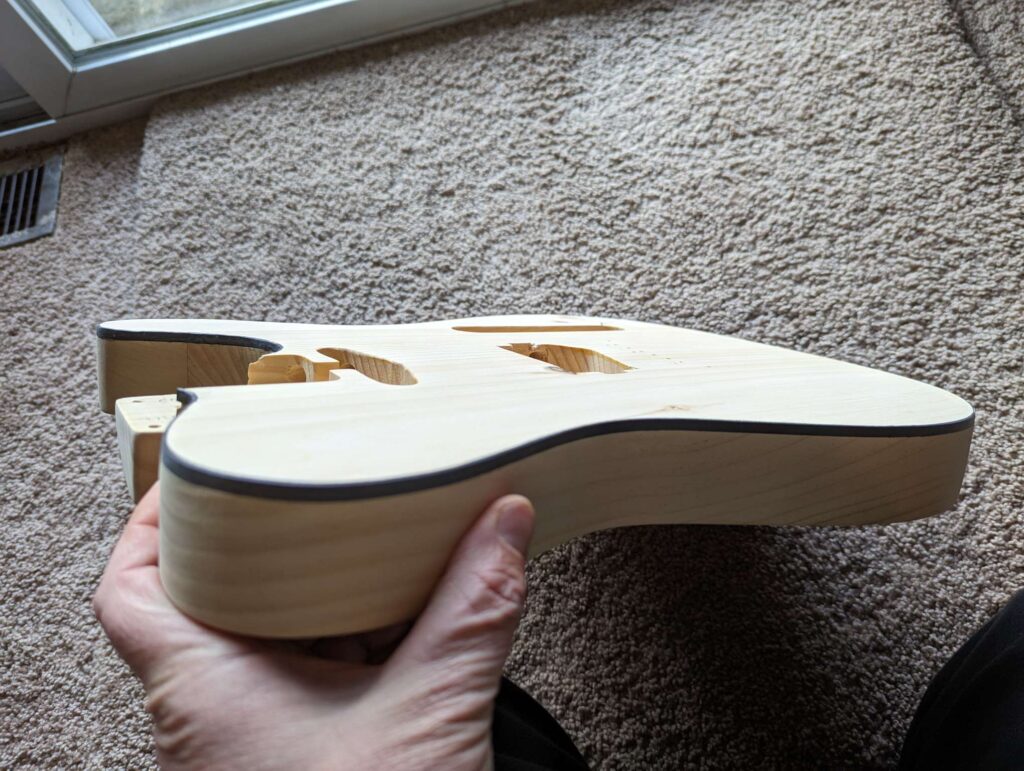
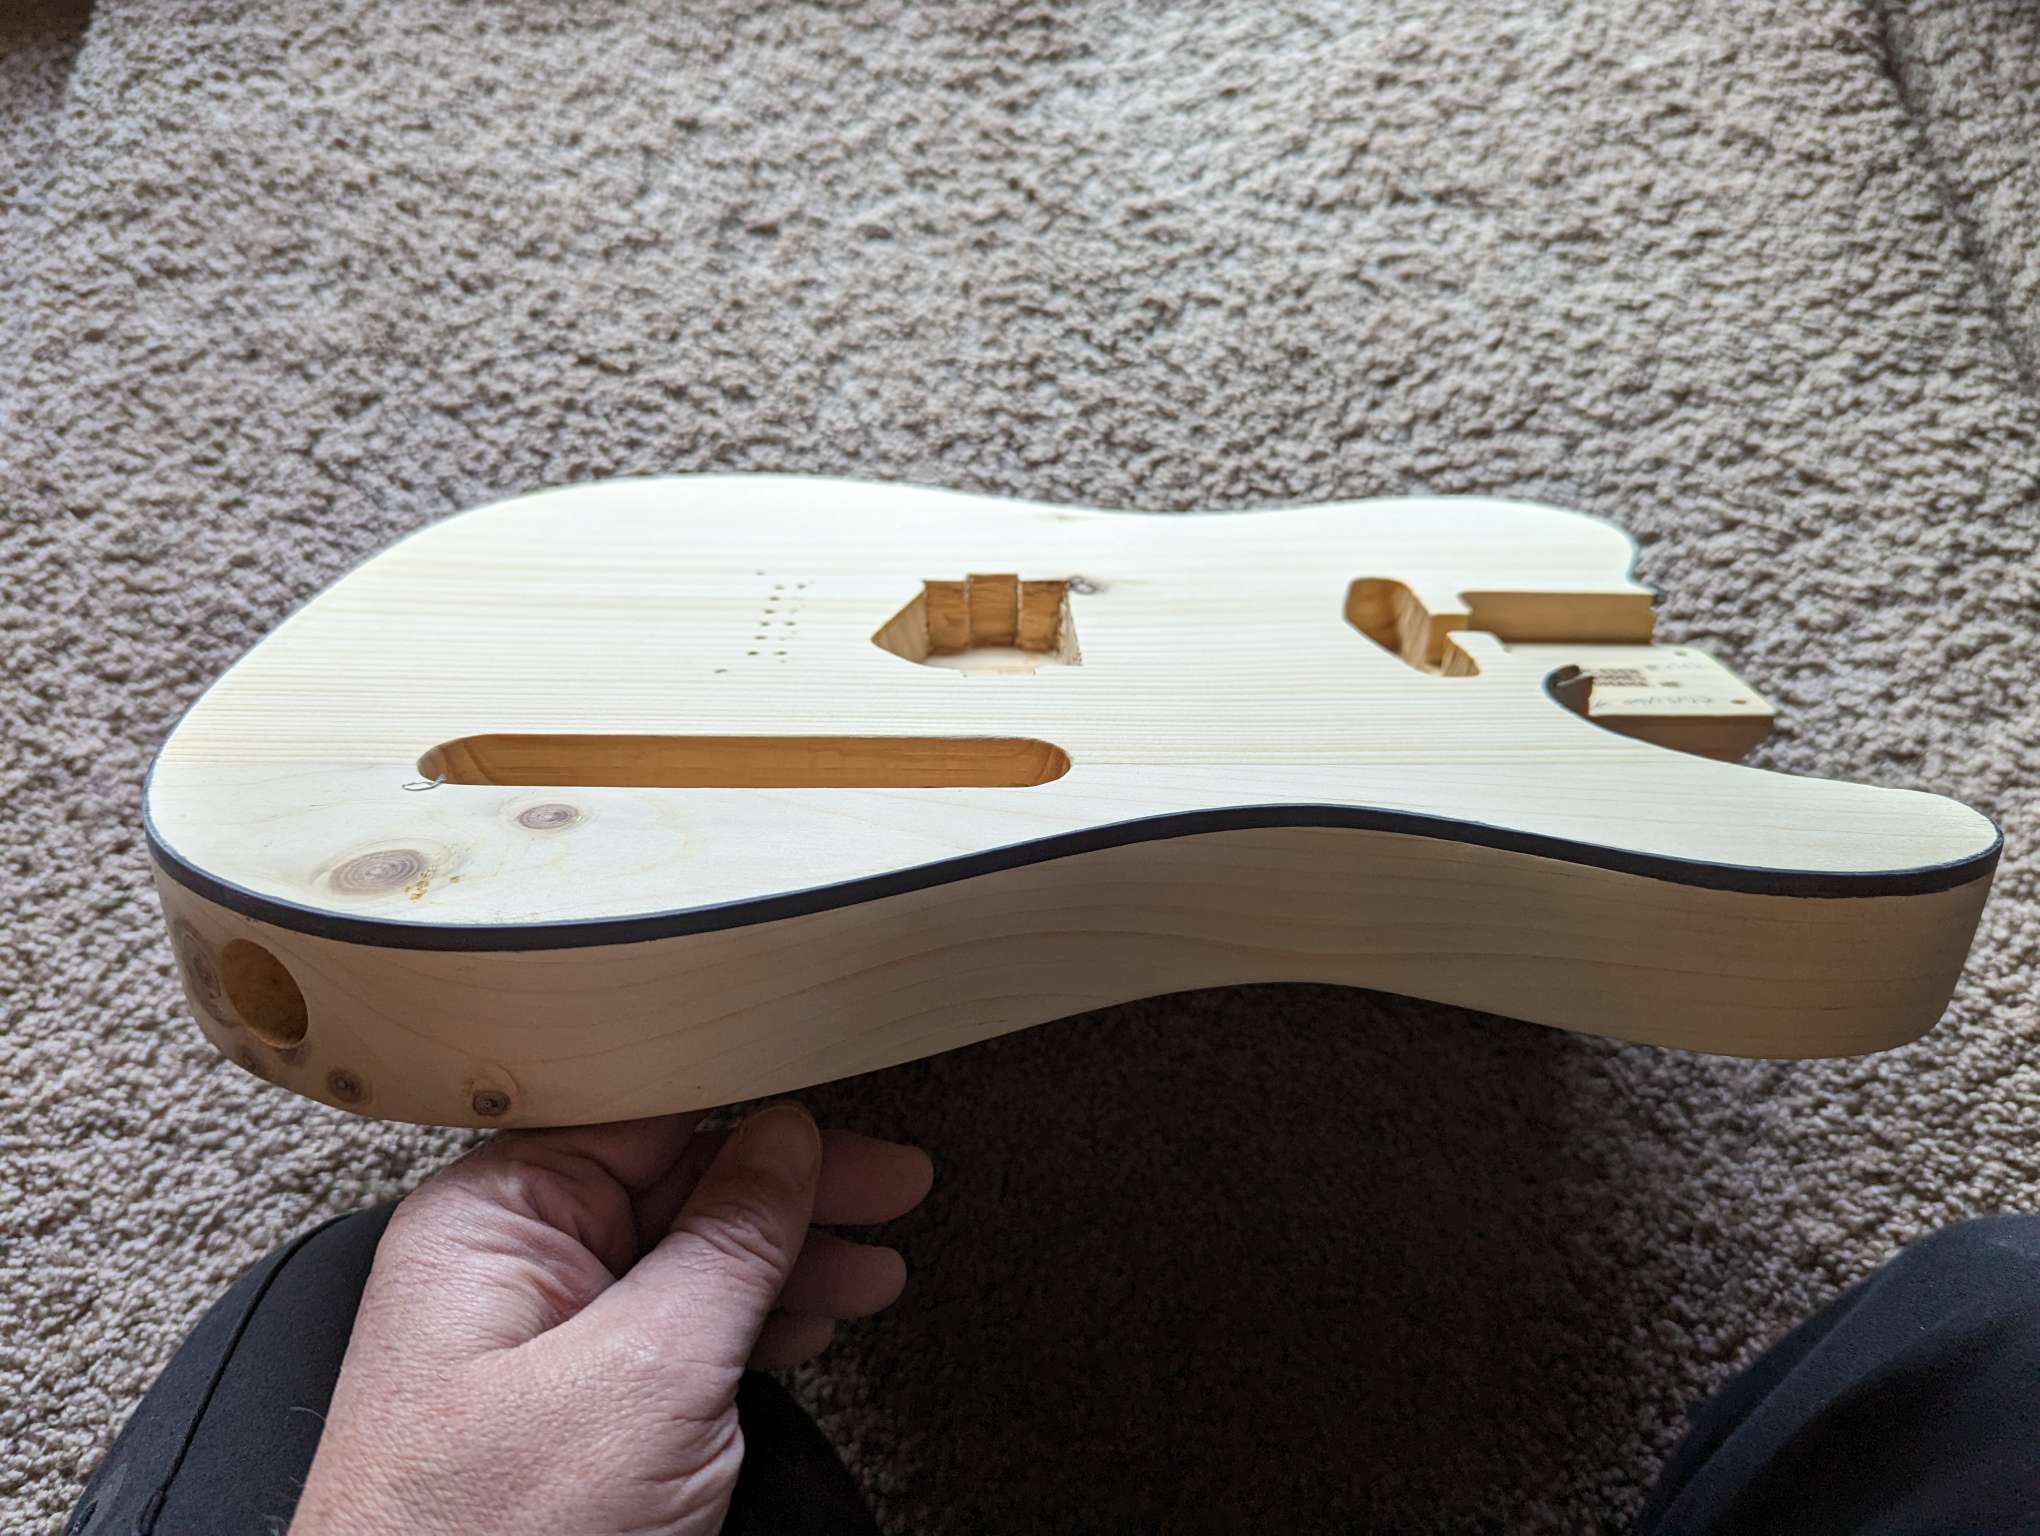
I am going to put some black binding on the Tele guitar body. I think it will look super cool with the pink body and other black hardware.
To install binding, you need to cut away part of the body in an accurate and clean way. I think big builders use a router and choose a cutter and bearing that cuts the right depth.
I don’t like that, so I will do it by hand. I bought a really cool special tool named a gramil that will help me do this. The gramil comes with a blade and is adjustable to cut pretty much any size rabbet.
You set the distance the cutter is from the fence based on the size of the binding and then cut all the way around.It makes a nice clean line. A combination of deeper cuts with the gramil and some sharp chisels removes the wood where the binding will be.Yay!The end grain was a pain
I am very happy with the results. This tool was very fun to use!
Telecaster style bodies are not super comfy to hold and play. Gonna make the heel where the neck meets the body more comfy and accessible.
I bought a neck plate that is curved and then knocked the corner off the body.
Neck plate attached and used a pencil to mark the curve.I marked out some curves that look nice and remove the pokey corner.Some sharp chisels and sand paper make short work of removing that corner.
I’m not sure if I’m gonna plug that hole or leave it. I’m leaning toward leaving it.
Time to fix the string hole location! Now that the bridge is located, I can drill the string holes in the correct location for this bridge. After the string holes are drilled, I can install the cool brass string ferrule block.
The first step is to plug the old string holes on the back of the body. The new holes will be about 1/4″ away. Some dowel rods and glue will do the trick!
The old string holes are plugged.After the glue dried, some chisels smooth out the plugs pretty nice. I’ll sand them later when I sand the whole back.
Next is time to mark the location of the new string holes using the actual bridge and then drill through the body as straight as I can. Then mark the location the ferrule block will live.
A few sting holes drilled and the ferrule block is marked out.
Now time to remove the wood and make a recess for the ferrule block. I used some forstner bits and chisels to do this. The block fits pretty good!
Forstner bits move most of the wood out of the way.Chiseling pine is hard because it’s so soft. But the hole cleaned up ok.The ferrule block fits pretty good. I prolly didn’t drill totally straight, so the new holes are not totally aligned with the old ones. Good thing I’m not OCD.
I’ll polish the ferrule block super nice before it goes on for reals.


You must be logged in to post a comment.