If you who Paul Sellers is, you will find this interesting. Paul talks about the term Knifewall and how it came about.
Categories
 gummibearheads
If you who Paul Sellers is, you will find this interesting. Paul talks about the term Knifewall and how it came about.
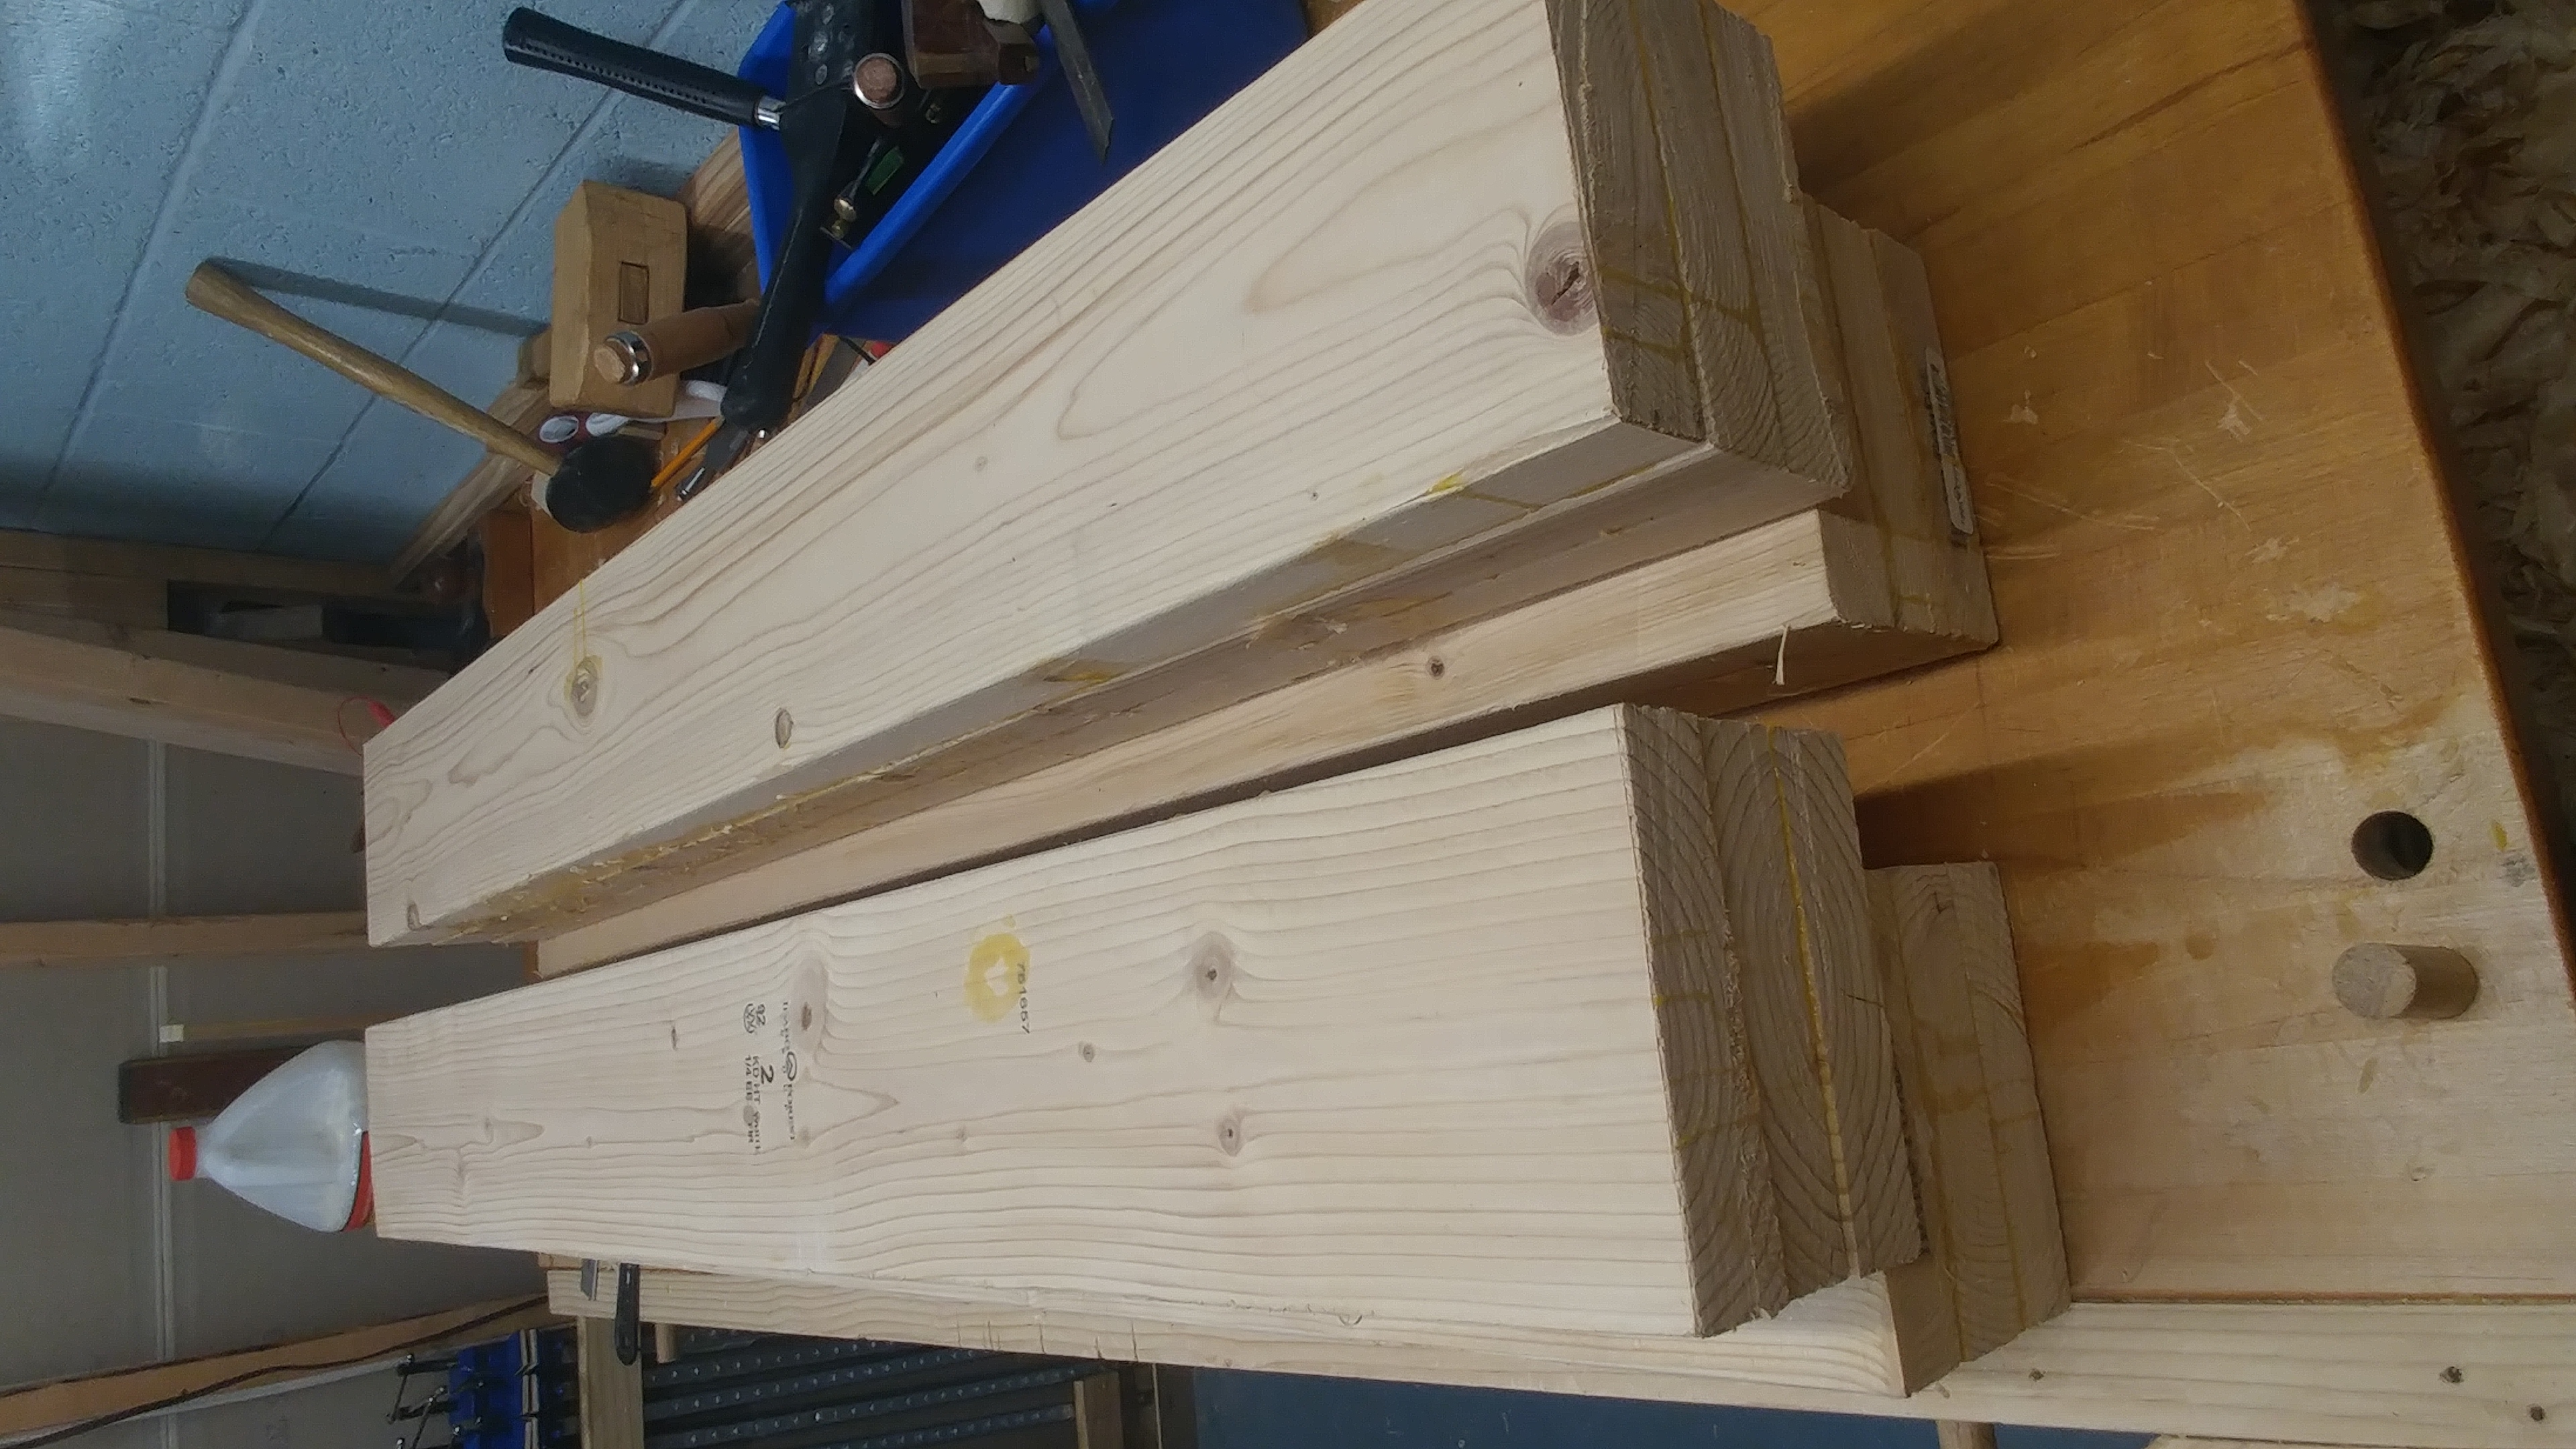
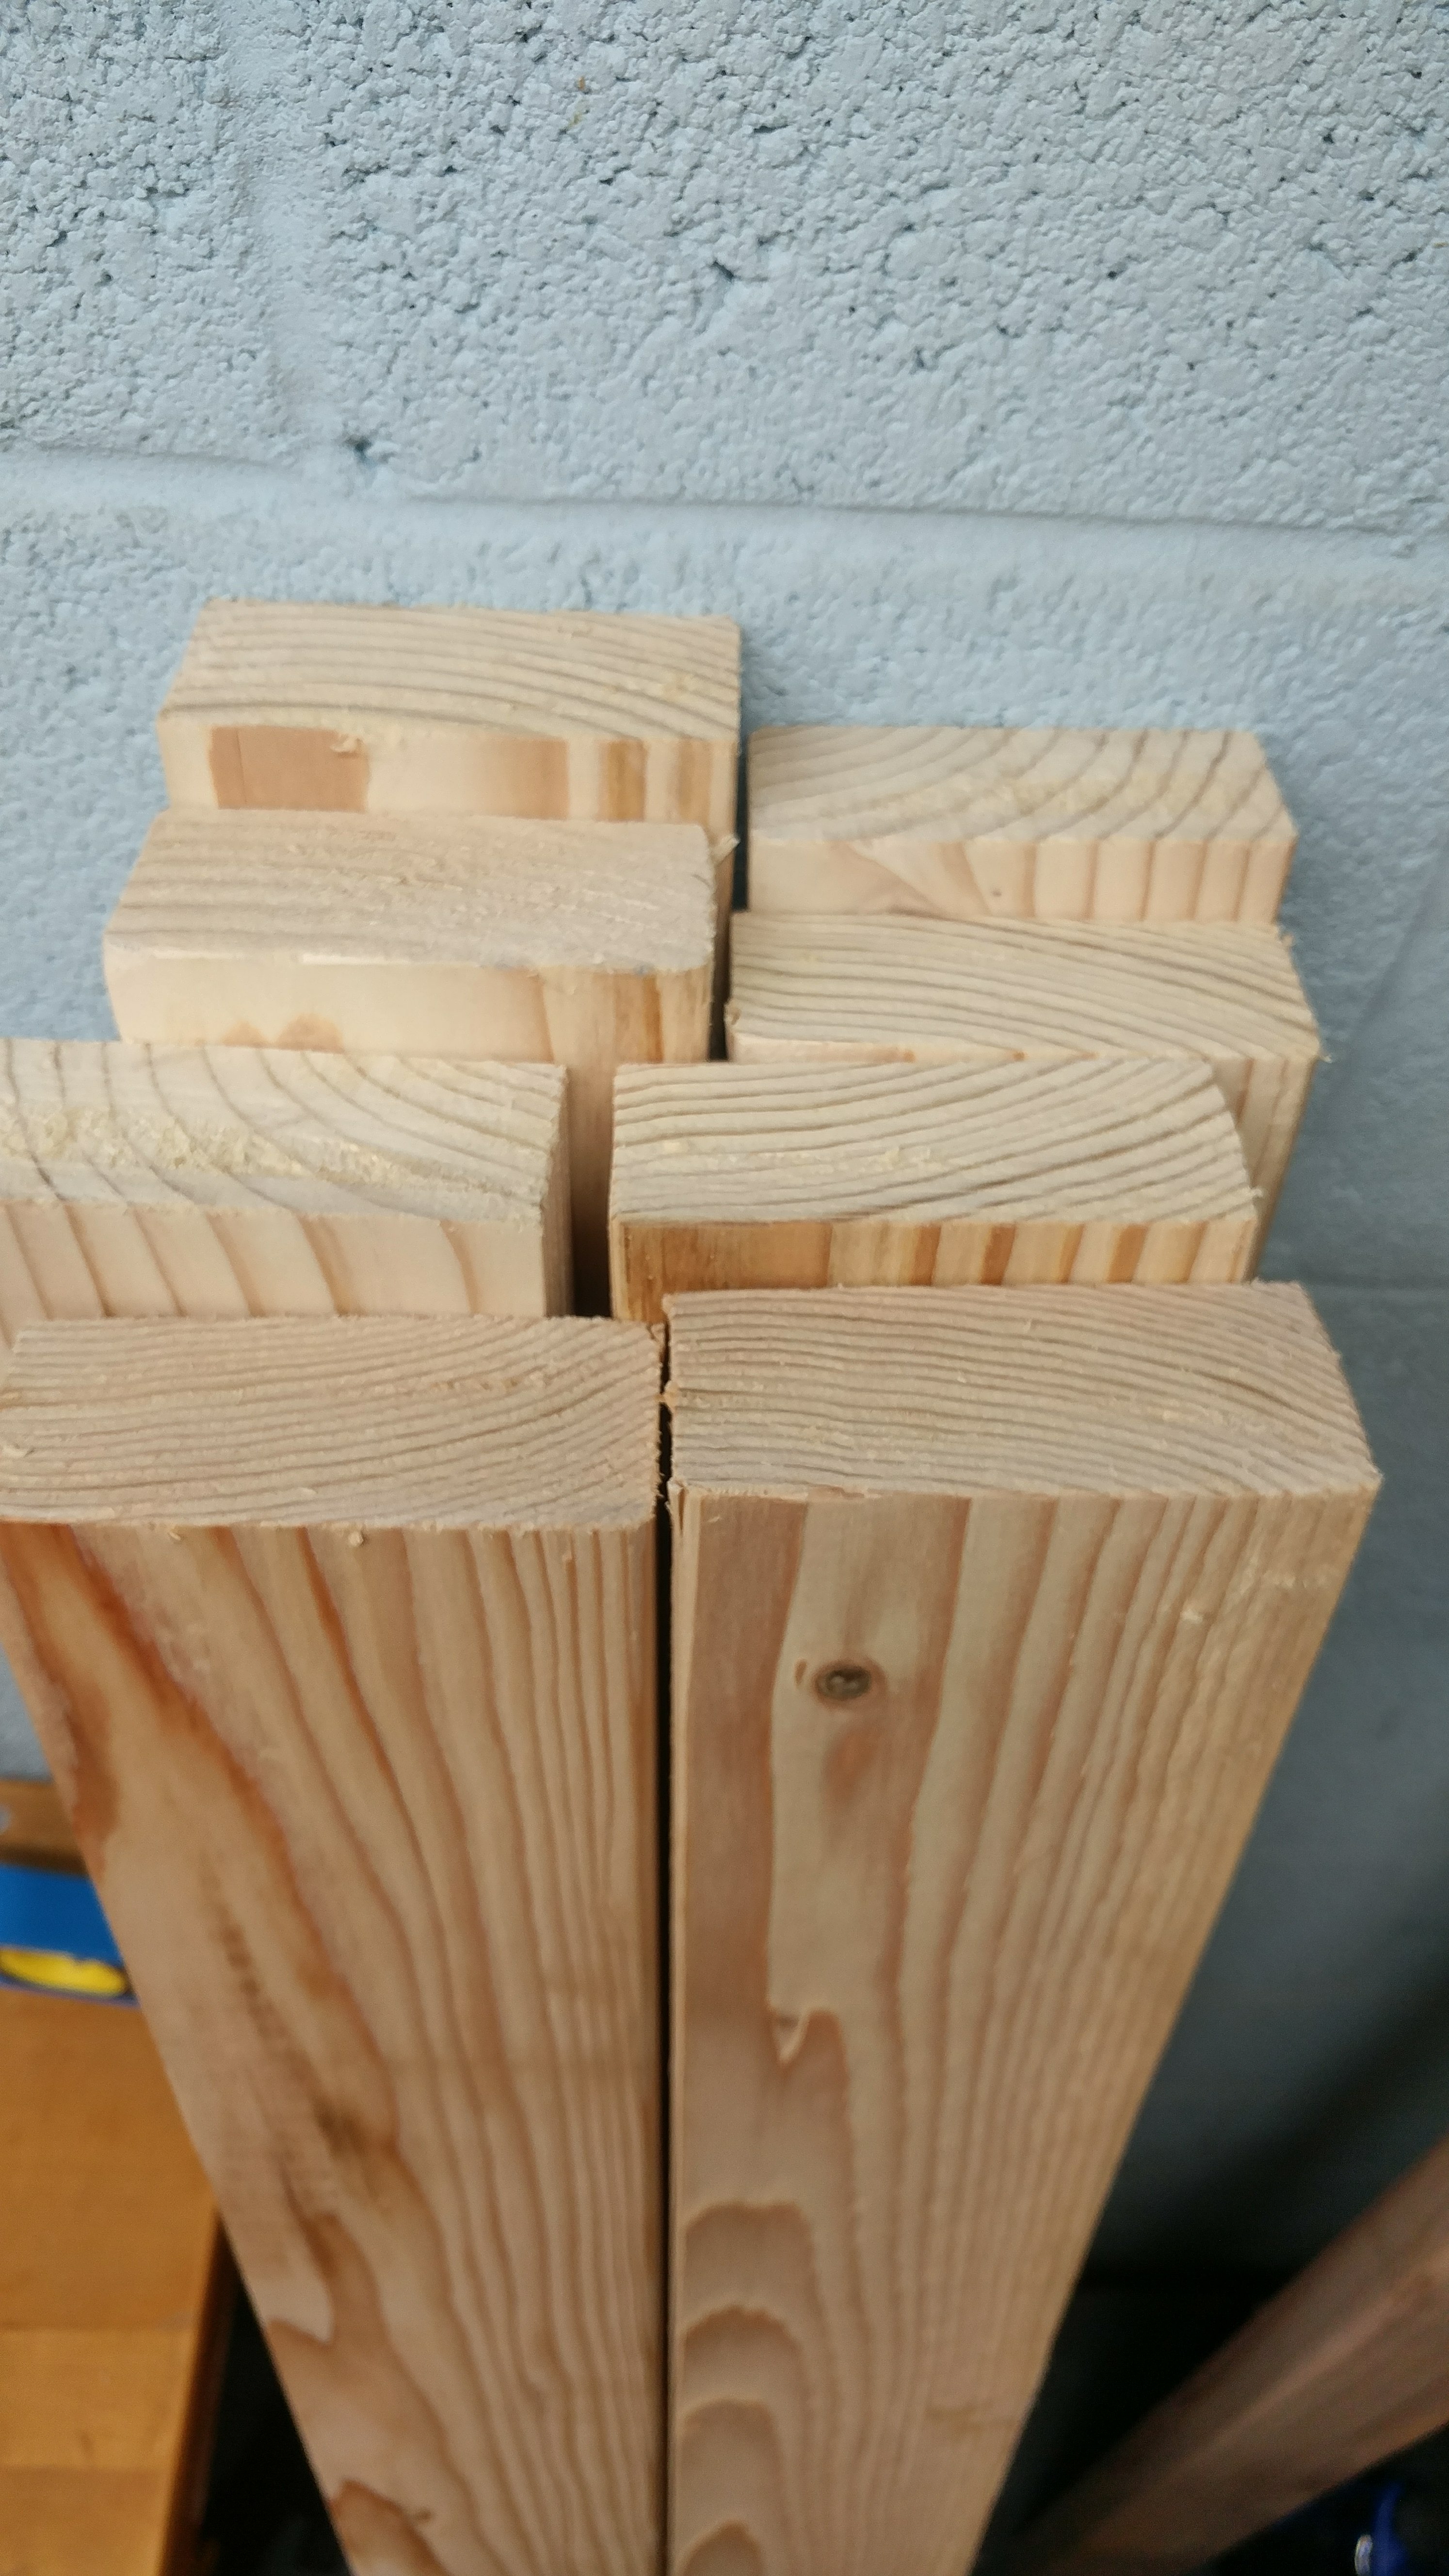
The workbench leg blanks are glued up now.

I glued up the first slab yesterday and took it out of the clamps.

I’m going to glue up the second slab today.

I’m trying to use hand tools only when building the workbench. Here are some of the ones I use the most so far.


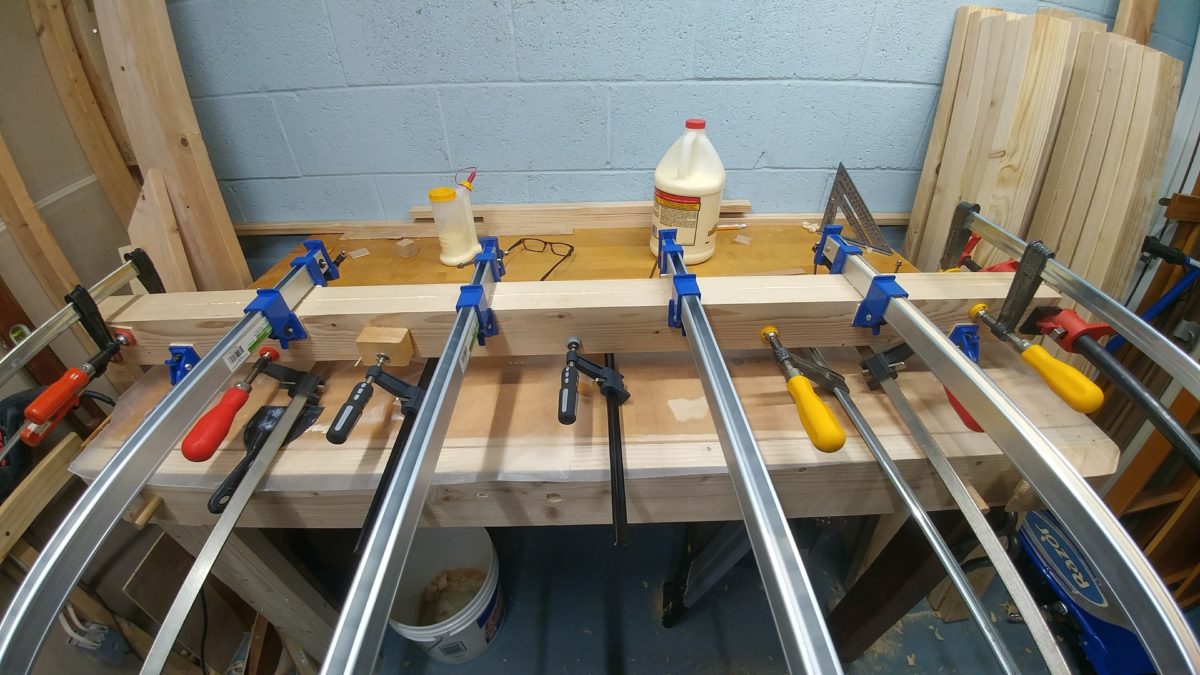
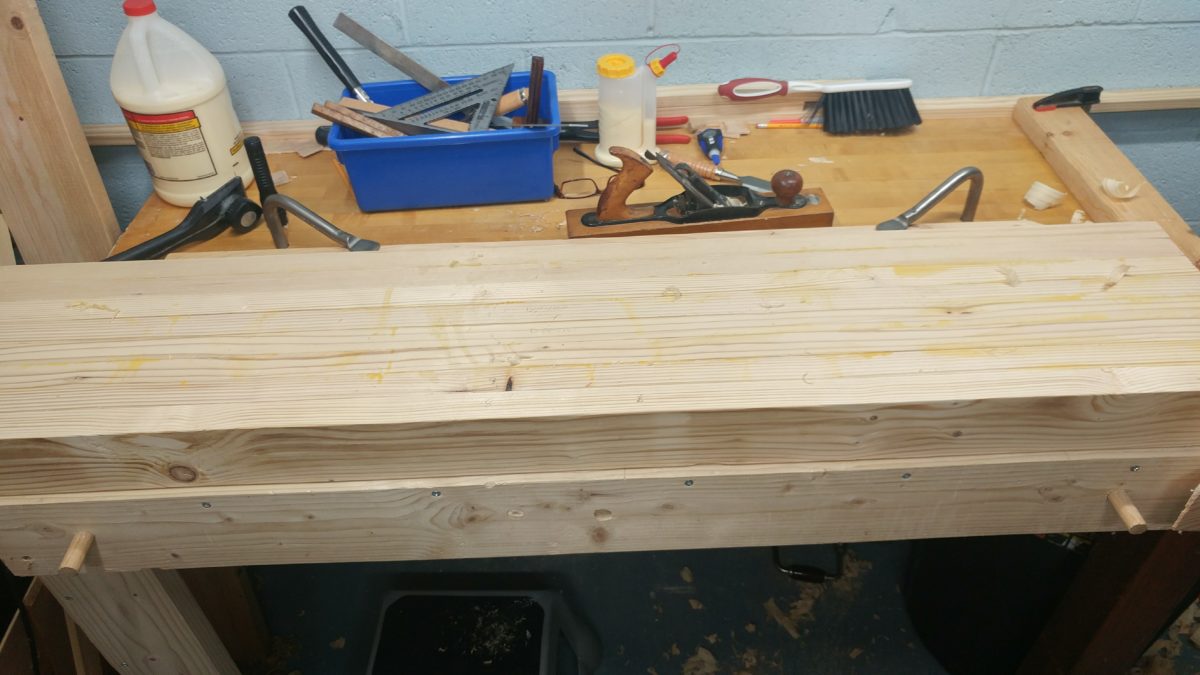
I did my first glue up of the bench top.

In the middle of that mess of clamps is the first part of one bench top slab.
With the right simple technique you can make nice, accurate cuts with a hand saw. Your tools need to be good (sharp saw, a square that is actually square, sharp knife, sharp chisel).
This accuracy is not actually required for this step of the workbench (rough cut to length) but I’m practicing 🙂


The top of my workbench is made from 5 foot long 2x4s. I need to cut my 10 footers in half. I also want to practice cutting nice with a hand saw.
I need something to push against, so I used my holdfasts to attach a baton to the bench. This give s me something to stabilise the work while I cut it.
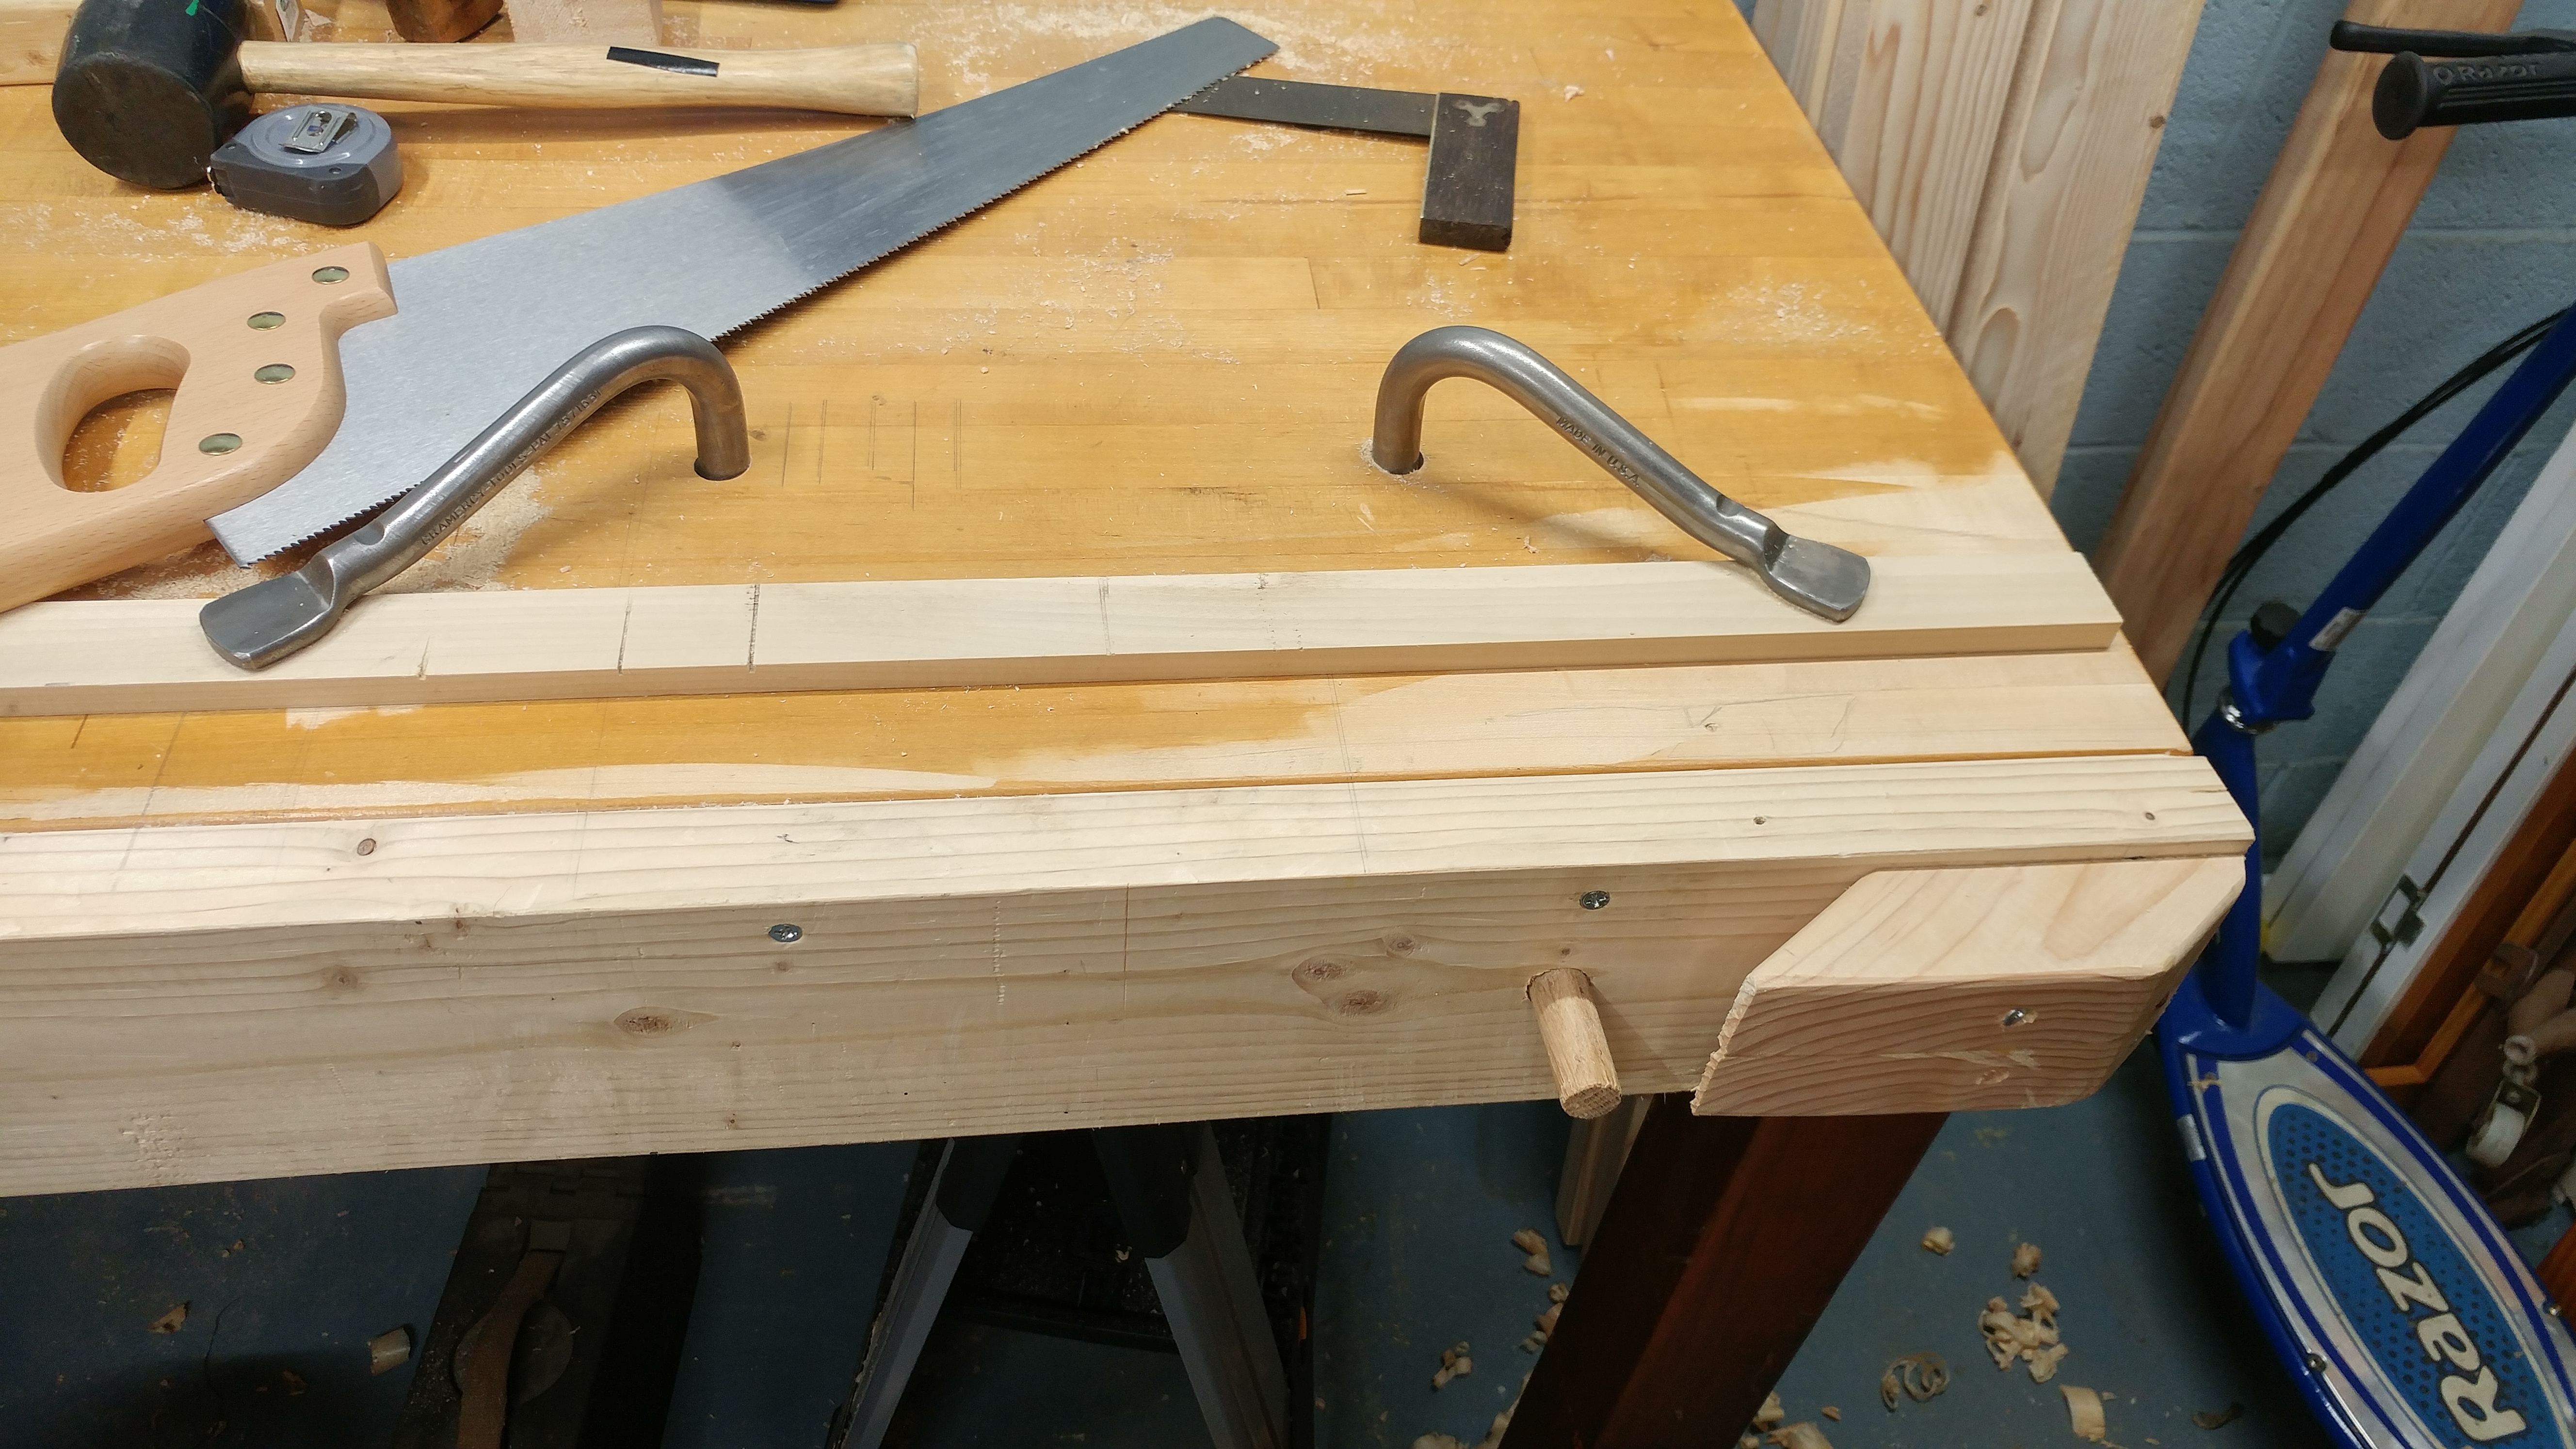
I marked out the cut lines with a square and a knife and used a chisel to make a notch to guide my saw. Paul Sellers calls this a “knife wall” and it makes it super easy to keep the saw straight and gives nice cuts.
I cut all my boards down and did a nice job.
Now for the planing…
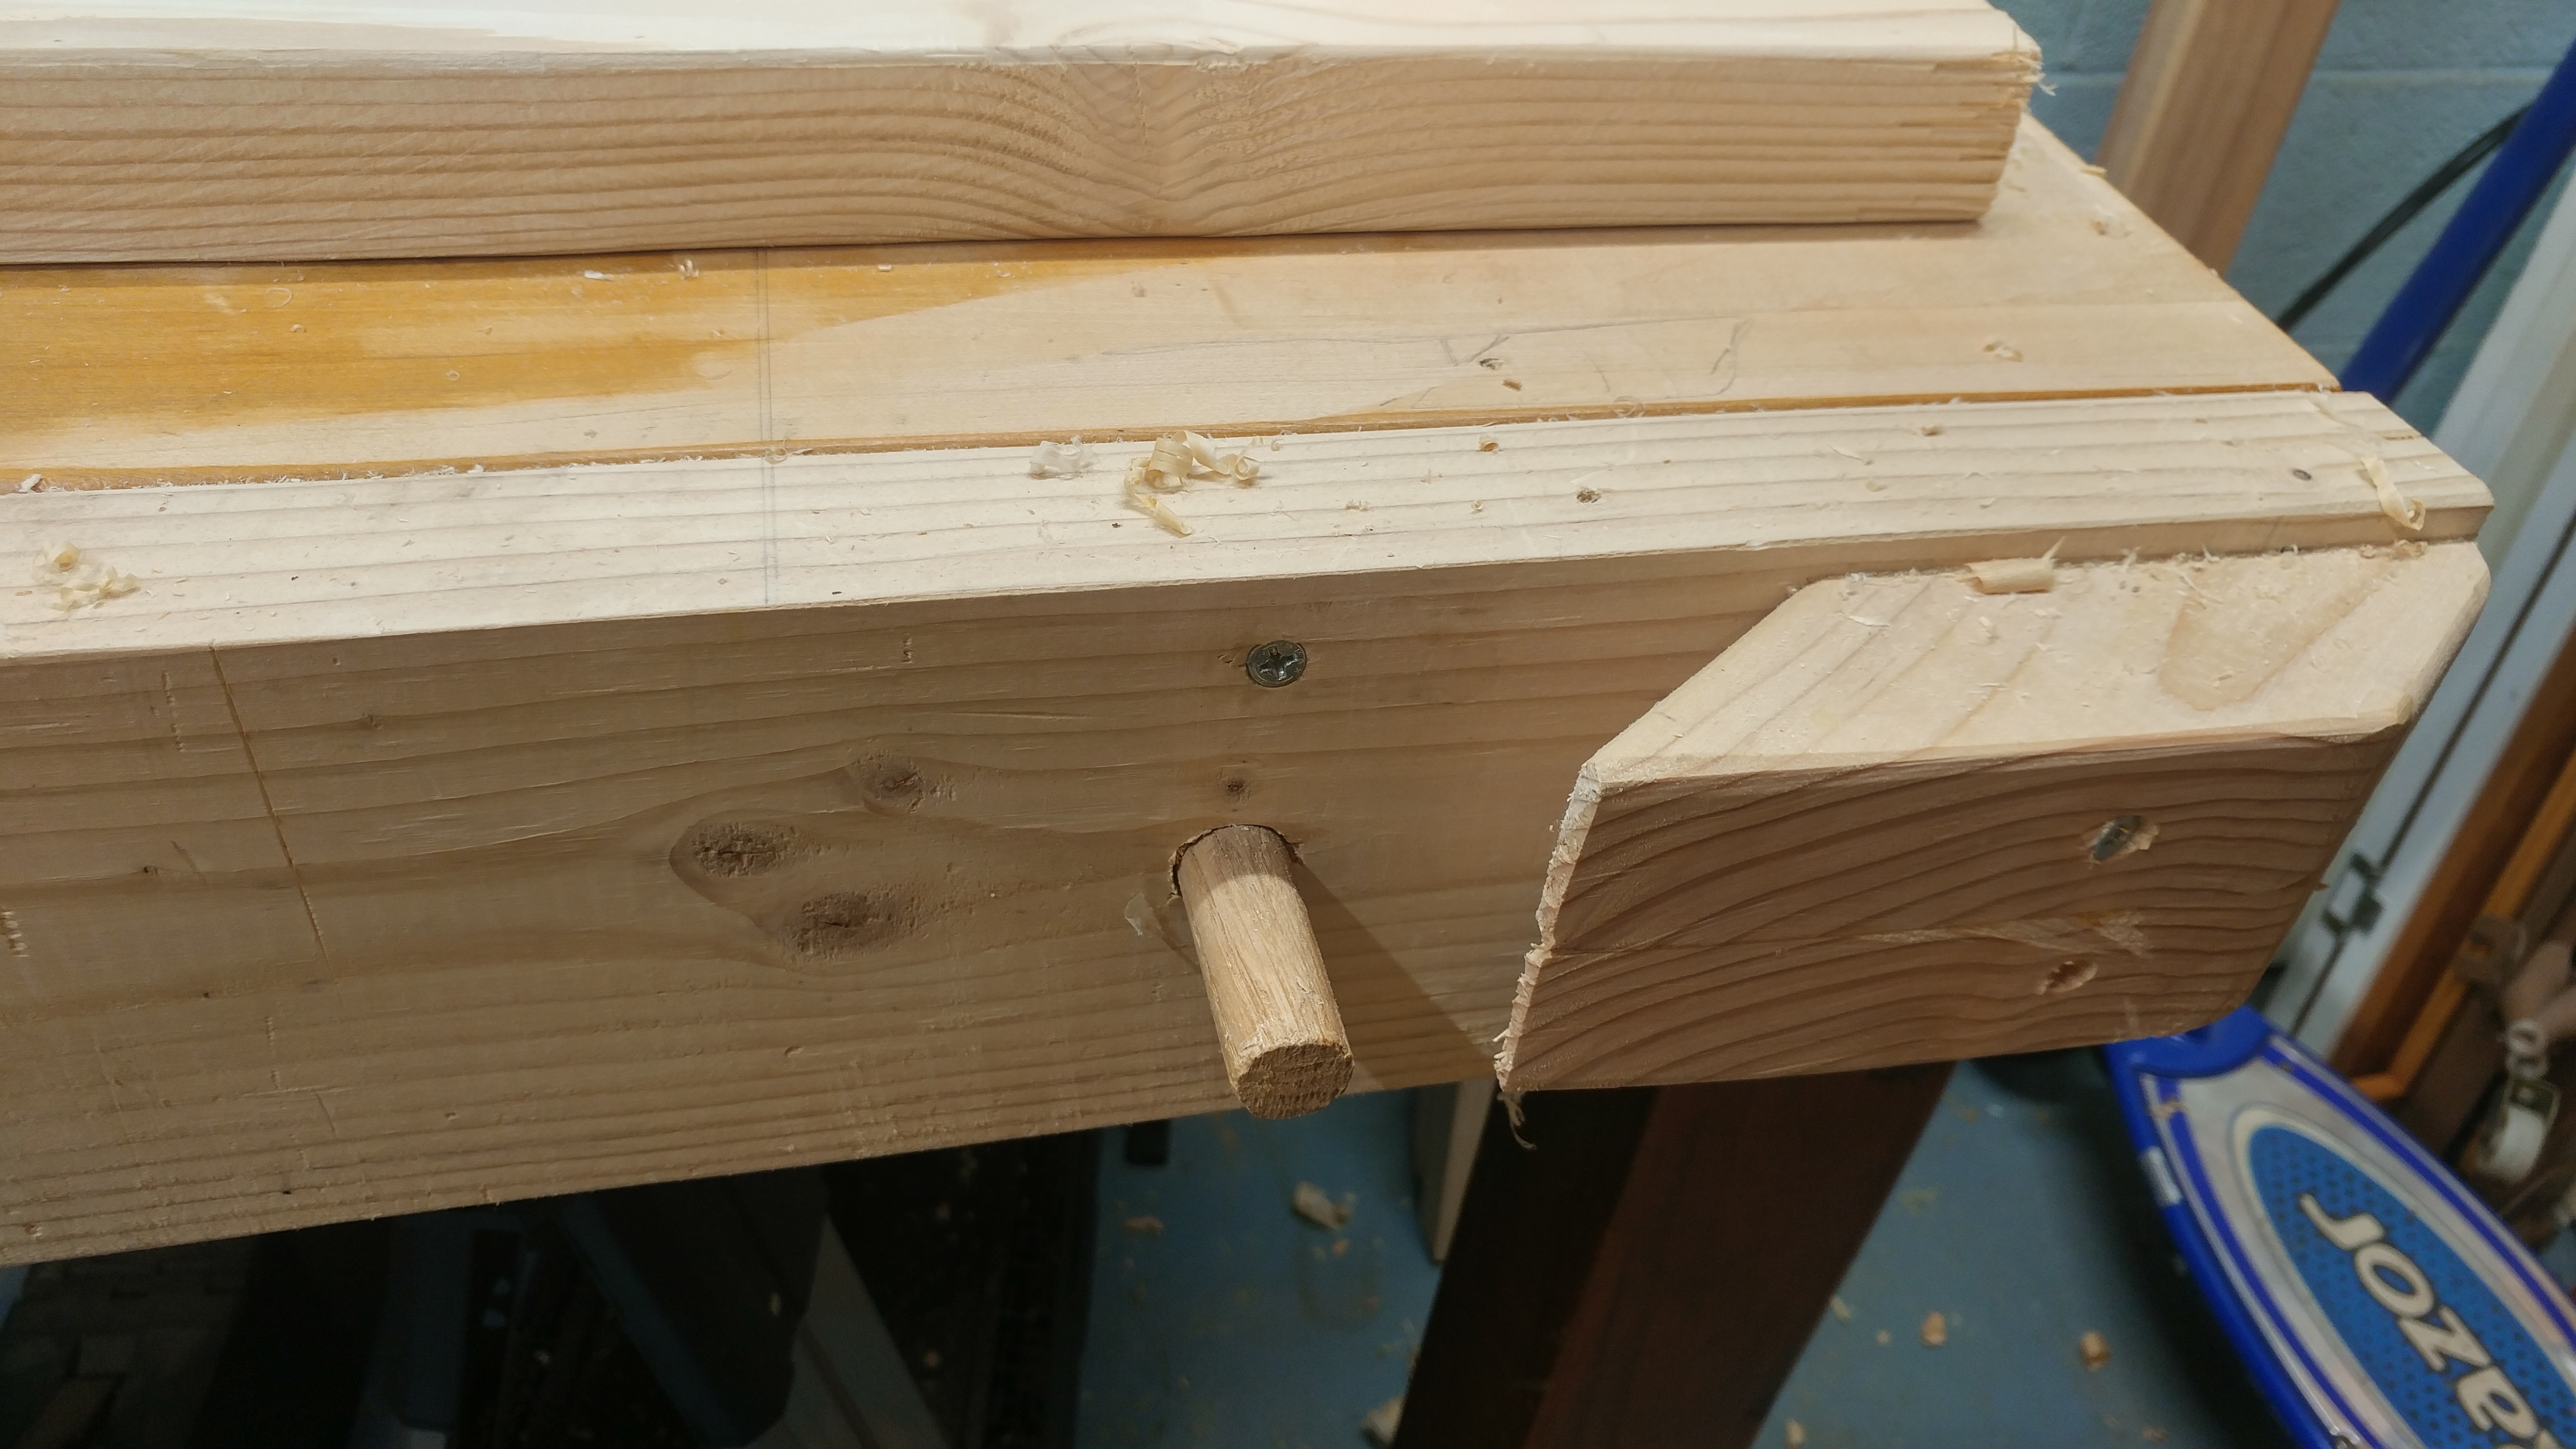
I needed way to hold the work while I planed and I don’t have a vise. Luckily it’s all figured out centuries ago.
I’m not sure what it’s called but I screwed an angled block to the face of my bench that traps the wood against my bench. I added some pegs to support the bottom and the system works perfect!

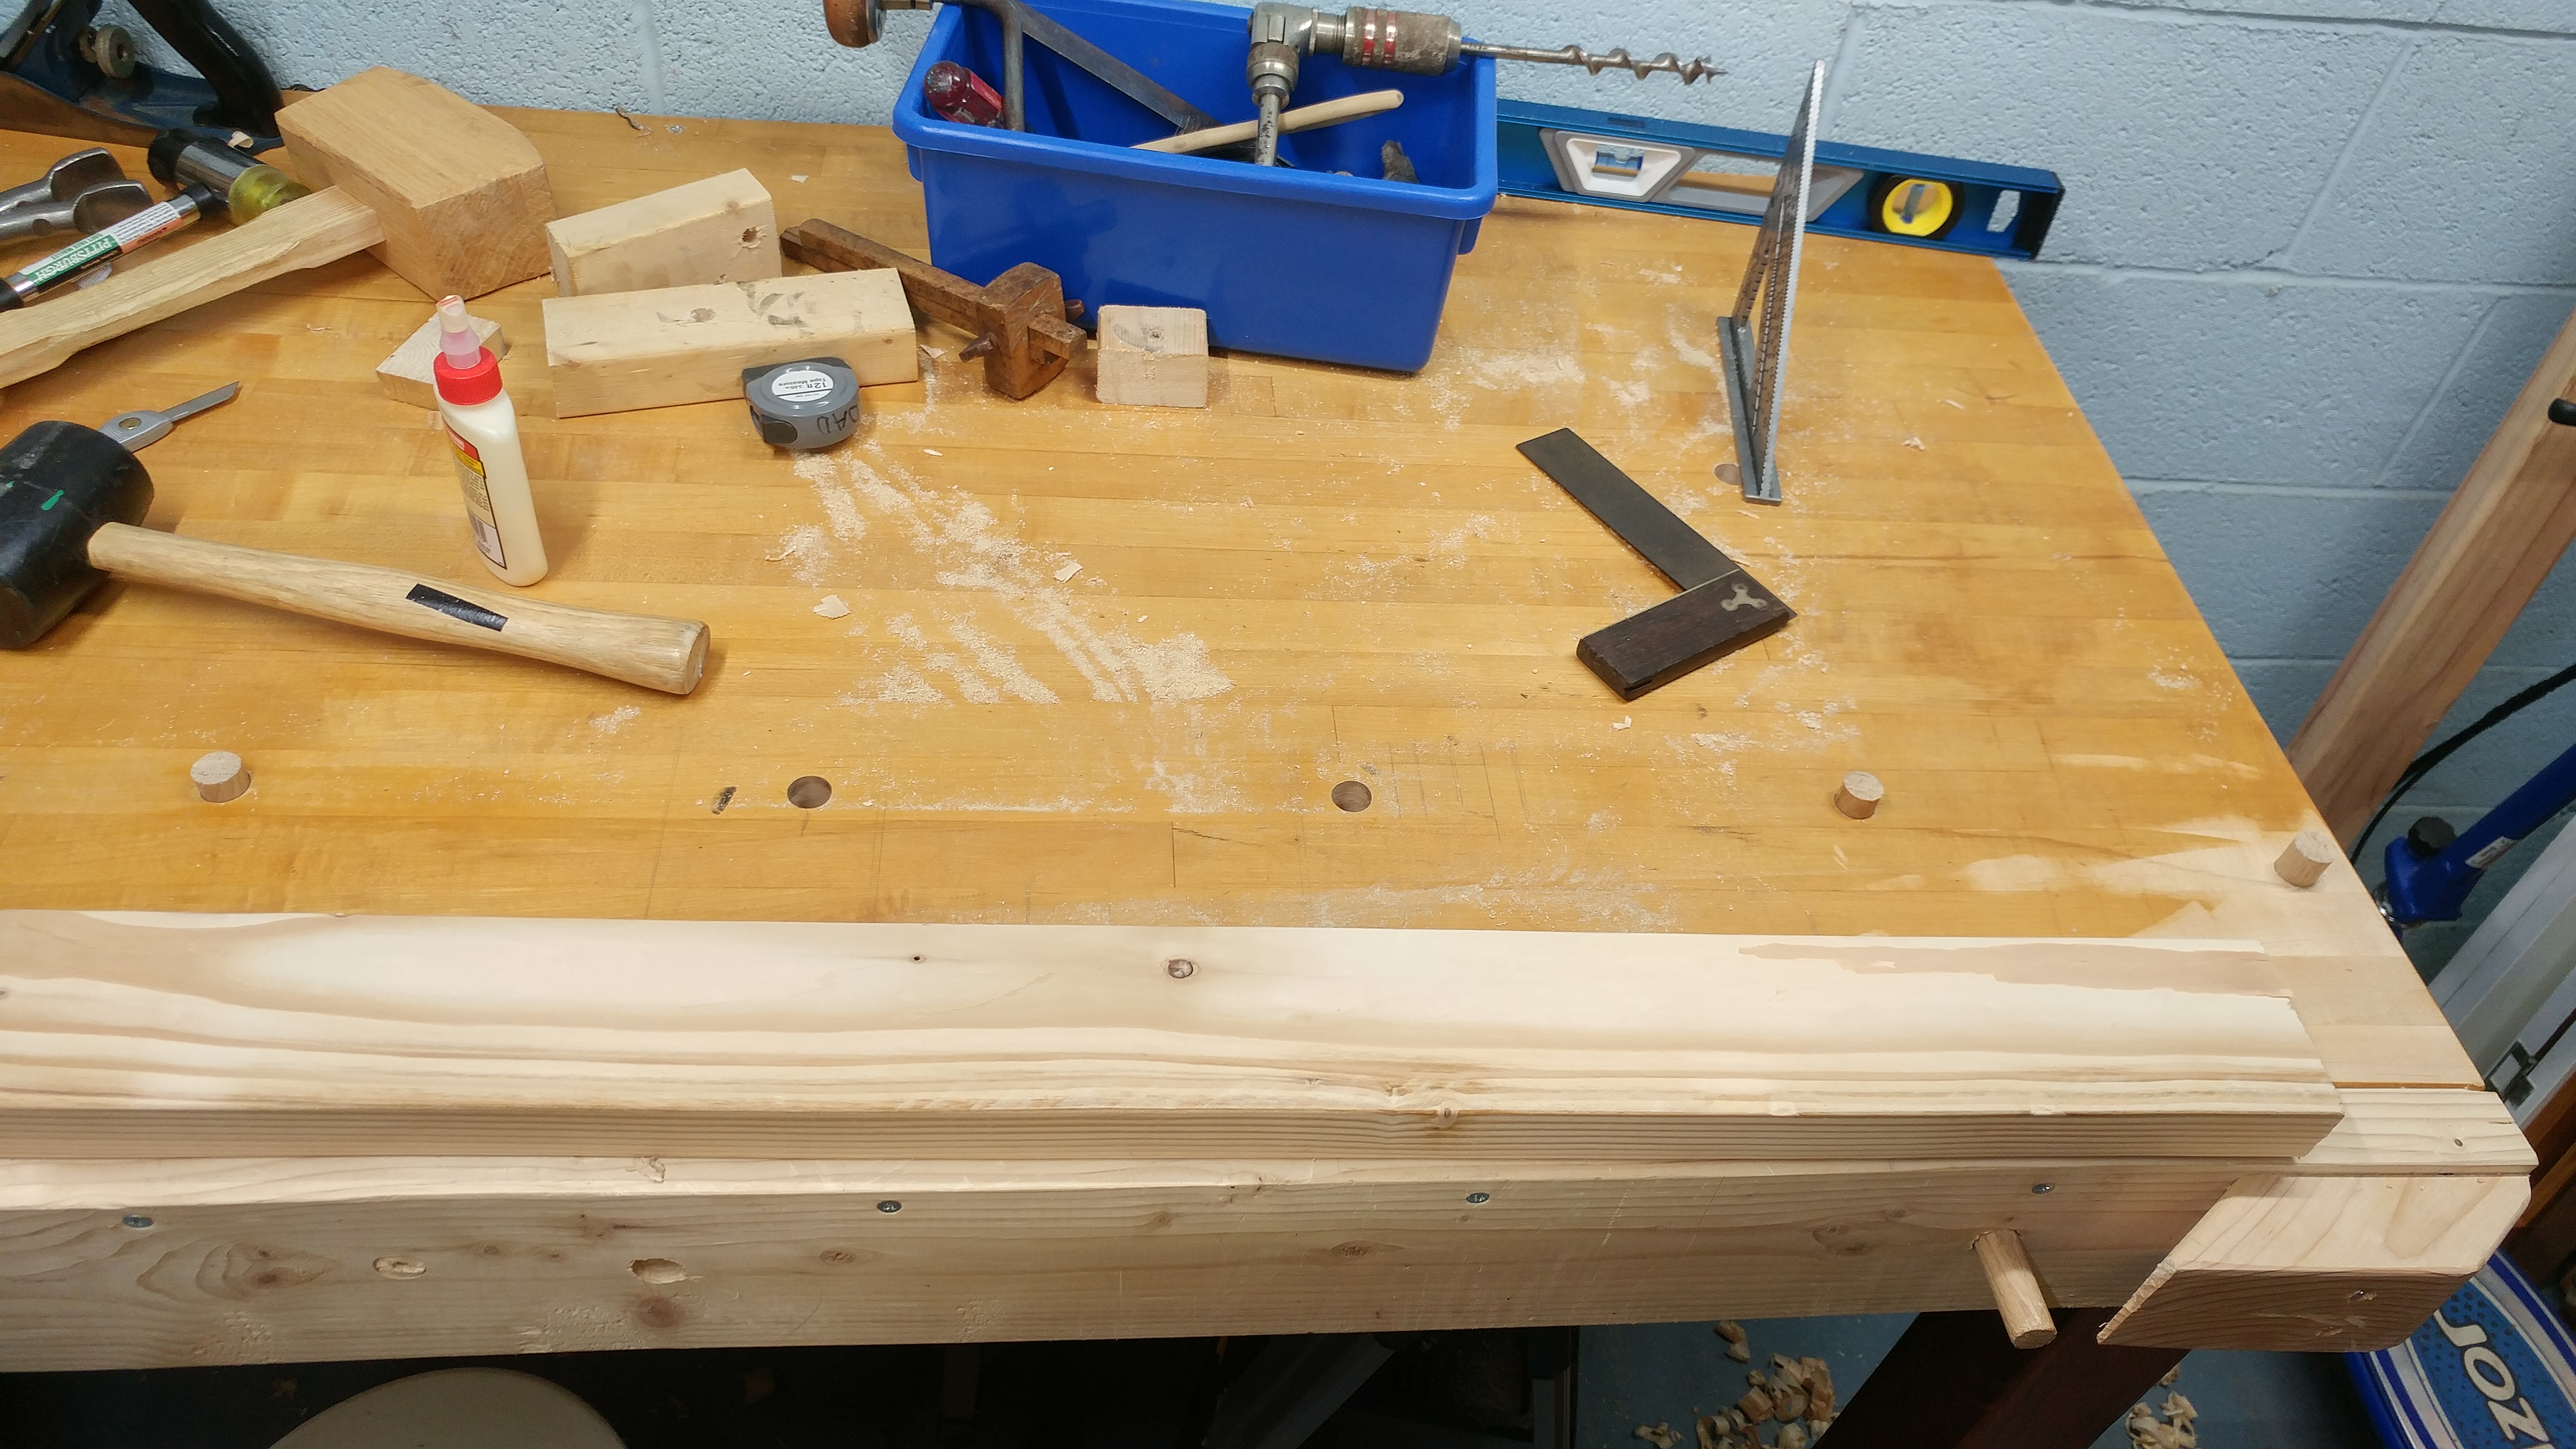
I need to plane the faces too, and need a way to hold the work. 3 small pegs arranged like an L in the top of my workbench work beautifully.
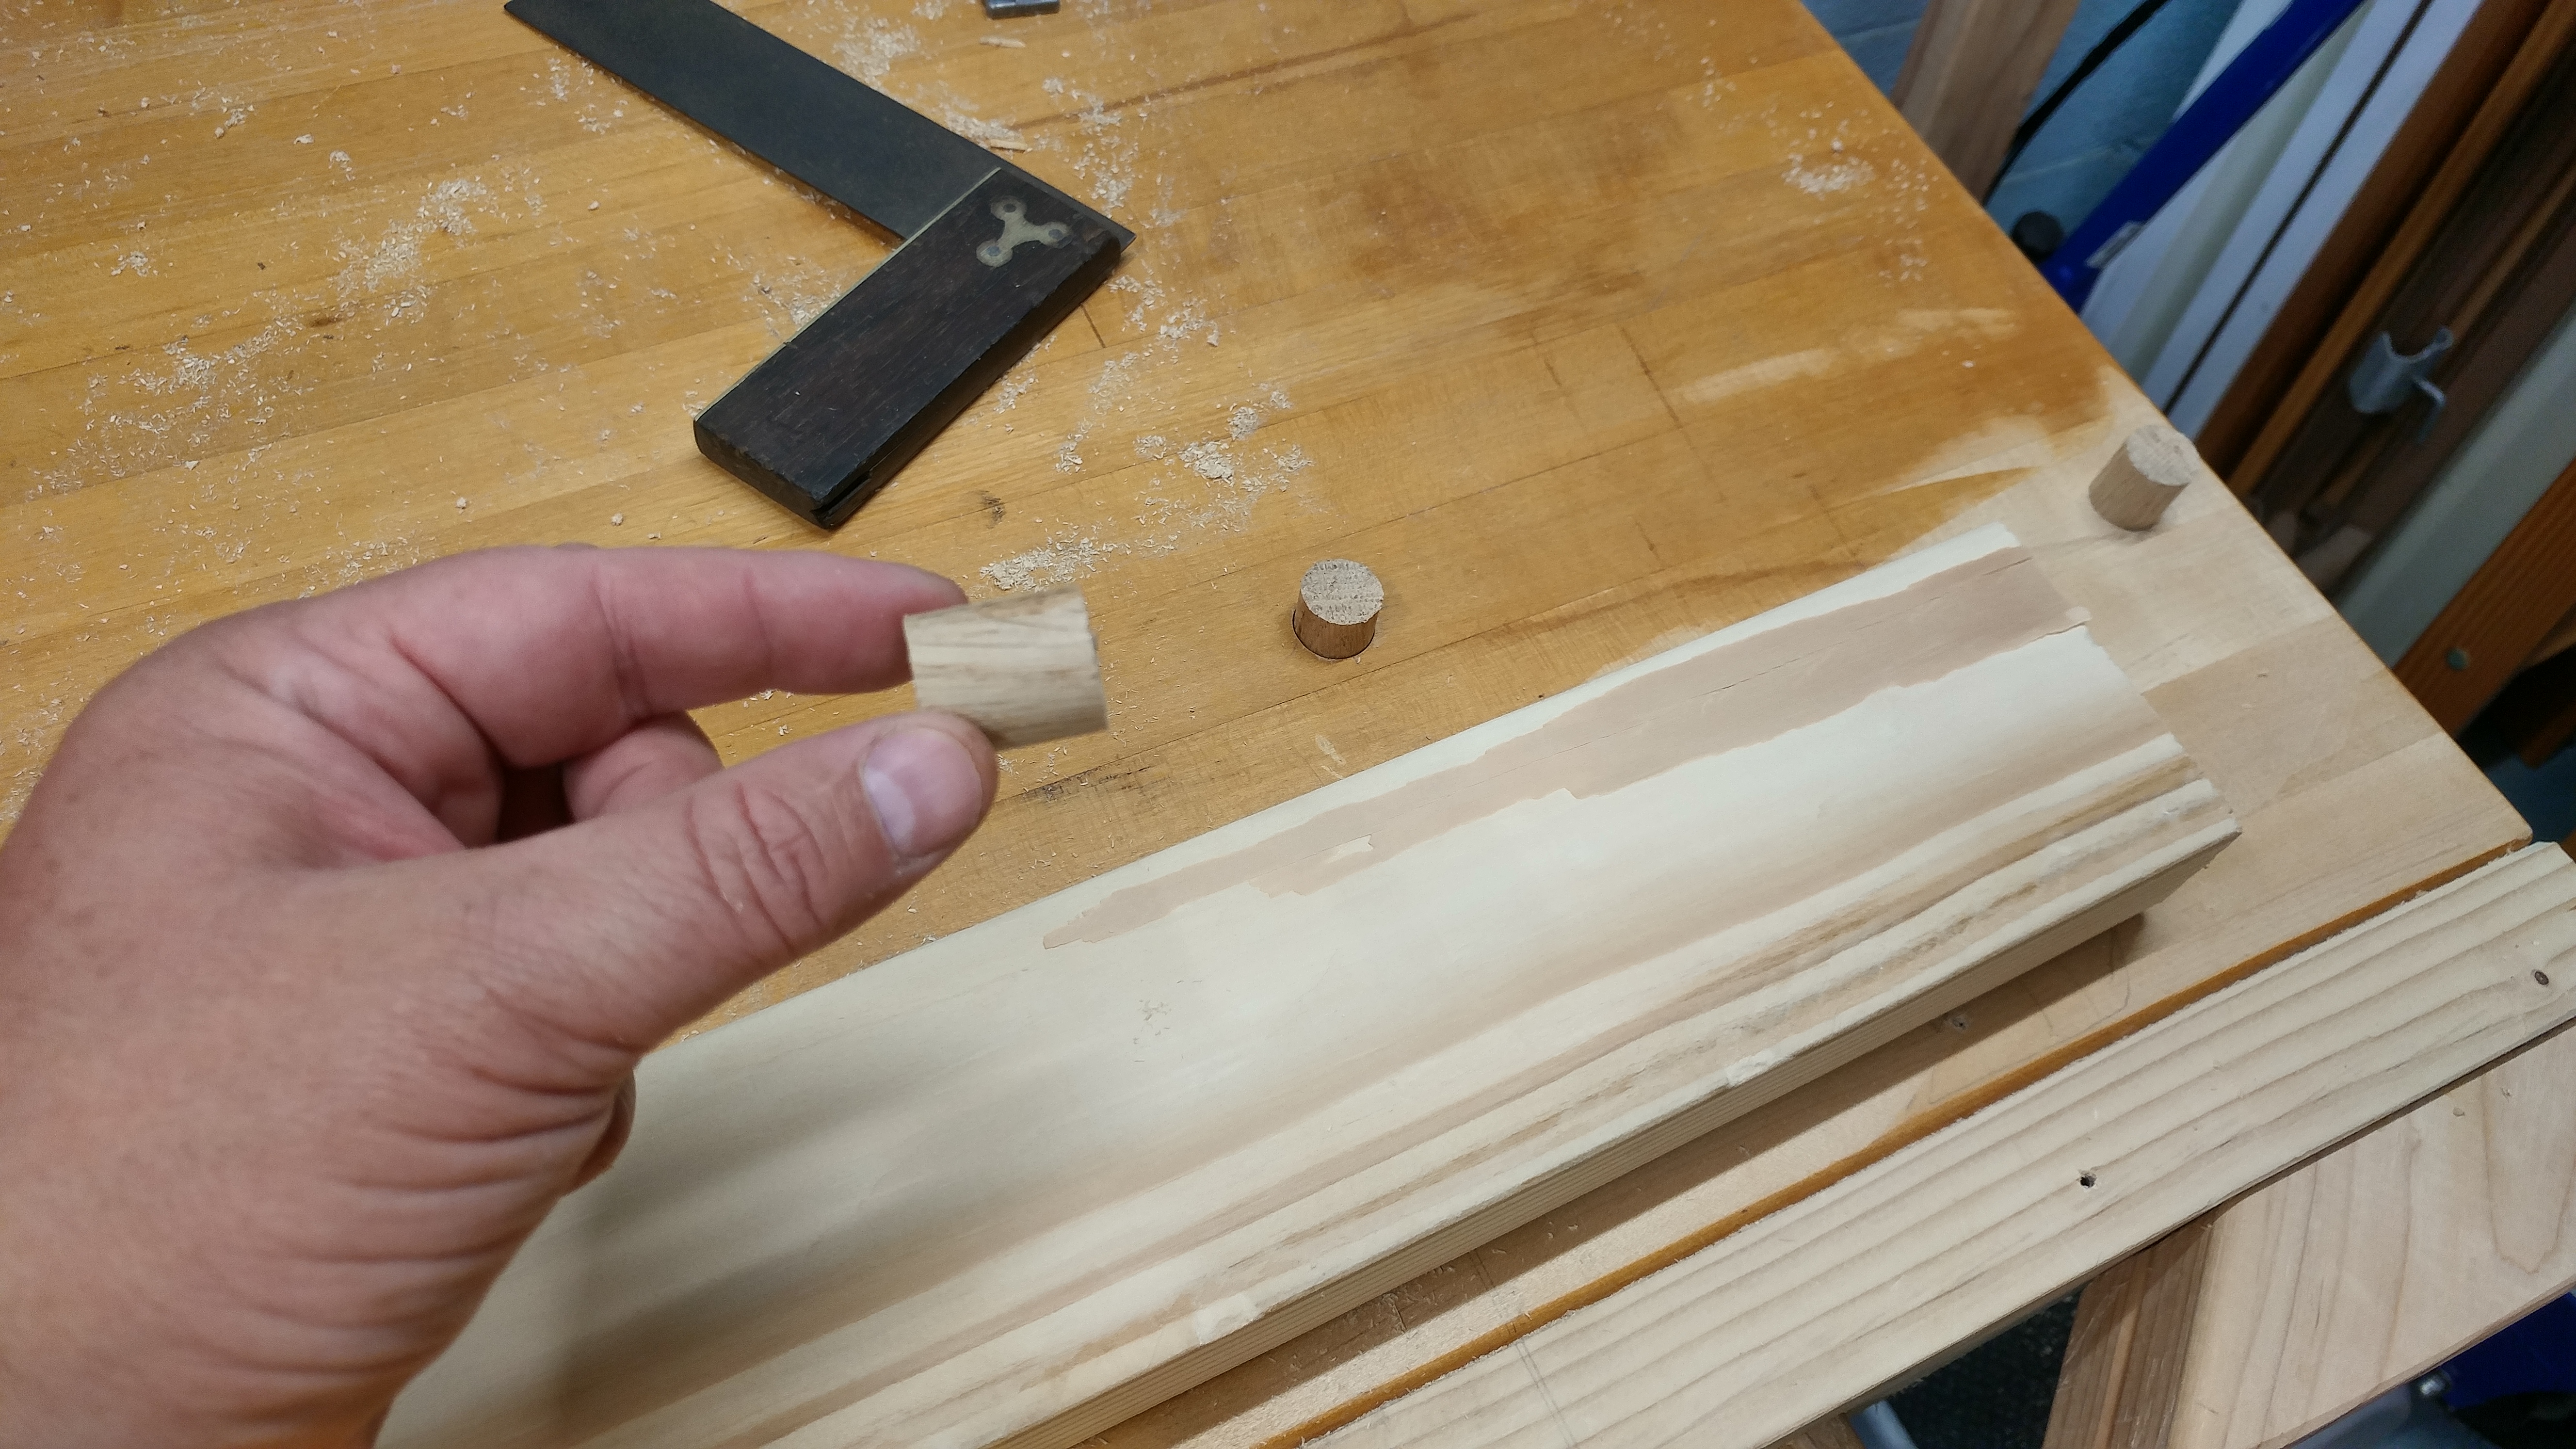

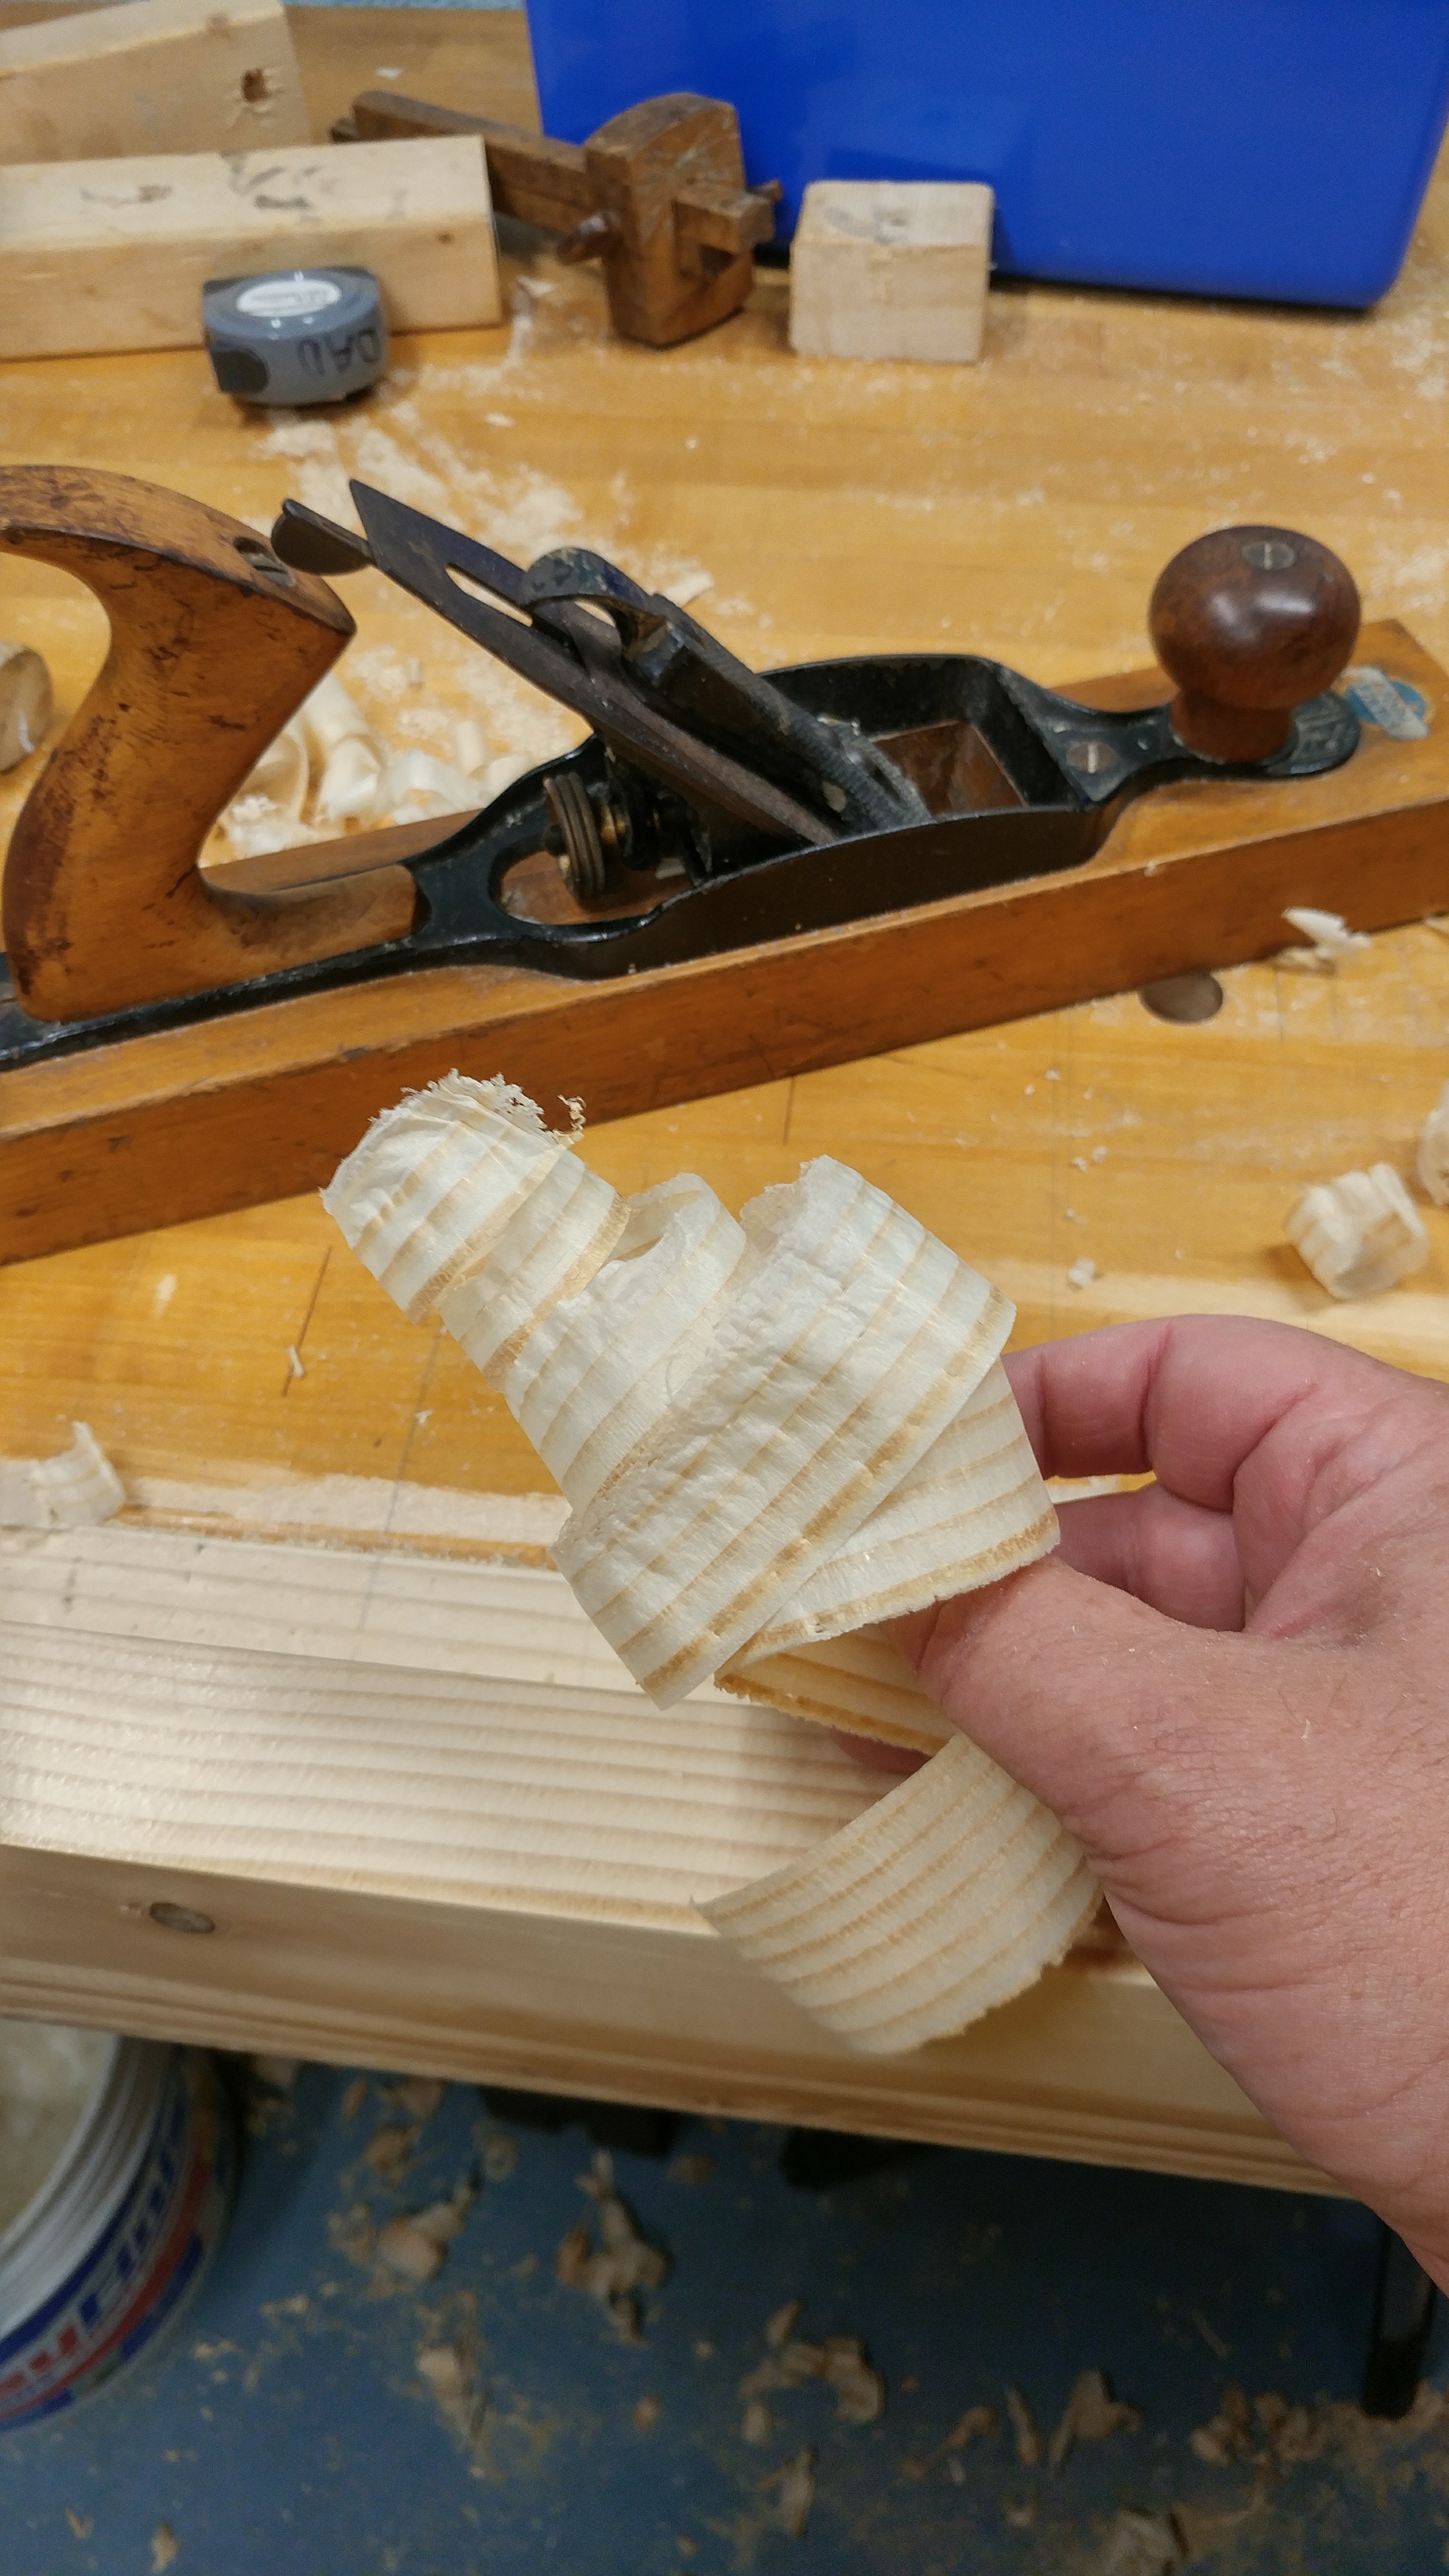
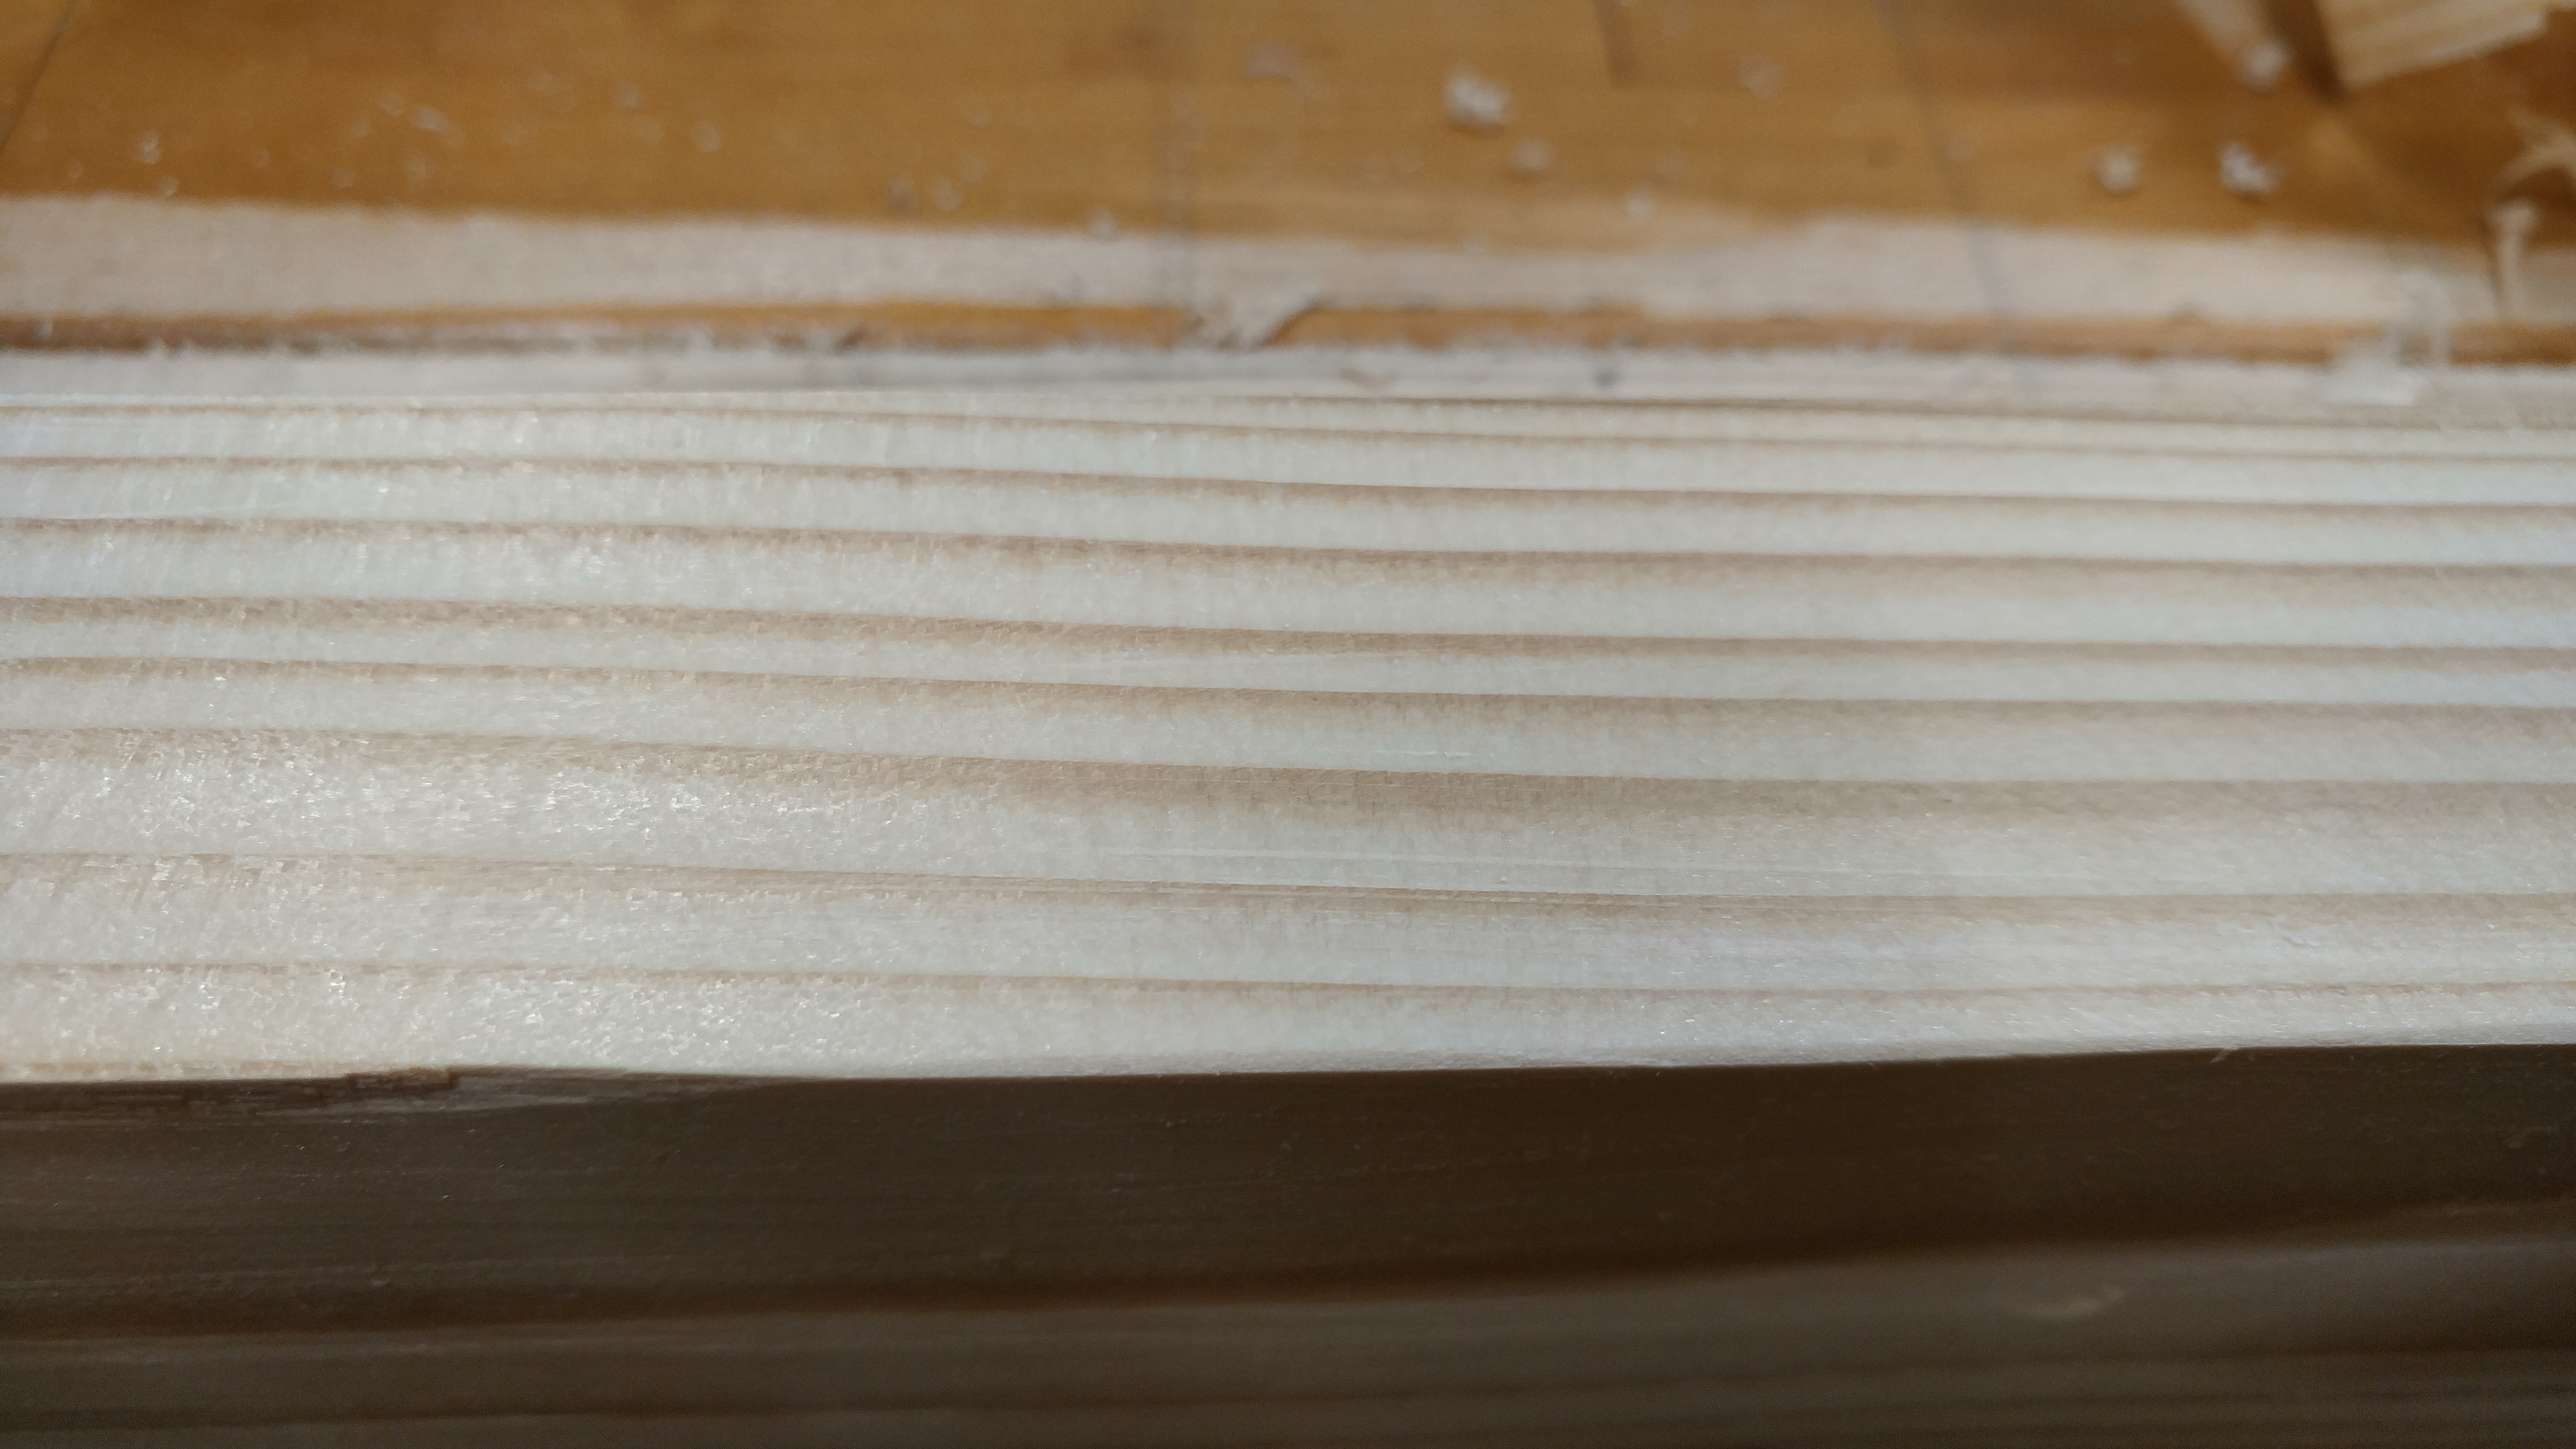
A sharp plane is fun to use. It makes some beautiful curls of thin wood and leaves a really nice surface.
It sure would be easier to make a workbench if I had a workbench. Lucky for me, I had a big ass hunk of butcher block counter top.
I screwed some lumber to the wall with masonry screws and attached the counter to it. I added some legs and a 2×6 to the front and voila!

I also added some holes for a pair of holdfasts. It’s solid as shit, too bad it’s attached to the wall.
I’ve always been interested in woodworking, I just never had the equipment and space. I always thought you need table saw, jointer, surface planner, routers and gobs of other expensive machines to do it.
A while back I found the YouTube channel of a guy named Paul Sellers. Paul is an old school furniture maker and does so using primary I’ll hand tools. Now he runs a woodworking school and publishes books and tons of social media content (blogs, and videos). His series of videos on making a joiners mallet inspired me to give it a shot. I borrowed a couple hand planes from my dad, and bought a cheap set of chisels from Harbor Freight and went to town.
I quickly found out if I want to do stuff like this, I need a workbench much better than my little Black and Decker workmate.
I decided to build a Roubo style workbench. I was going to make it out of cheap framing lumber, and I was going to do it with mostly hand tools.
Fast forward to now. I have a pile of lumber in my basement, and cleaned out a corner.
You must be logged in to post a comment.