 gummibearheads
I took a trip to California to see the coast and go to a killer concert with my friends. Read more to see all about the trip.
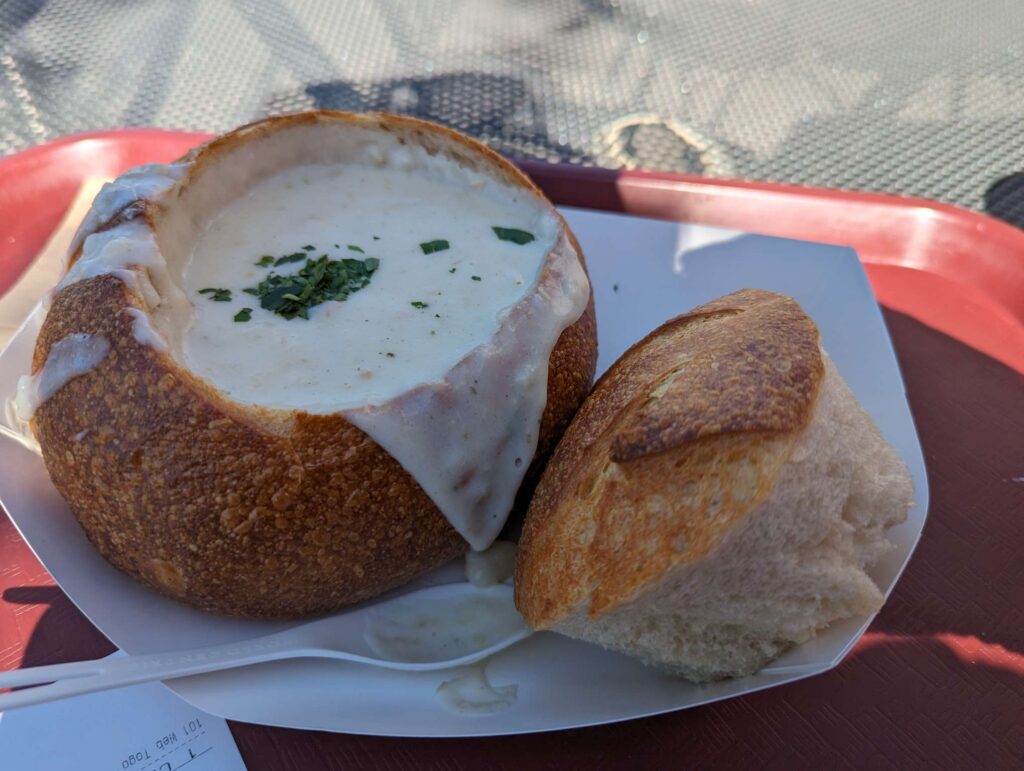
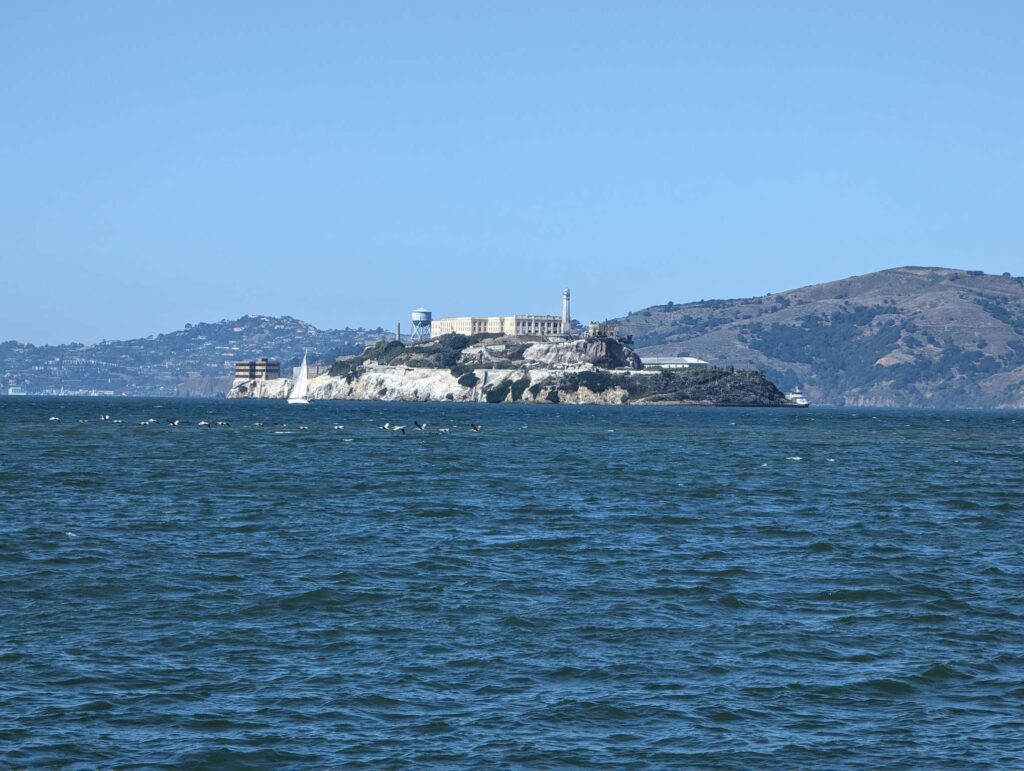
Read more: Road Trip and Epic ConcertI flew from home to San Francisco and arrived early in the afternoon. After getting my rental car, I spent a couple hours doing some touristy stuff at the Fisherman’s Wharf area.
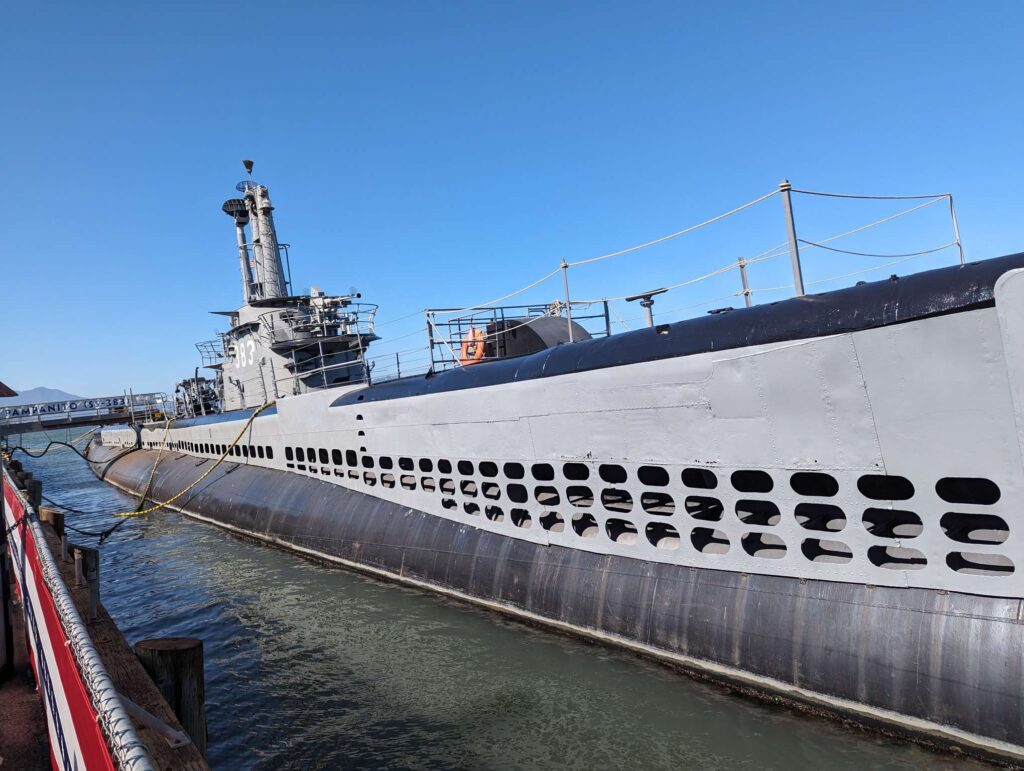
The submarine is a 1940’s ship and now museum. It was featured in the Oscar Winning that was featured in the Oscar Award winning movie “Down Pericope” starring the guy who played Fraser on tv.
After my brief visit, I headed south to find a place to stay that was both outside San Fran and near the coast. I drove through San Jose and then over the gorgeous mountains (at sunset) to Santa Cruz.
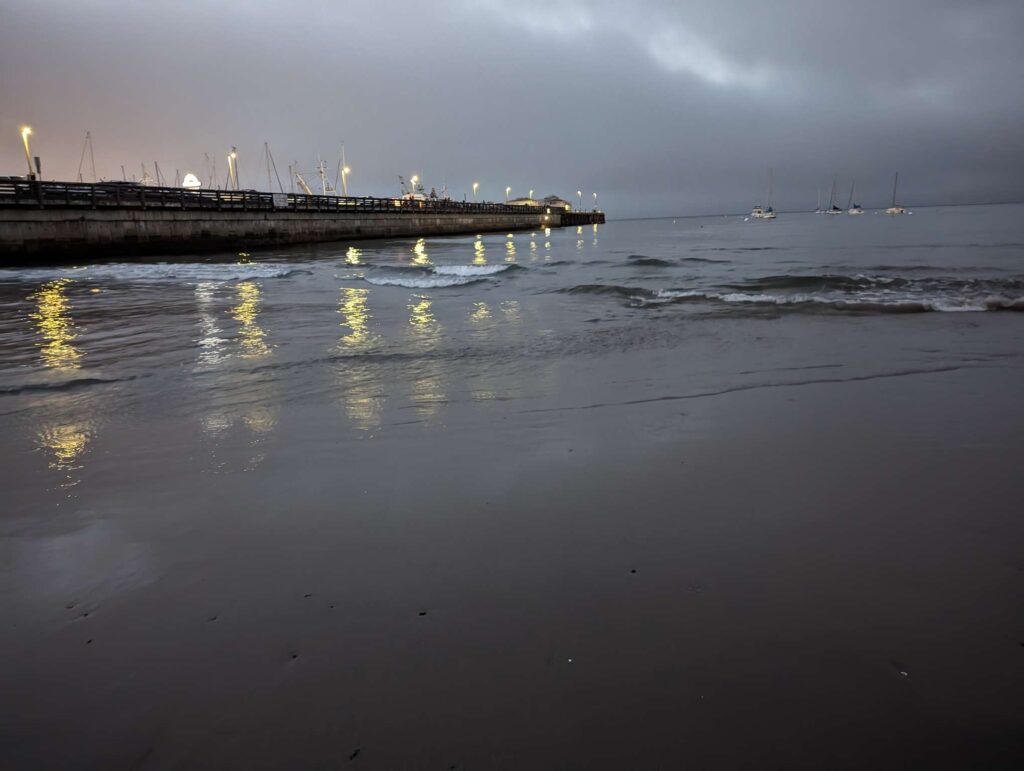
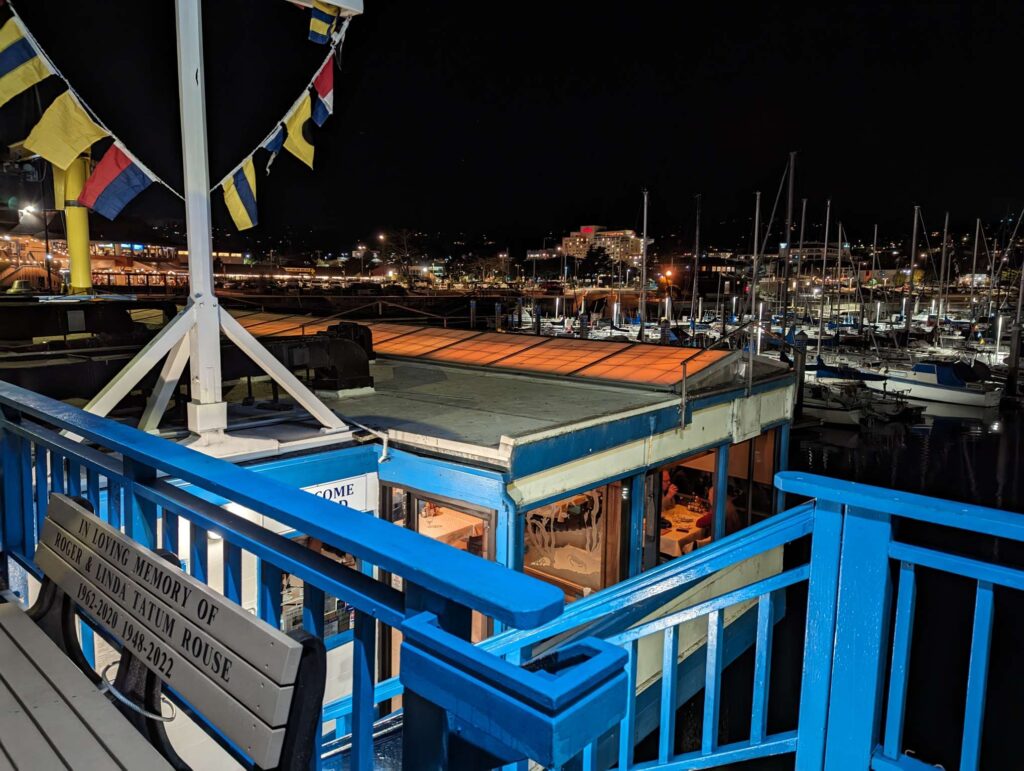
I ended up in Monterey and got a cheap motel. I went to the Fisherman’s Pier area and walked around before grabbing some dinner. I ate at Sandbar and Grill which has great views of the marina and even better food.
I drove around a bit after dinner. Monterey is super cool and I want to go back some day to spend more time.

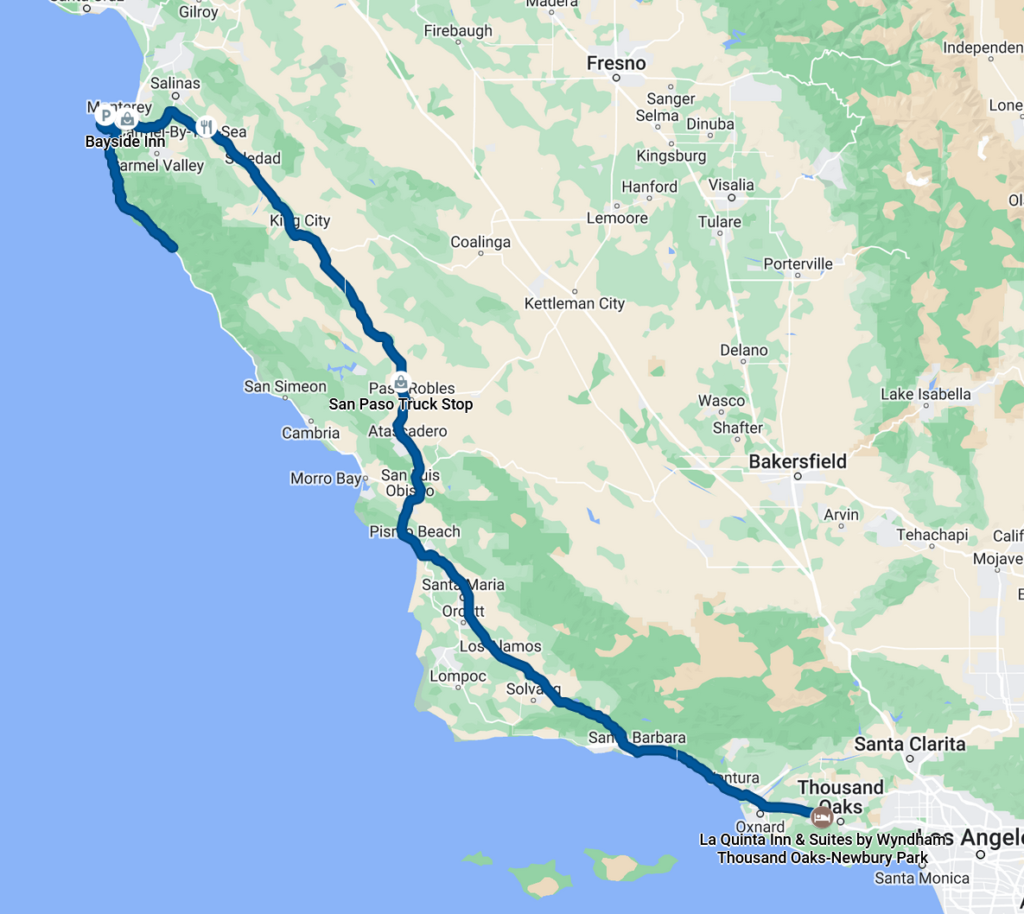
On day 2 the real scenery began. I left Monterey and headed South with a plan to get close to LA
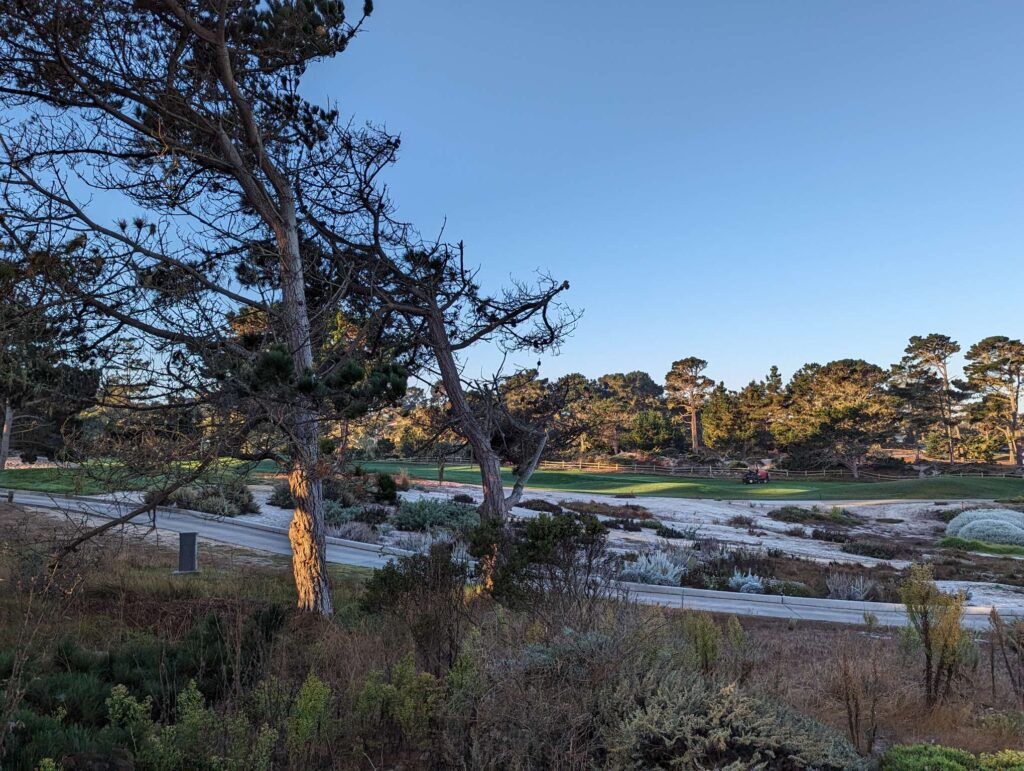
My first destination was 17 Mile Drive through Pebble Beach. This was my first taste of how beautiful California can be (and how rich I am not). You need to pay 11bux to take this drive through Pebble Beach but it is worth it (if you stop to eat you can get the 11 taken off your bill). The route winds through neighborhoods, golf courses and the coast line and it is breathtaking. There are many places to stop and admire the views.
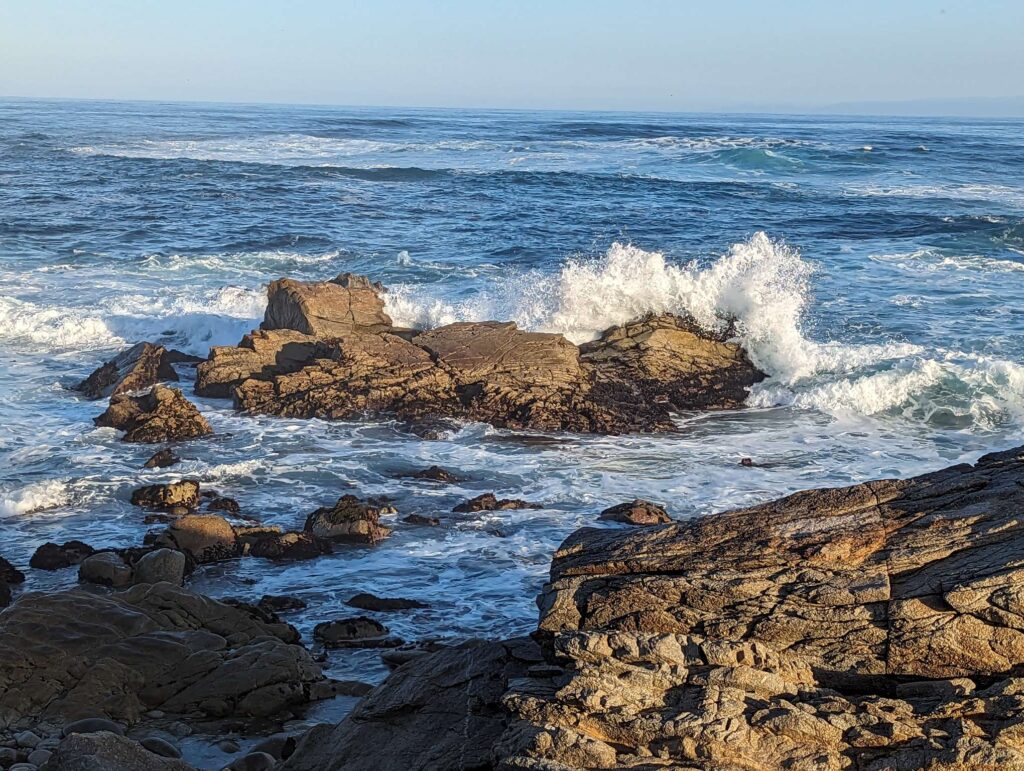
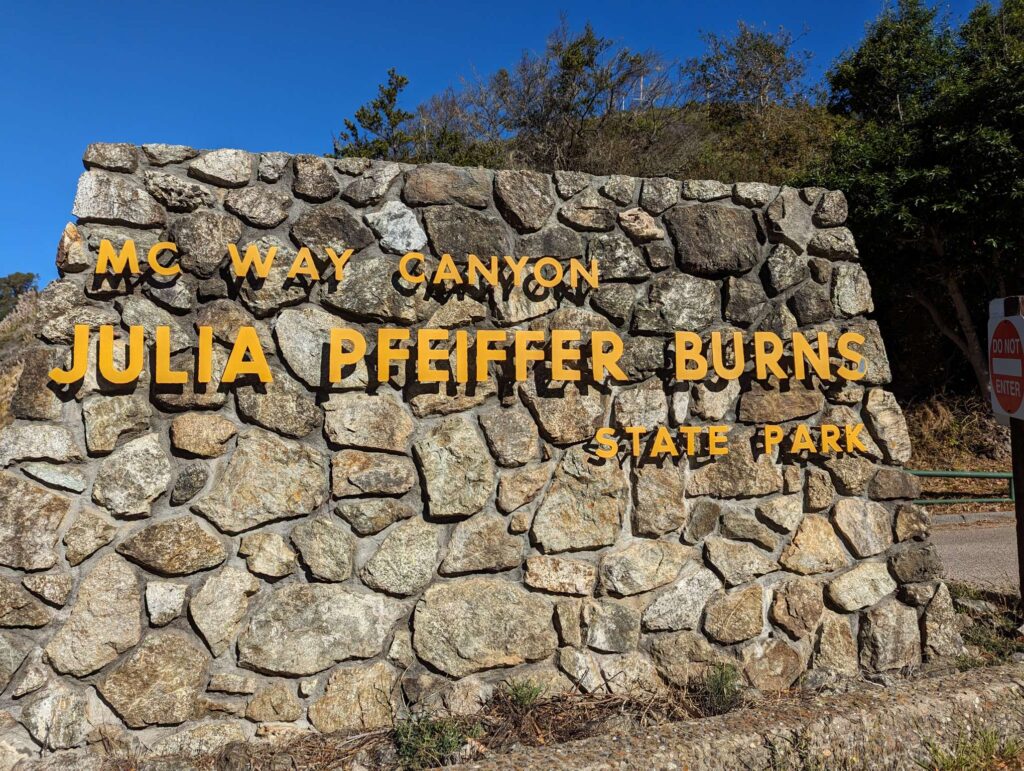
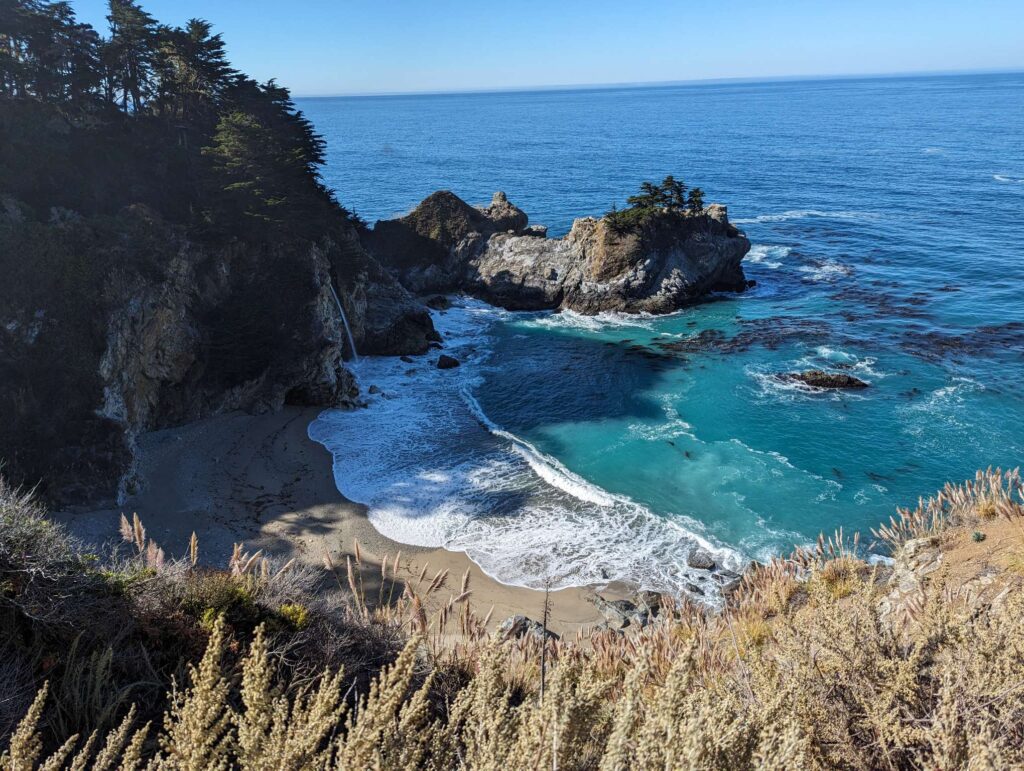
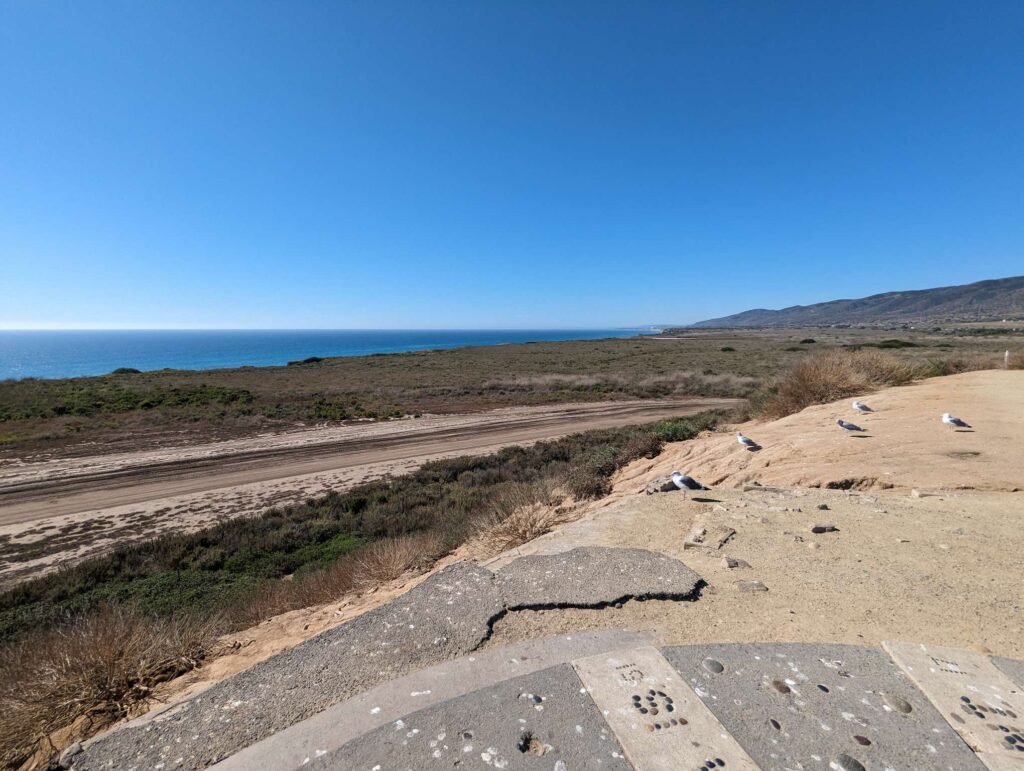
The next destination was the Pacific Coast Highway and some parks along the way. Part of the highway was closed from landslides to I entered know that I had to come straight back. This road is amazing as it winds around the cliffs that form the coastline. The Big Sur area of CA is incredible with redwood trees and undeveloped coastline. There is little to no phone signal and radio signals. I made my way to Julia Pfeiffer Burns state park to visit a waterfall.
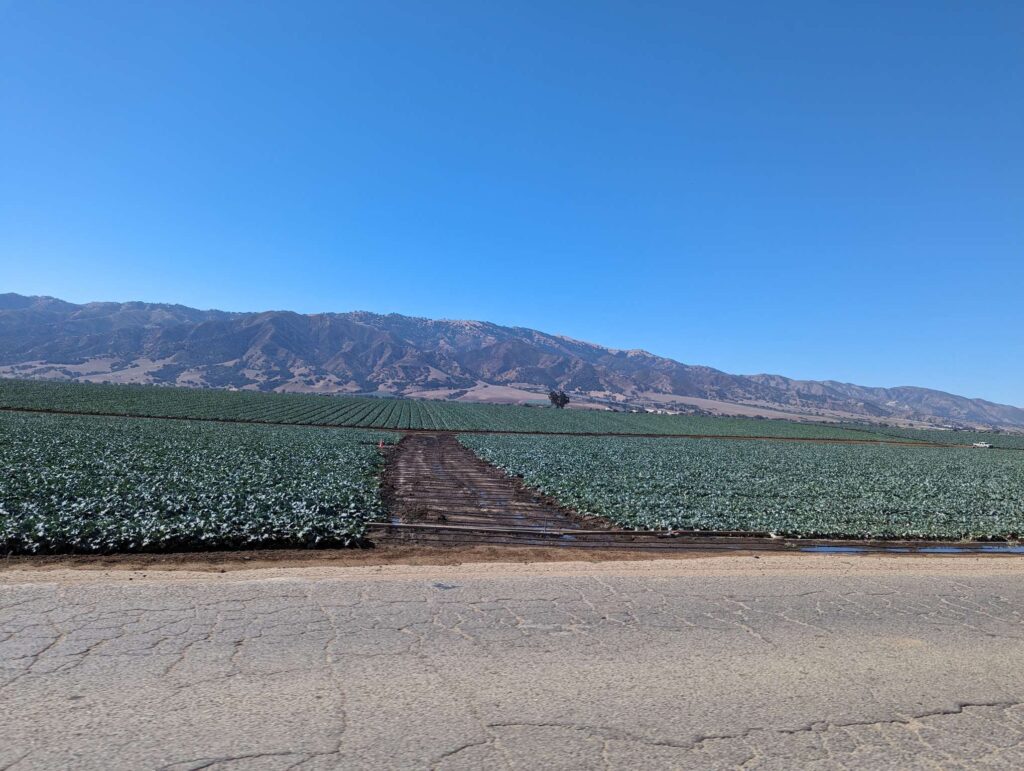
After the park, I turned around and headed back North so I could continue South. I took US101 South through the Salinas Valley that was filled with beautiful farm fields. I had lunch in a “town” named Chualar (carnitas tacos from a garage, and elotes from a truck). Both were delicious and incredibly cheap.
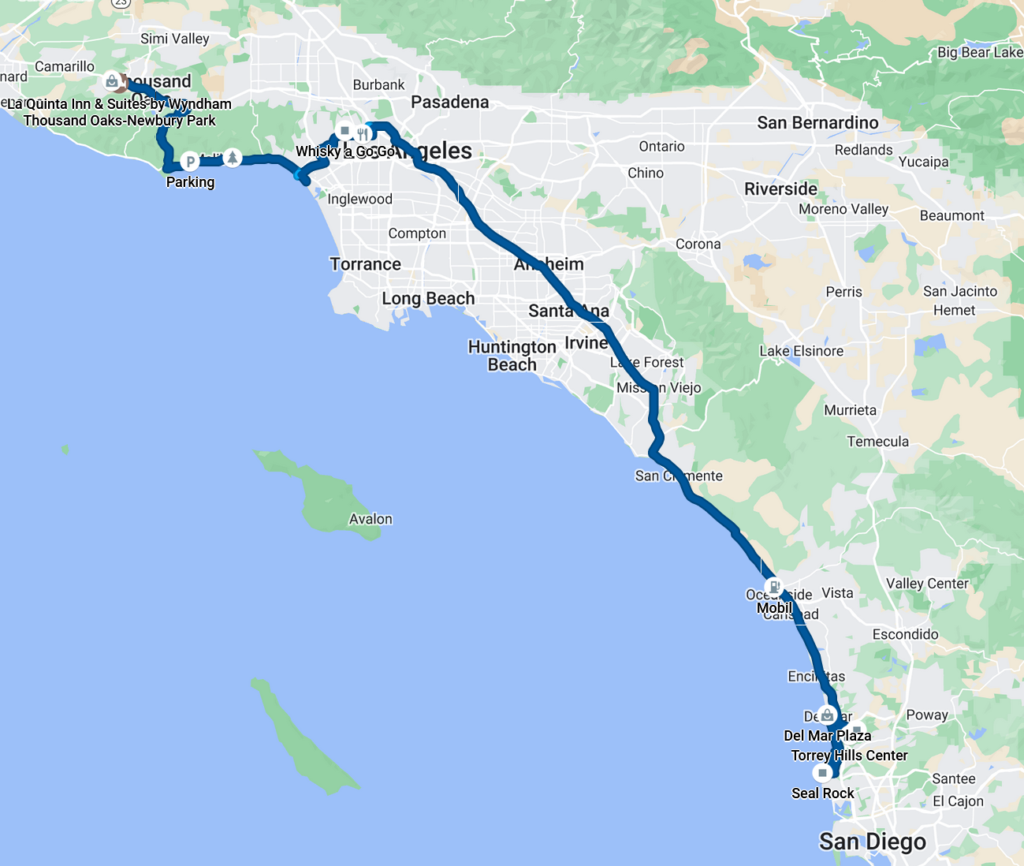
I set my GPS for Pismo Beach to get back toward the coast and made my way to Santa Barbara and Ventura with a goal of getting close to Los Angeles for the night. I stayed in Thousand Oaks CA.
The plan for this day was to see some stuff in LA and end up in San Diego in the afternoon.
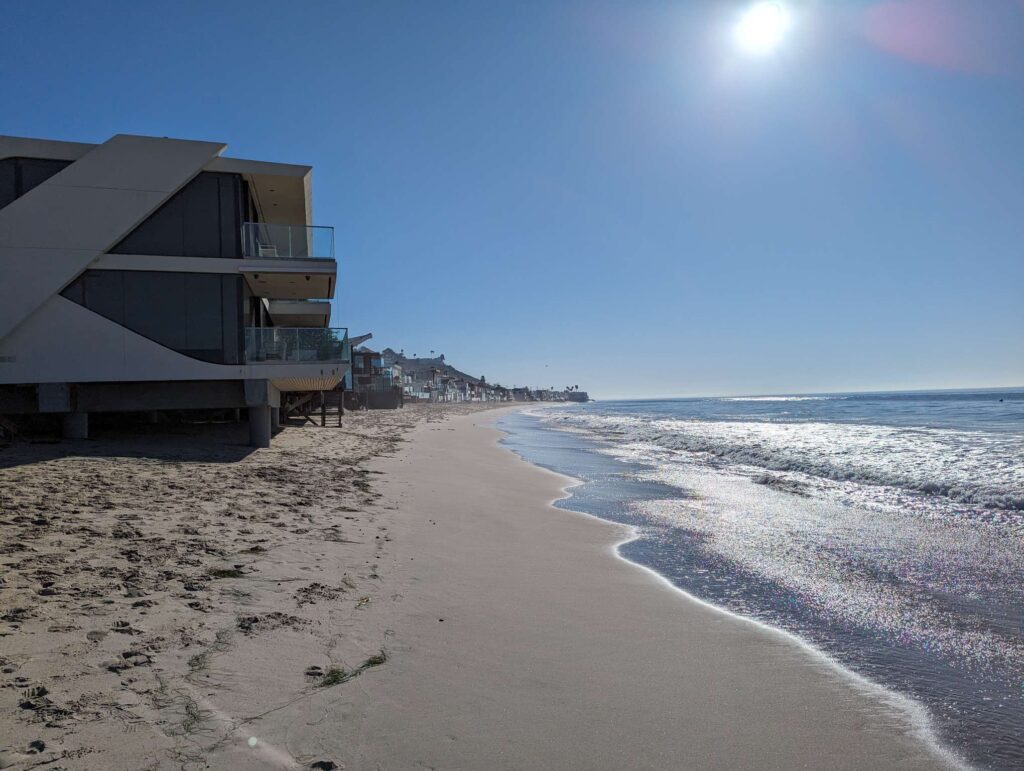
I left the hotel and drove over the mountains to Malibu. The mountains were always beautiful and I came into Malibu where Barbie is from. The coast here is unexpected with not many public beaches like the ones I’m used to in NJ (houses are right on the beach). The architecture is cool and I can’t imagine what some of the real estate costs here.
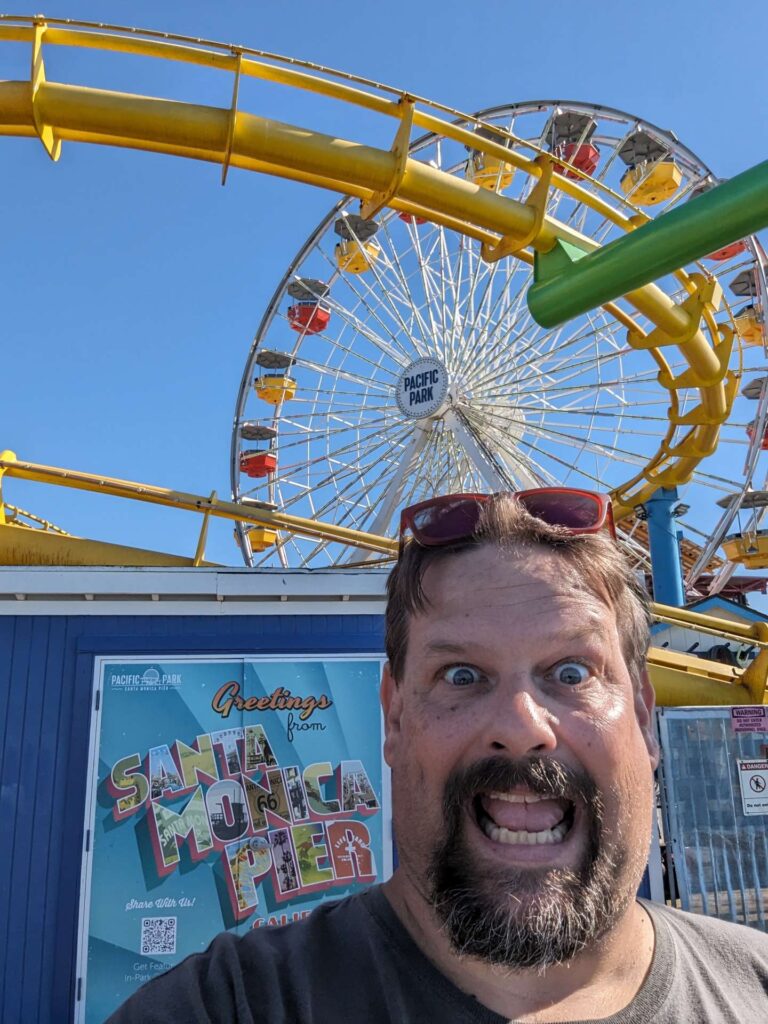
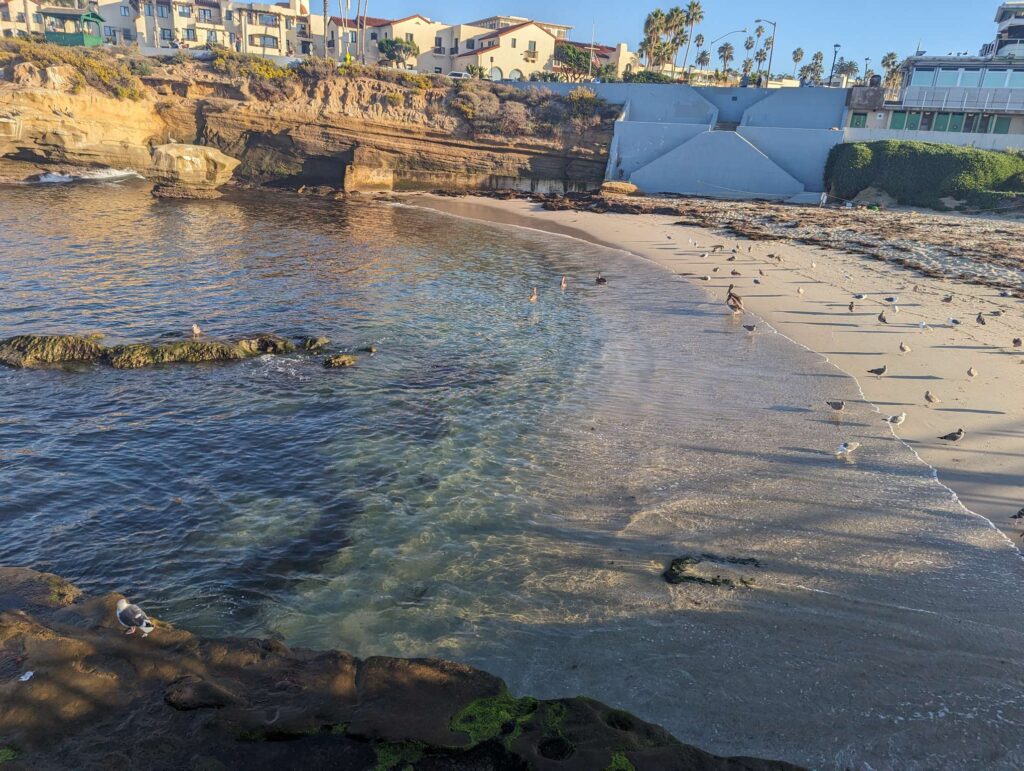
I continued South to Santa Monica wand walked around on the pier for a bit. It was cool to see the place that I’ve seen on movies, TV etc. I didn’t know this but, route 66 ends in Santa Monica. The beach in Santa Monica and Venice looks like every “California beach scene” of TV and movies.
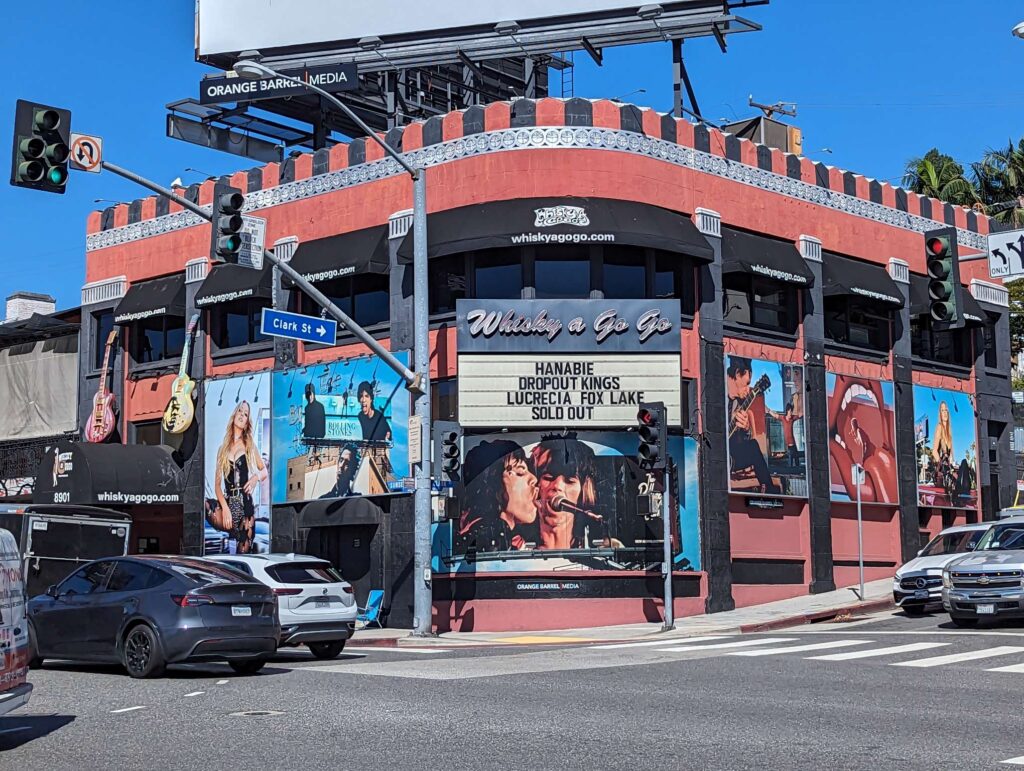
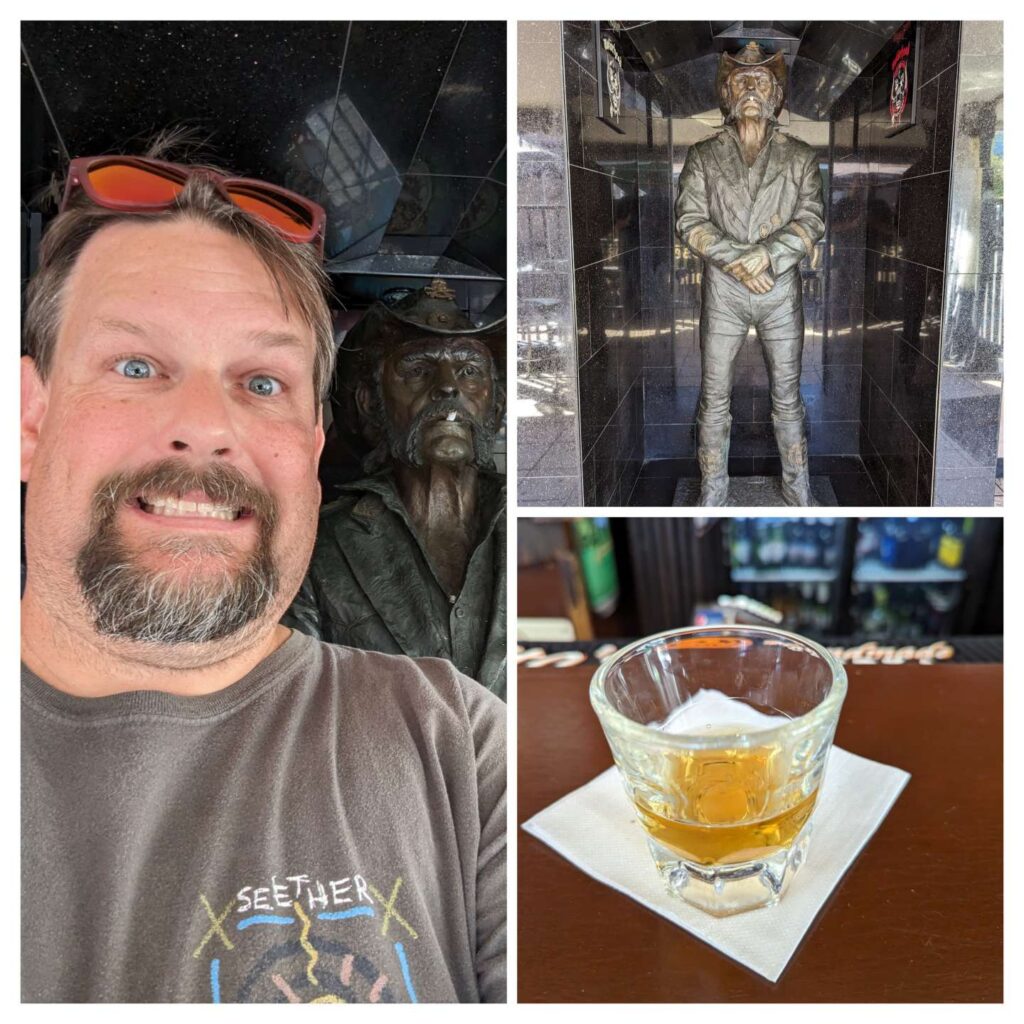
I left the coast and made my way through Beverly Hills toward LA. I drove through Beverly Hills and man you can tell they have money there. I wanted to visit Normans Rare Guitars but they were closed (they have odd hours). I went to the Sunset Strip to pay homage to some cool rock and roll landmarks. First was a couple live music venues that almost all of the bands I like played on their way up; the Whiskey A Go Go and the Roxy. The music video for Van Halen’s song Dreams was filmed at the Whiskey A Go Go. The Roxy was home to a bunch of important live rock and roll albums.
Now time for lunch. I went to Pink’s to get a hot dog which was as overpriced as it was underwhelming. I also went to the Hollywood Walk of Fame and got bored in 50 yards. I did get a Mexican fruit cup there with Tajin seasoning on it and holy crap was this delicious!
Next I took off toward San Diego. My cousin lives there and we met up. The cousins took me around a bit and then out to a delicious dinner.

The goal for today was to pick up my friend in San Diego, make our way to the desert and have our faces melted.
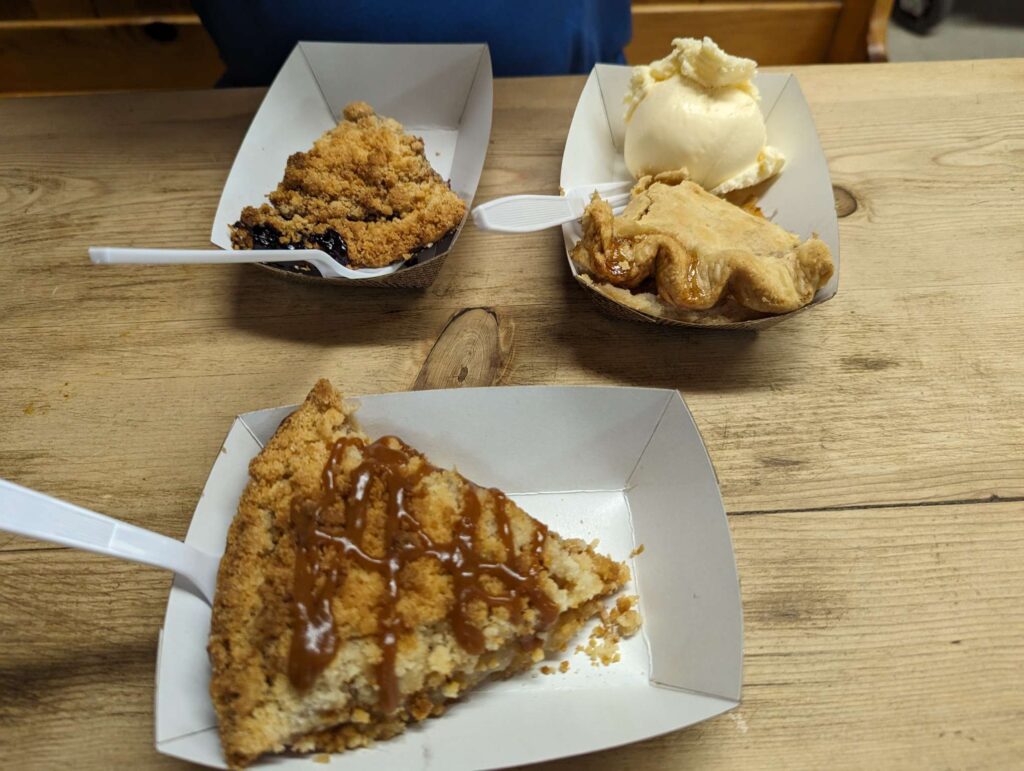
The day started with a short drive South to pick up my friend Jon at his sister’s house South of San Diego. A quick conversation later and we decided to take the scenic route to the Coachella Valley. Jon suggested we set the nav system to the town of Julian, CA. Julian is a small town that looks stuck in time! The town is >4,000ft elevation in the mountains and known for apple pie (we had some for breakfast!).
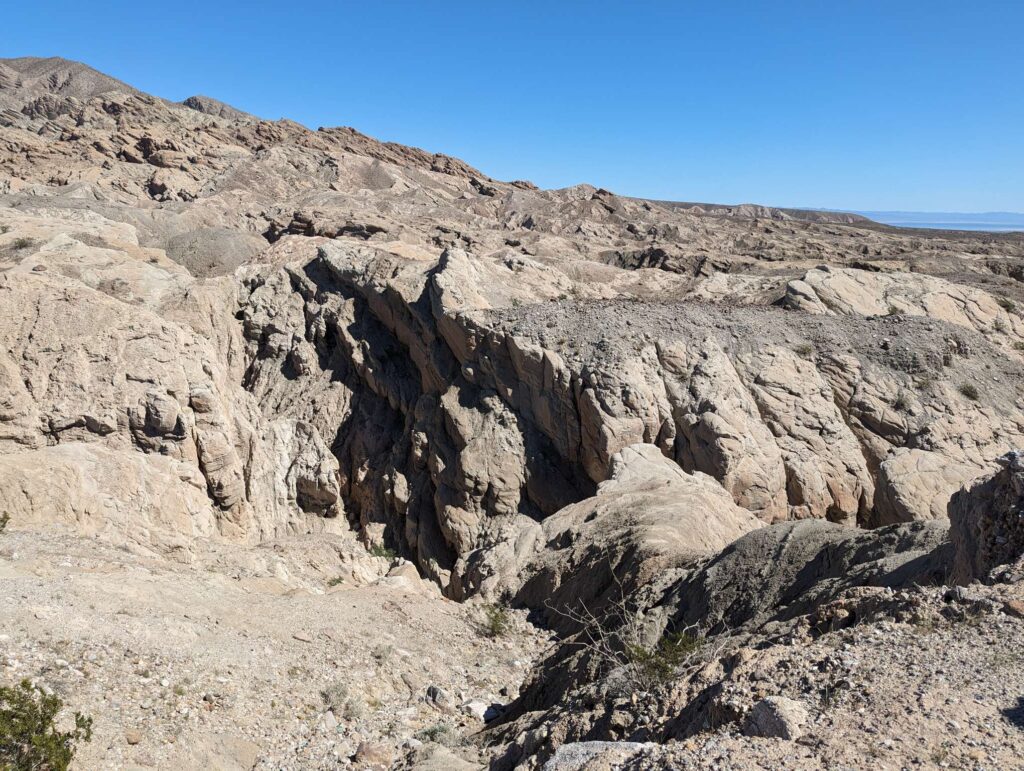
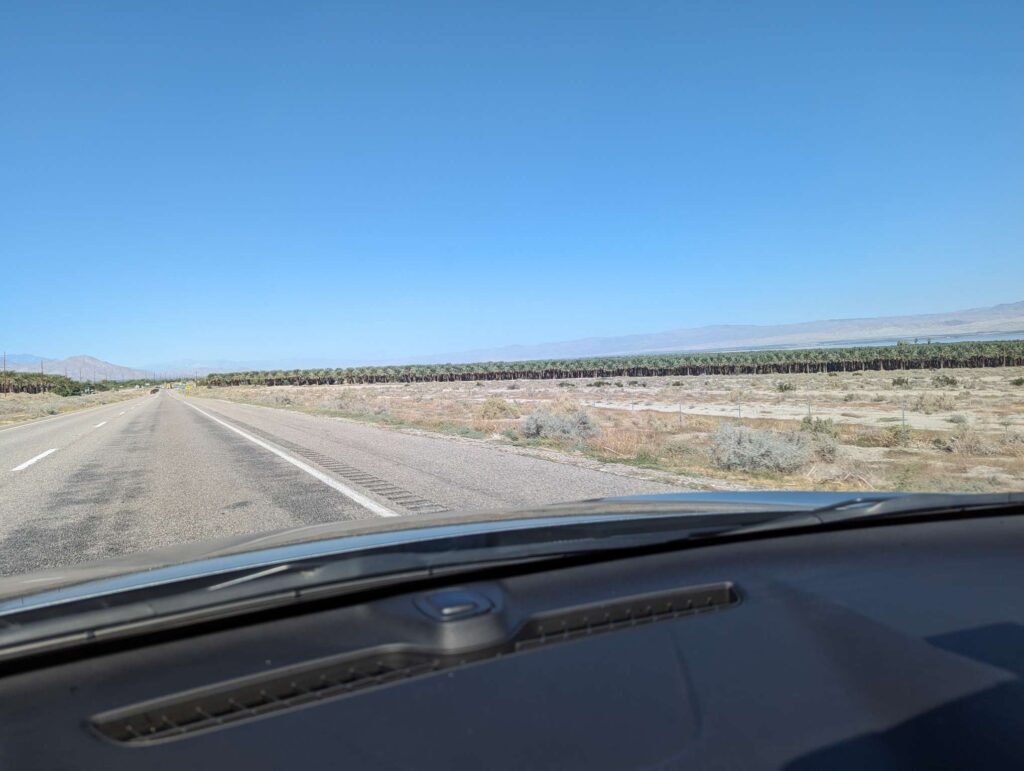
After finishing the pie we set our sights on Indio, CA. The drive between Julian and Indio is incredible! Roads winding through the mountains and desert. A strange desert town named Borrego! Incredible views of desert and mountains! The Salton Sea! A HUGE palm tree (and other desert plants) farm! The views were incredible.

We arrived in Indio at about 12:30pm and went to the Air BnB house. Then we headed to Palm Springs for lunch and to meet up with more friends. We went to El Mirasol Cocina Mexicana because I saw it on Diners Drive-ins and Dives. I had these chicharrónes in salsa which were great! After lunch we made it back to the house and got settled in with the group of guys.
Friday was day 1 of Power Trip festival. The house was “close” to the festival, but it was about a 3 mile walk from the house to the area to watch the bands. The temp was North of 100° but the sun dropped below the mountains and the temp dropped into the 80’s to it was very comfortable.
The first band of the night was Iron Maiden and they were AWESOME. They had the full set and played some kick ass songs! Iron Maiden is one of the bands that got me into heavy metal and I LOVE them.
Iron Maiden Setlist https://www.setlist.fm/setlist/iron-maiden/2023/empire-polo-club-indio-ca-5ba32b18.html
The second band was Guns ‘N Roses and this was my first time seeing them. The band was awesome but Axl had some trouble singing. GnR played a TON of songs and went to 1:00am. I had to bail early because my feet were killing me.
Guns ‘N Roses Setlist https://www.setlist.fm/setlist/guns-n-roses/2023/empire-polo-club-indio-ca-43a32b27.html
Day 4 travel stats: driving 250 miles, walking 12 miles
The goal today was to heal the feet, hang out, get faces melted.
Saturday started out great and we hung out at the house most of the day. The house had a small pool and jacuzzi.
The first band of the night was Judas Priest. JP is another of the bands that sent me down the path of heavy metal. Priest was great. Halford hasn’t lost a step. The band is awesome and Richie Faulkner is a KILLER on guitar.
Judas Priest Setlist https://www.setlist.fm/setlist/judas-priest/2023/empire-polo-club-indio-ca-73a31e61.html
The second band of the night was AC/DC and they were great too! Brian Johnson struggled a bit with the vocals. The sound was killer and they played a great set! I had to bail a bit early again because of being old and tired.
AC/DC Setlist https://www.setlist.fm/setlist/acdc/2023/empire-polo-club-indio-ca-63a31e7f.html
Day 5 travel stats: walking 10 miles
The goal of today is hanging out, face melting, and driving to the airport 🙁
We hung out at the house in the pool and watching the Eagles play the LA Rams.
The first band of the night was Tool. Tool sounded great, but I’m not a huge fan. I don’t like how they don’t use the cameras so you can see them so they looked like grasshoppers from way in the back.
Tool setlist https://www.setlist.fm/setlist/tool/2023/empire-polo-club-indio-ca-3ba30c10.html
The second band was the mighty Metallica and they were incredible! Their setlist was like a greatest hits album. Their sound was incredible. The stage show was crazy cool with fireworks, fire, lights, cool backgrounds, and festival lights synced to the stage.
Metallica setlist https://www.setlist.fm/setlist/metallica/2023/empire-polo-club-indio-ca-3ba30c18.html
I had to bail at 11 to make my way to the airport in Ontario. It was a 90 minute drive there and took me a bit to find a parking lot to grab some ZZZ’s before my early flight home.
Day 6 travel stats: driving 90 miles, walking 13 miles, travel home with planes trains and automobiles.


This program looks really cool. It’s a self hosted photo library that works a lot like Google Photos (multi users, easy sharing)
https://documentation.immich.app/
Lol


How many tickles does it take to make an octopus laugh?
Ten tickles (tentacles)
You must be logged in to post a comment.