Optimist: the glass is 1/2 full
Pessimist: the glass is 1/2 empty
Excel: 2-Jan
Optimist: the glass is 1/2 full
Pessimist: the glass is 1/2 empty
Excel: 2-Jan
This is a good one, with a surprise at the end
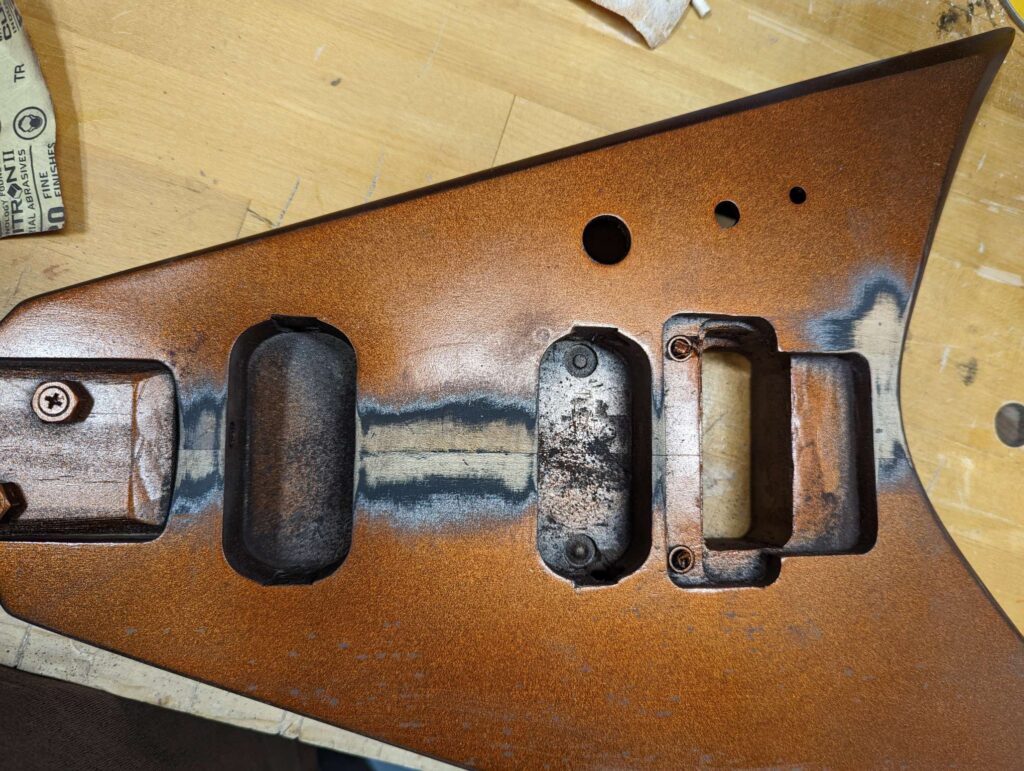
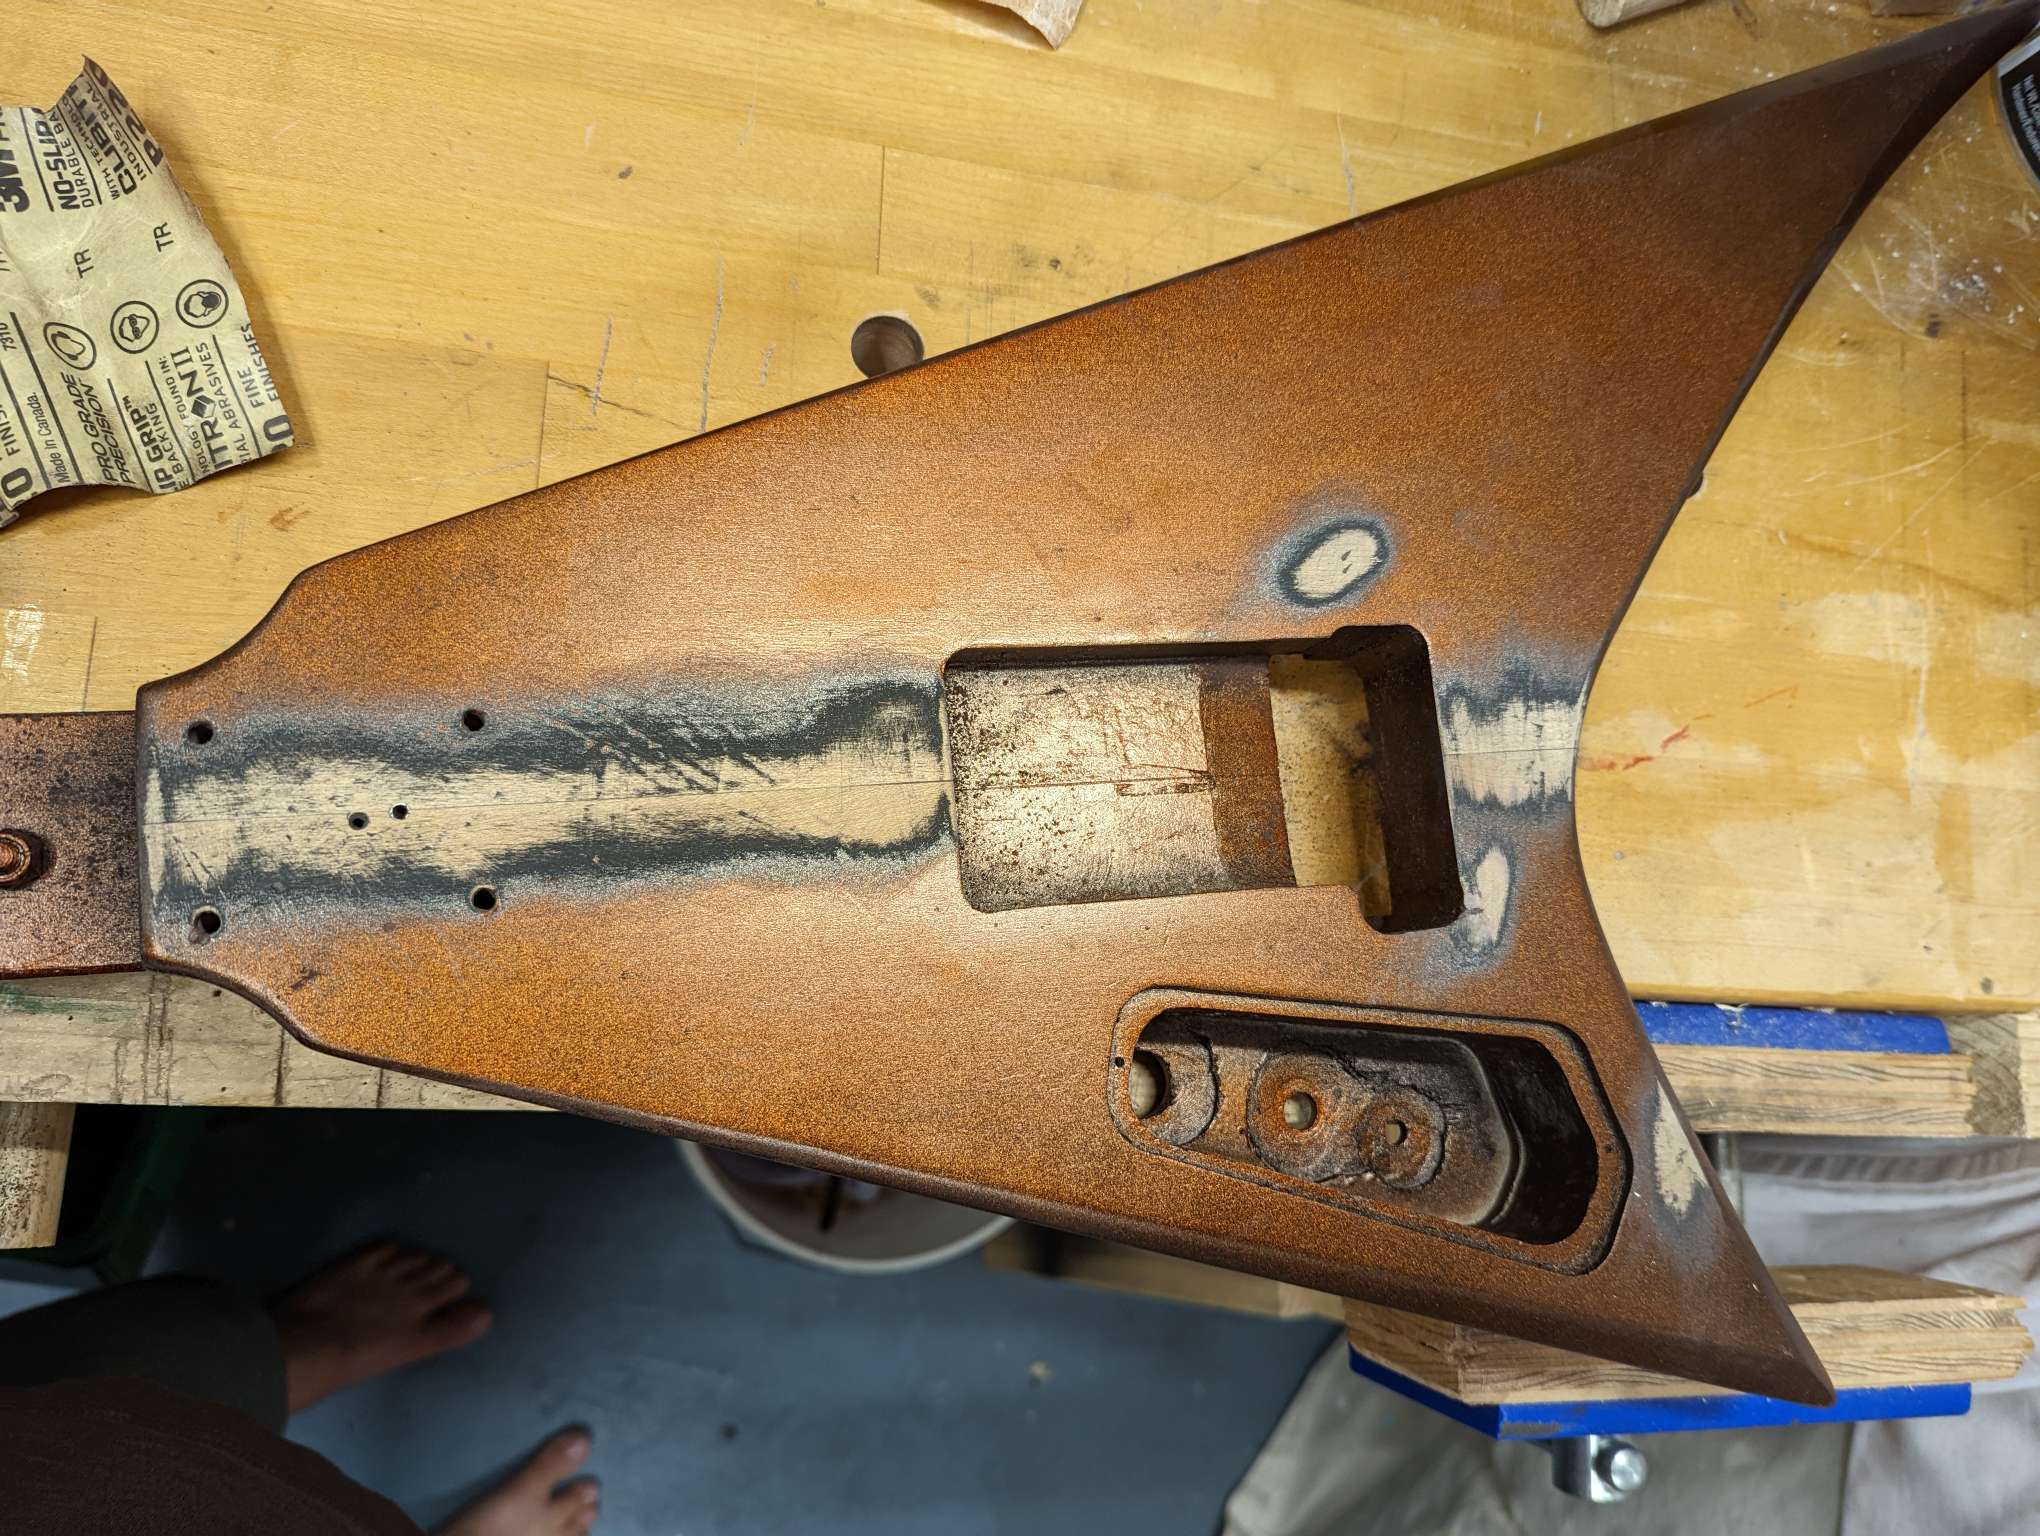
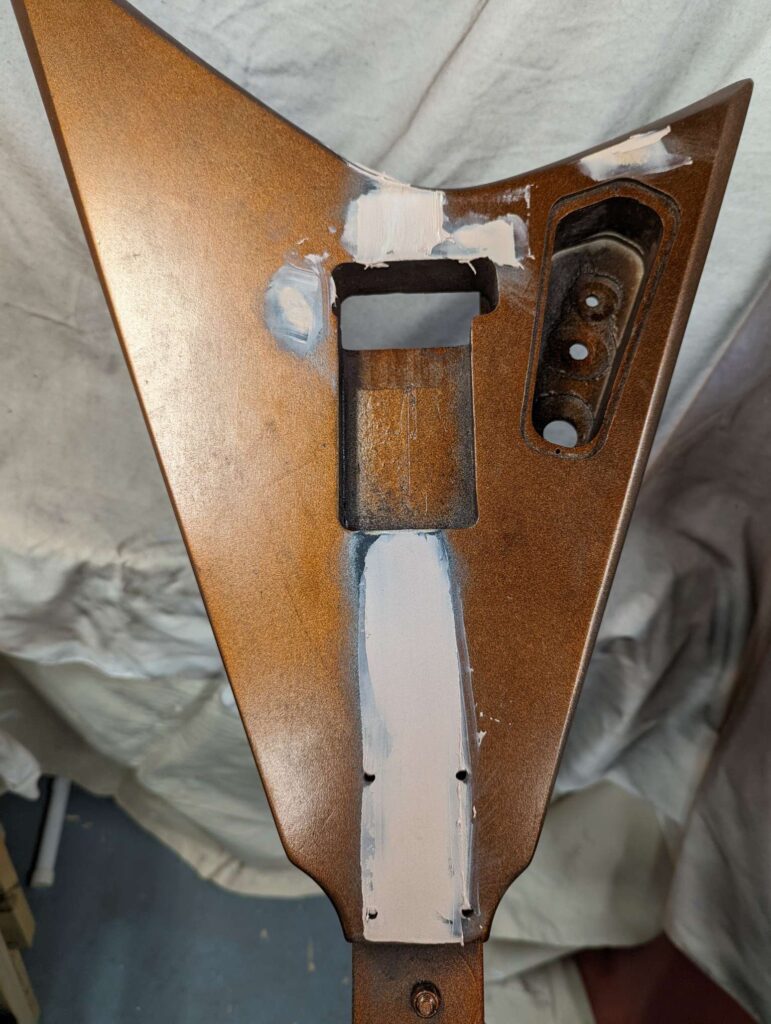
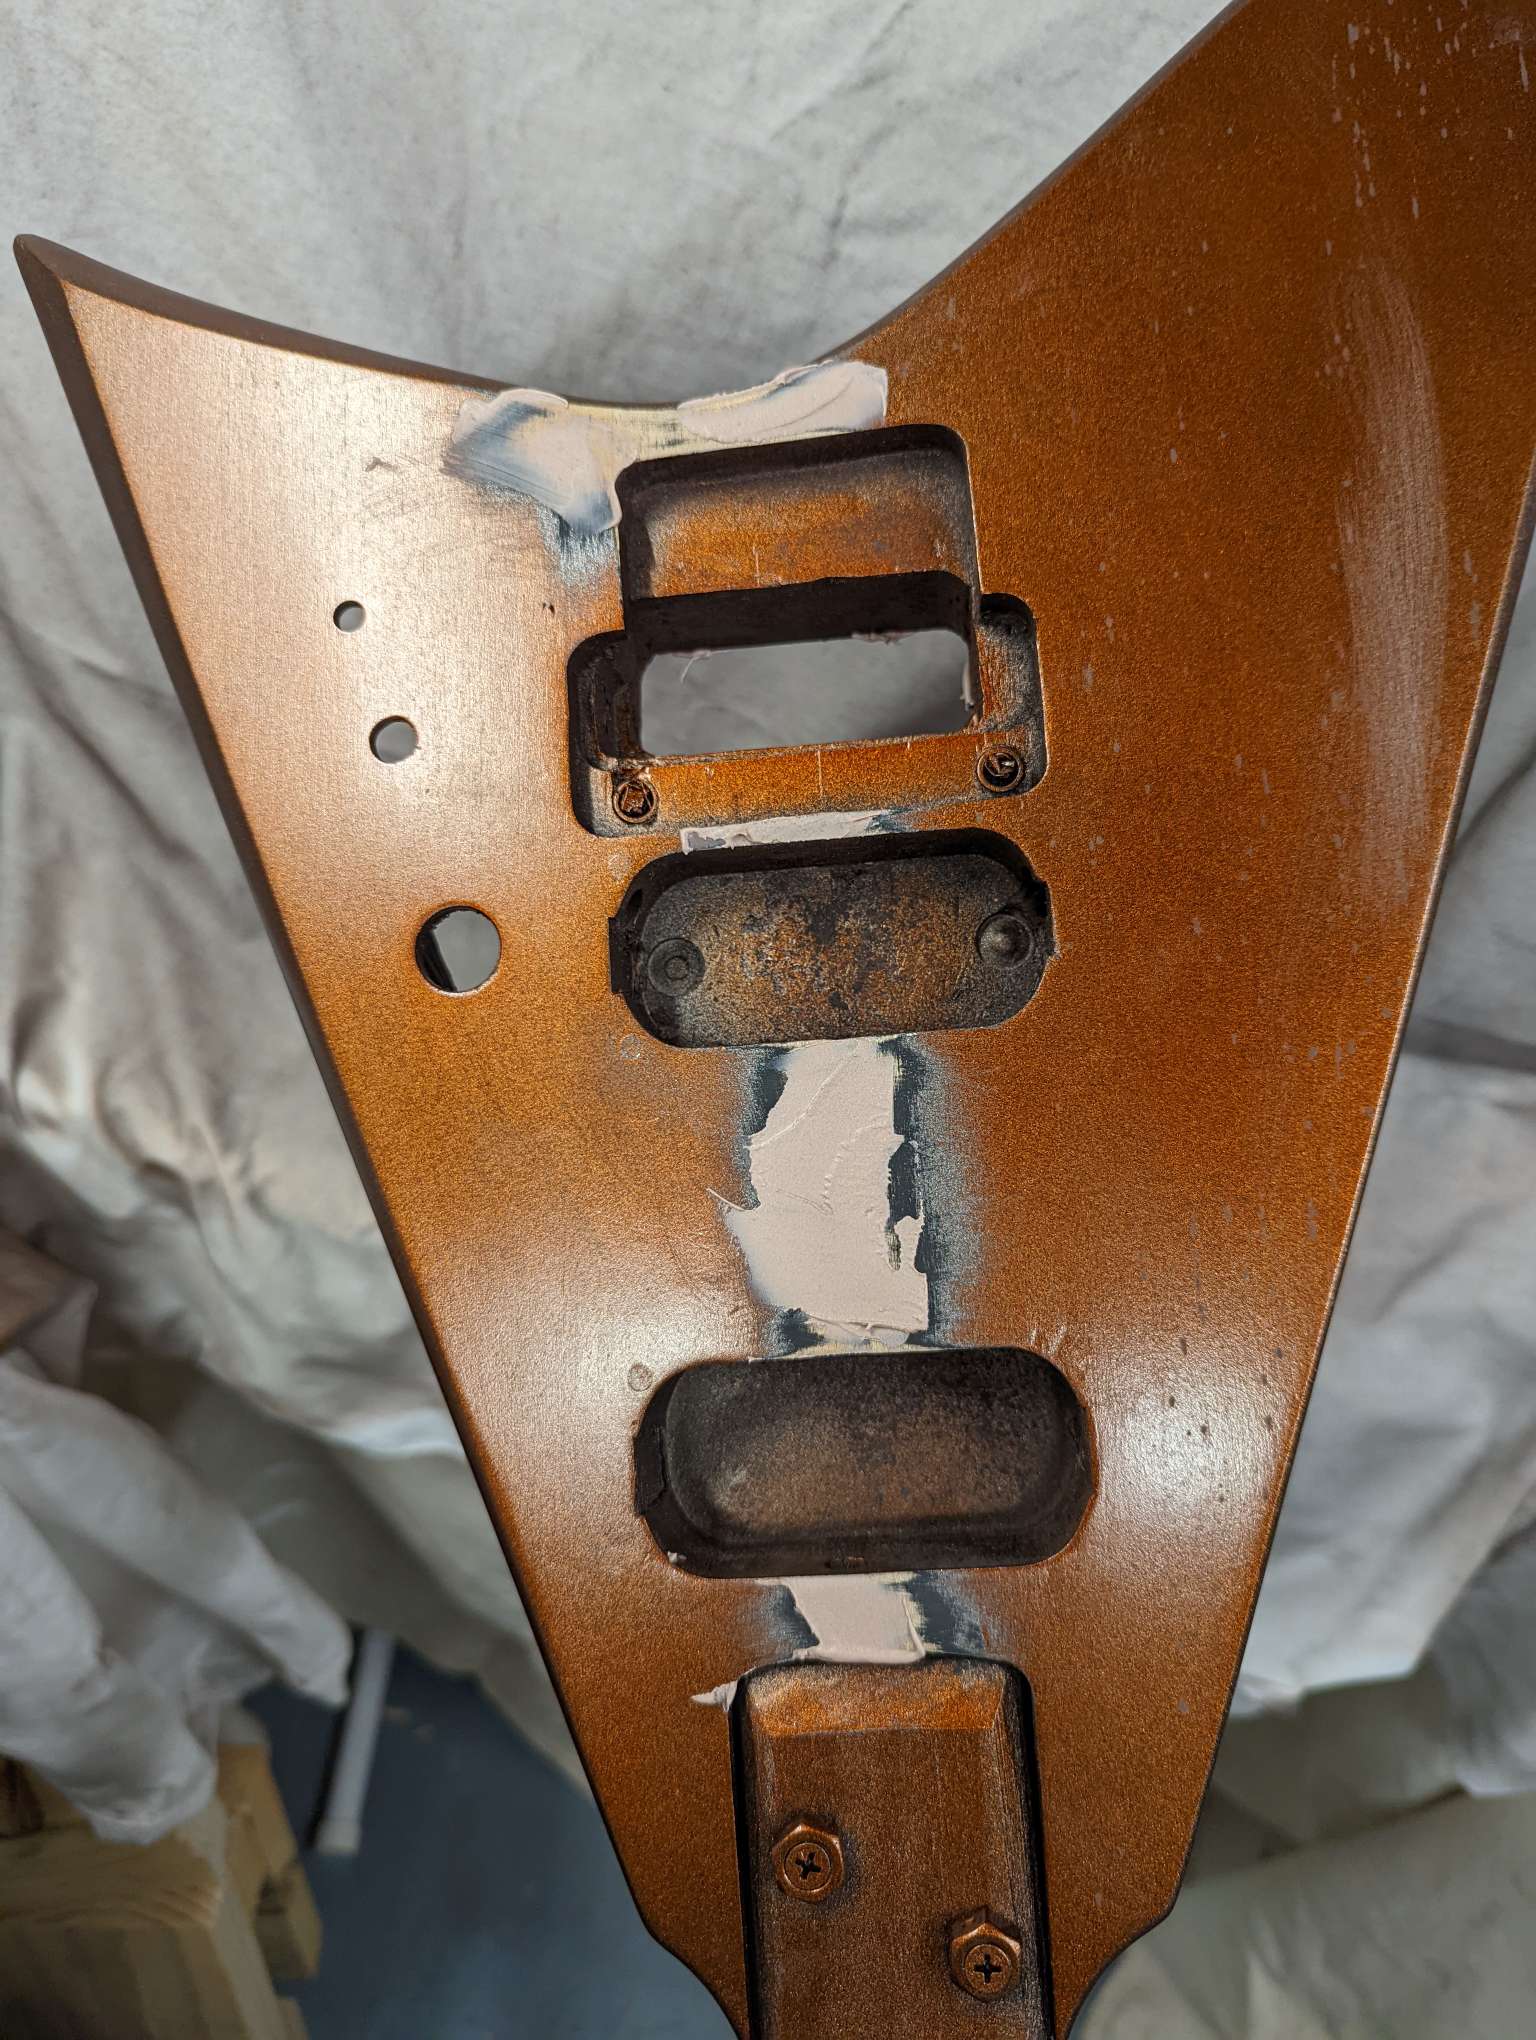
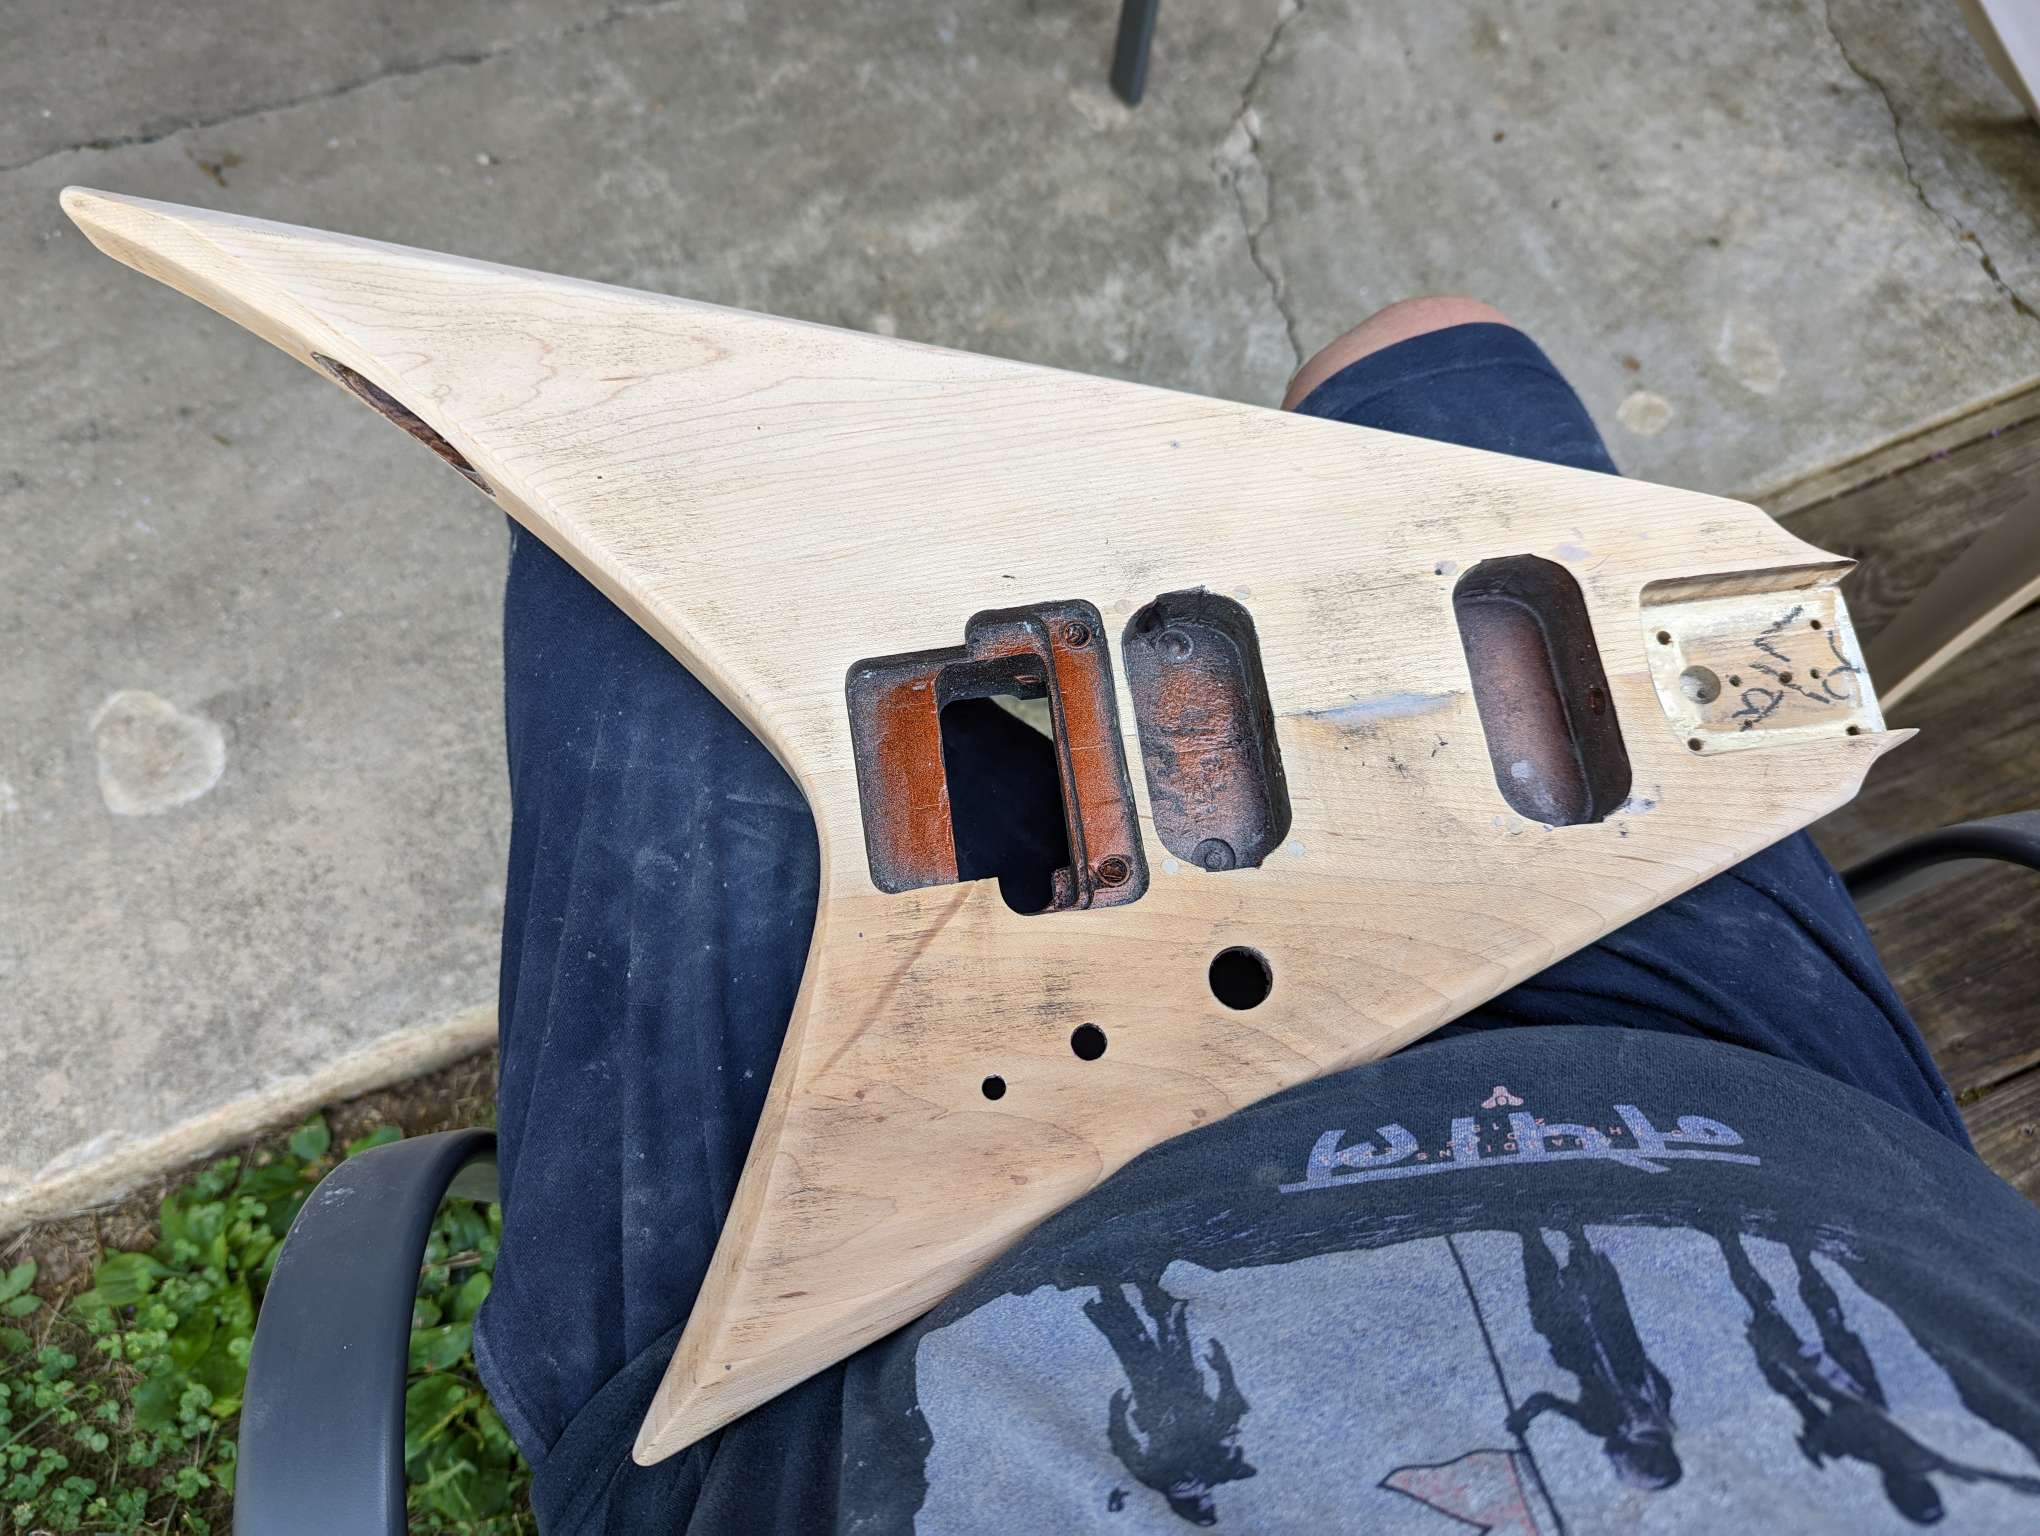
Now it’s time to fill all the bumps and bruises with Bondo to level them out.
I felt the body to find any dips in the wood and sanded them a bit to make rough and circled them with pencil. Then mixed up some Bondo and schmear it in.
Next it sanding off the Bondo to make everything smooth again.
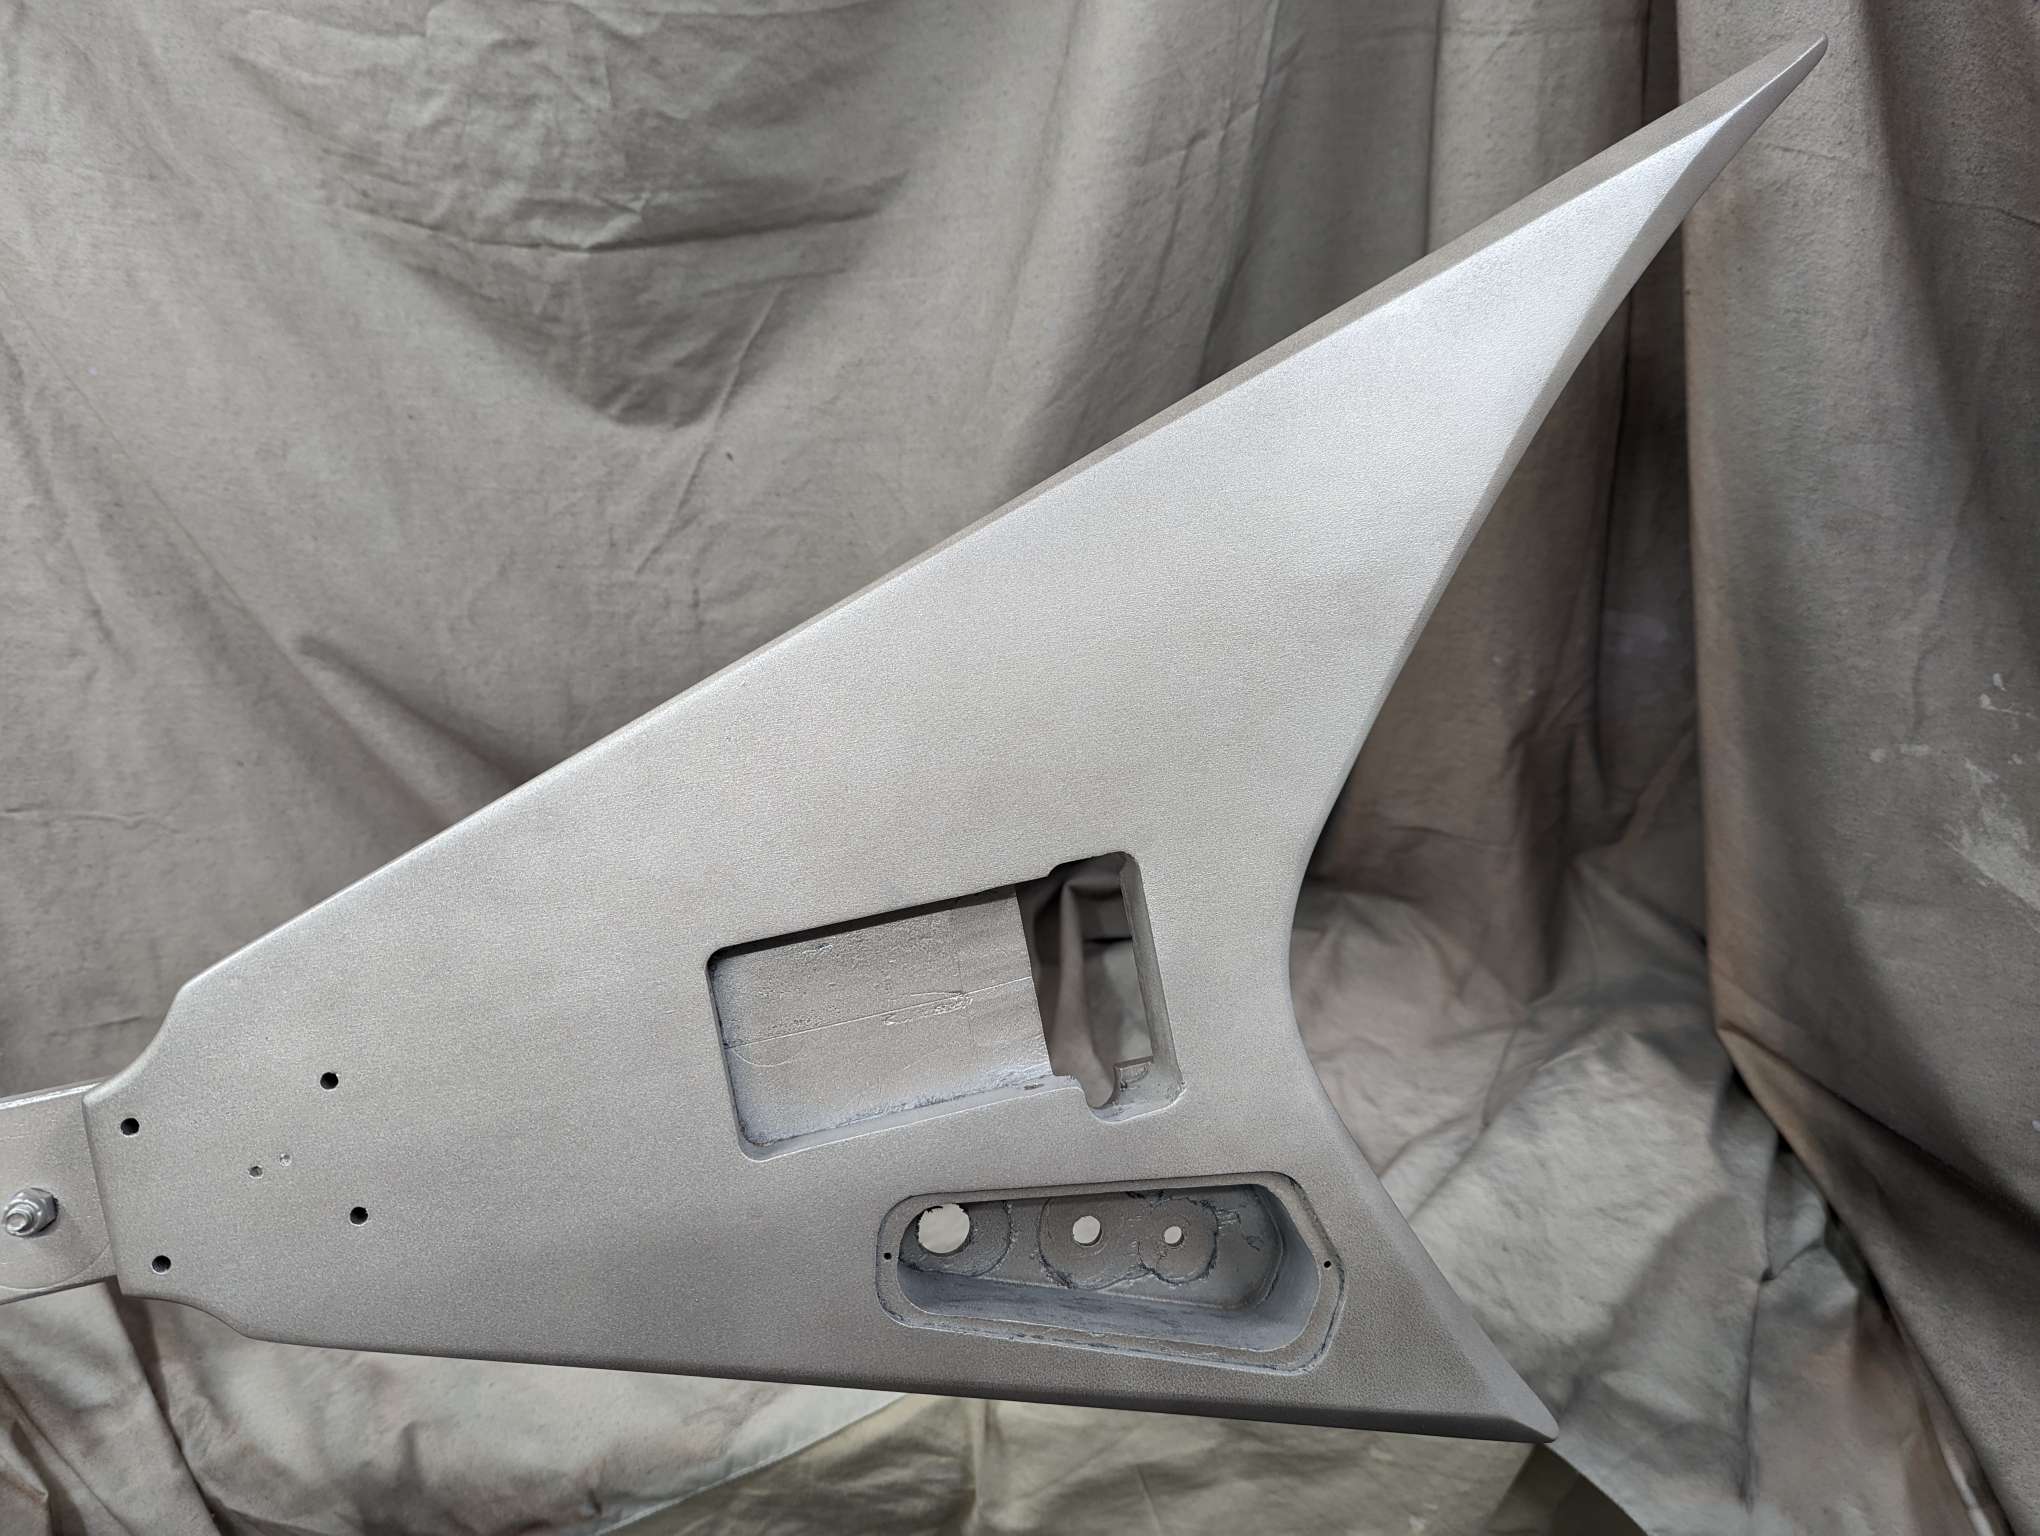
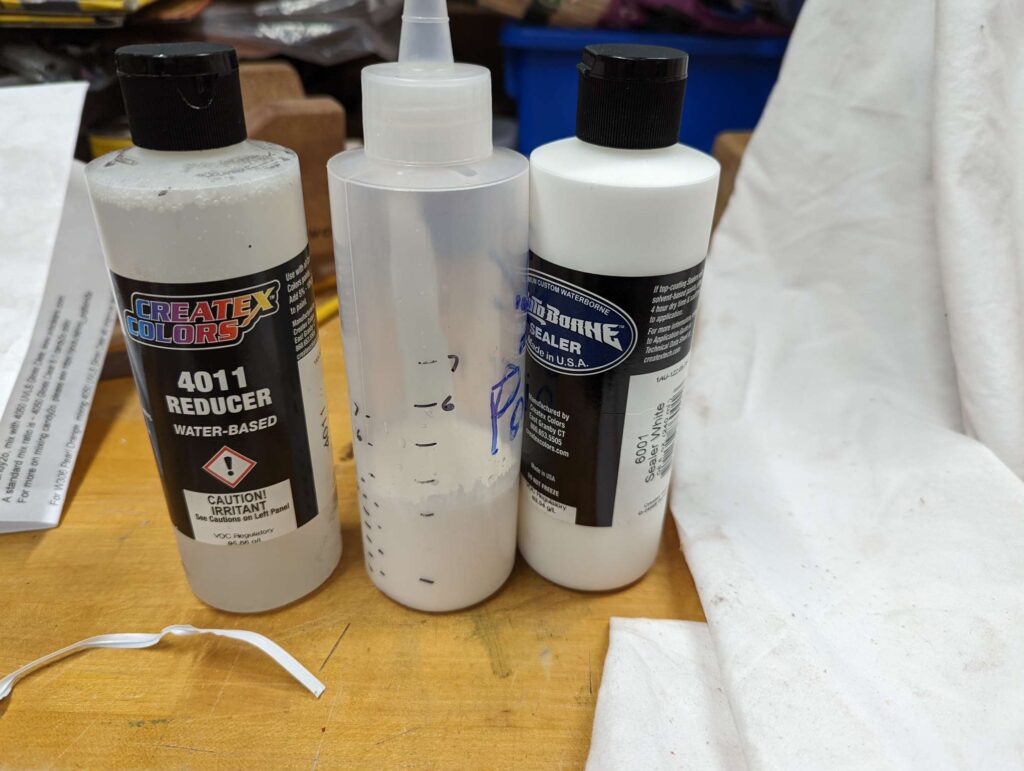
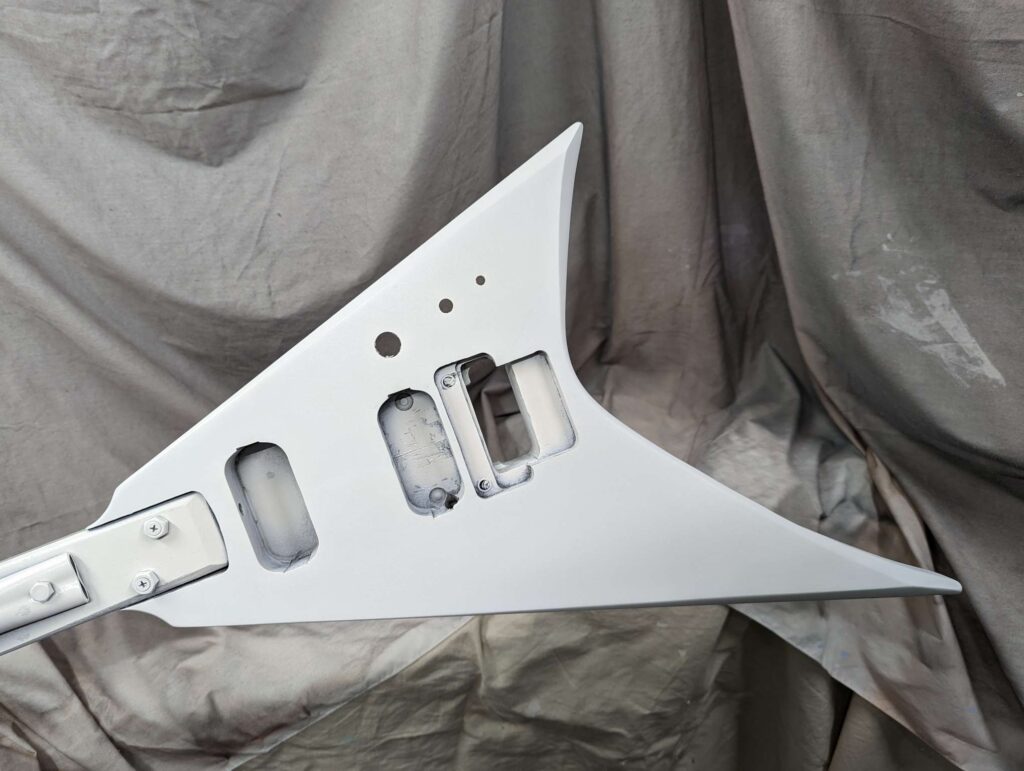
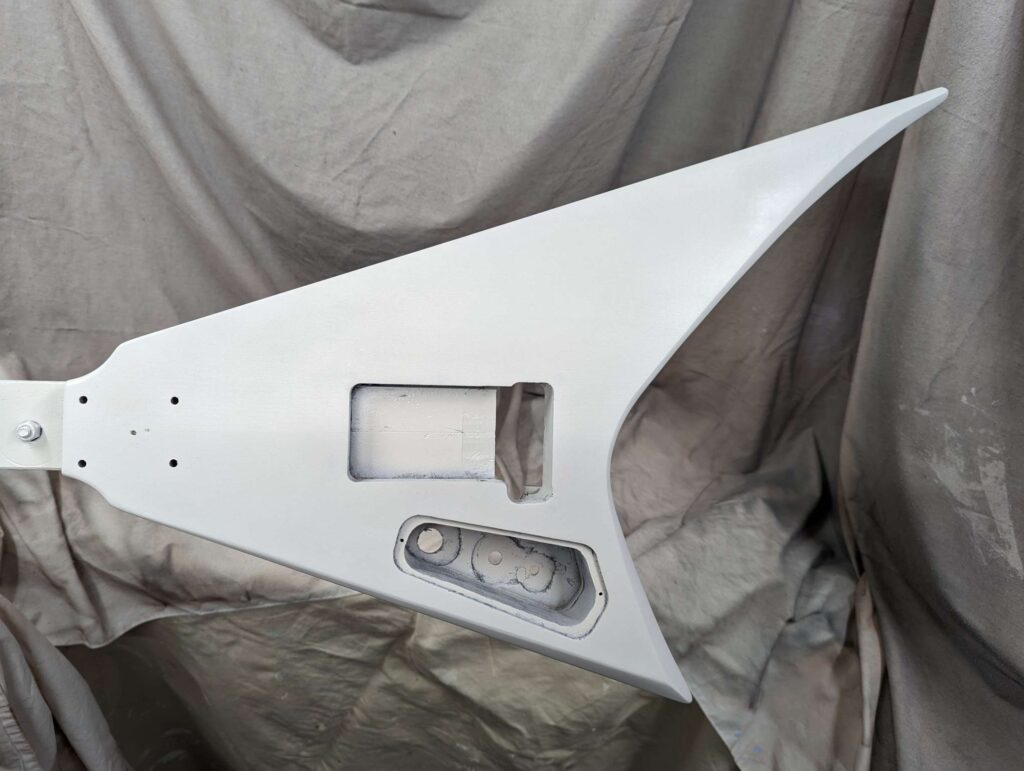
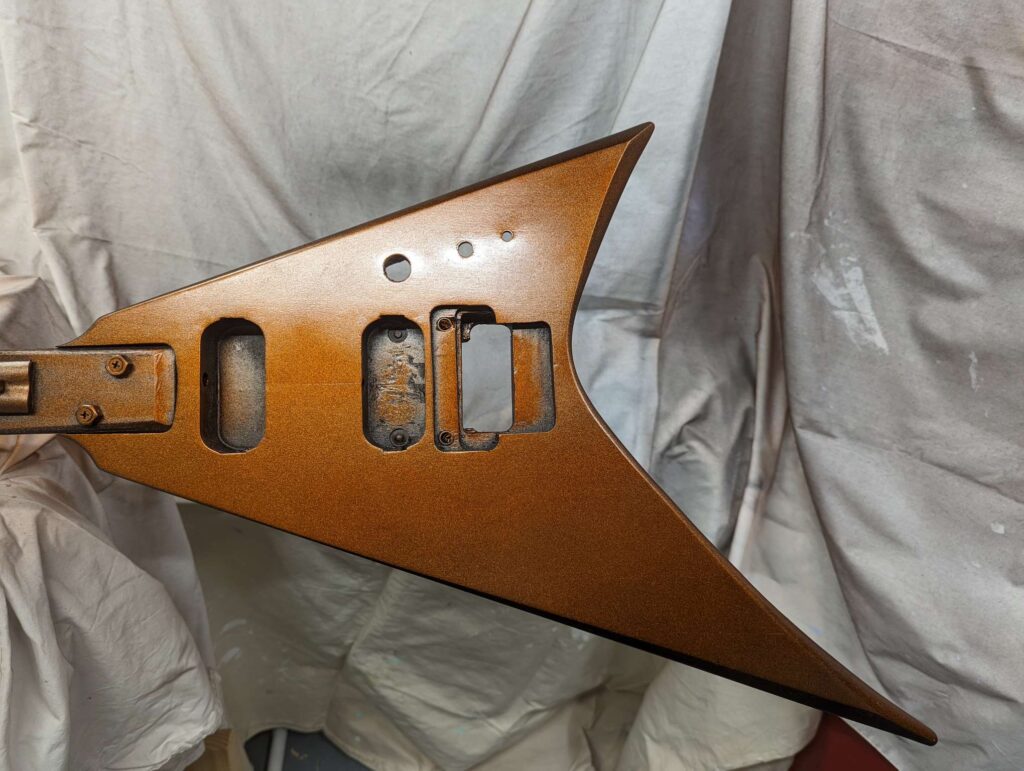
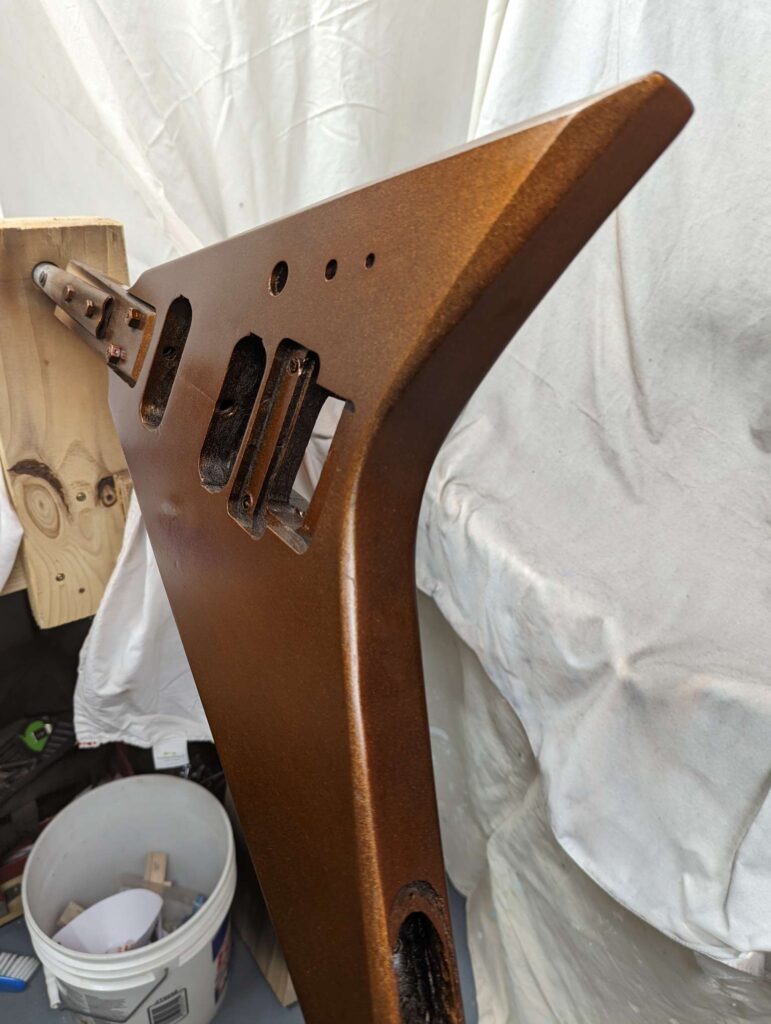
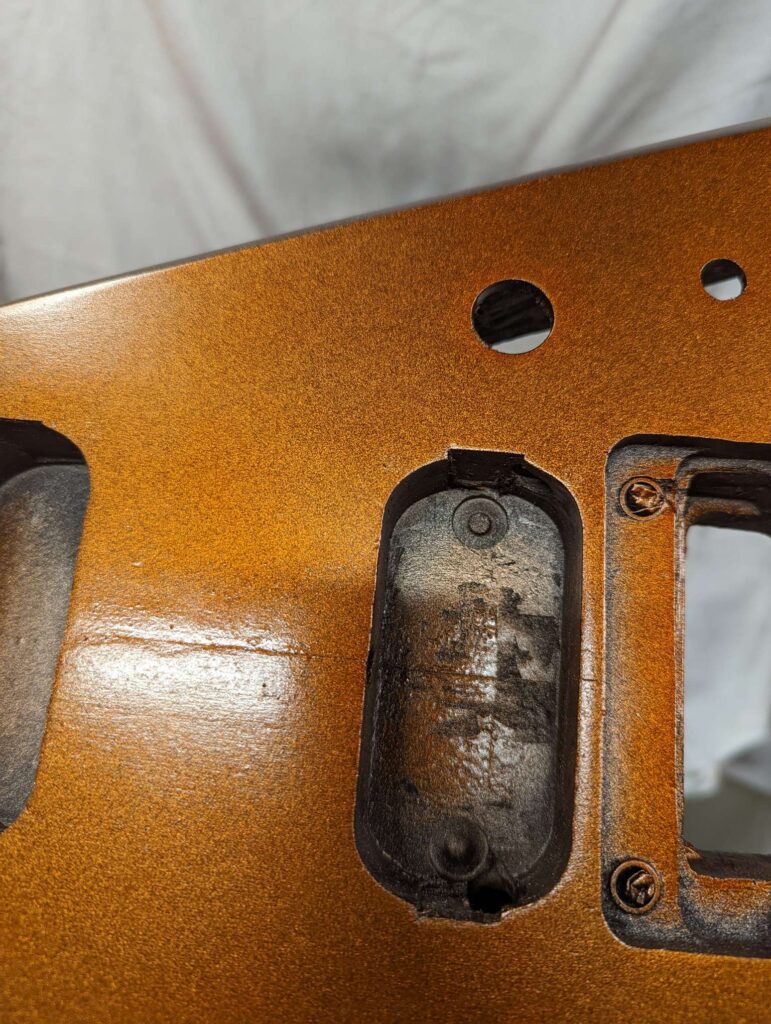
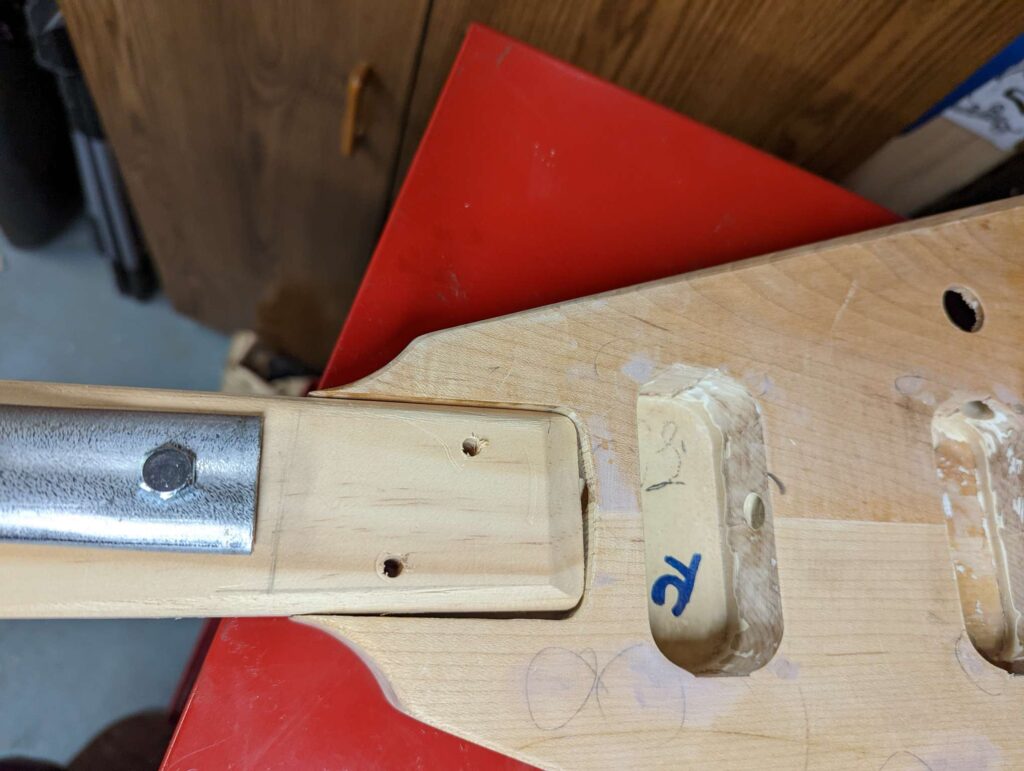
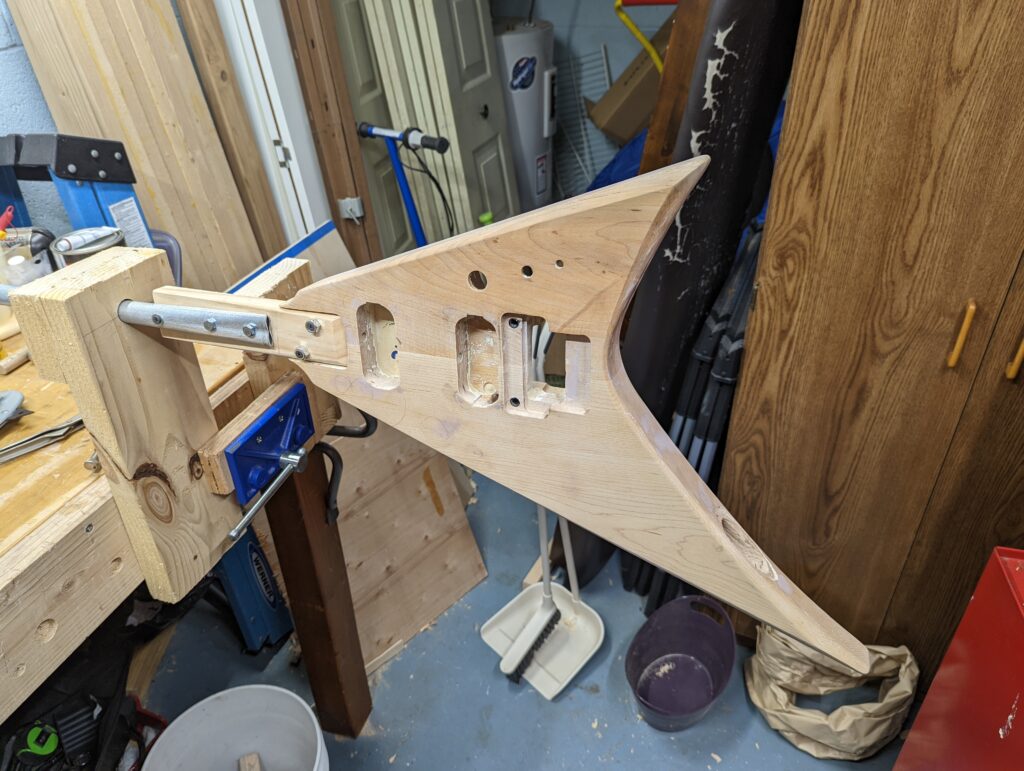
Next step is some final fitting /adjusting and then starting the paint!
While I was routing the body for the Floyd Rose tremolo, my router bit slipped out of the chuck and dug in too far. It went in about 1/4″.
The boo boo was in an area that is not functional and wouldn’t be seen, but I wanted to fix it anyway. My plan is to…
This guy has a business in Montana building and repairing wagons and wheels. For his YouTube channel, he makes great videos and explains everything. The process of doing what he does is fascinating.
This is the final video in his series of building a HUGE wagon.
Little guy does not approve of this one…
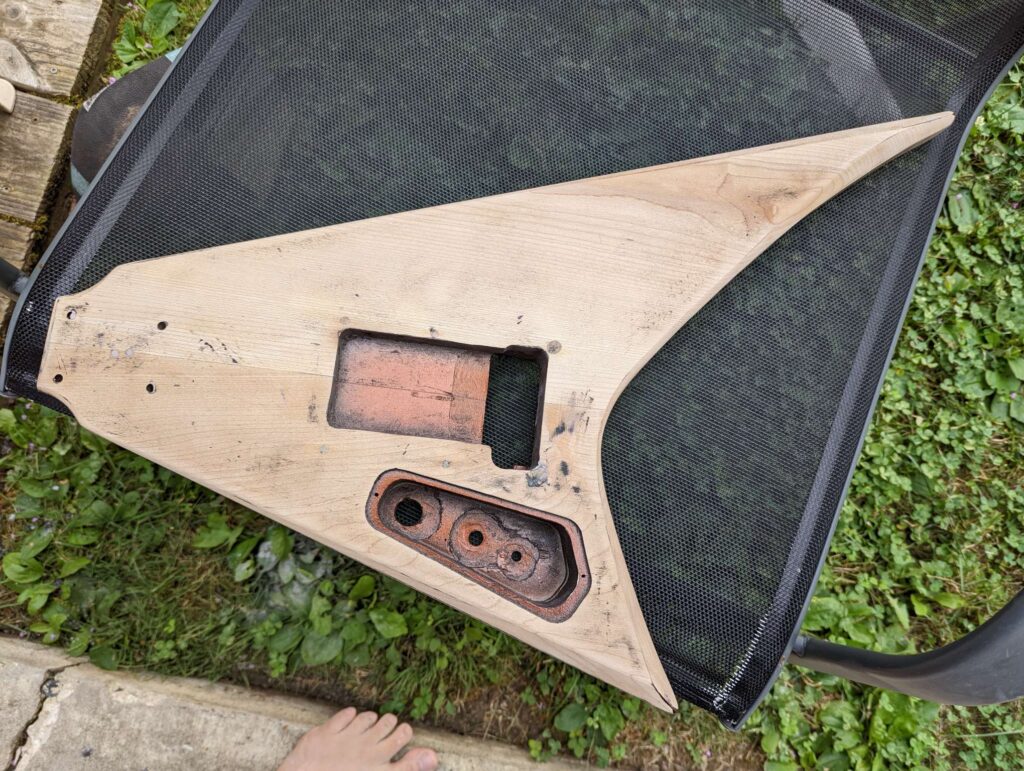
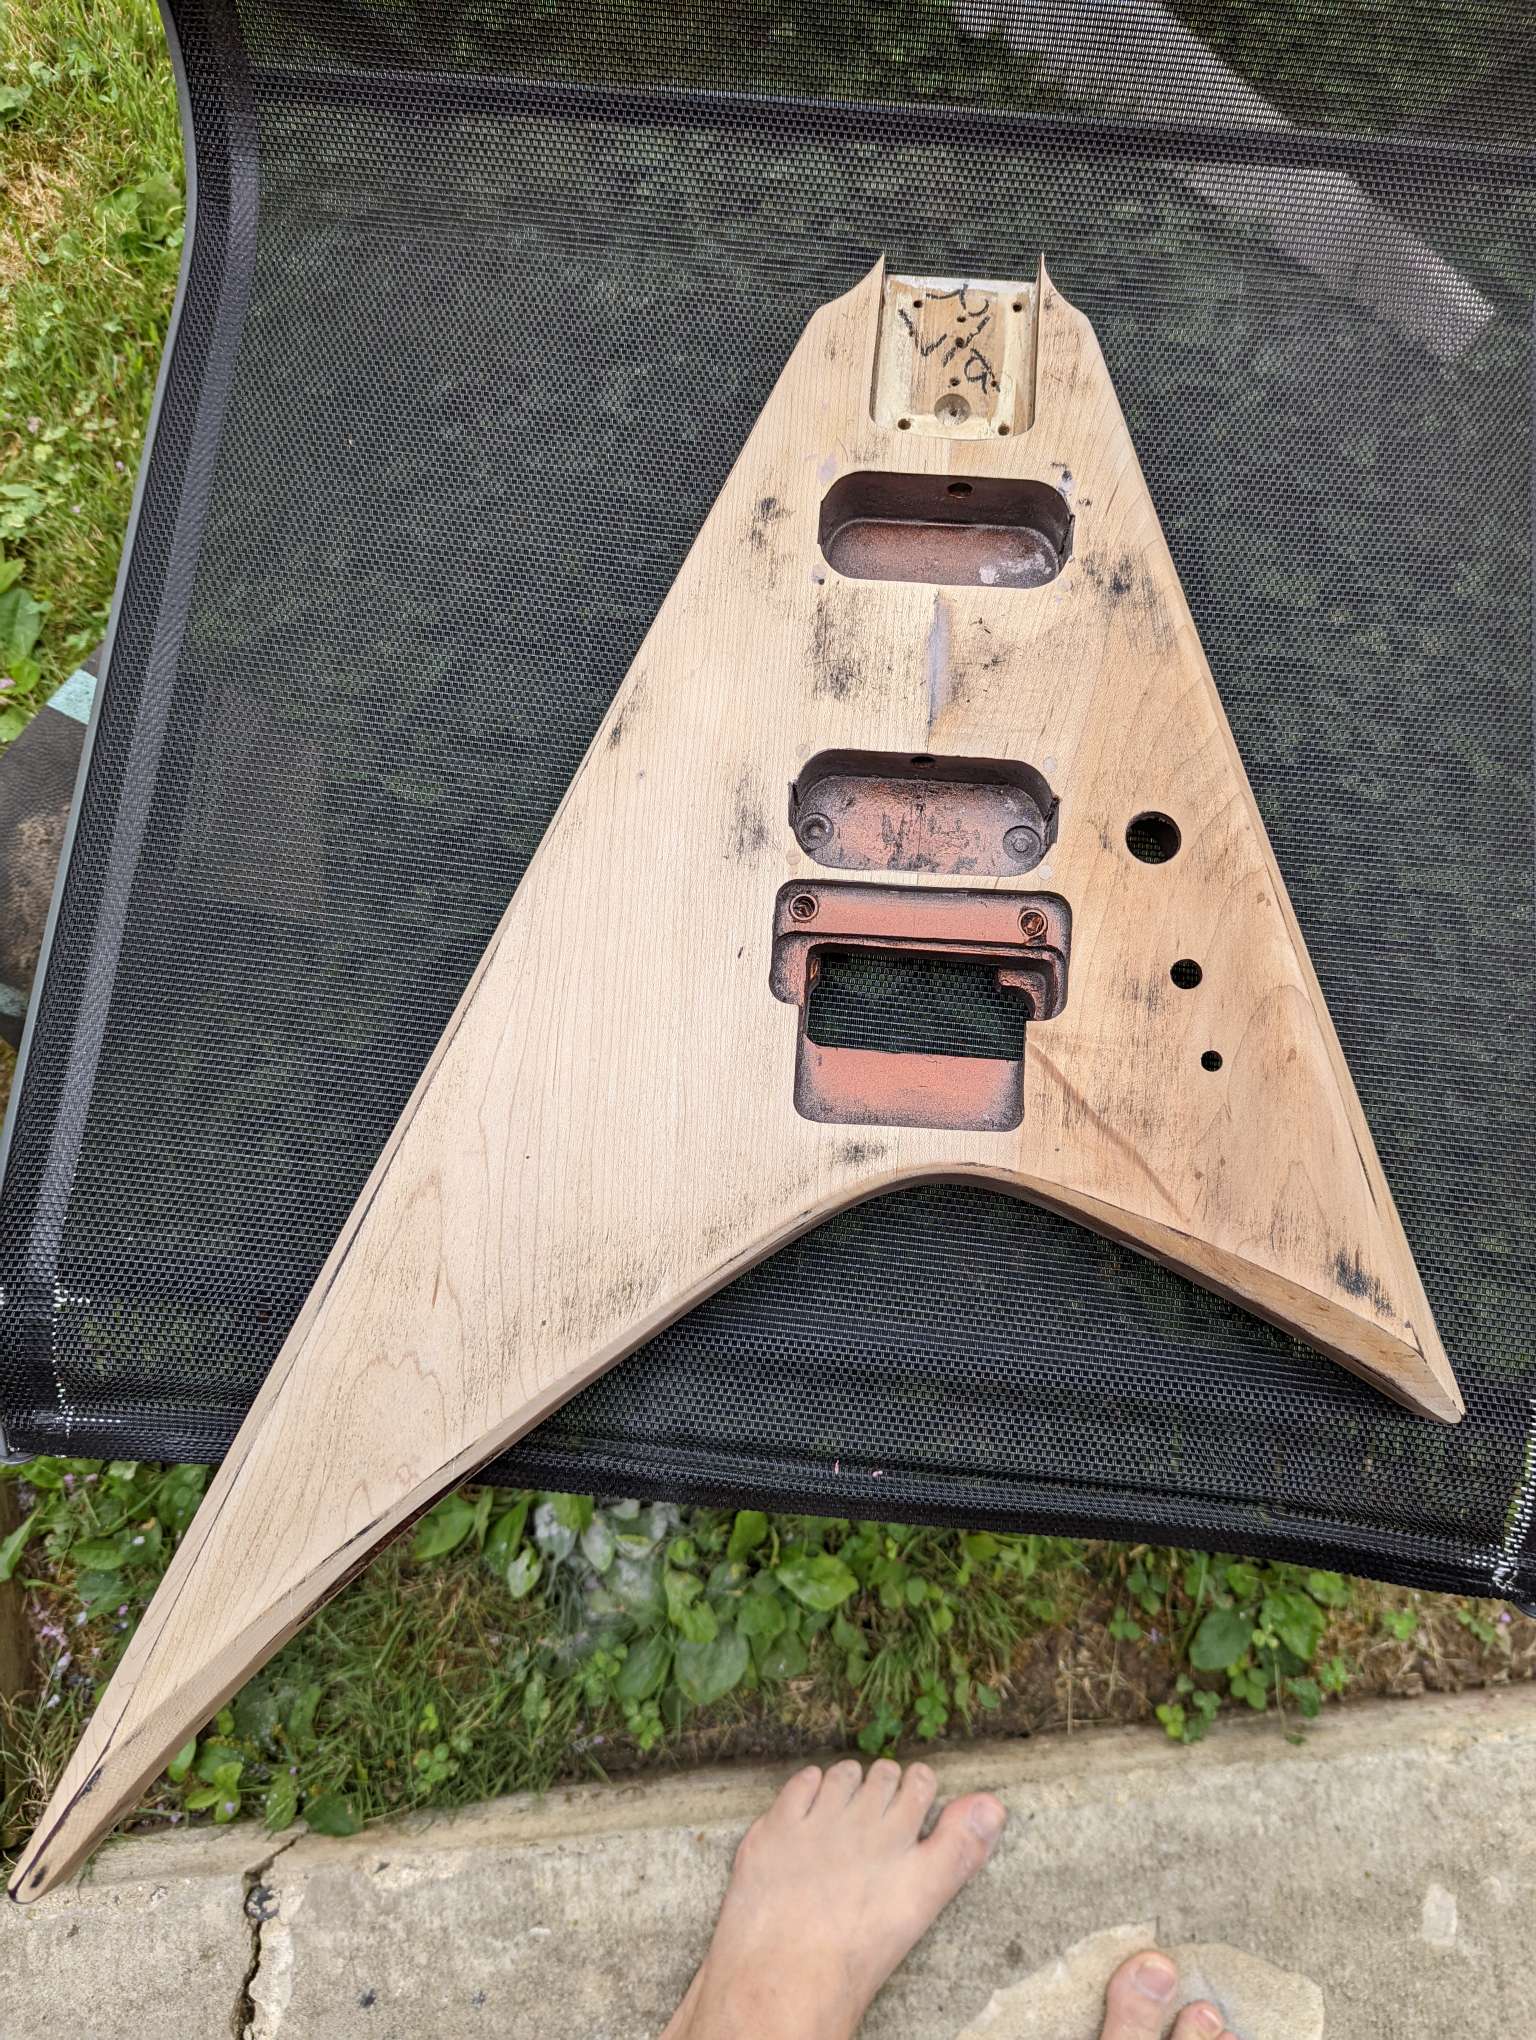
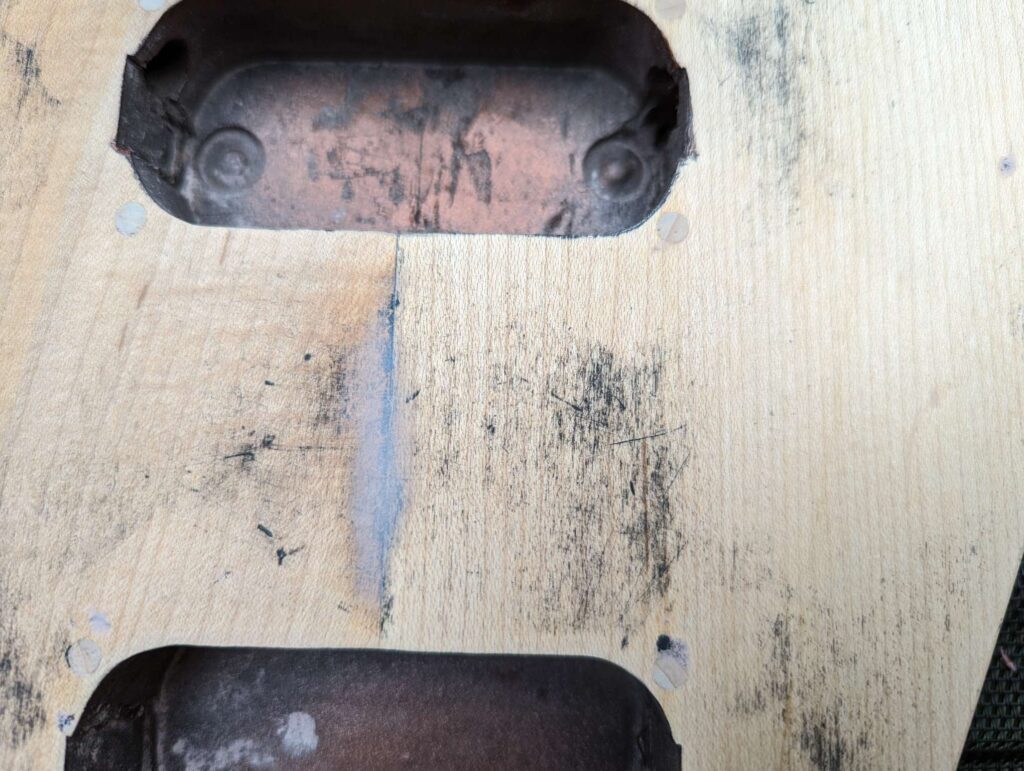
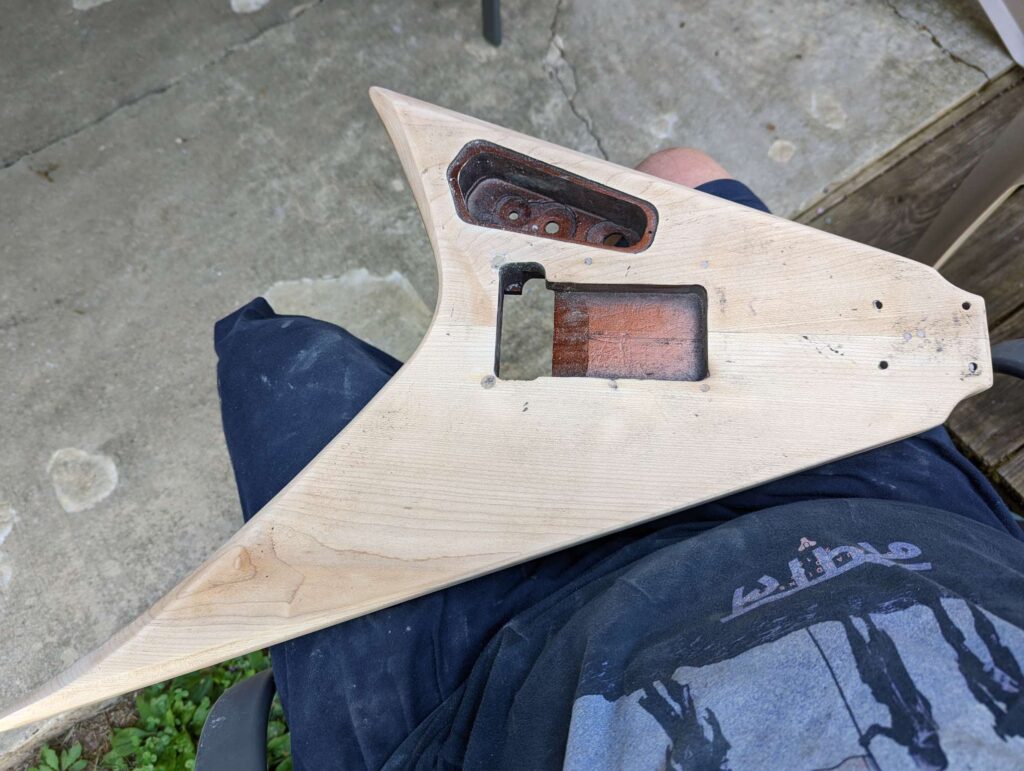
I plugged all the holes in the guitar body. I don’t think I will use any of the old screw holes, plus I am moving the strap button, and the output jack is moved. Plug them all!
Also there was a screw with a twisted off head that needs to come out.
A gorilla walks into a bar and asks for a beer.
The bartender slides him a beer and says “That will be $11. We don’t get many gorillas coming in here.”
The gorilla says “With the prices you charge, I’m not surprised!”
Your mom is so short, when she went to the zoo, it was animal crackers!
I finished a couple little jobs like drilling for the tremolo posts, and increasing the hole size for the kill switch. Next is mocking up to make sure stuff fits and lines up.
I installed the tremolo posts and tremolo. I installed the killswitch, volume pot, and pickup selector switch.
I used some string to approximate the guitar strings and the tremolo lines up real good.
Next steps are prepping for paint and re-fretting the neck.
You must be logged in to post a comment.