I decided to get a new set of Invader pickups. They are so nice and shiny and sexy. They shall melt faces. I’m going to mount them with black pickup rings (I think).
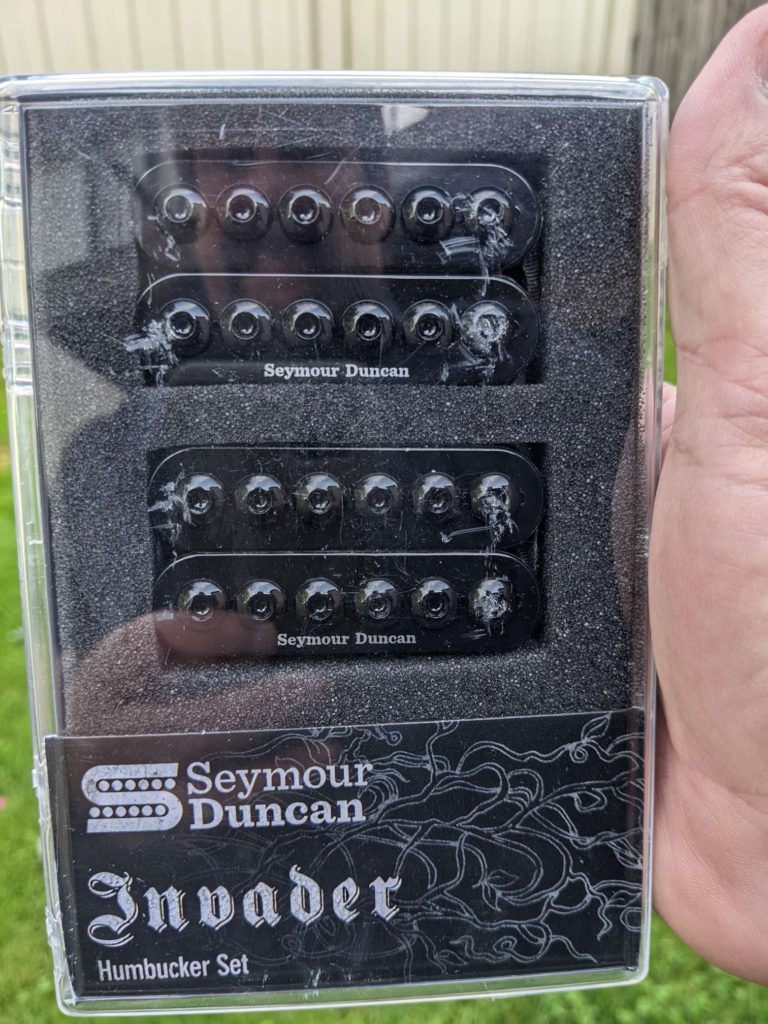
I decided to get a new set of Invader pickups. They are so nice and shiny and sexy. They shall melt faces. I’m going to mount them with black pickup rings (I think).

I (mostly) finished stripping the paint off the body. I still need to work on the pickup cavities and in the tremolo and control areas, but the majority is done.
The tremolo mostly fits too! I need to fine tune it a little bit, but it works!
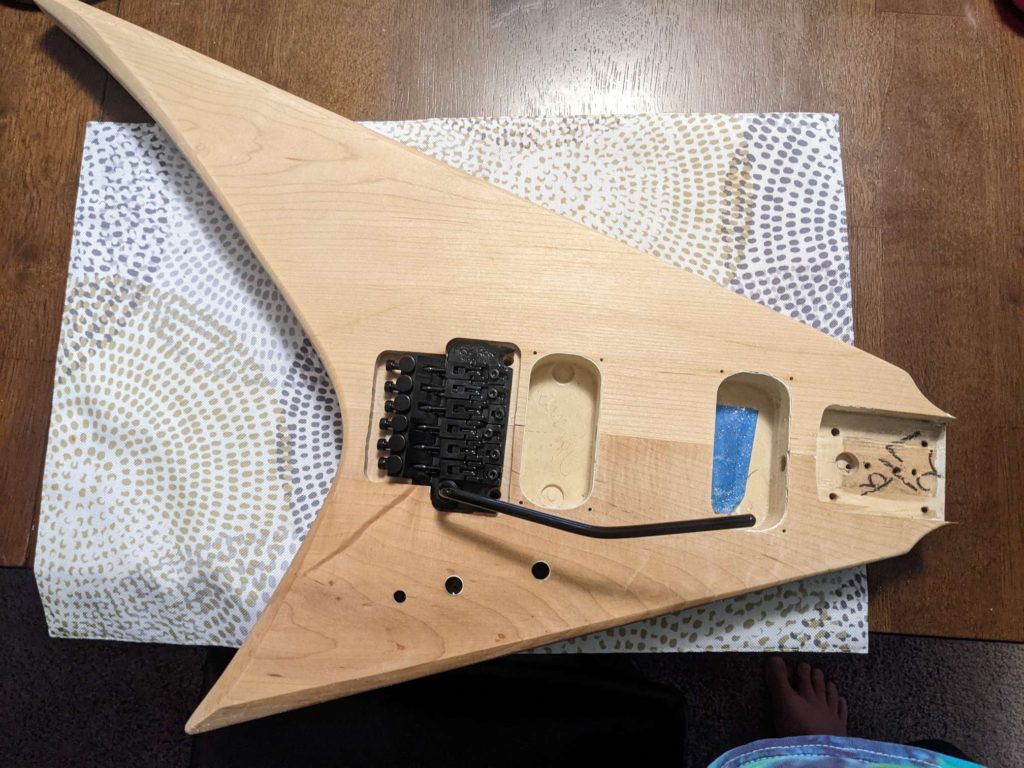
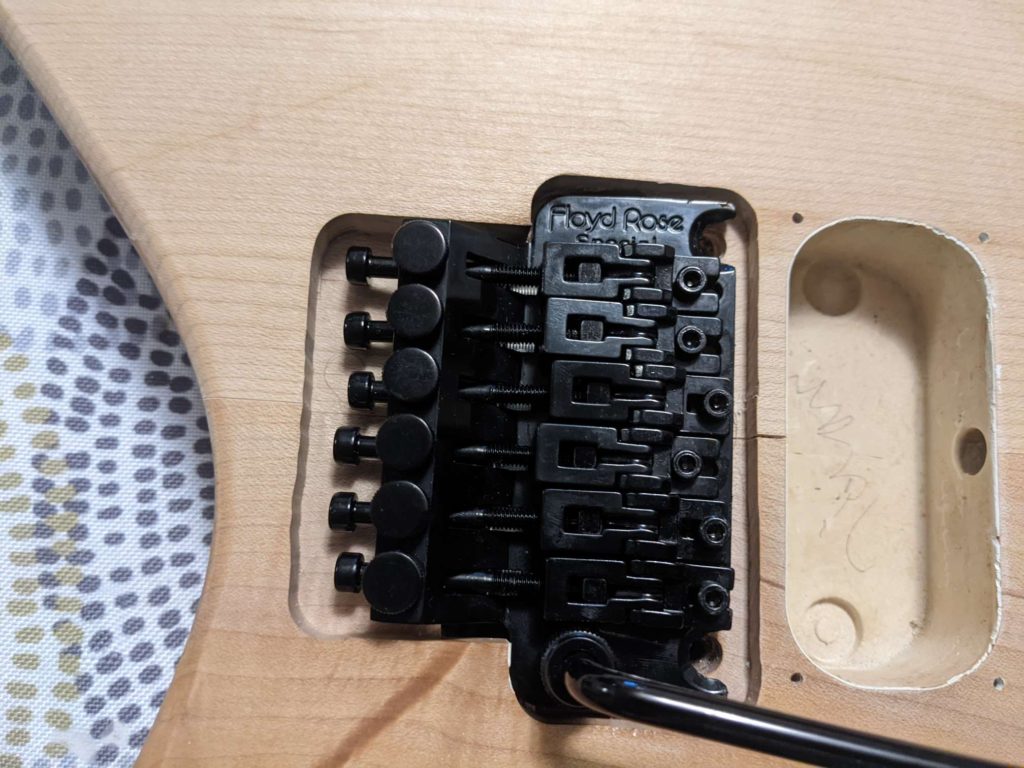
I decided to strip the old paint off the guitar. Some of it is like 1/16″ thick. I’m using a heat gun and a scrape and it pops right off.
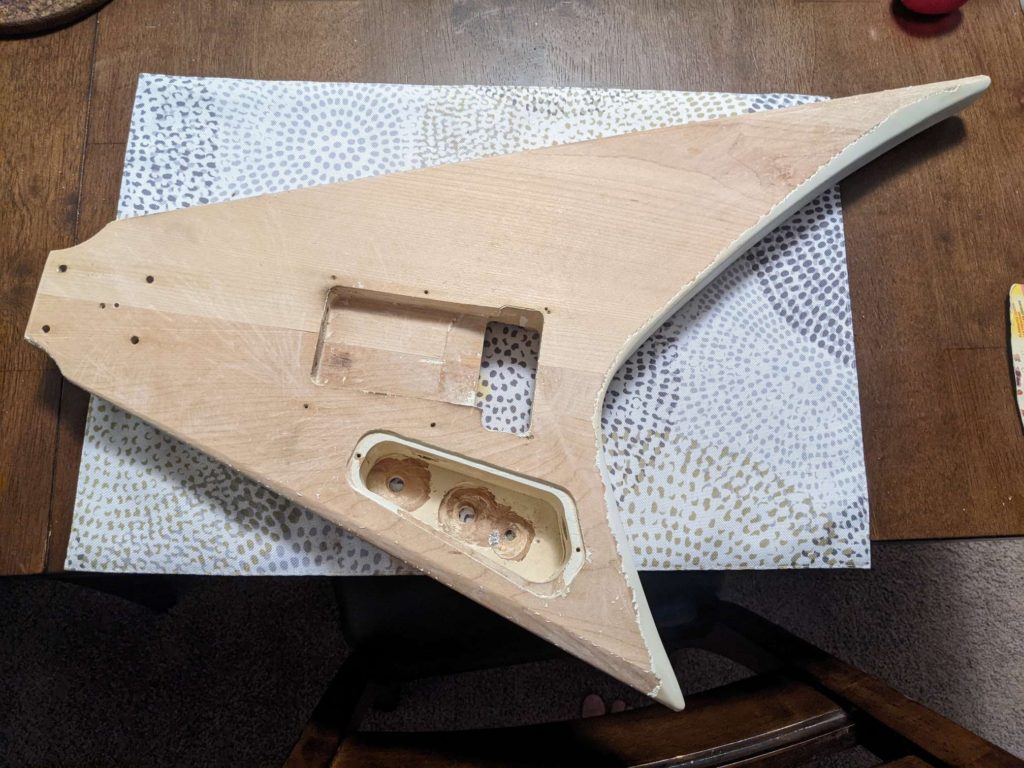
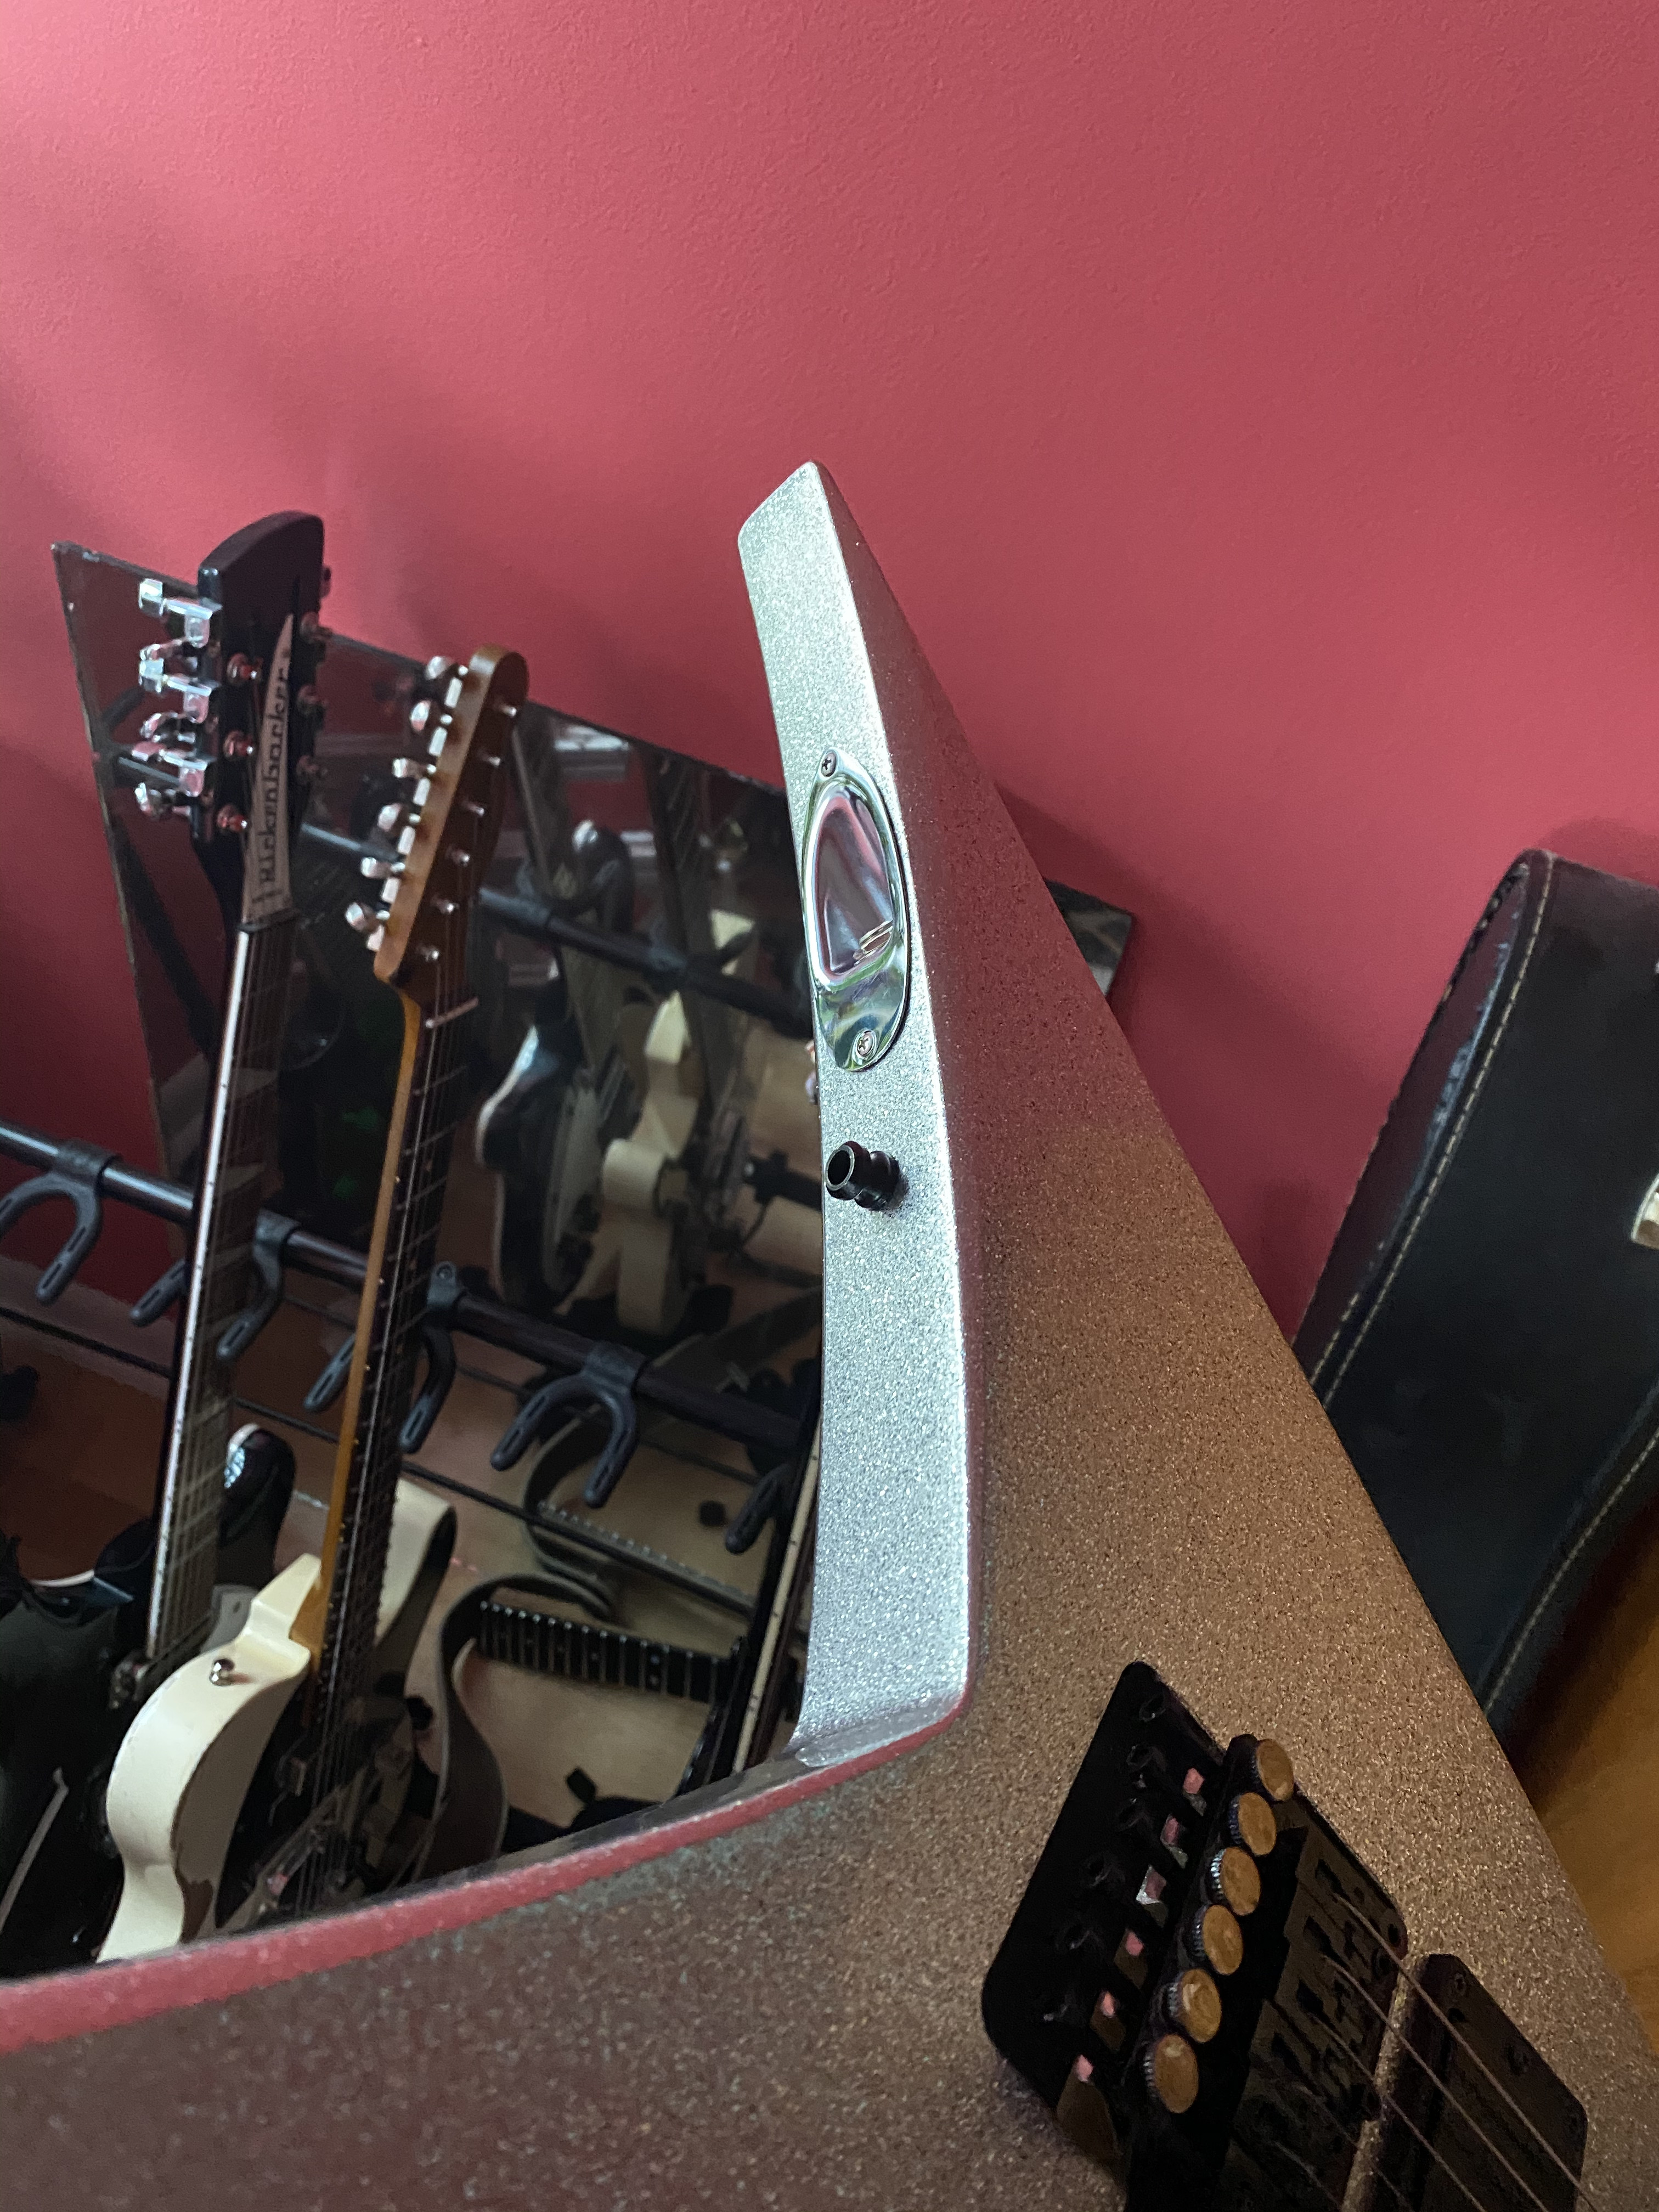
The original output jack on the guitar is in the lower V part and it sticks kinda straight out. This sucks if you ever wanna play sitting down while plugged in.
More modern guitars and even the new Kramer Vanguard have the output jack in the upper V out of the way. Also, they use a Stratocaster style plate for the jack so the cable comes out at an angle.
I am going to do this. I’ll need to cut a recess in the upper V to inste the cover plate and provide clearance for the jack and wiring. I’ll also need to drill a loooong hole for the wires to connect. Because the tremolo routing is so big, I’ll drill into the bridge pickup cavity and route the wires there.
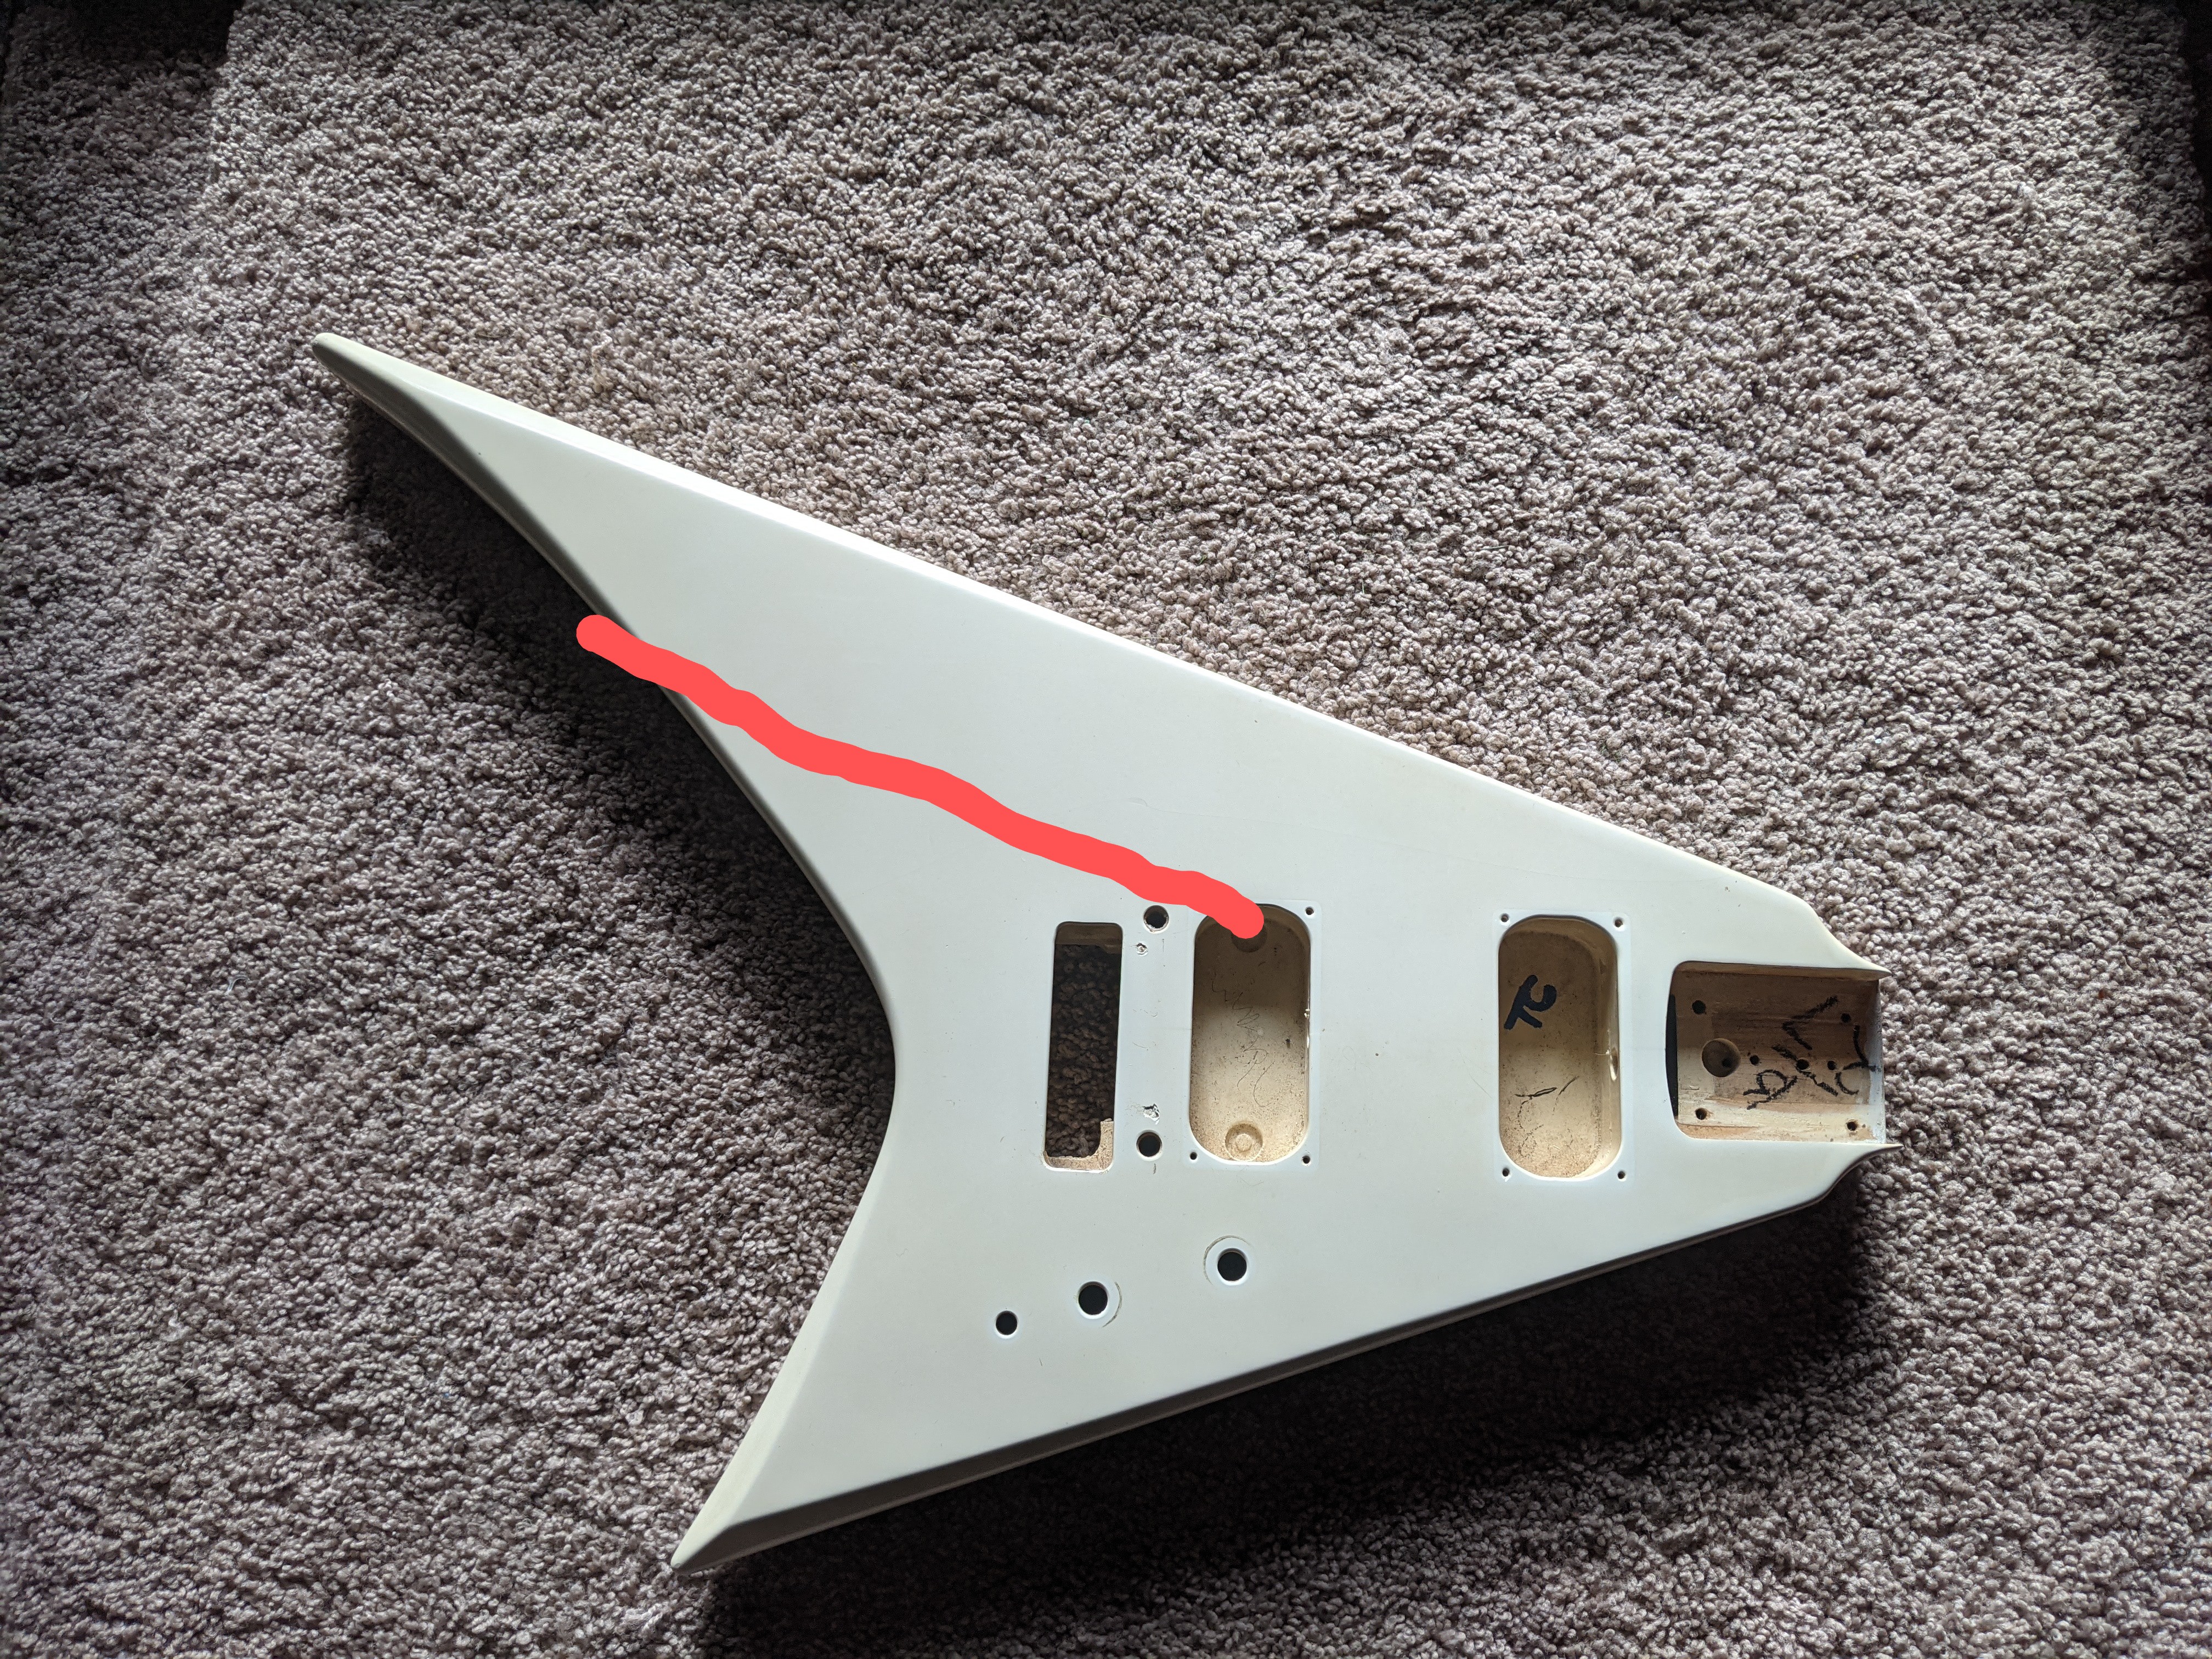
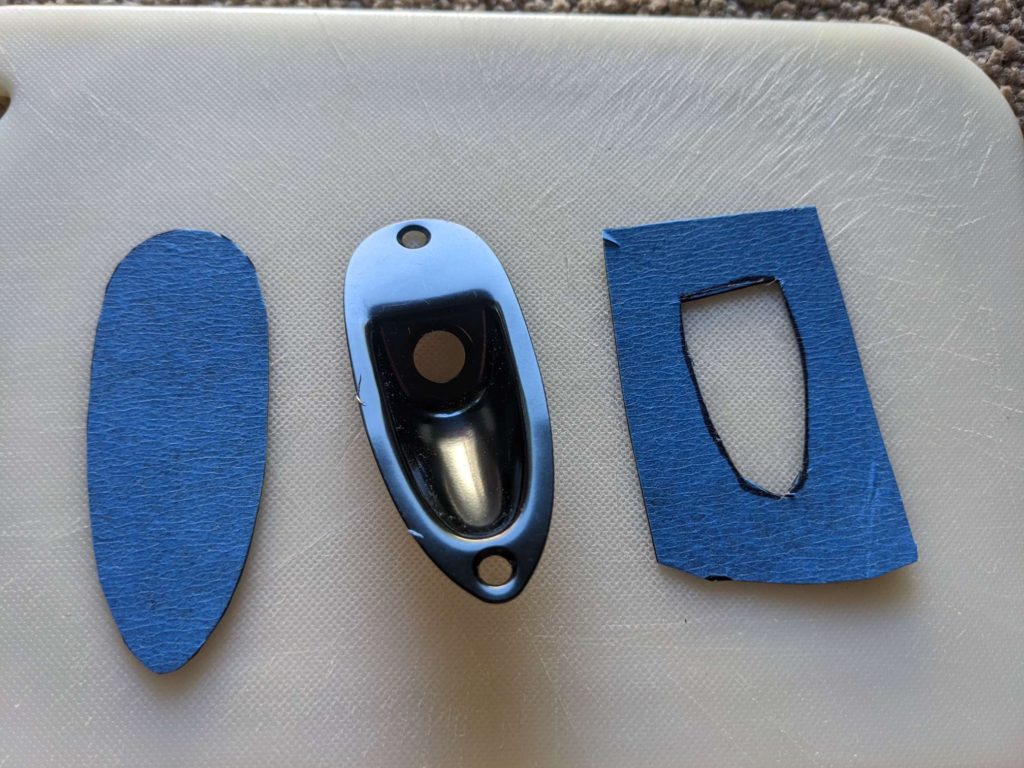
Wish me luck!
I did the routing for the tremolo. It was a pain in the butt. The bit slipped out of the router at one spot…so I have to fix that. I’ll prolly use Bondo or something. That spot won’t show much anyway.
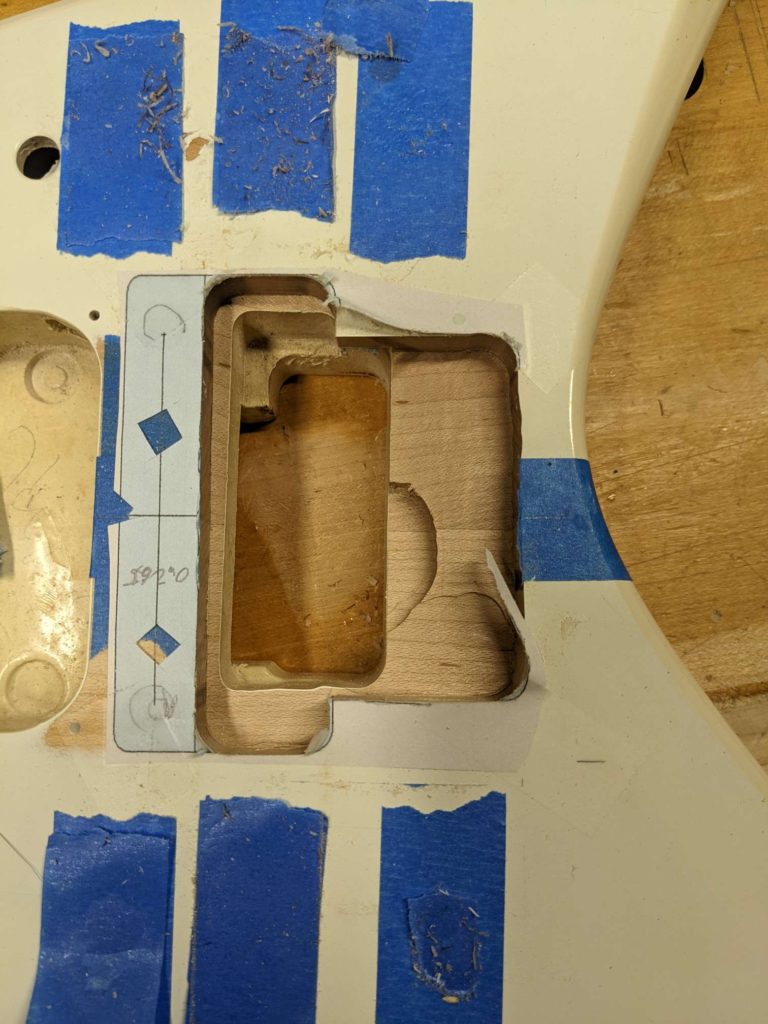
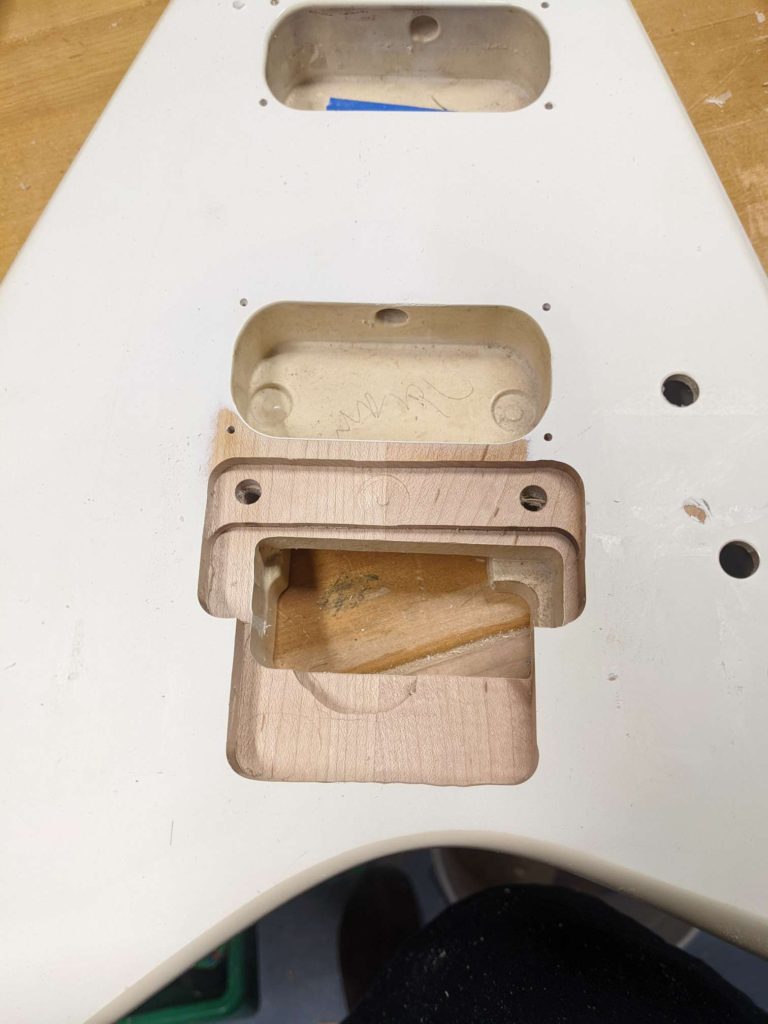
I’ll see how the tremolo fits next. I think I will need to do some fine tuning and that’s no biggie.
The original tremolo on the Kramer was surface mounted. This is just how it was done back then.
I want to install the new one the modern way. This allows the pitch to be raised as well as lowering. This is accomplished by removing all the wood under the tremolo. The tremolo comes with studs/pivots that are raised. At the end of the day, the tremolo is in the same spot.
Floyd Rose gives a handy dandy measurement for routing the body to fit the tremolo. I recreated the part I need in SketchUp and printed it full size (thanks JoJo!) And taped it to the guitar in the correct position. After that, I used some pieces of straight wood to act as guides for the bearing on my trim router bit.
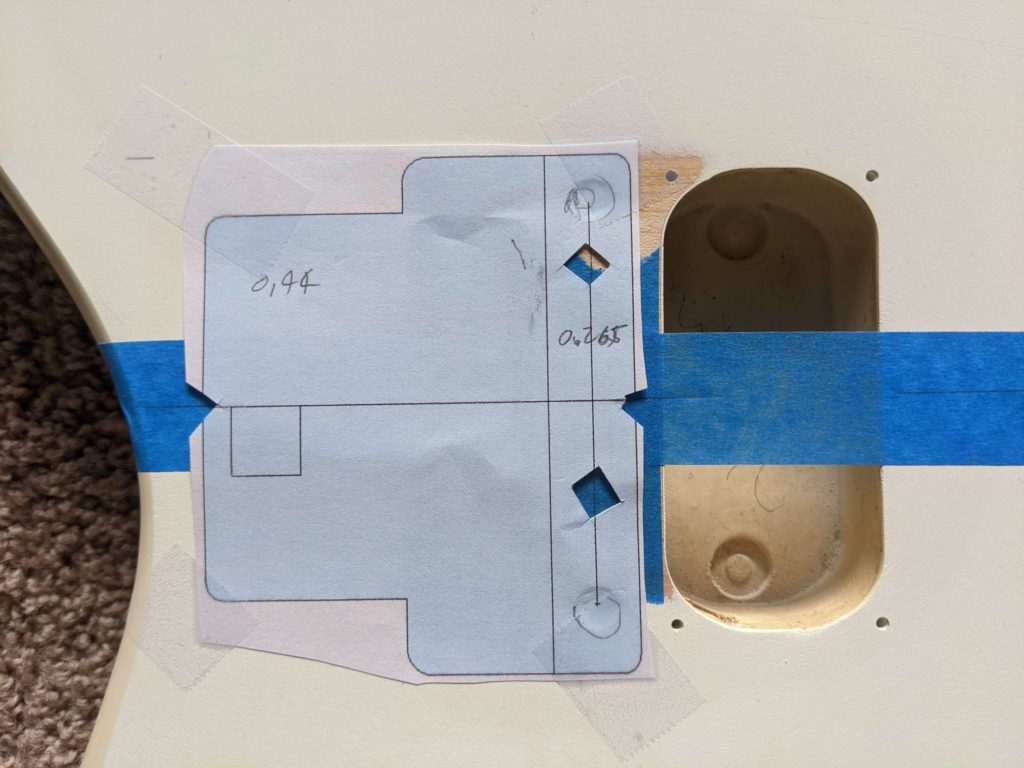
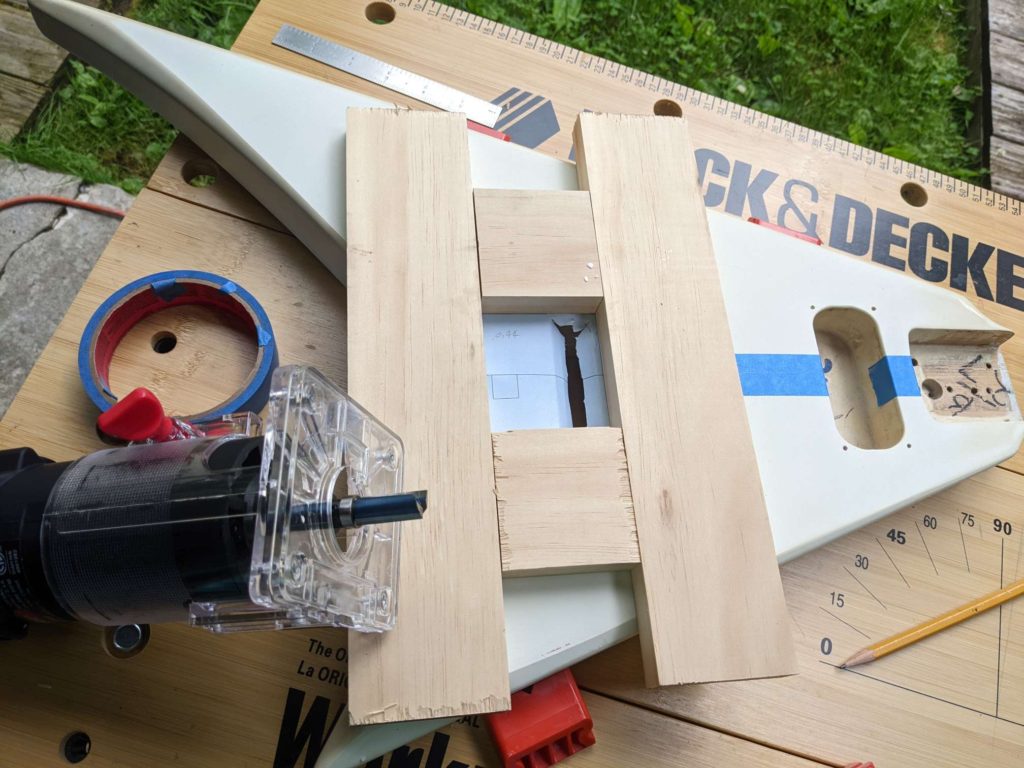
Next step, wood chips!
I’ve done work on lots of other guitars, now I need to get the Less Paul working.
It’s spent the last year or more in my closet. When it was together last, I just did the wiring and strung it up. I found a problem with the wiring and hated the sound of the pickups, and it needed a set up.
I bought some Wilkinson pickups for it and some new wiring parts and there it sat.
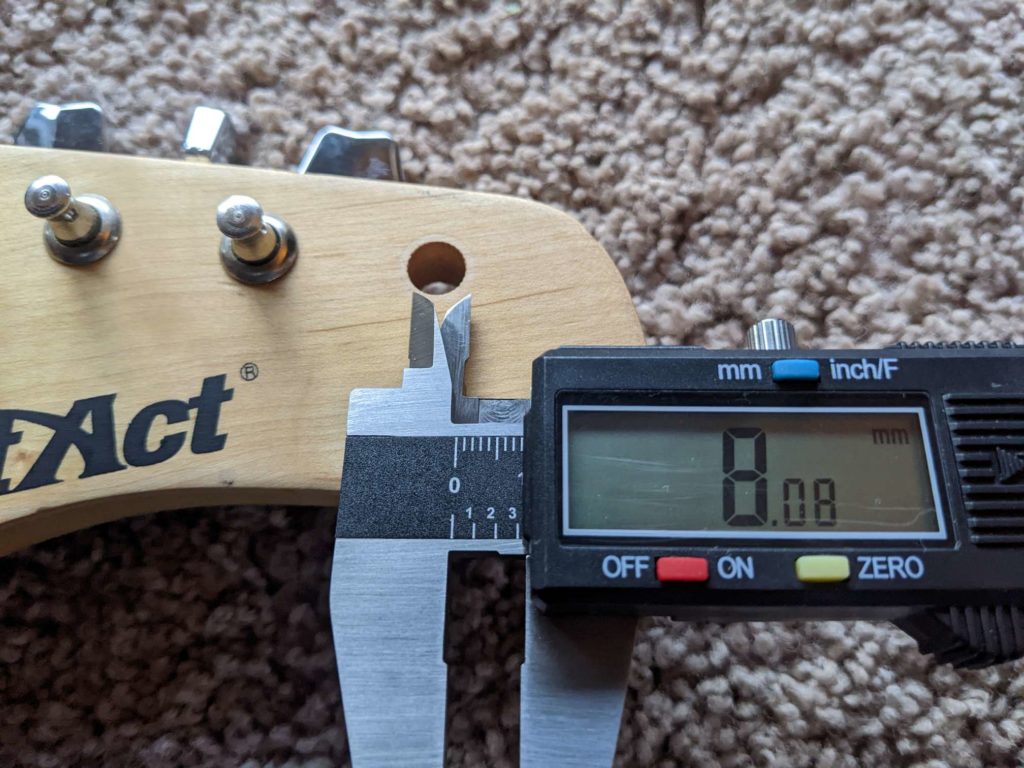
I started working on it yesterday. I removed the nut and did some fretwork on it. Look at this cheap nut that came with the kit! It’s hollow inside!
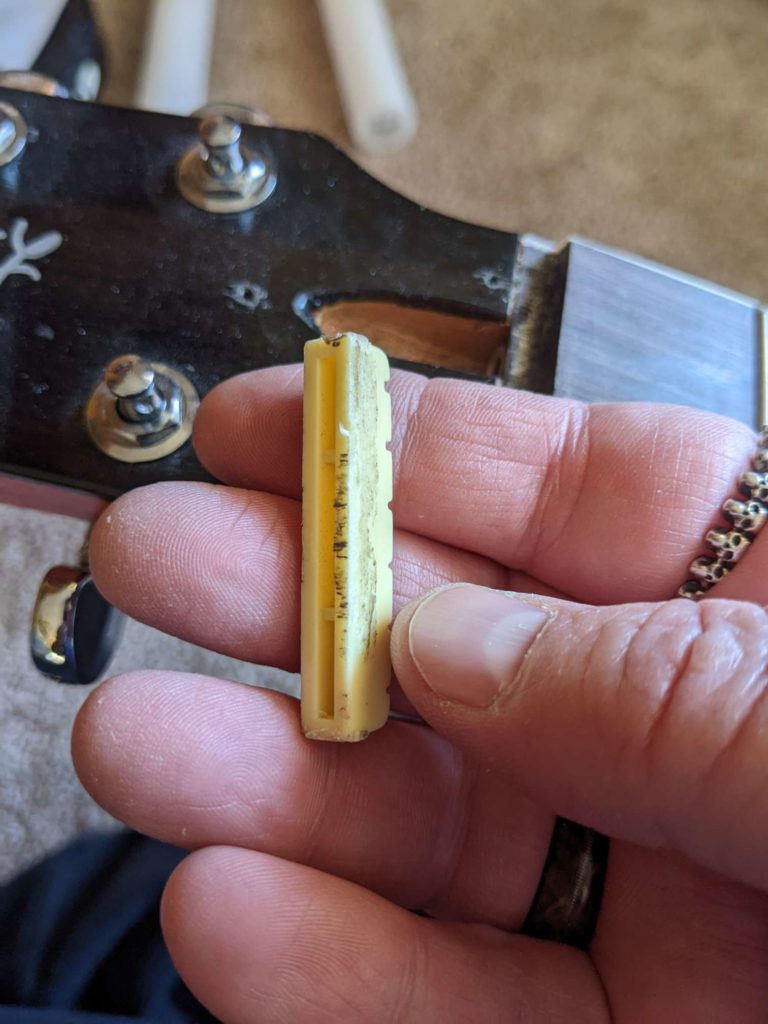
I’ll replace that with a good one.
The site vintagekramer.com has some old scans of Kramer catalogs. I think the guitar I’m rebuilding is from 1986. The site has scans of the catalogs from 1985. Here is the page that has the Vangaurd on it. According to their site, they discontinued the guitar in 1986.
My friend got a First Act Stratocaster clone for free. For those who don’t know, First Act is a guitar brand that used to be sold at toy stores (like Toys ‘R Us) and such.
My friend said he wanted to fix it up and set it up in Nashville tuning which means the four low strings are tuned an octave high (and replaced with lighter gauge).
Plus he correctly thinks whipping out a First Act guitar that plays and sounds cool would be funny!
He asked if I could help and see what it needed. So this guitar shaped object was not in a playable condition.
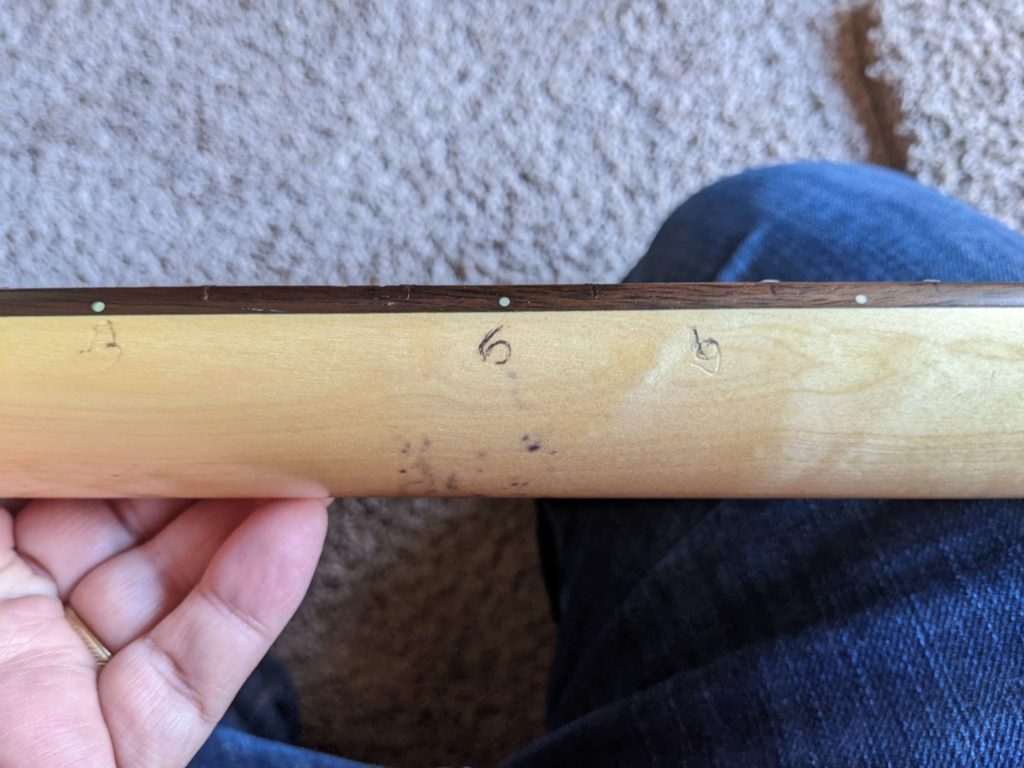
I checked all the electronics out and everything worked. The neck looks like some kind of maple with some kind of rosewood fretboard.
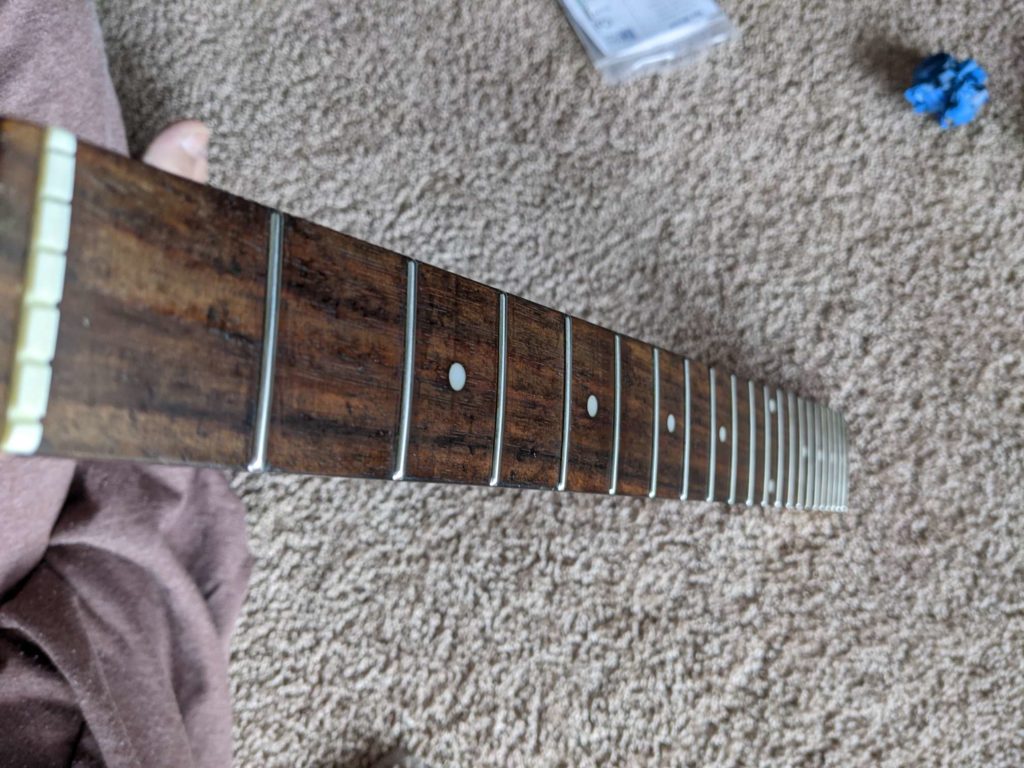
I started by working on the frets. Most of the we’re sticking up and needed to be fixed. If not this thing would never be right and wouldn’t be worth it.
I could get a 0.005″ feeler gauge under almost all the frets. I started by hammering them down with a mallet. This worked for most of them, but some would need to be glued. I ordered some supplies to glue them down.
Next I started to fix the fret ends. I used my files and rounded the ends over until they were nice and smooth.
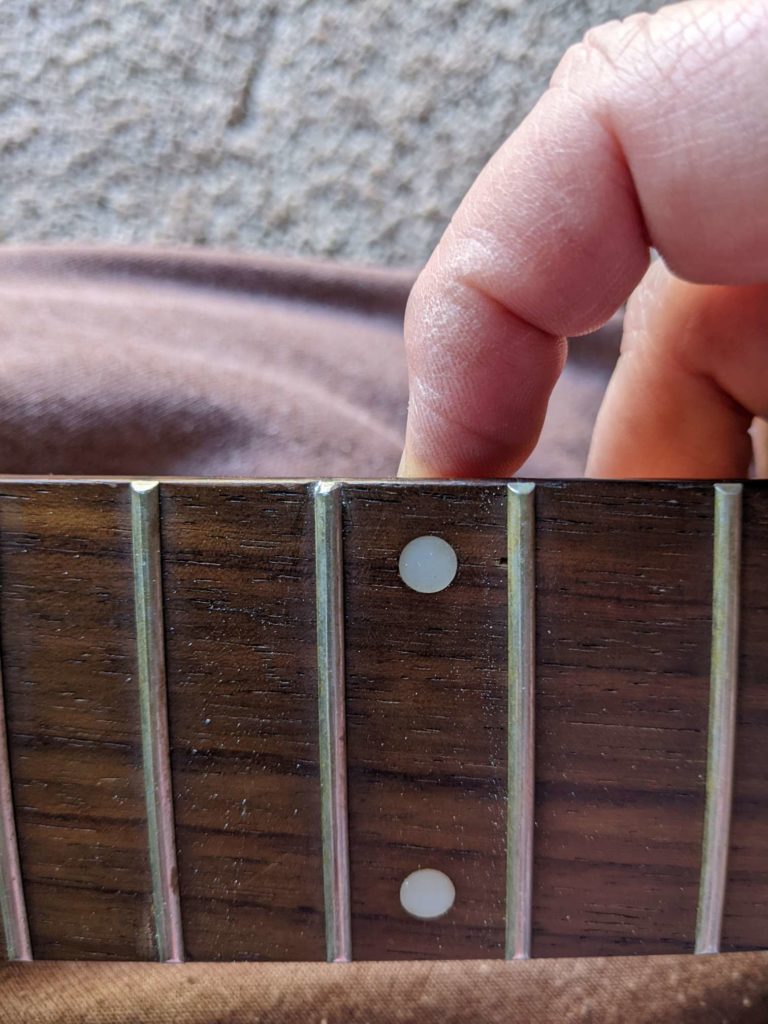
I got the supplies I needed and went about gluing down the problem frets. I applied a TON of oil to the fretboard (it was super dry anyway) so the glue would clean up easier. Then a drop of glue on each side of the fret, then clamp it using a radius block. After about 5 minutes move to the next one. All in all, I glued about 10 frets.
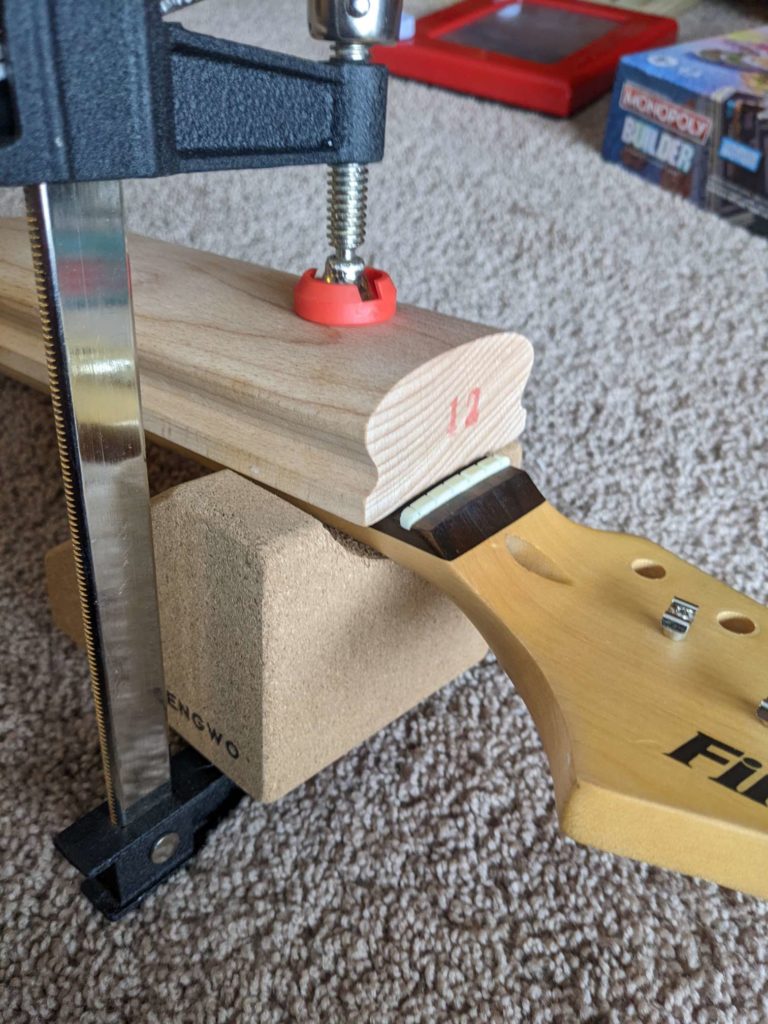
After gluing, now it’s time to level out the high frets. I used a fret rocker to find the high frets and marked the high spots with a sharpie marker. Luckily only about 6 frets needed to be dressed.
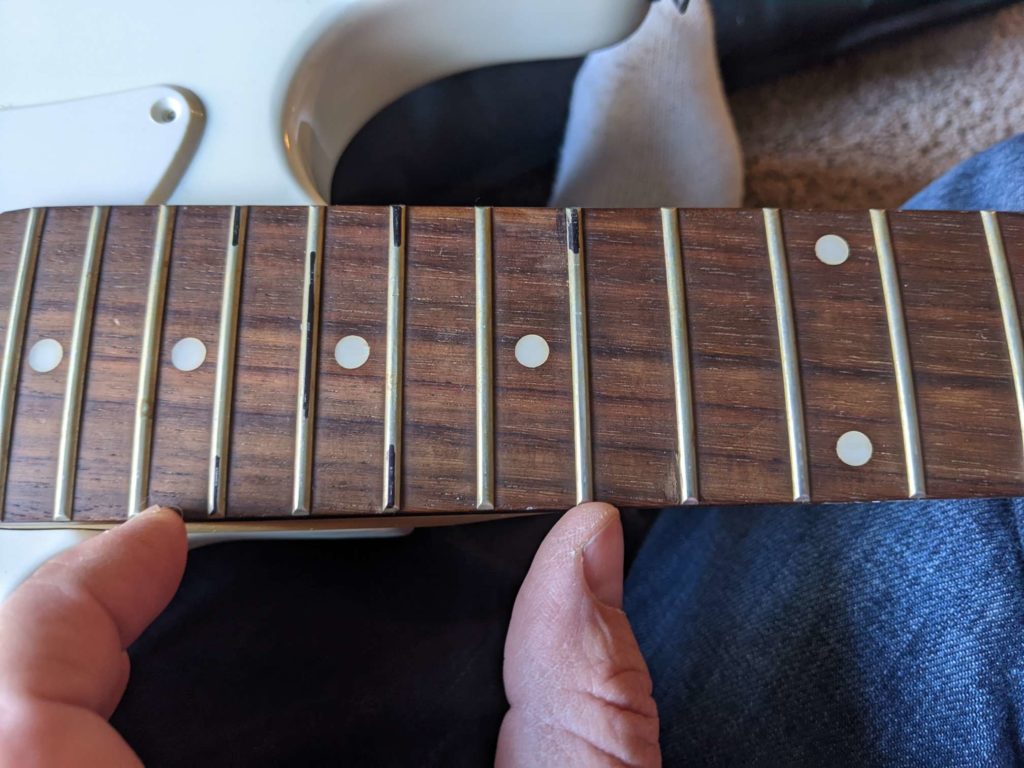
Next I used my feet crowning file to knock off the high spots. For stubborn ones, I used a more aggressive triangle file.
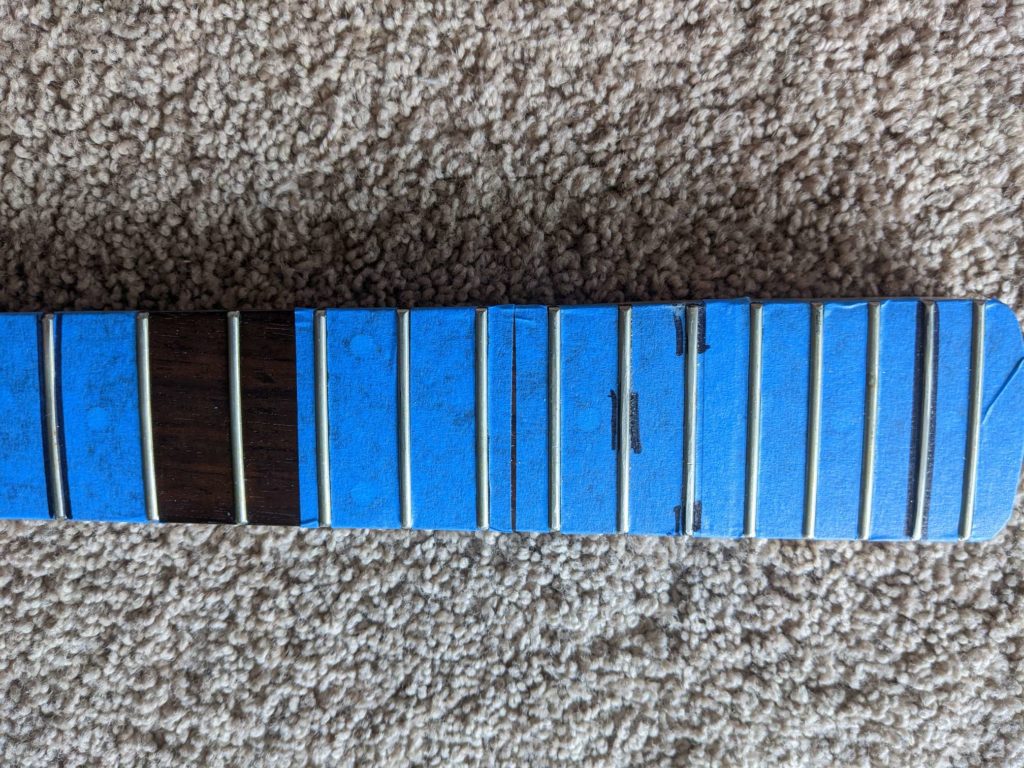
Now the tops of the frets are flat and need to be made round again. I used my feet dressing file for this (the one that I round the ends with).
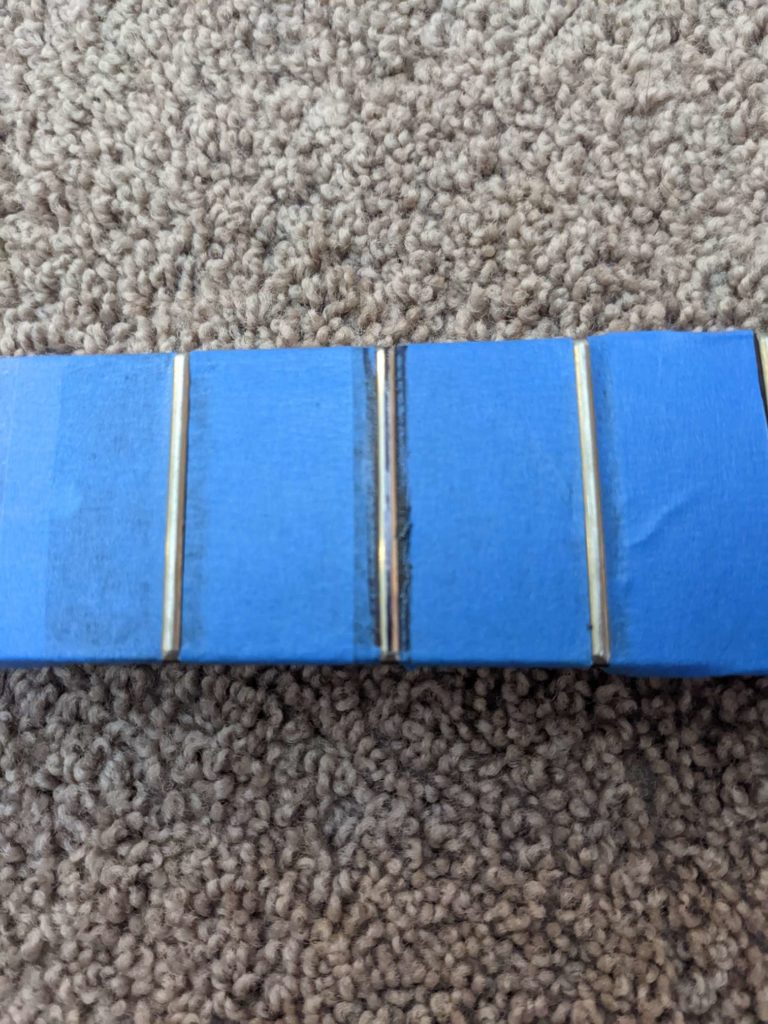
Now it’s time to clean and polish the frets. I use my micro mesh pads for this. The end result is a mirror finish!
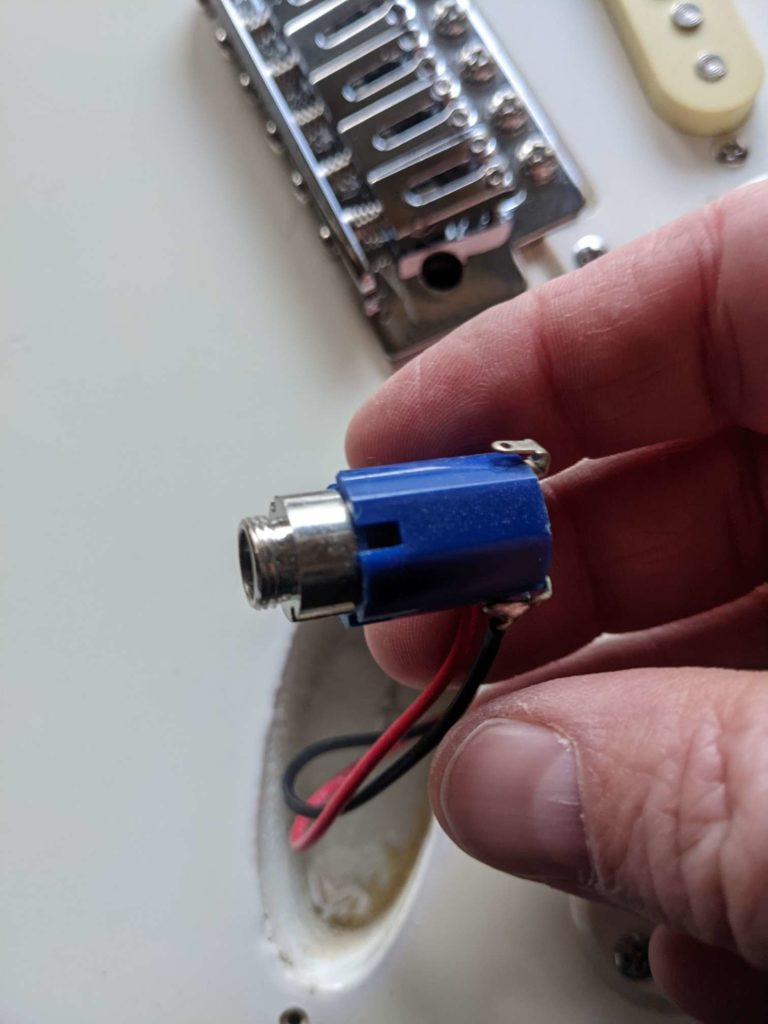
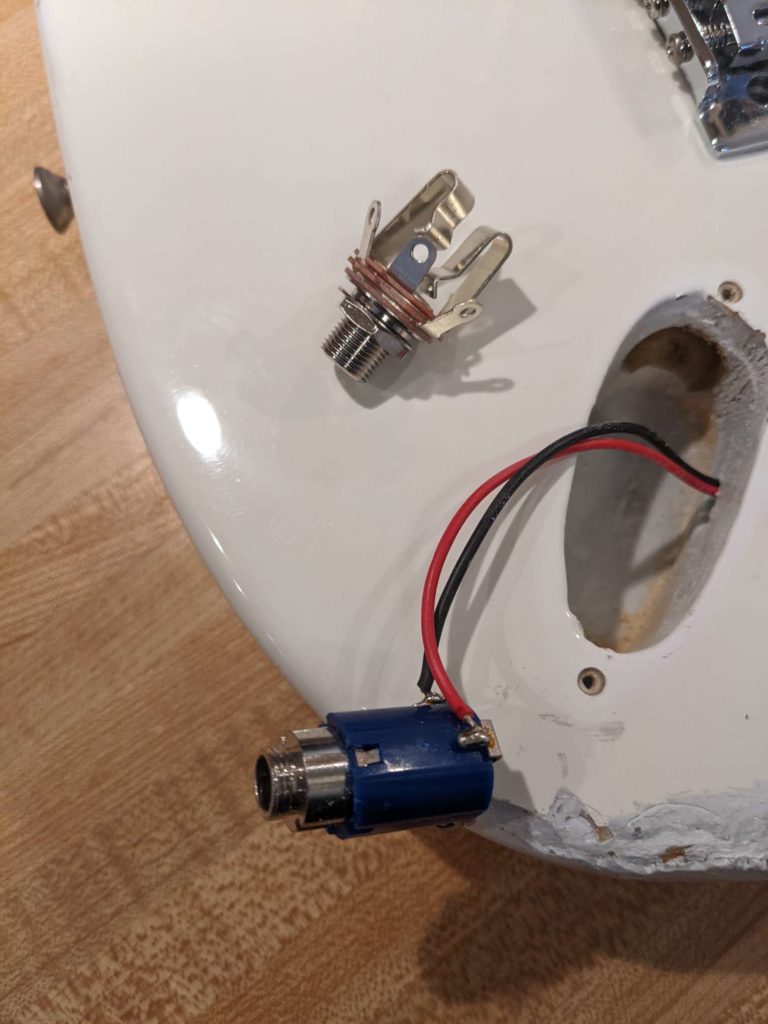
Next job is to replace that shitty plastic input jack. 5 minutes and a soldering iron is all that takes.
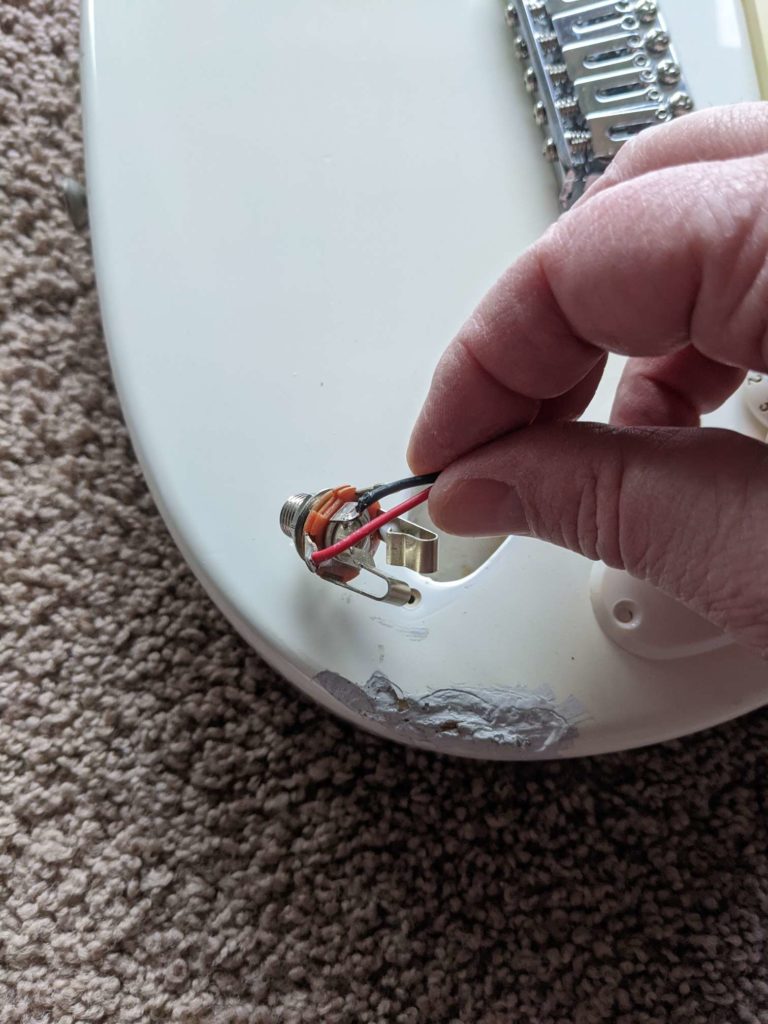
Nex job was reassembly and strings. I don’t have Nashville strings so I just used a pack of 9s. After that a setup.
I adjusted the truss rod (it was too tight and back bowed the neck. The action was a MILE high (prolly to defeat the buzz from the back bowed neck). The intonation was way out.
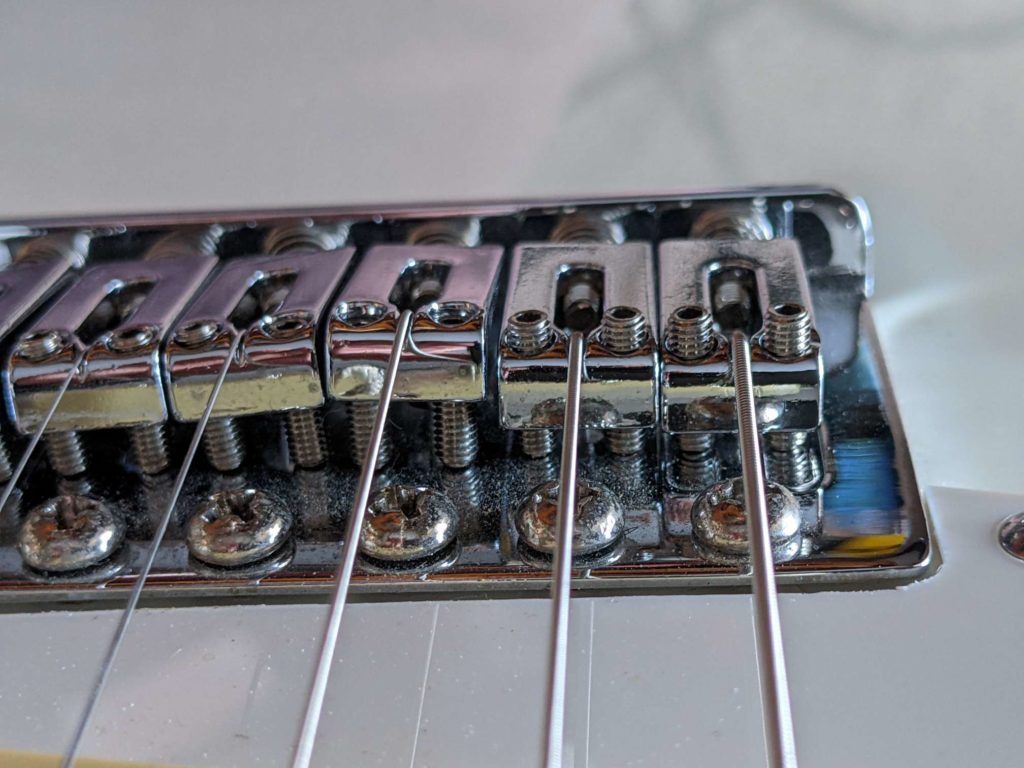
The guitar plays pretty good now. The action and frets feel great. It sounds kinda cheap, but pretty good.
The nut slots are still high and we need some Nashville strings. My friend is coming over soon to help finish this beast.
We strung it up with Nashville tuning. Nashville style tuning has the 4 low strings tuned up an octave higher than normal. In order to do this we we used a set of strings for a 12 string electric guitar.
You start with using normal high E and B strings. Then you use the octave strings for the G, D, A, and E. It’s kinda funny because the G string was a smaller gauge (0.008) than the high E (0.010). The only wound string on the guitar is the low E.
Because it is a chepamundo guitar we had to file the nut slots a half t to get the first fret action right.
Other than having the cheap stock pickups, it sounds cool as hell! Here is a video of my friend playing it.
I have had my bass for a few years now. It is a Squier Classic Vibe 70’s Jazz Bass. For Christmas, my lovely children got me a new bridge a Hipshot Kickass bridge.
Read on to see more
You must be logged in to post a comment.