The geetar is assembled and making noise. It is now that it becomes a guitar again for the first time in forever. Next is time to do the setup.
First up is putting strings on and putting springs in the tremolo. I like Ernie Ball Super Slinkies for the extreme bendiness they impart.
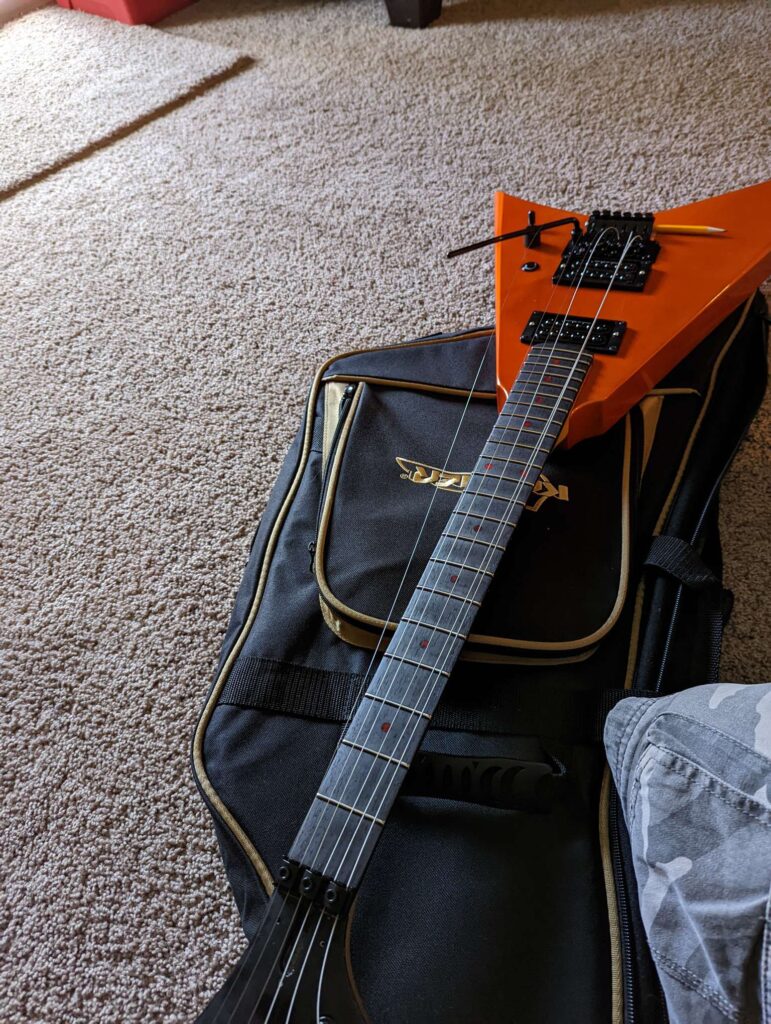
Next is the “fun” part of setting up a Floyd Rose. You have to balance the pull of the strings against the pull of the springs on the back. You keep going back and forth between tightening the strings and adjusting the claw that holds the springs to bring both up to full tension at the same time. At the end of the day, you need to have the strings tuned to pitch at the same time keep the bridge in a level position. It kinda sucks, but a properly set up Floyd is heckin fun!.
The new frets on the neck are taller than the old ones. This means the action at the first fret is too low (the strings buzz when played open). There should be a gap between the first fret and the string. This website says the gap should be 0.024″ on E and 0.010″ on the e.
I loosened the nut and inserted some feeler gauges underneath until I had the correct gap. Then I cut chunks of the feeler gauge off and pushed them in.
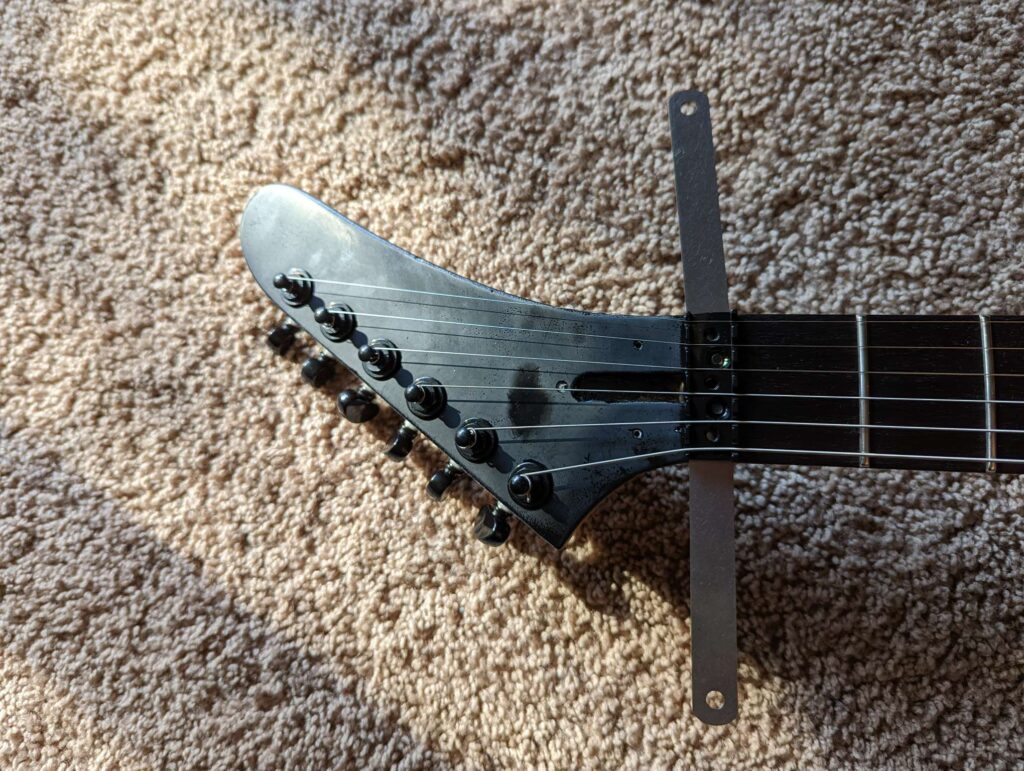
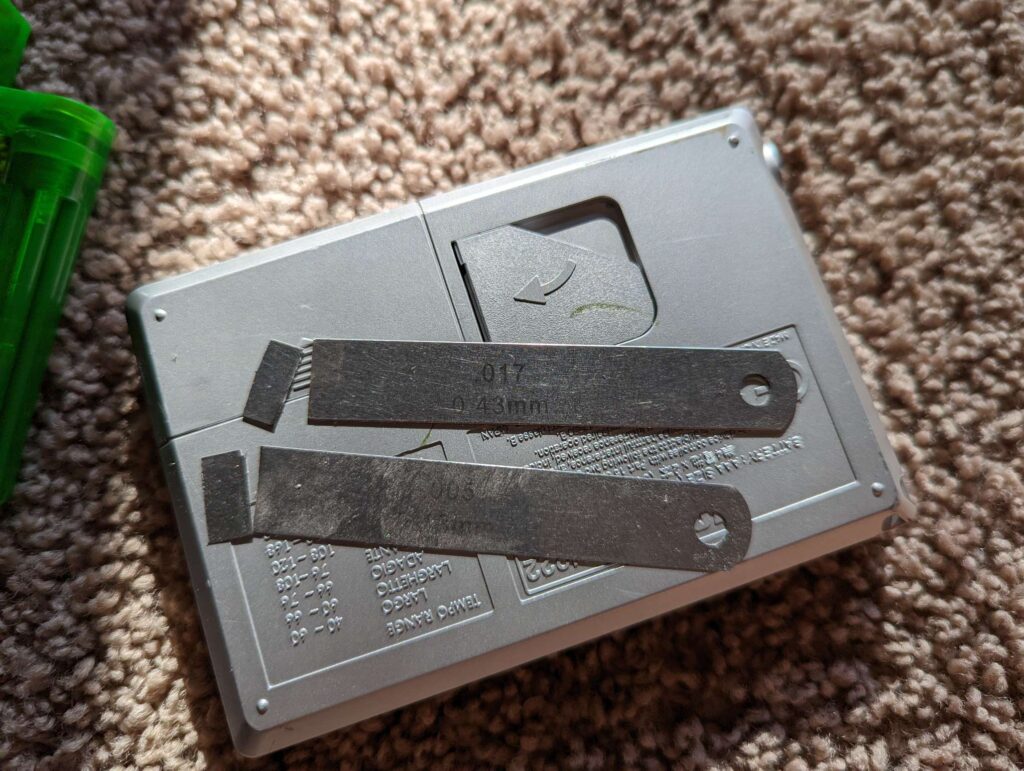
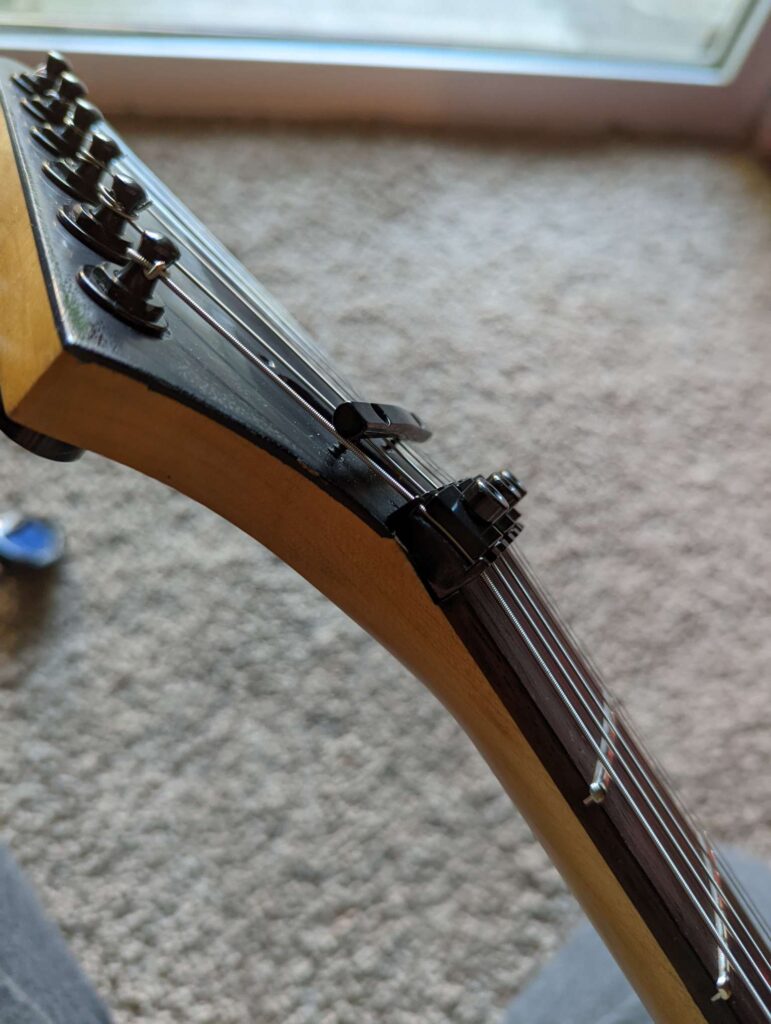
Then I checked everything else. I’ll check it in a few days, but the truss rod didn’t need any adjustment 😲. I checked the intonation and incredibly it was perfect on 4 strings and close enough on the other 2. I’ll leave it alone and let it settle into being a guitar for a few days before finishing the set up. I also fine tuned the action, and set the pickup heights.
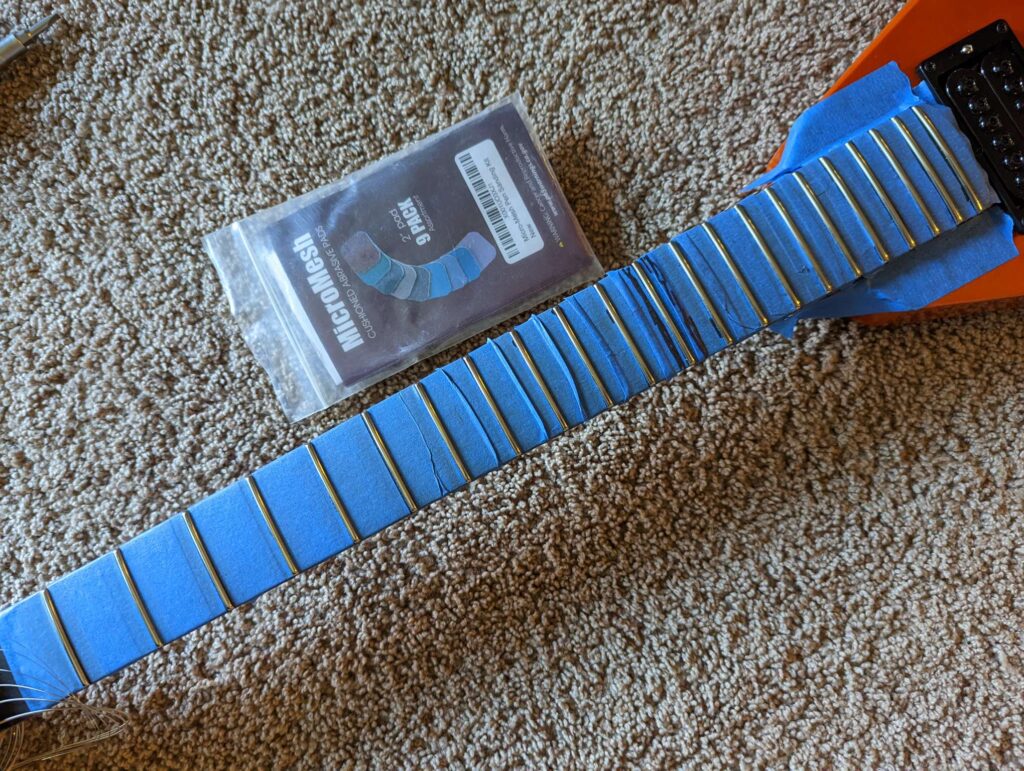
I also polished up the frets using micro mesh pads. These things are great and put a mirror finish on frets and maximize total bendiness. I tape the fretboard off to protect it from polishing crud and go through all the pads (I have a set of 9). The last few pads really make a difference.
There are a few jobs left to do, but they are back burner for now.
- Wait for the moose to deliver the decal
- Install the decal and clear/polish the headstock face
- Make truss rod cover
- Make new control cavity cover
- Make cover for the tremolo cavity

You must be logged in to post a comment.