Categories
Less-Paul

Tuning Machines Installed

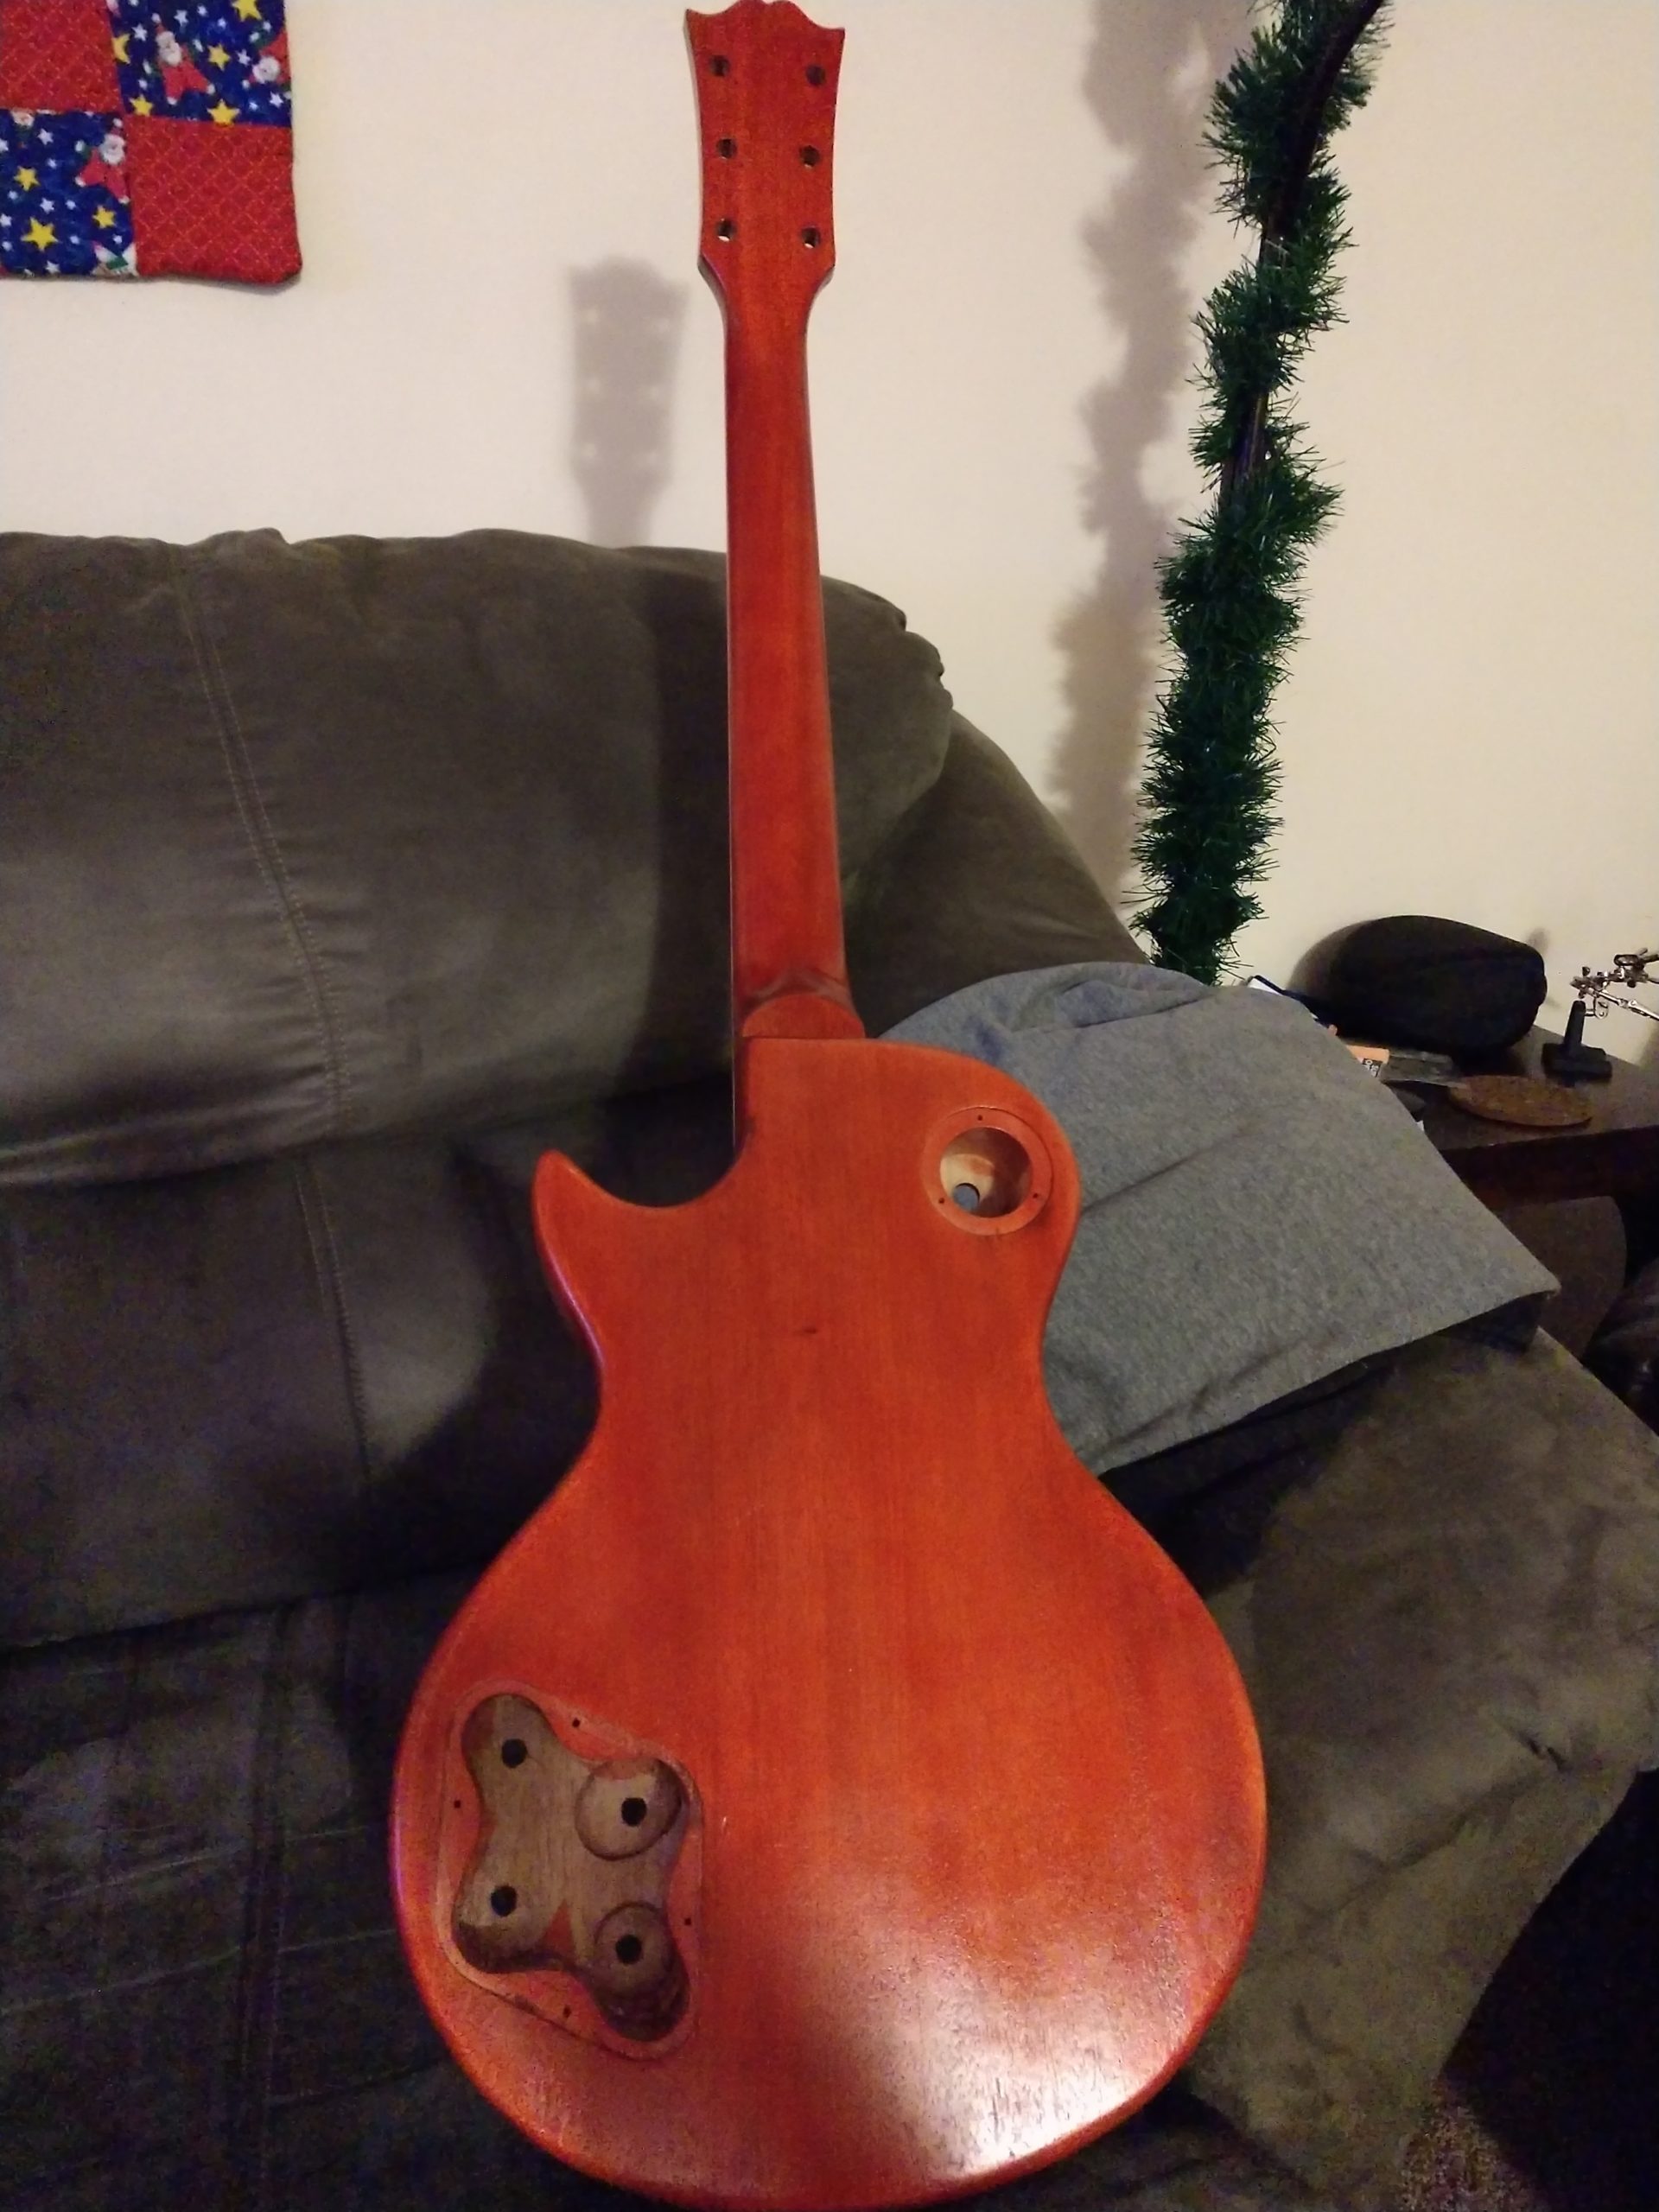
I installed the tuning machines just now. My trusty old $3 egg beater drill and the ruler I use for string height are the best tools for the job. The tuning machines are Grover 18:1. The tuning machines the kit came with sucked and felt loose.

Categories
Less-Paul

Wiring 1

I started wiring up the body. I installed the 3-way switch, volume and tone knobs. I suck at soldering. I’ll probably install the jack tonight.

Categories
Less-Paul

Binding is Scraped

I scraped the binding on the neck and body. It looks really sweet, but there are now some scratches in the lacquer that need to be cleaned up. I scraped the lacquer off the body using my wood marking knife. It was very tedious.

I also put the bridge and tailpiece bushings into the body. I dropped in the pickups and pickguard to see what it will look like and I like it!

Categories
Less-Paul

Tuning Machines!

The chinesium tuning machines that came with the kit are pretty bad, so o got a set of sweet Grover tuners.

Categories
Less-Paul

Clear Coats

I put a bunch of clear coats on the guitar and it looks good! I lightly sanded between many of the coats just to knock dust spots and high spots off.


It looks excited!

I’m going to let the lacquer harden for a while (the say 7-10 days). Then I will sand and polish a bit.

Categories
Less-Paul

Headstock Lettering

I applied a couple coats of clear lacquer to the headstock, and now it’s time for lettering!

I laid out the area where the “Les Paul” goes using blue tape and a photo of a ’58 headstock as a reference.

Blue tape defines the border.

Next I enlisted the wife to use her cursive skills and a silver paint pen to write Less Paul (punny, right?)

Now it’s time to apply a punny sticker I had made.

All done and ready for some sealer.

Categories
Less-Paul

Spraying the Back and Neck

I want to color the back of the neck, and the back of the body red. I needed to mask off the top so I wouldn’t screw it up. I also made a handle to hold it by. The handle is mounted in the bridge pickup hole.

The mask and the handle.

After I masked it off, I sprayed the back cherry red

Categories
Less-Paul

Spraying More Burst

After letting the burst dry for a bit, i determined I wanted to do a bit more…

  1. I wanted the perimeter a bit darker red.
  2. I wanted to fix the dark spots near the controls

I sanded the dark spots a bit and took care of them pretty much. Then I sprayed more red. I got the edge looking like I wanted to, but I added a couple more “apprentice marks” that add character (as the wife calls it). I’m still happy with the results. Remember I’ve never painted a guitar before, let alone sprayed a burst.

The ugly spot is near the 3-way switch, and there are a couple dots here and there.

It looks less orange in person.

Categories
Less-Paul

Spraying the Burst

Today is the day to spray the burst. I was super nervous about it looking shitty. Spoiler, it came out pretty good.

The paint I bought is a cherry red sunburst finishing kit from stewmac.

I wanted to spray the top first, so I masked off the sides with blue tape.

Then I sprayed the top amber.

Next came the cherry red.

Categories
Less-Paul

Test Painting

I tried the ber and red lacquer put on a piece of maple I had. It looks pretty cool!