
My friend has a cool Telecaster that had an unfortunate accident. Flash forward to 2021 and he doesn’t like the guitar too much. I offered to set it up for him.
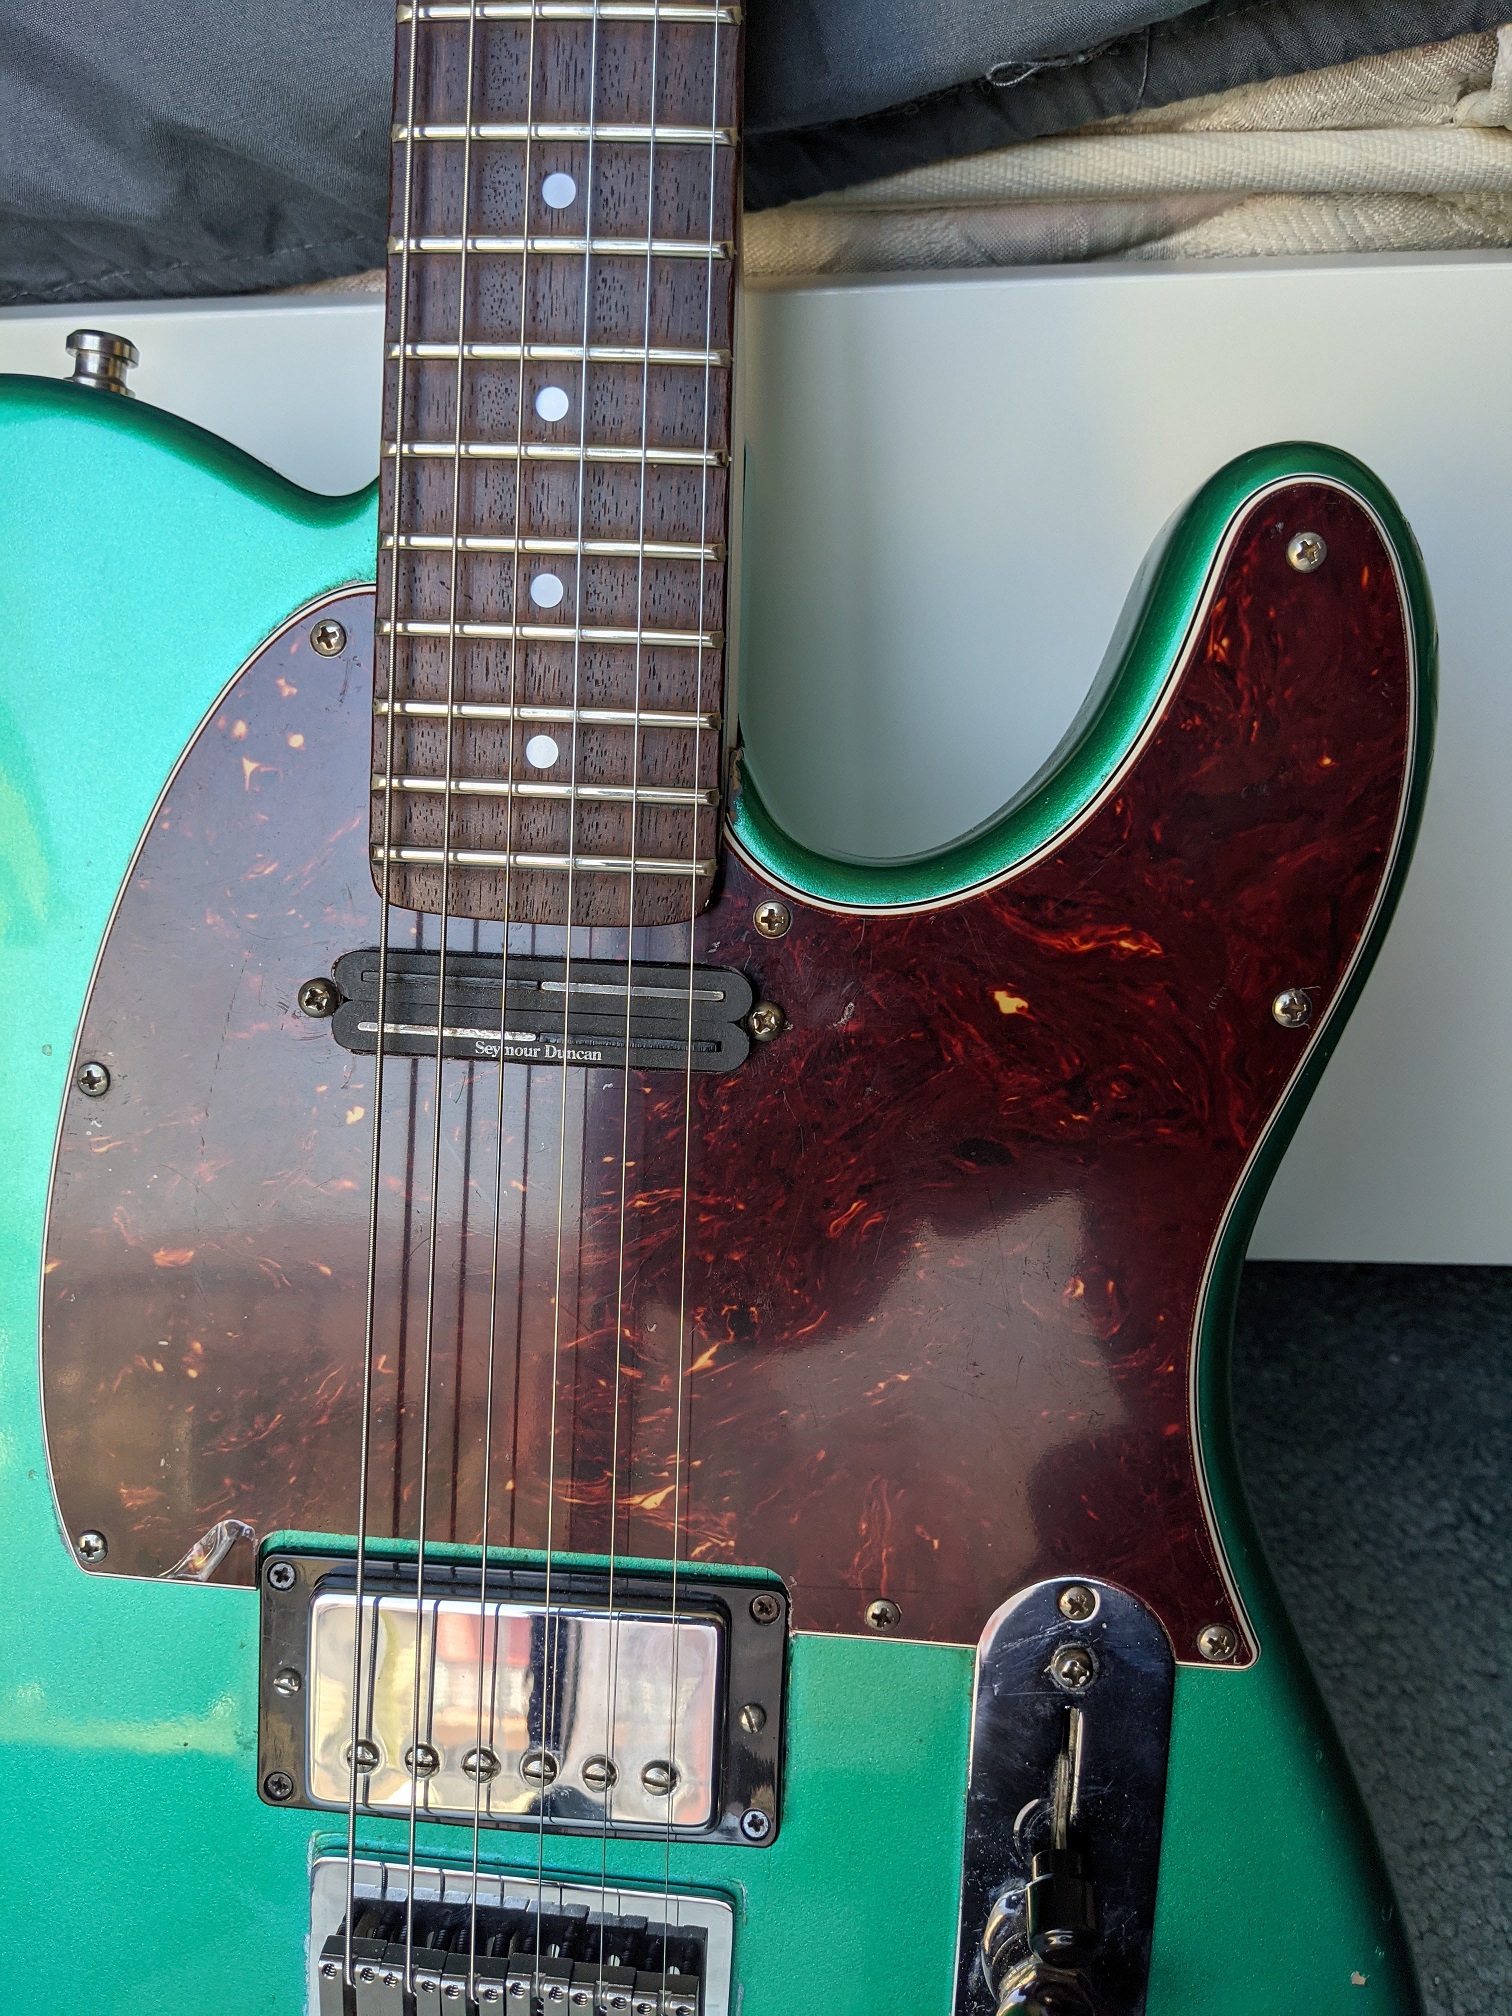
It’s a Tele with swapped out pickups, a cheapo neck (the fret ends could saw plywood), a bridge to match the neck, and a lovely modified pickguard.
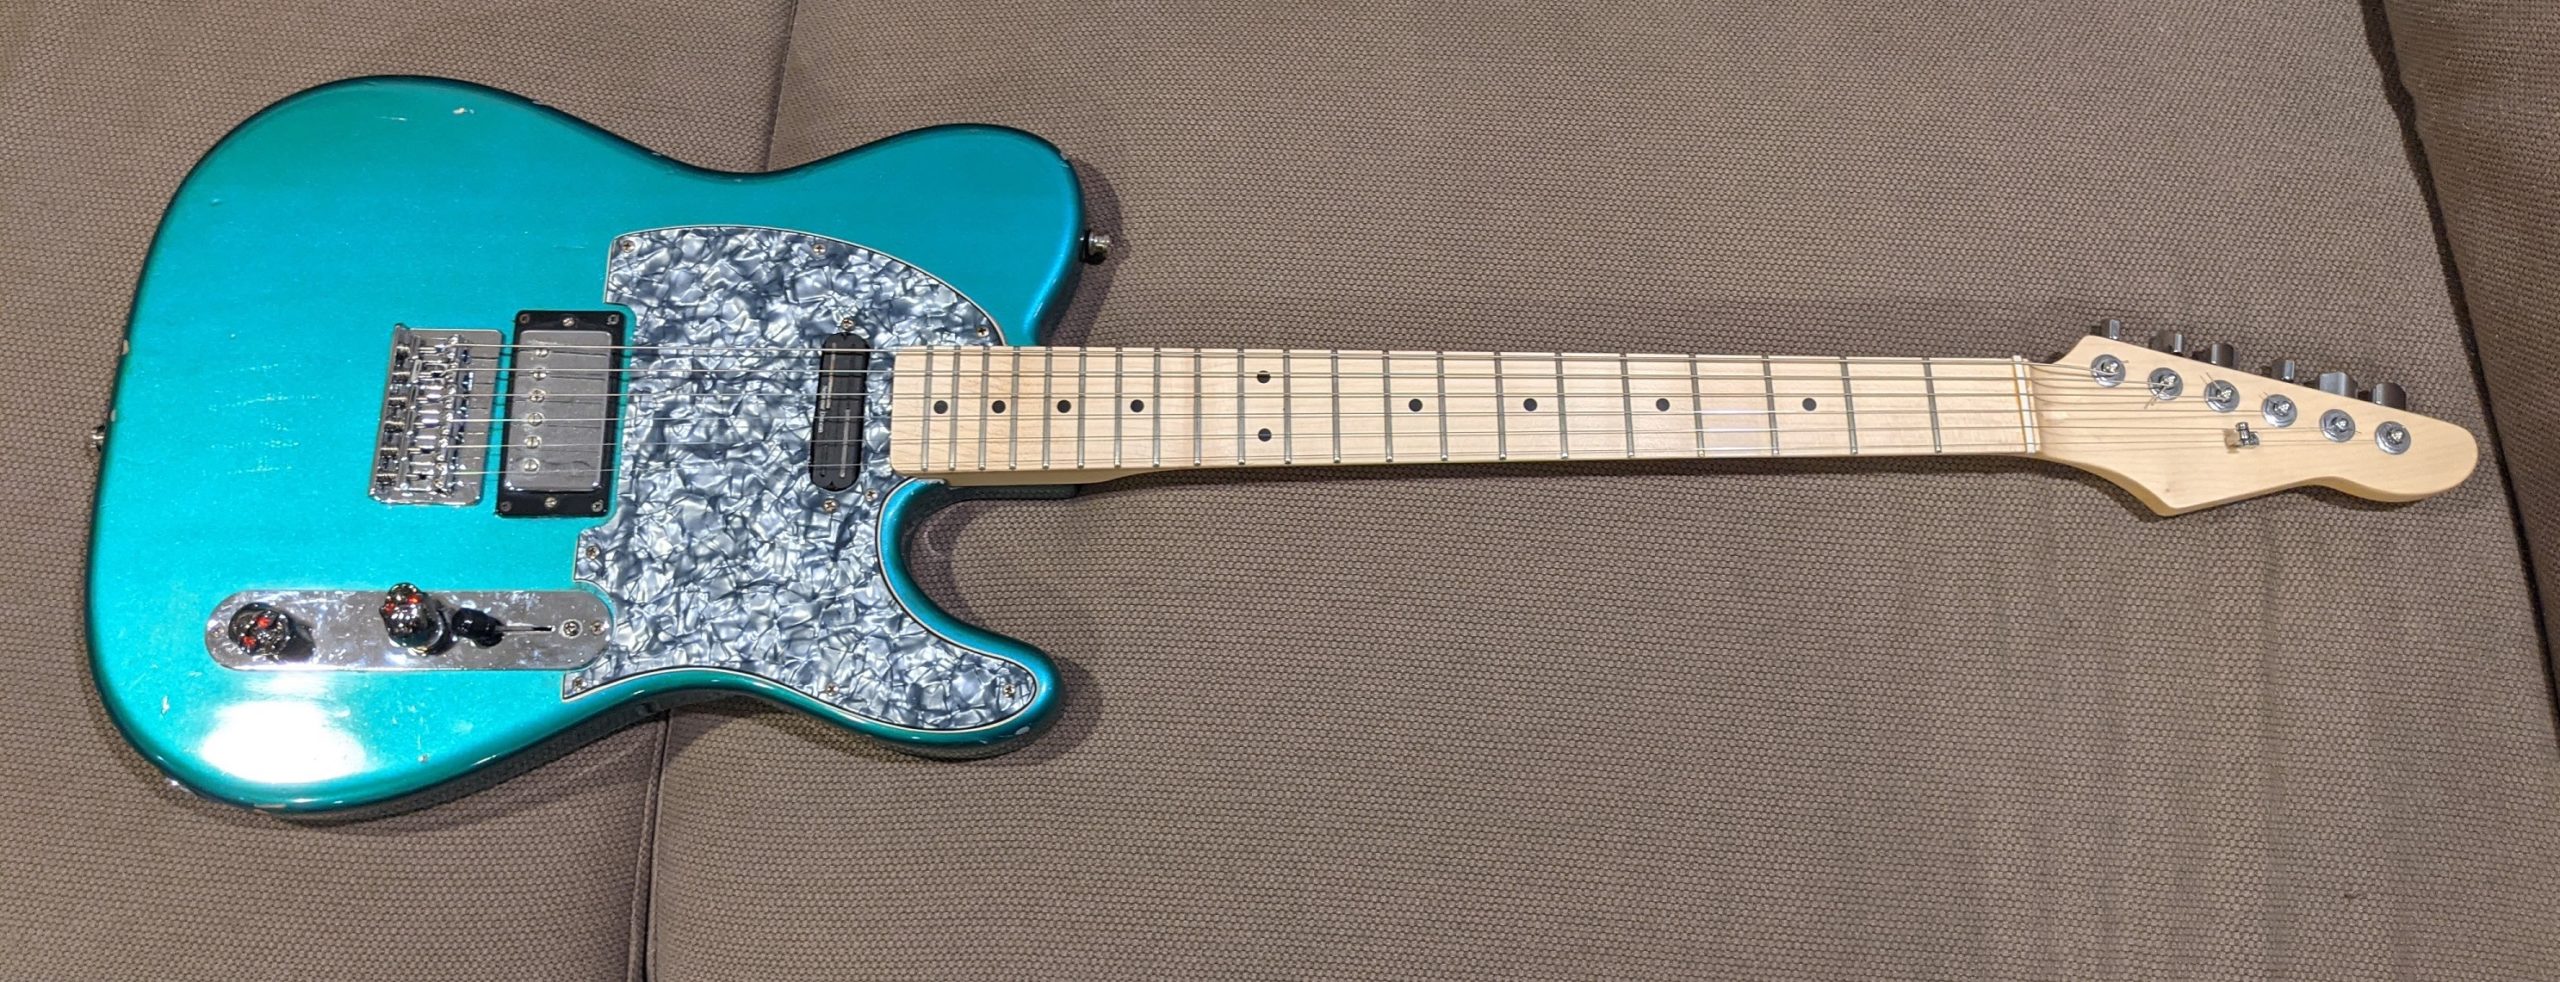
My friend said the intonation was off and he didn’t like the feel of the guitar. I offered to swap the strings and see if I can make it play better.
When I got it home and played around with I decided to upgrade a few parts.
The neck
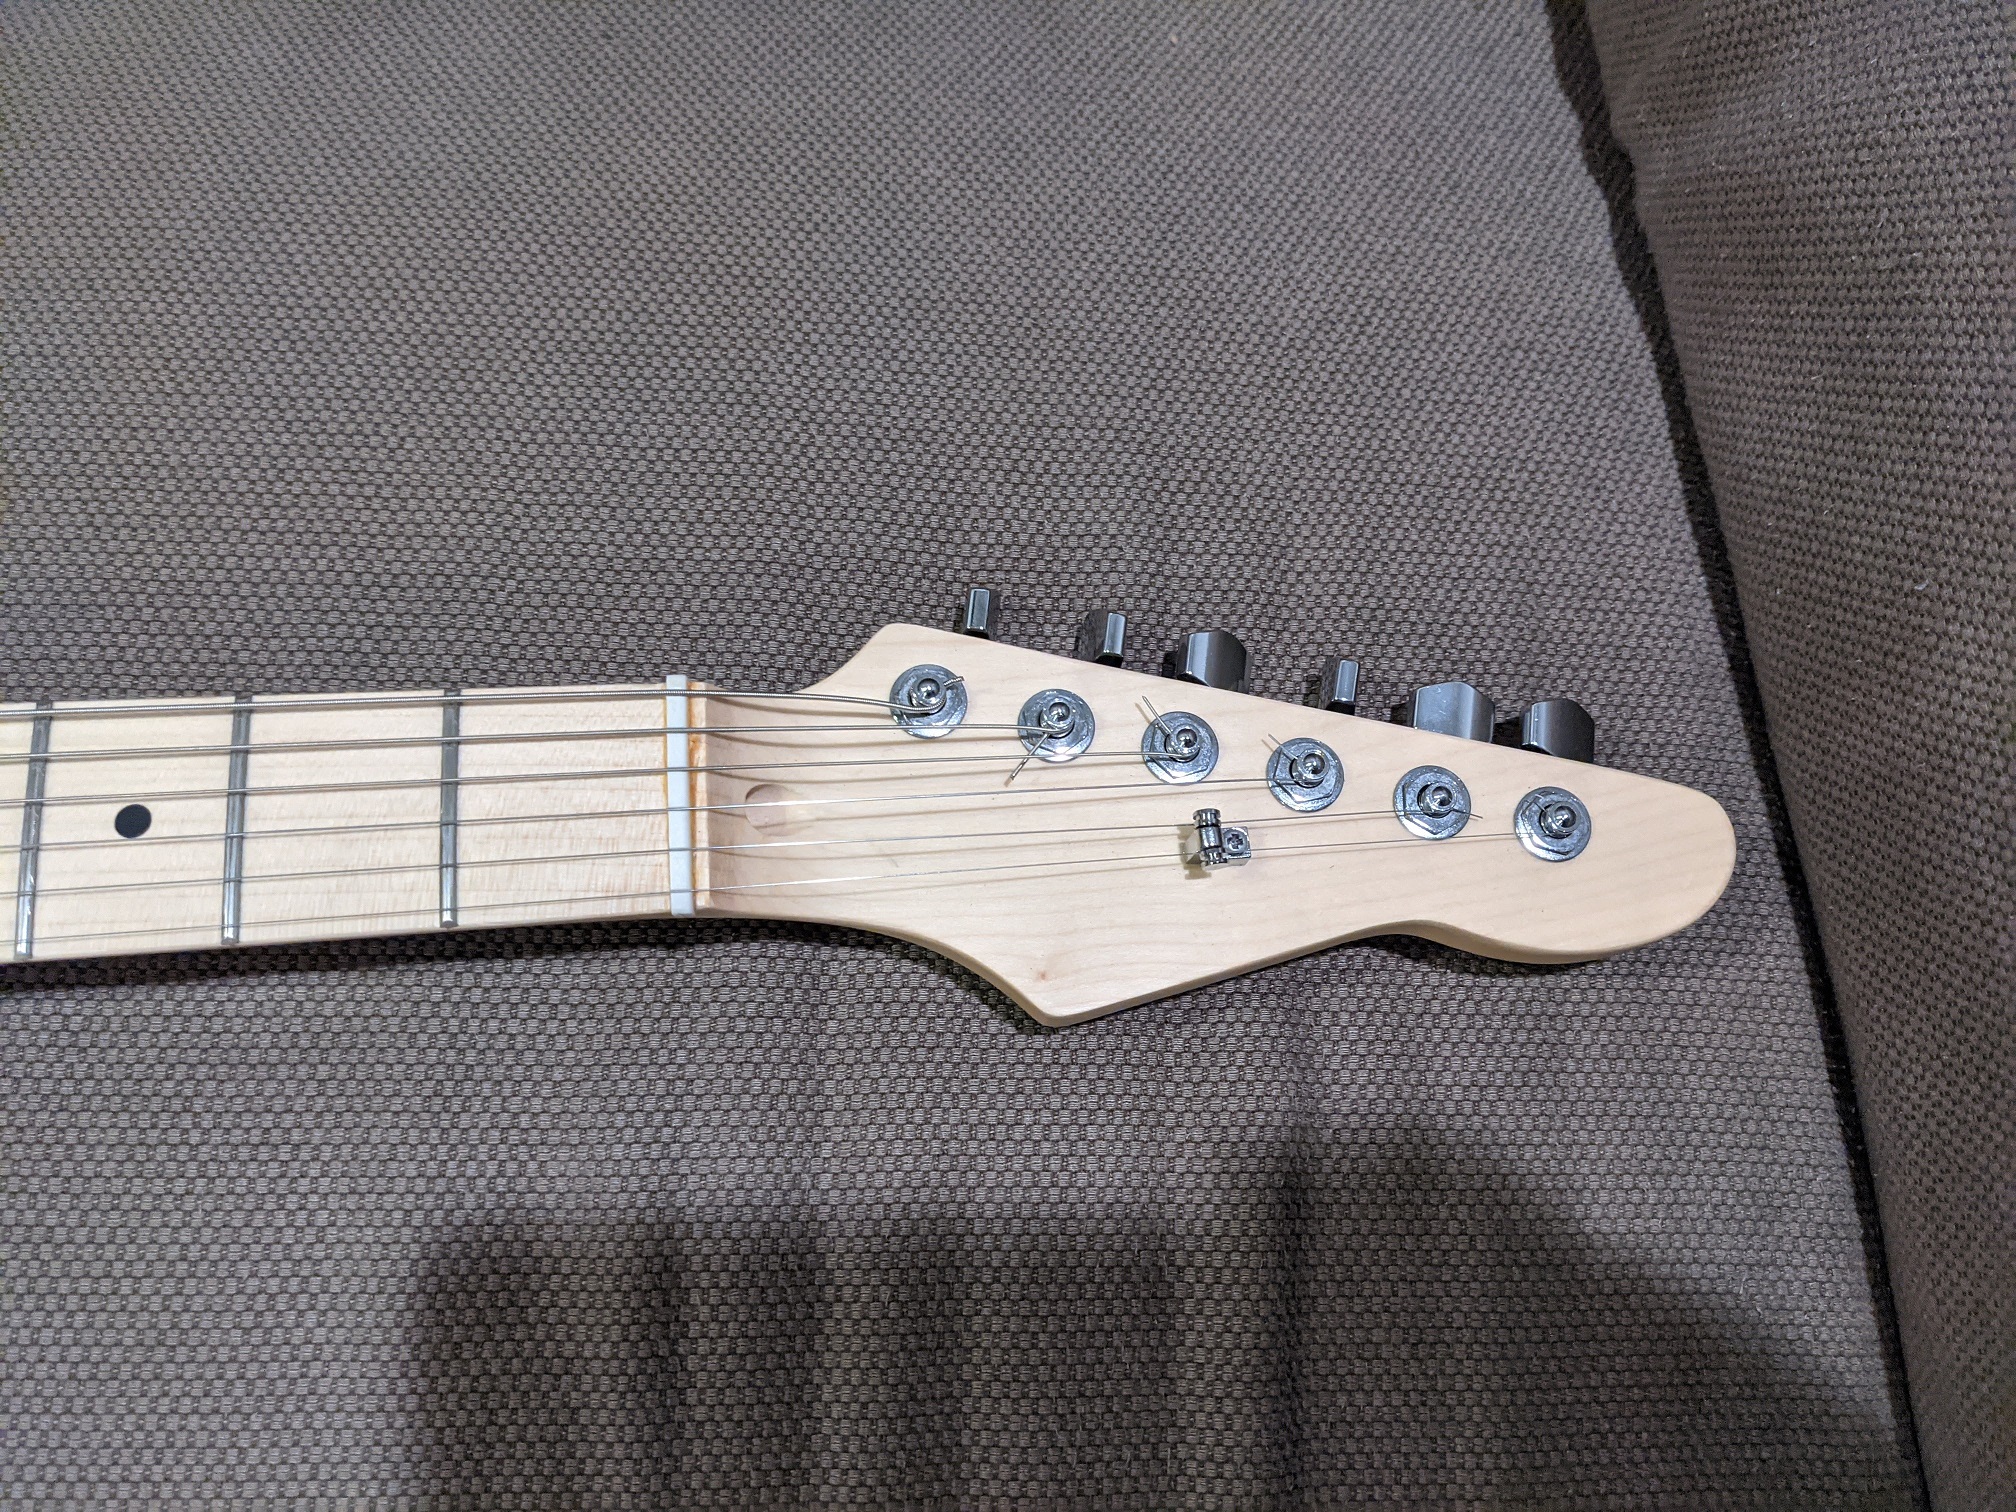
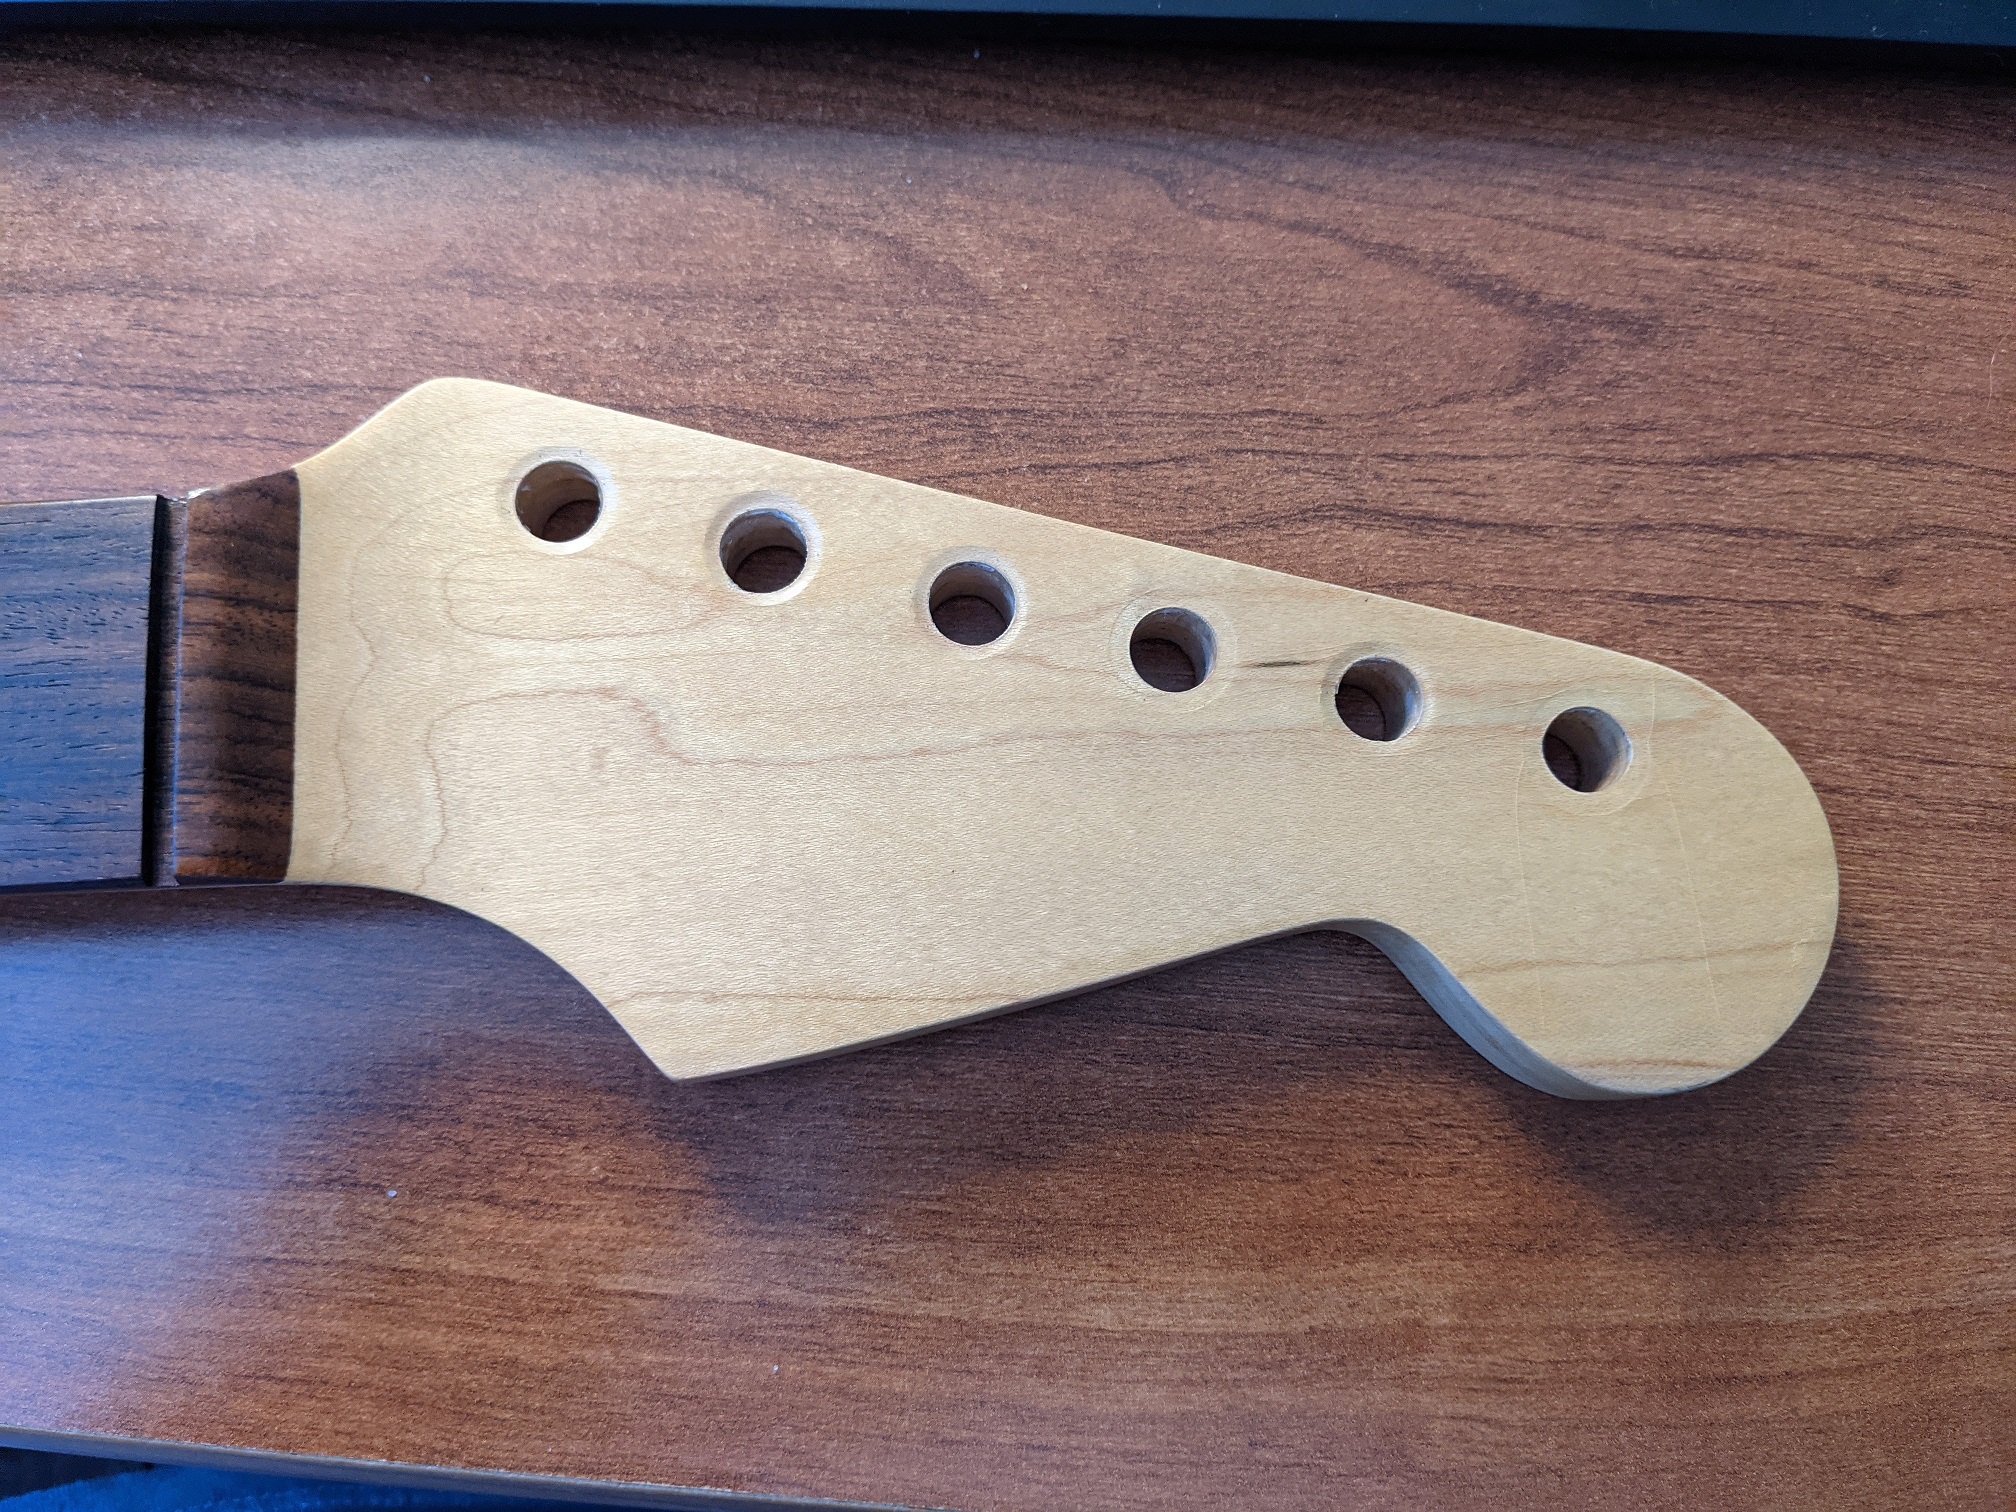
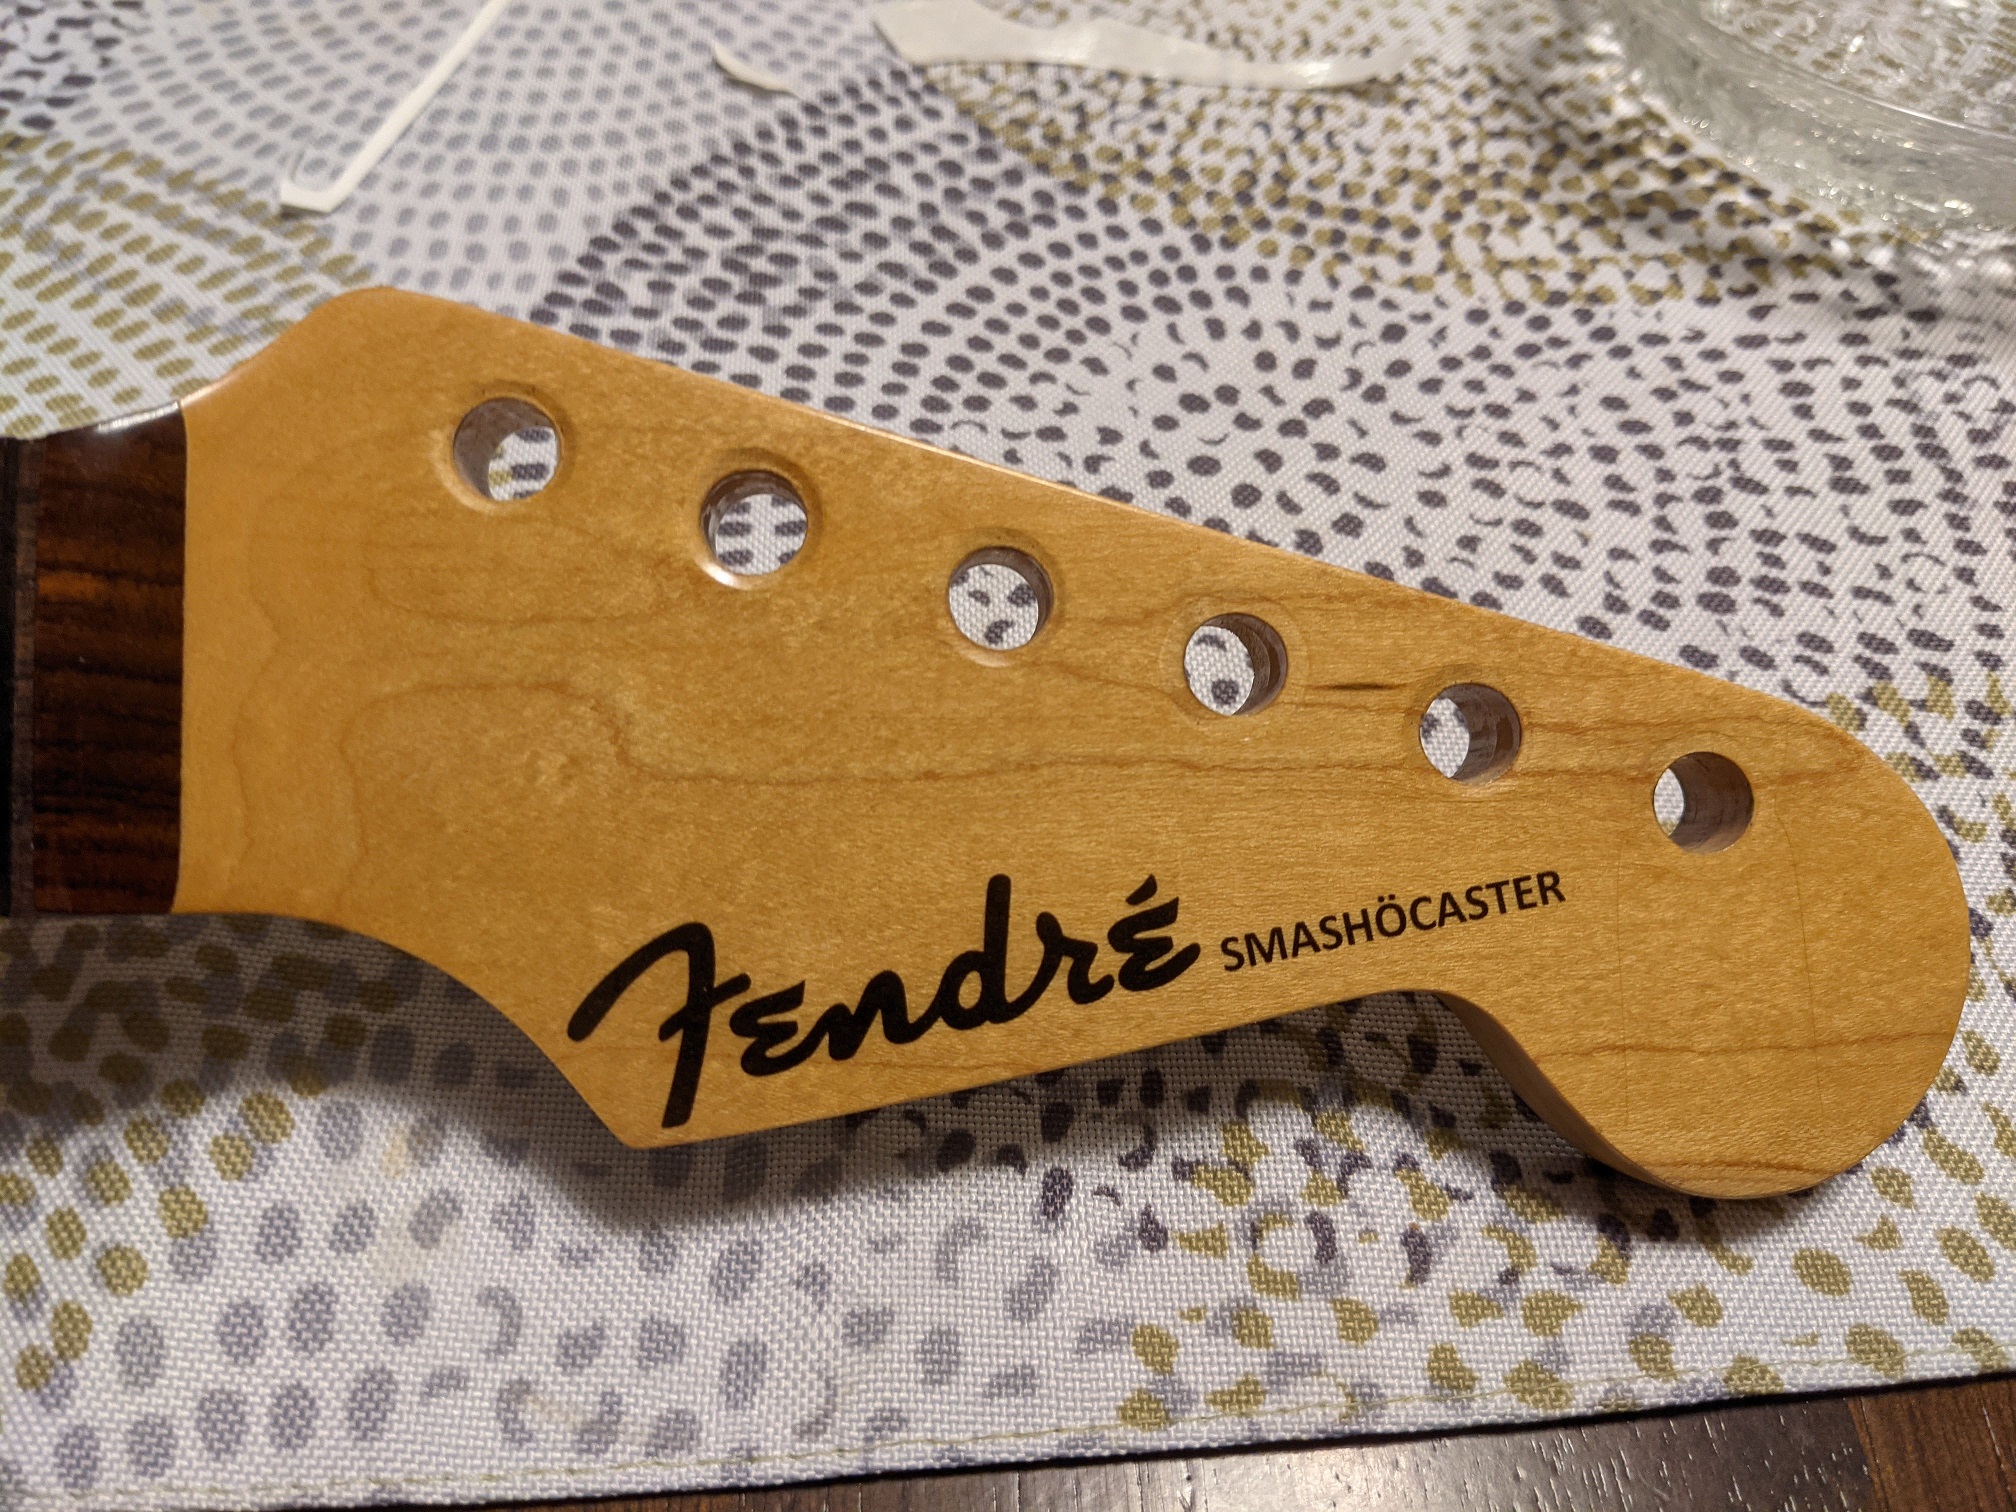
I happened to have an old replacement Stratocaster neck in my closet that felt way better and looked cooler than his. It has a satin finish like my friend wanted and a cool rosewood fretboard. I bought the neck in like 1987 from Zapf’s music in Philly for a high school woodshop project I never finished.
I cleaned up the fretboard and polished the frets like a mirror. I put a bunch of coats of lemon oil on the fretboard and it looks and feels sweet.
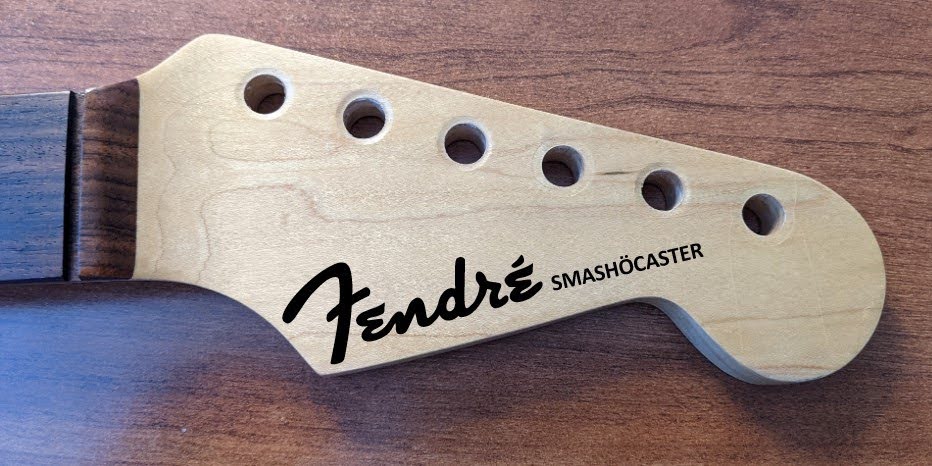
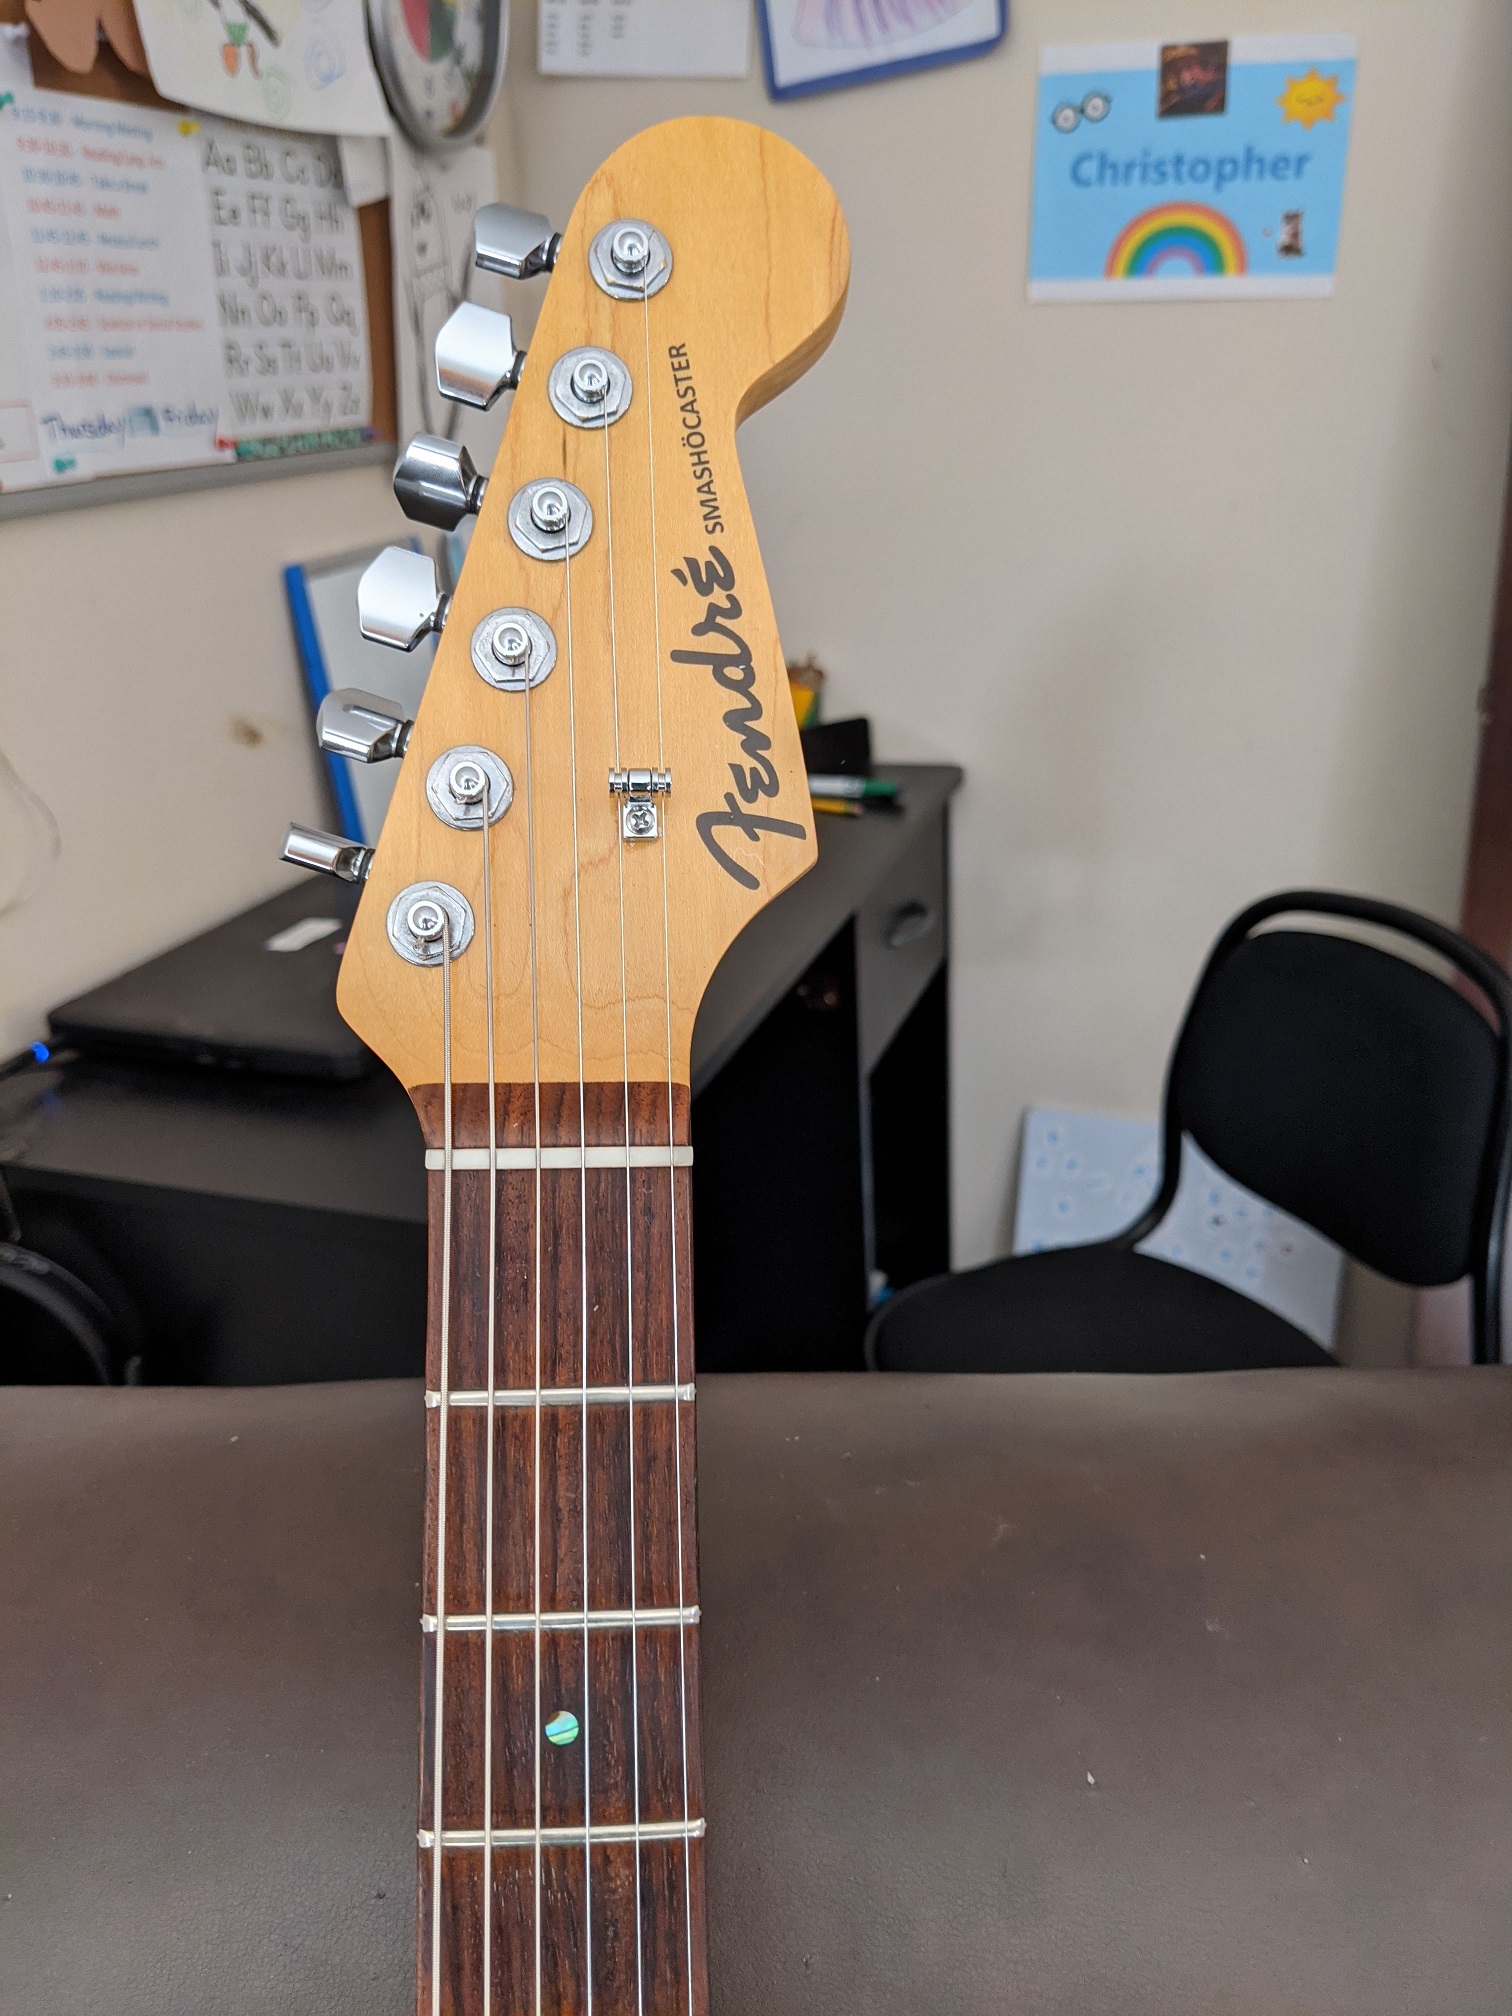
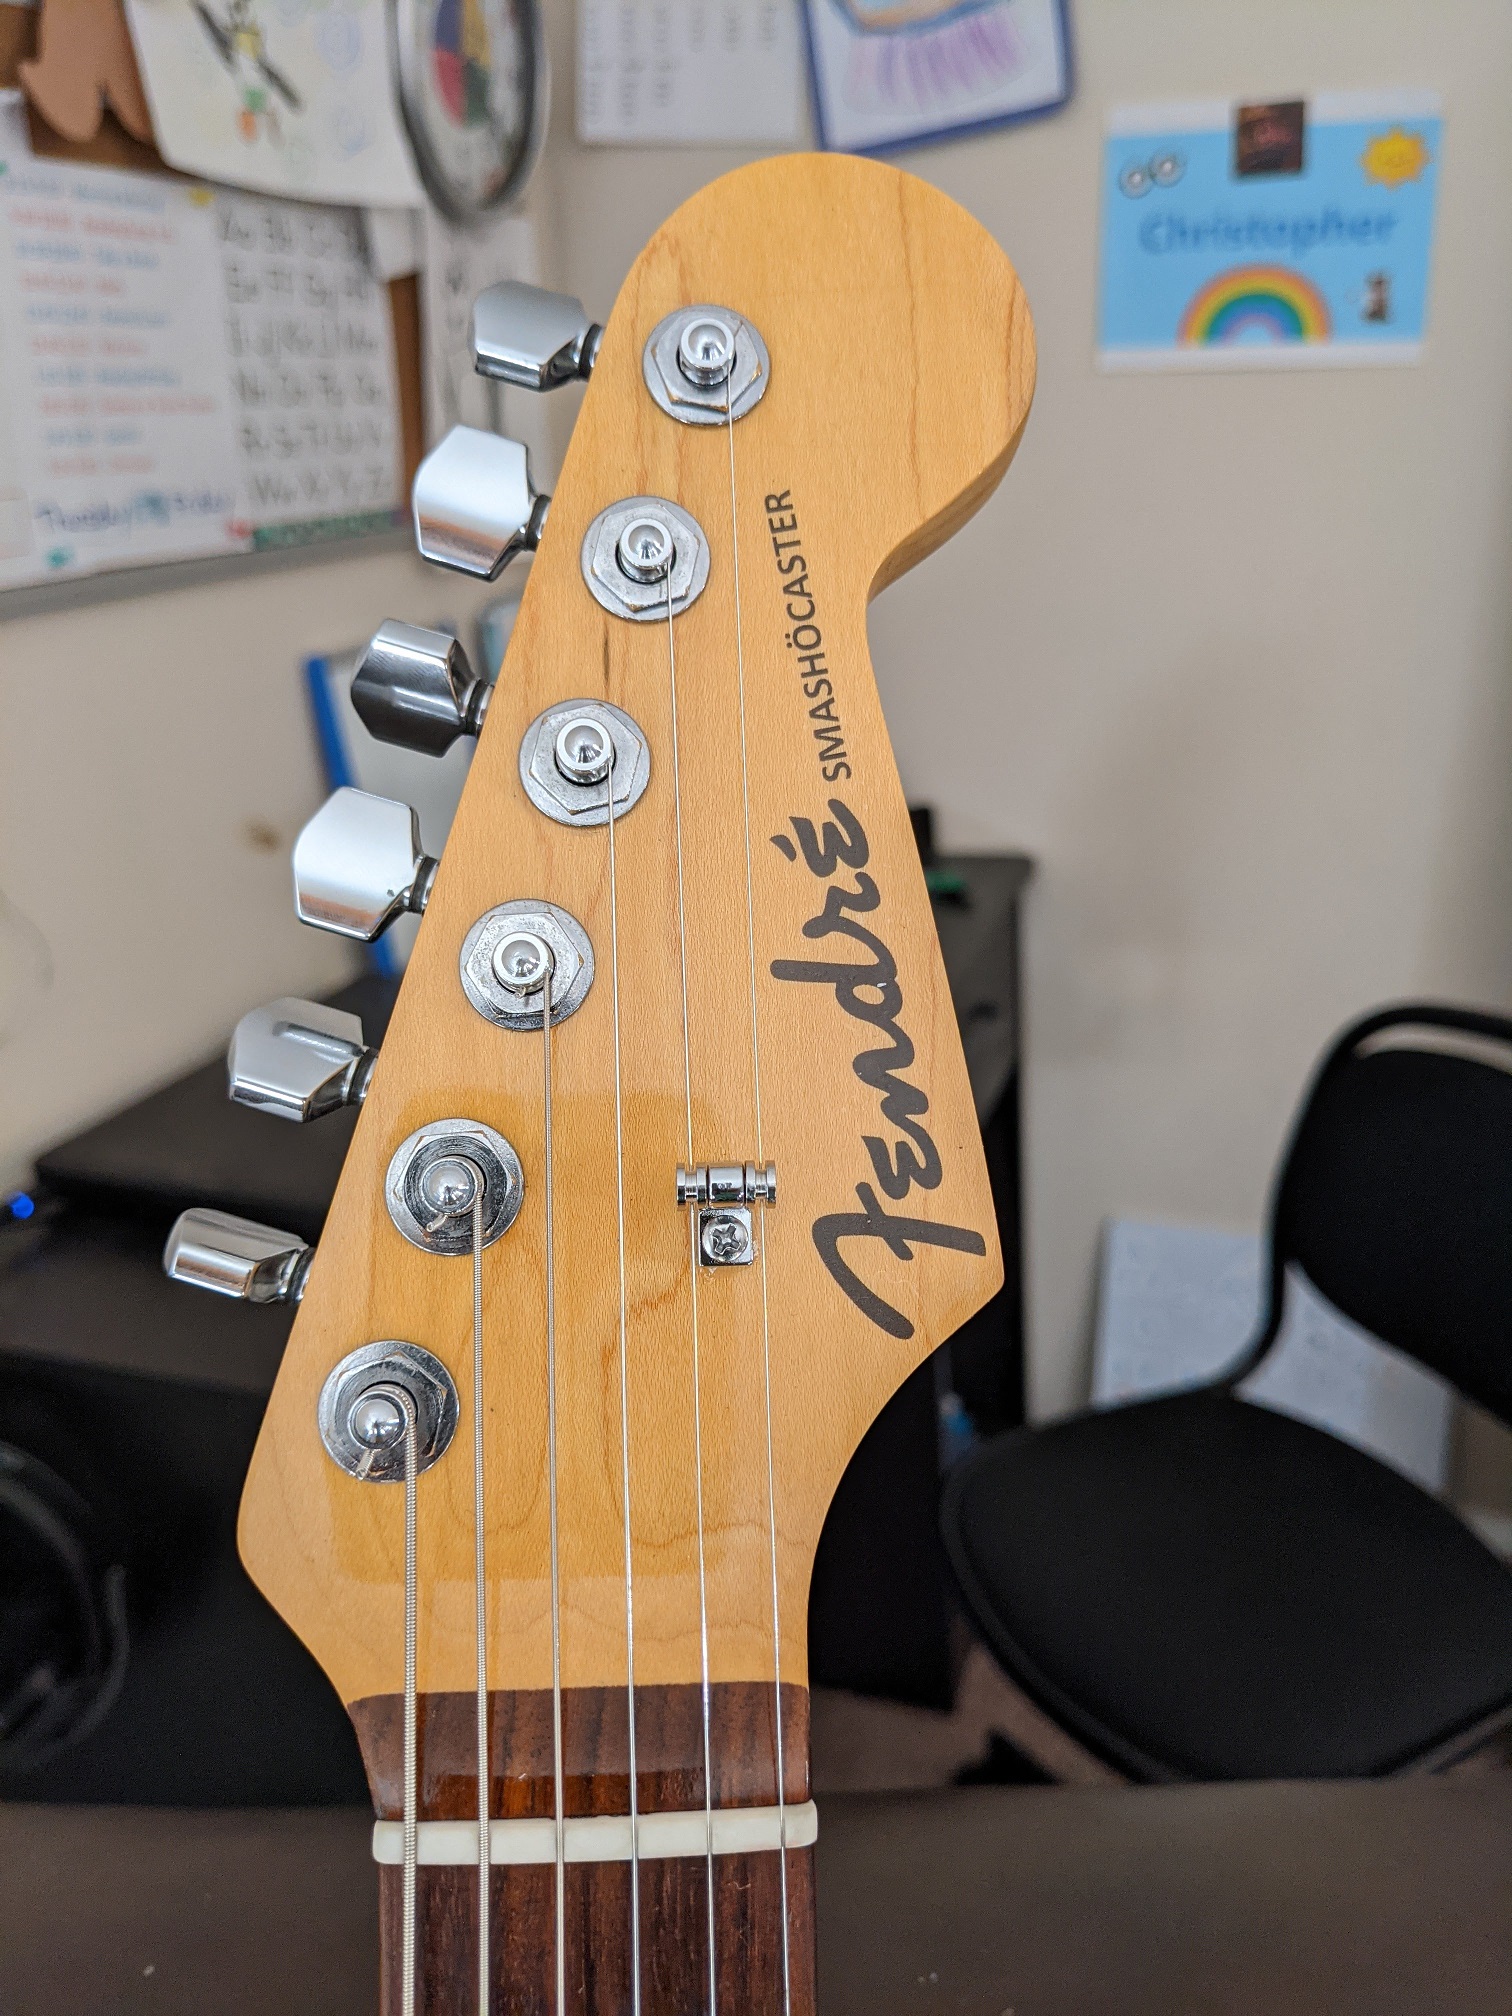
I thought up a logo for the headstock on the Fender style. This guitar was smashed and was rebuilt and I wanted to give it a name worthy of the cool backstory.
The French verb Fendre means to crack, or to split. Adding an accent to the last e made it cool.
For the model name, I chose Smashocaster cause why not? Adding a Motörhead style metal umlaut just makes to cooler!
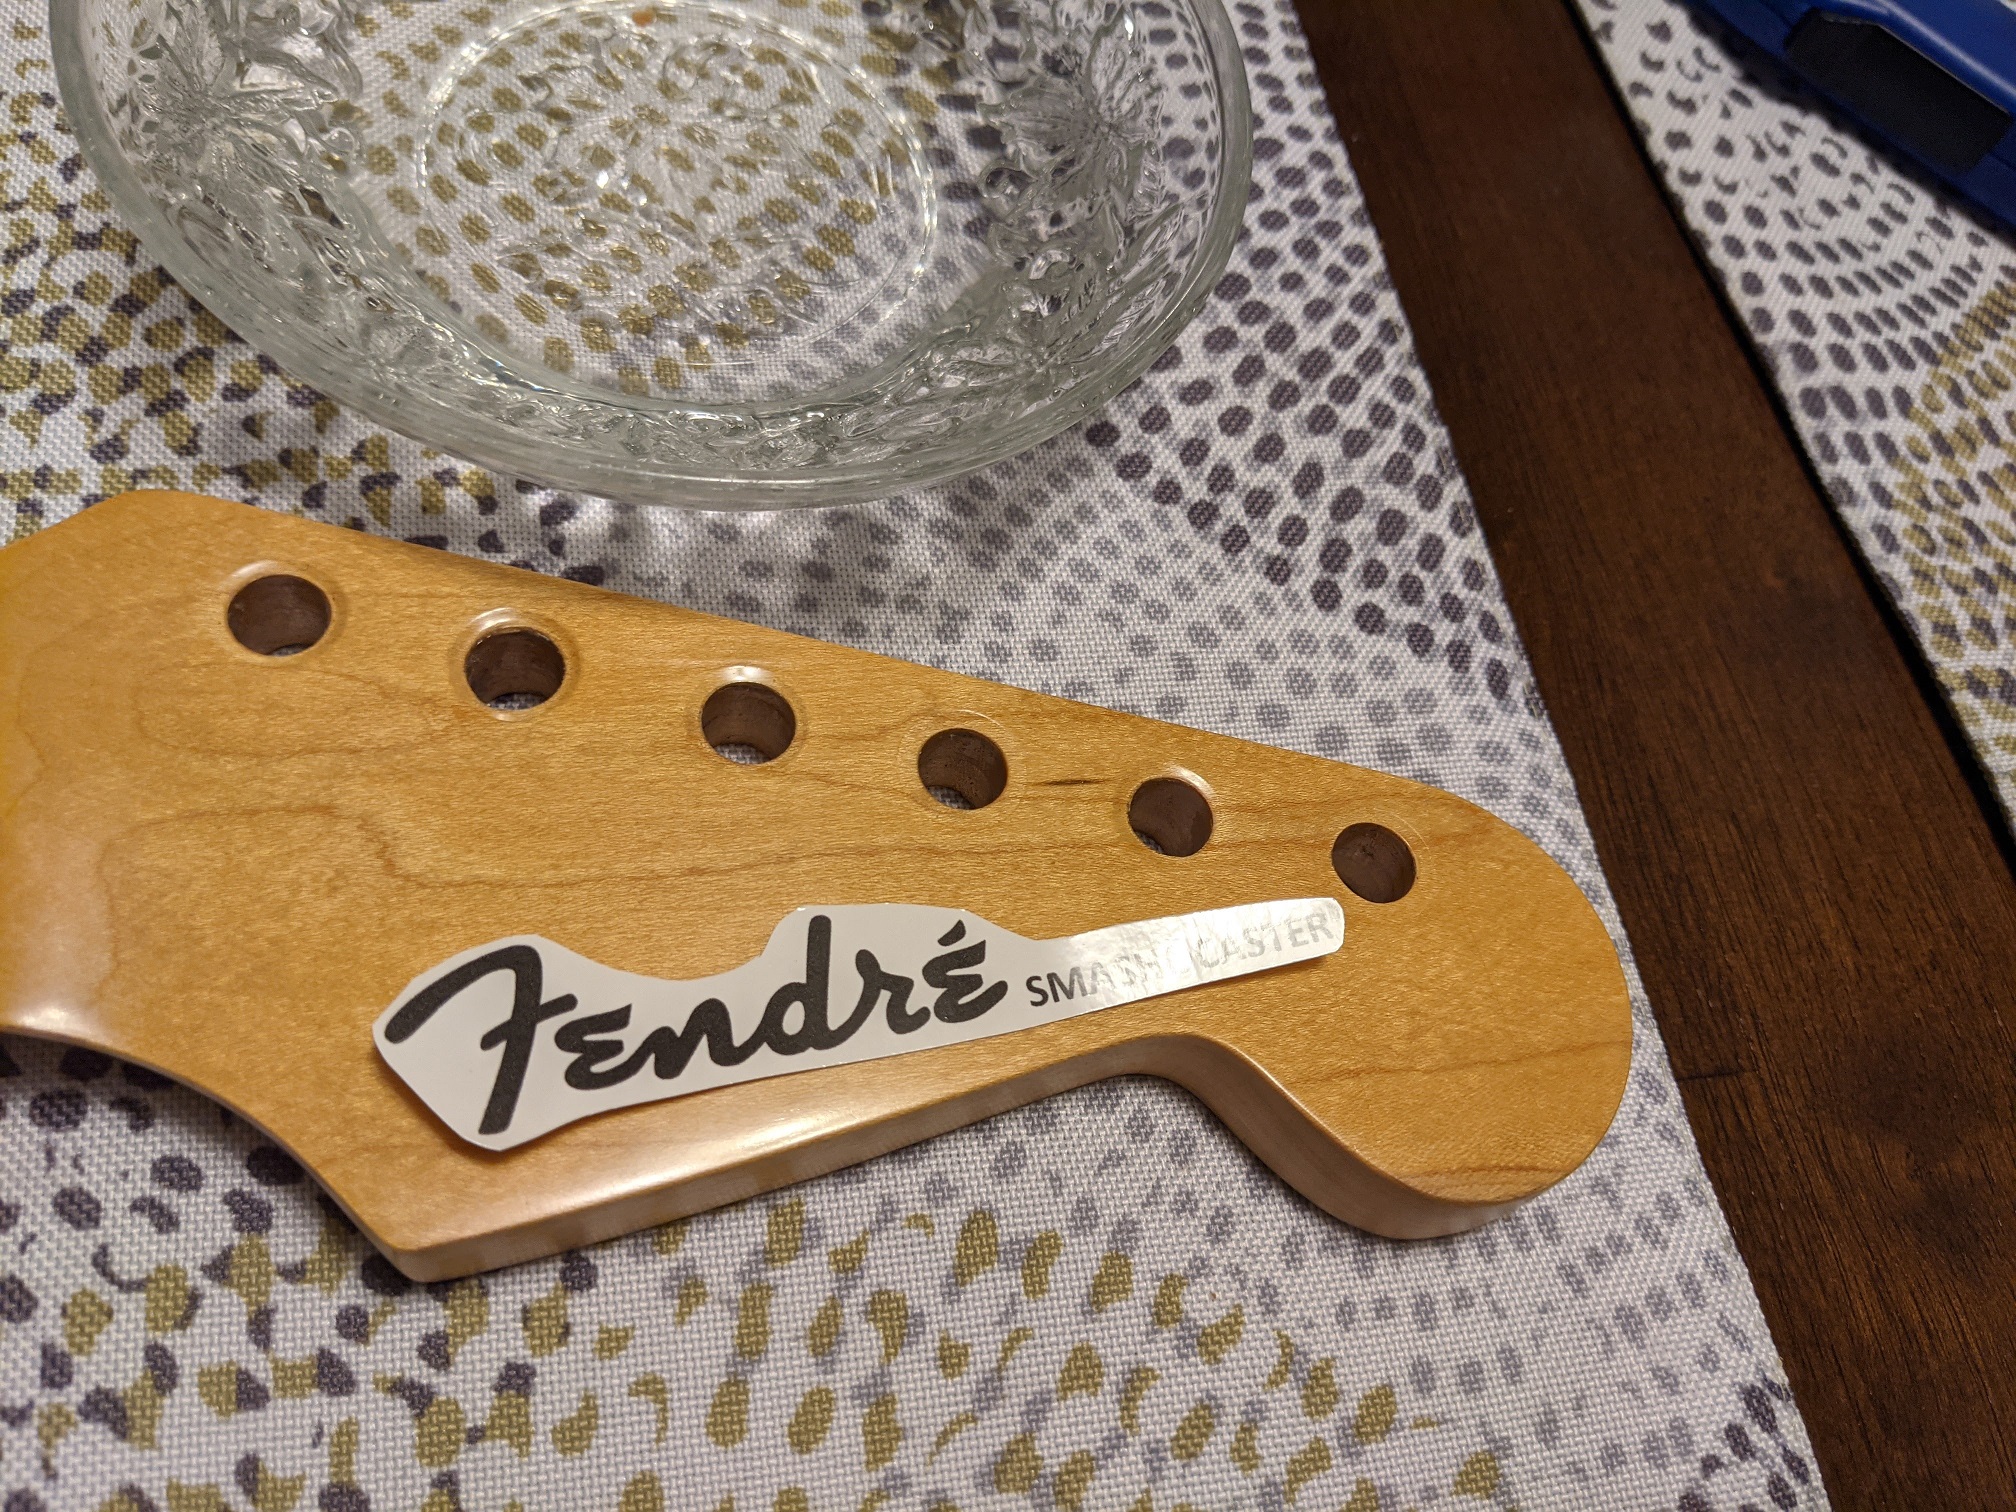
I fired up my graphics program and used a Fender look-a-like font to make the logo. I printed it on inkjet waterslide paper and sprayed a few coats of clear lacquer on the ink to protect it from the water and seal it. All that’s left is to cut it out and apply it to the headstock. It came out pretty sweet!
The bridge
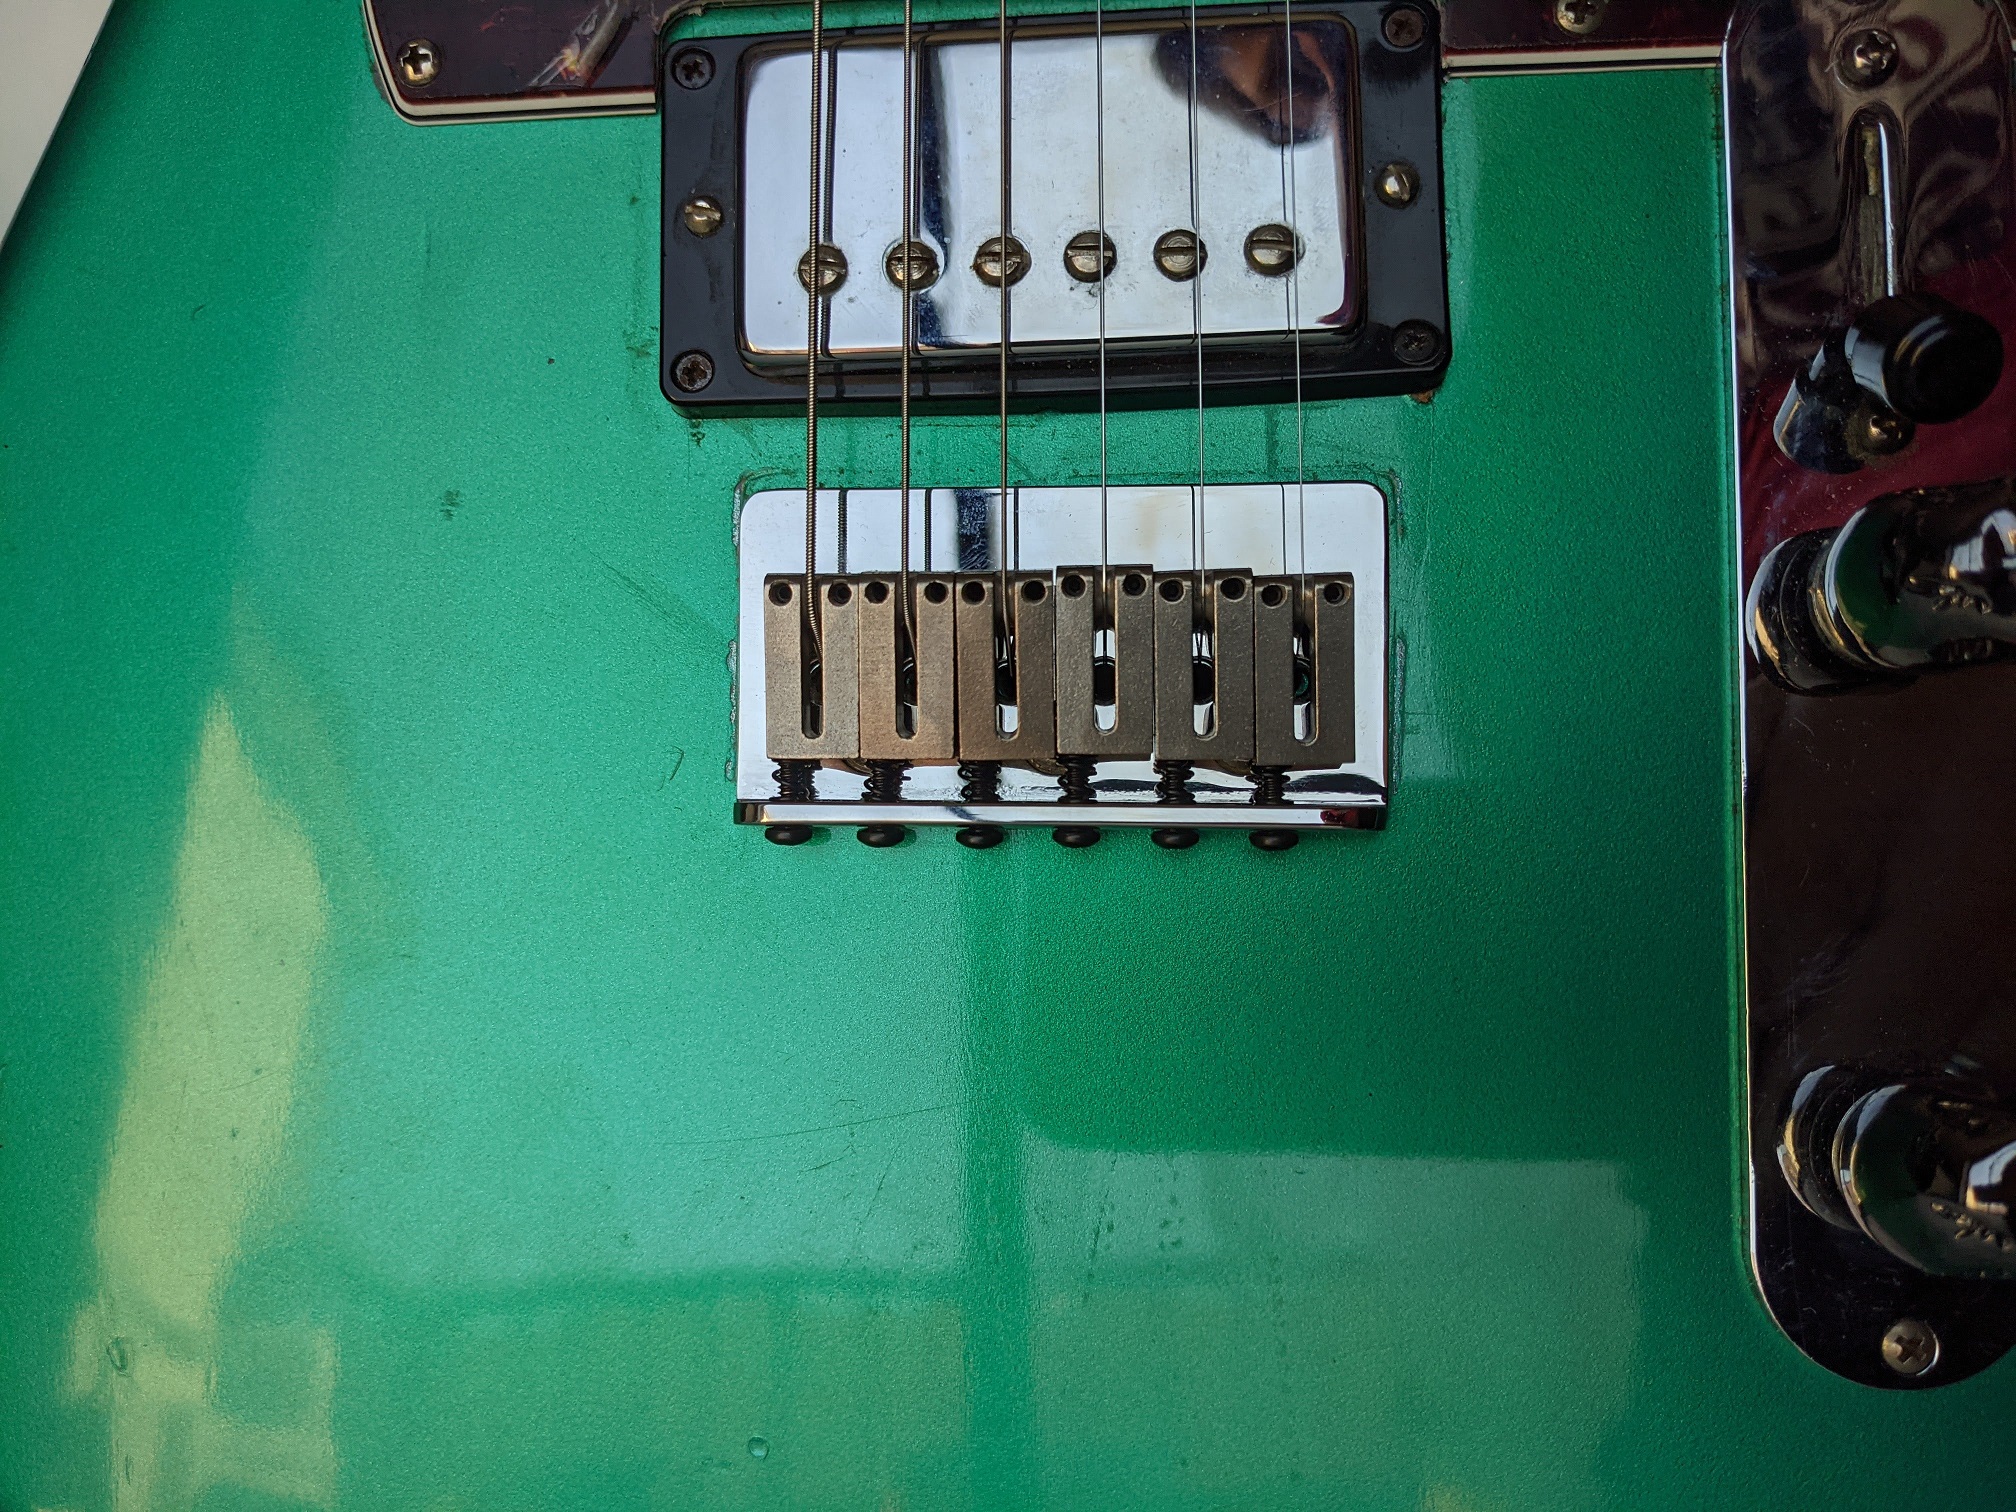
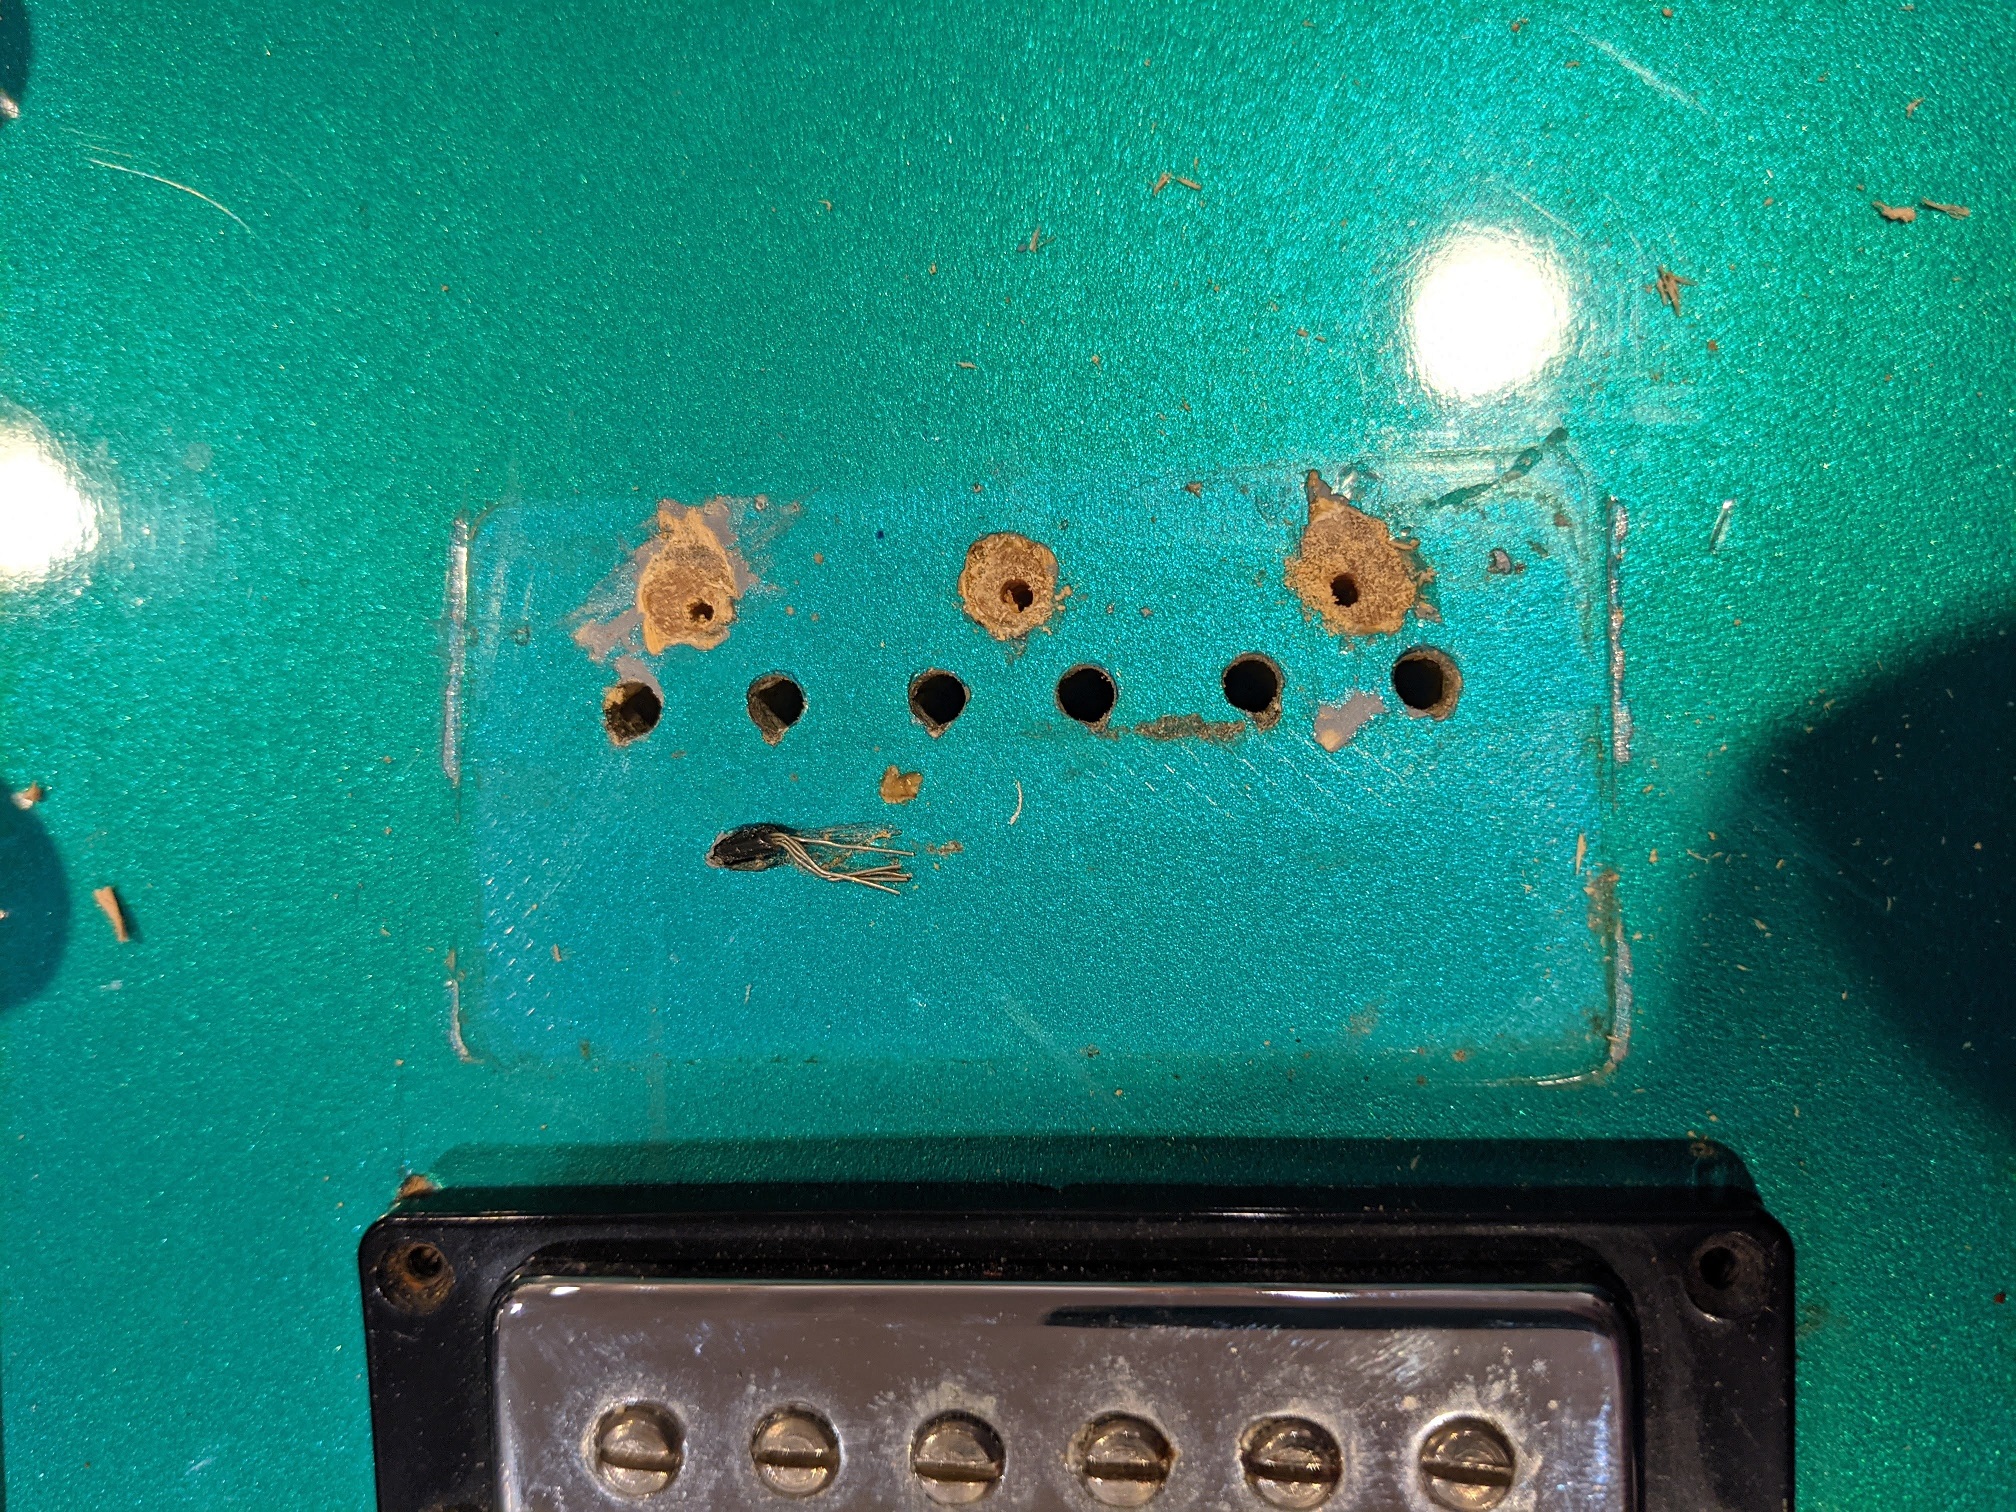
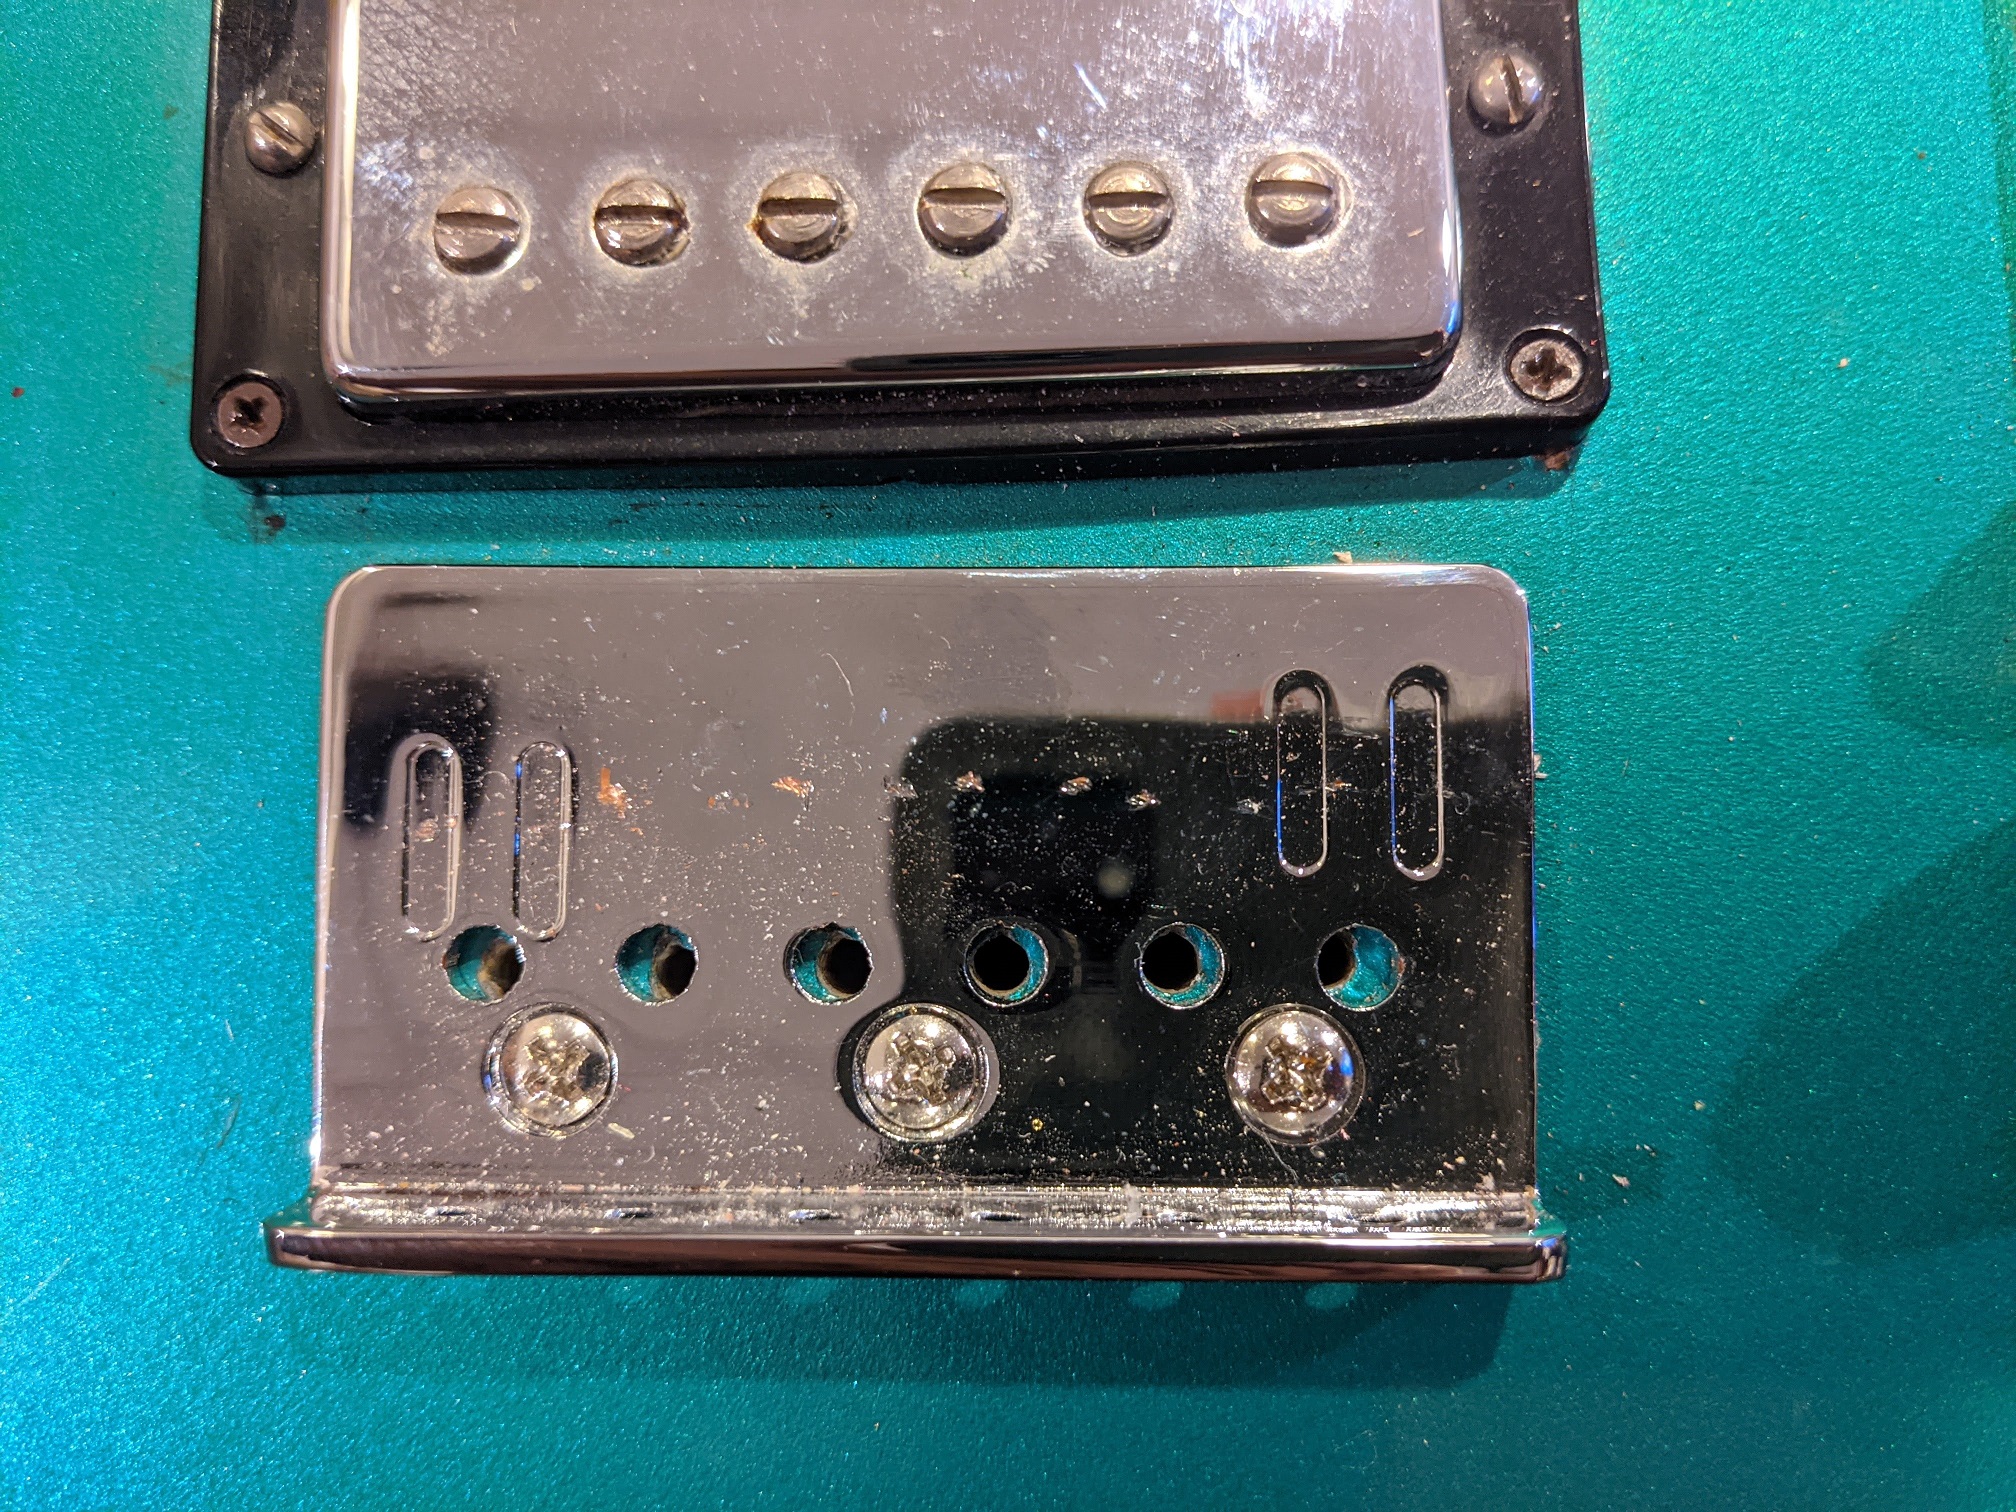
Next up was the bridge. The one on the guitar was a cheapo like a Squier has with the set screws that grate your palm like cheese. It was the wrong size (string spacing was off) and was mounted crooked.
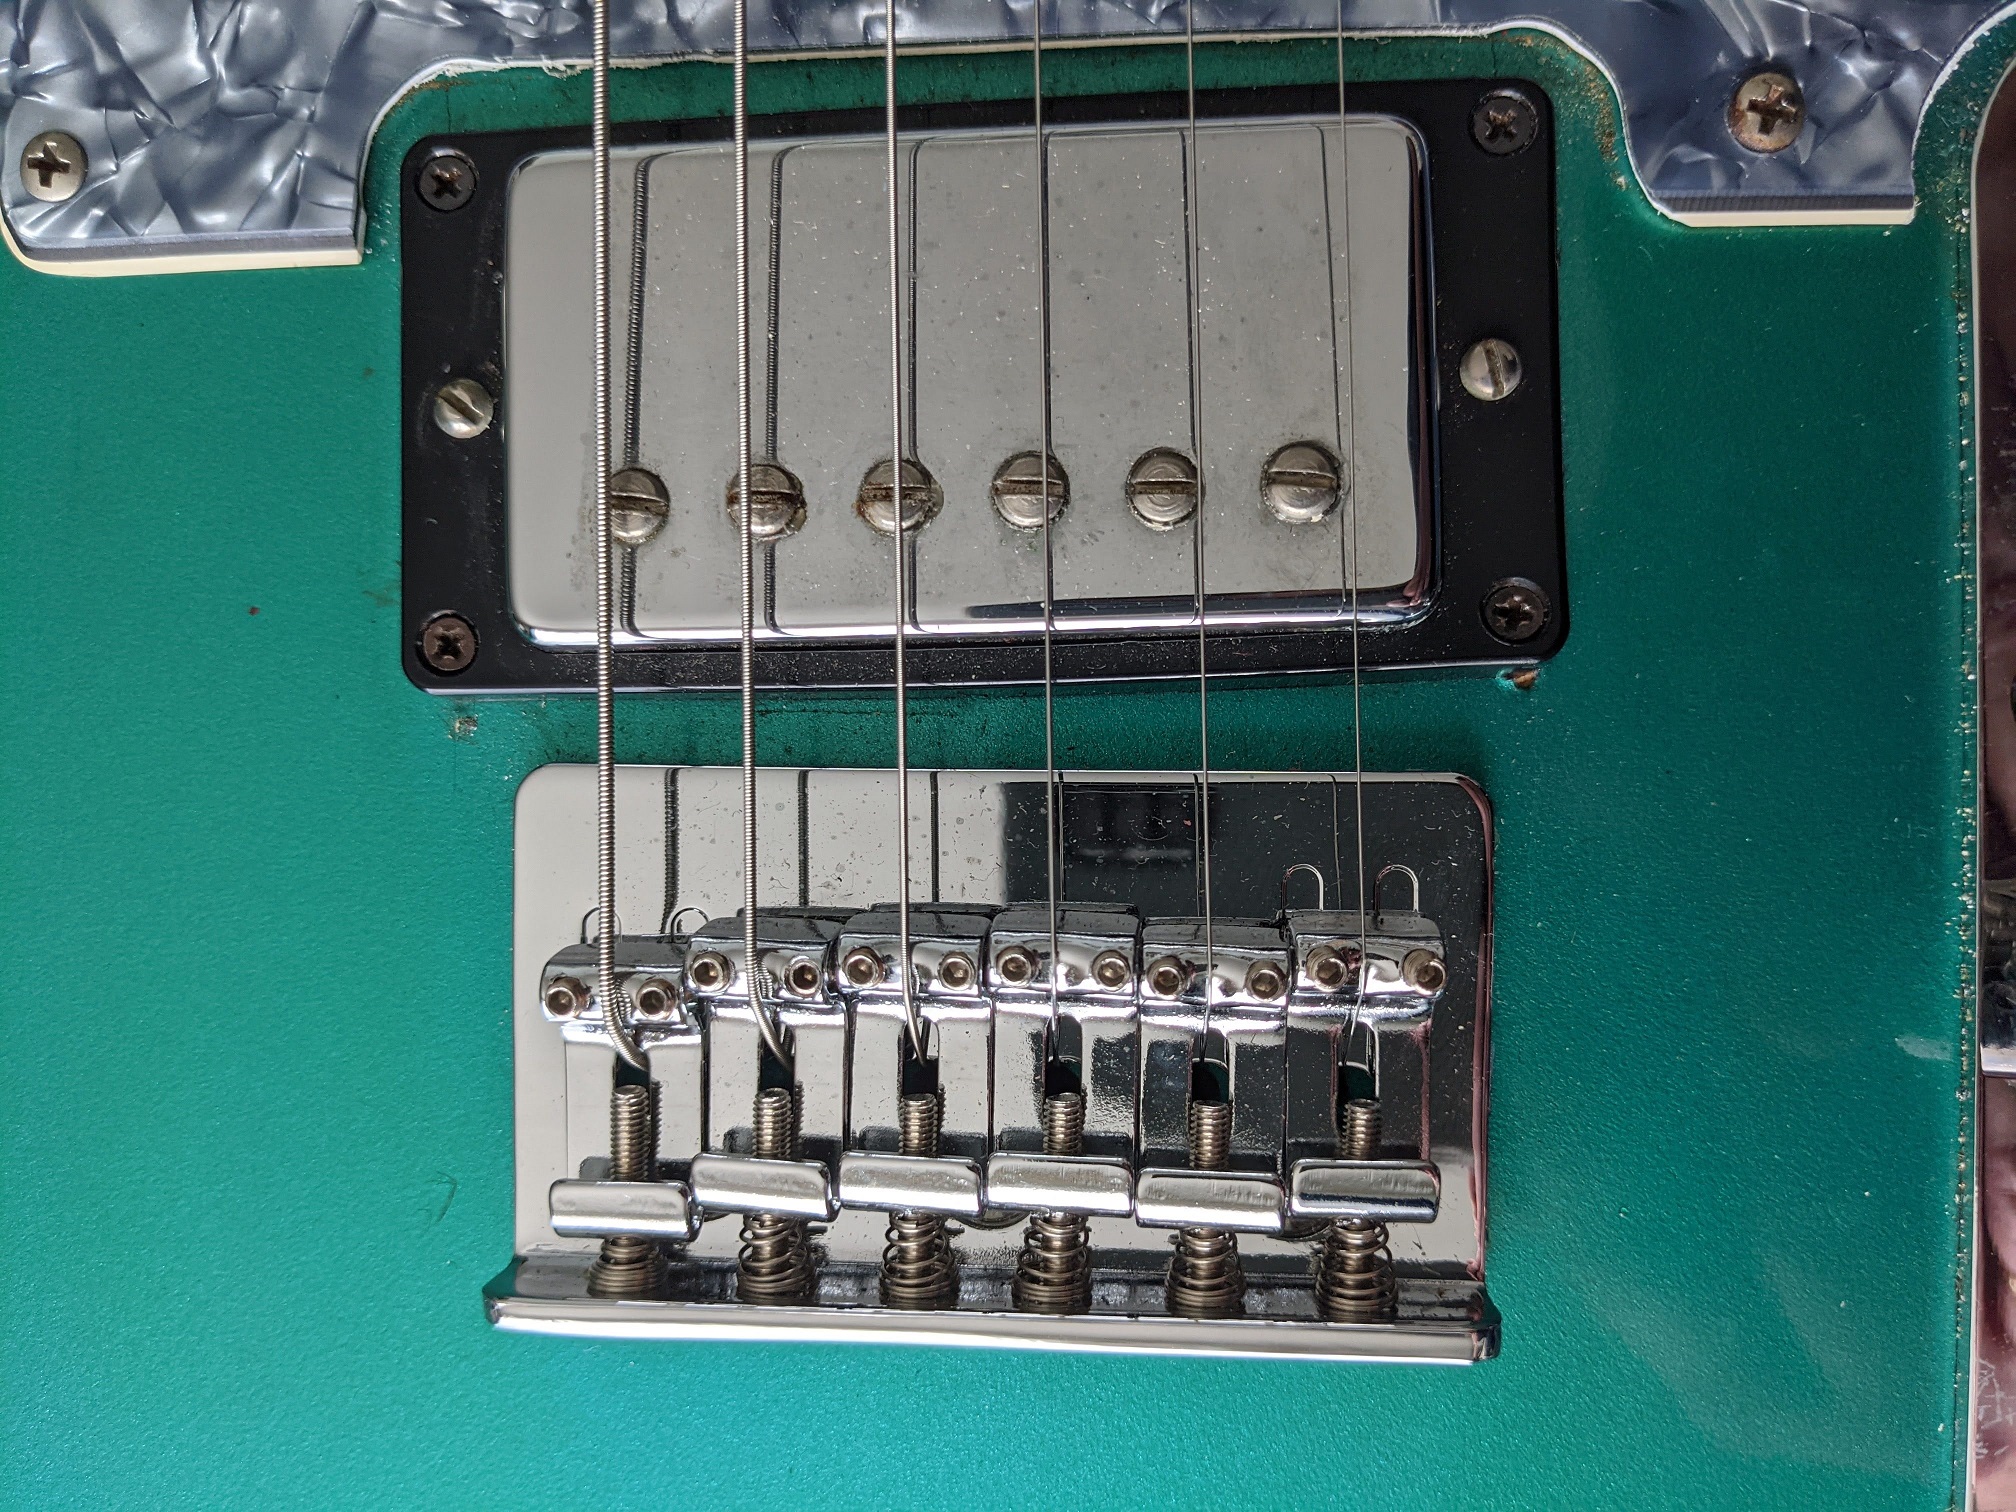
I decided to replace it with a sweet Fender American hardtail bridge. It’s got cool saddles and set screws that don’t rip your hand.
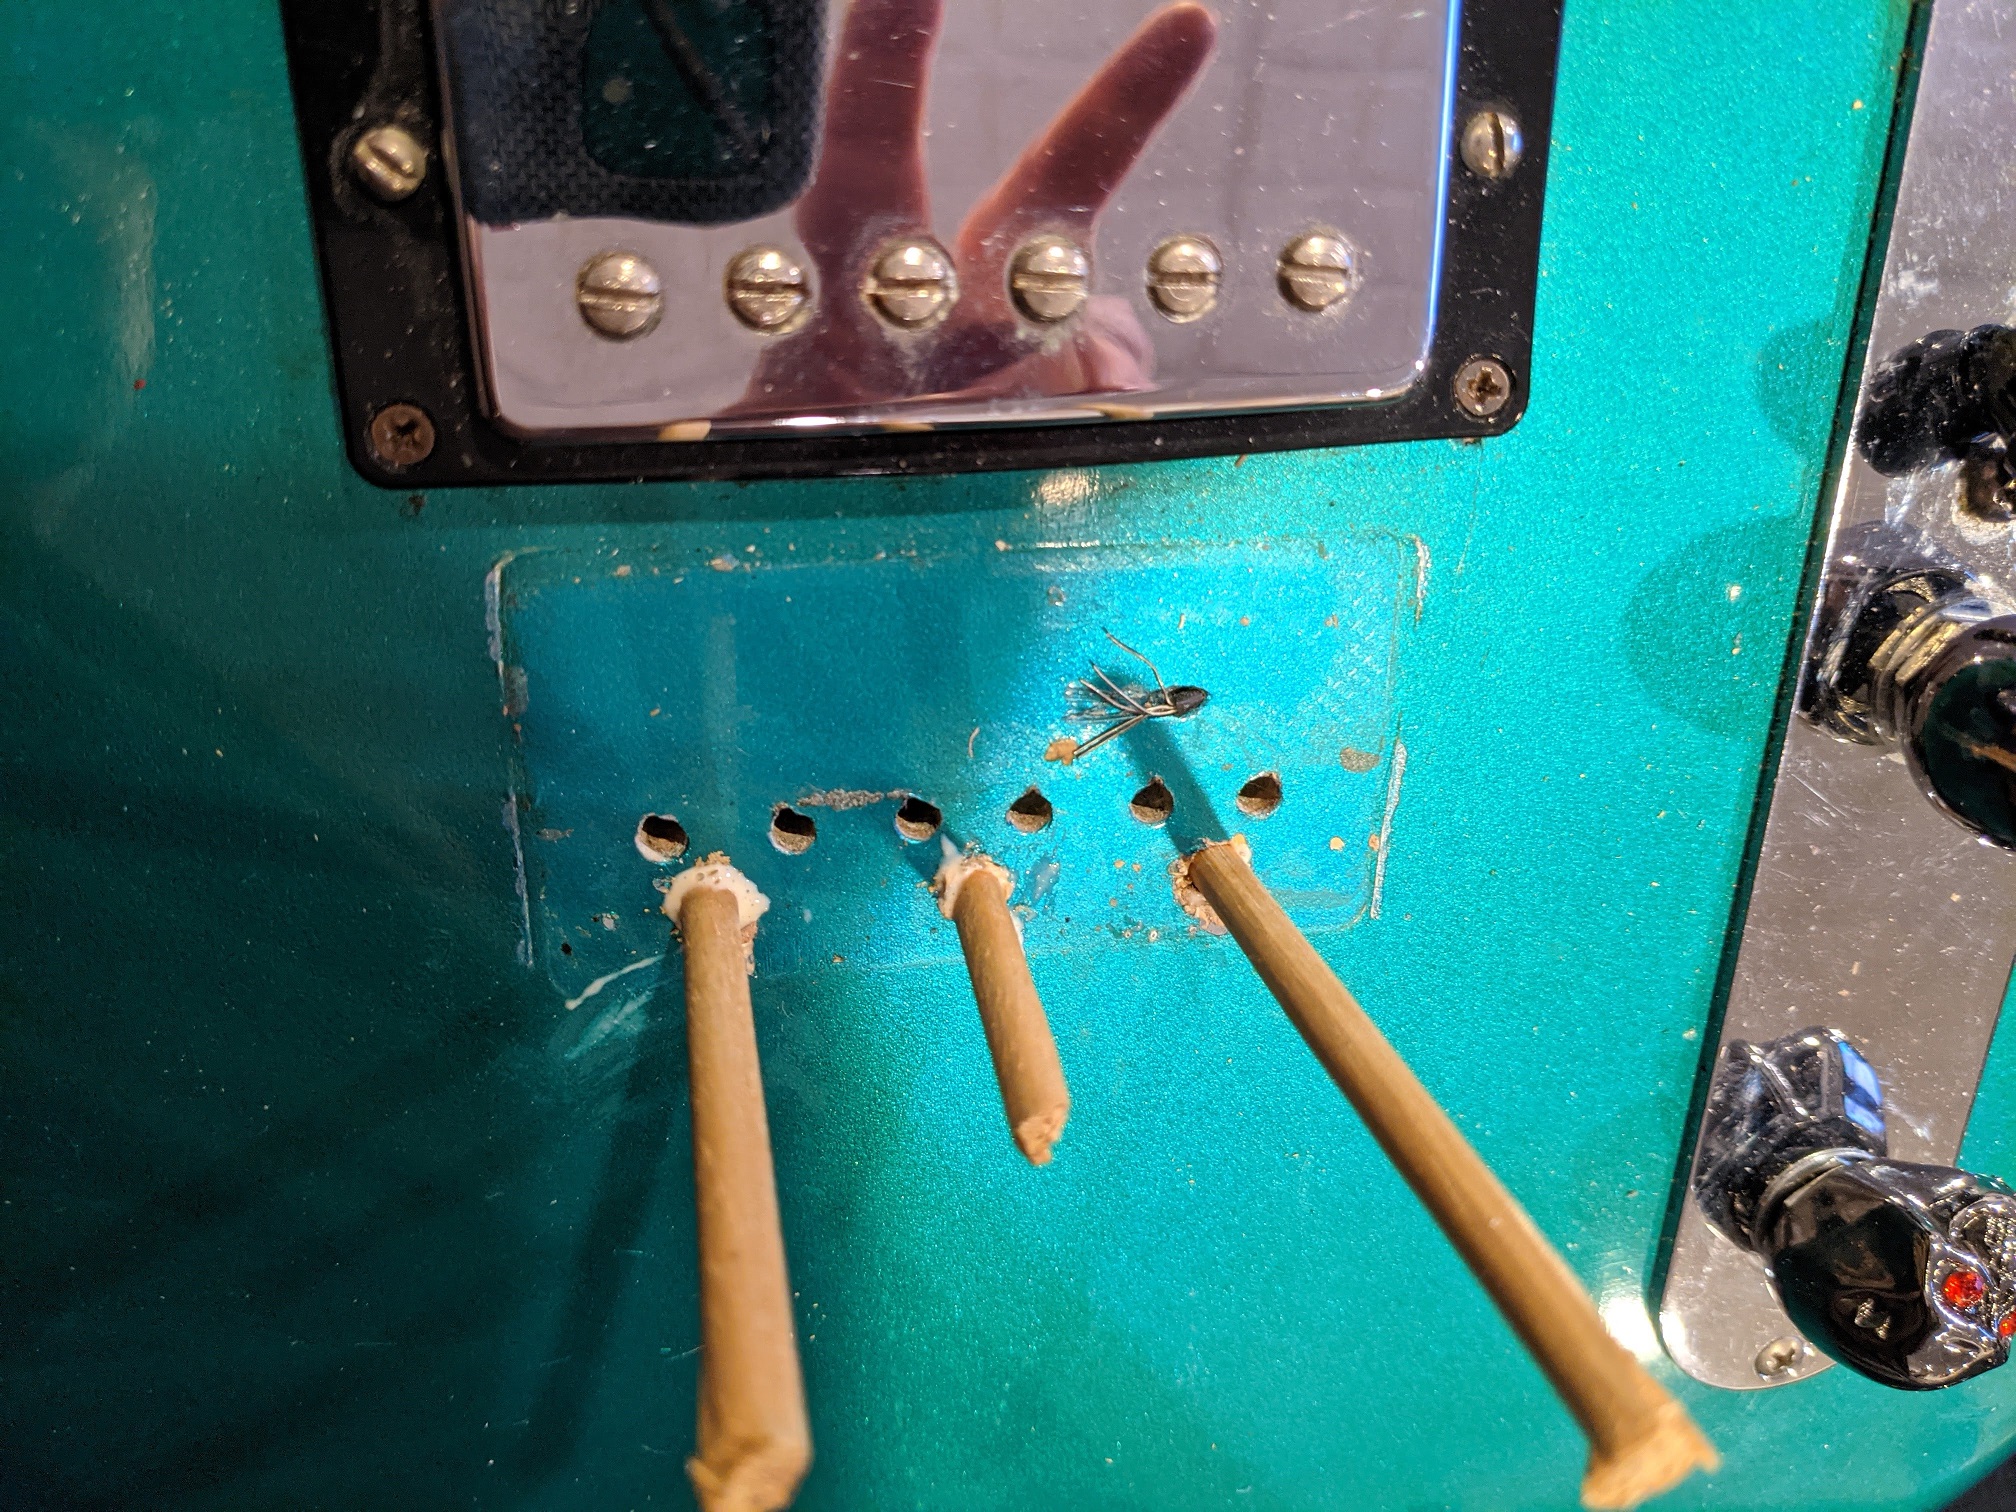
I plugged the original holes with dowel and redrilled them for the new bridge. The bridge matched right up to the body and looks sweet.
The pick guard
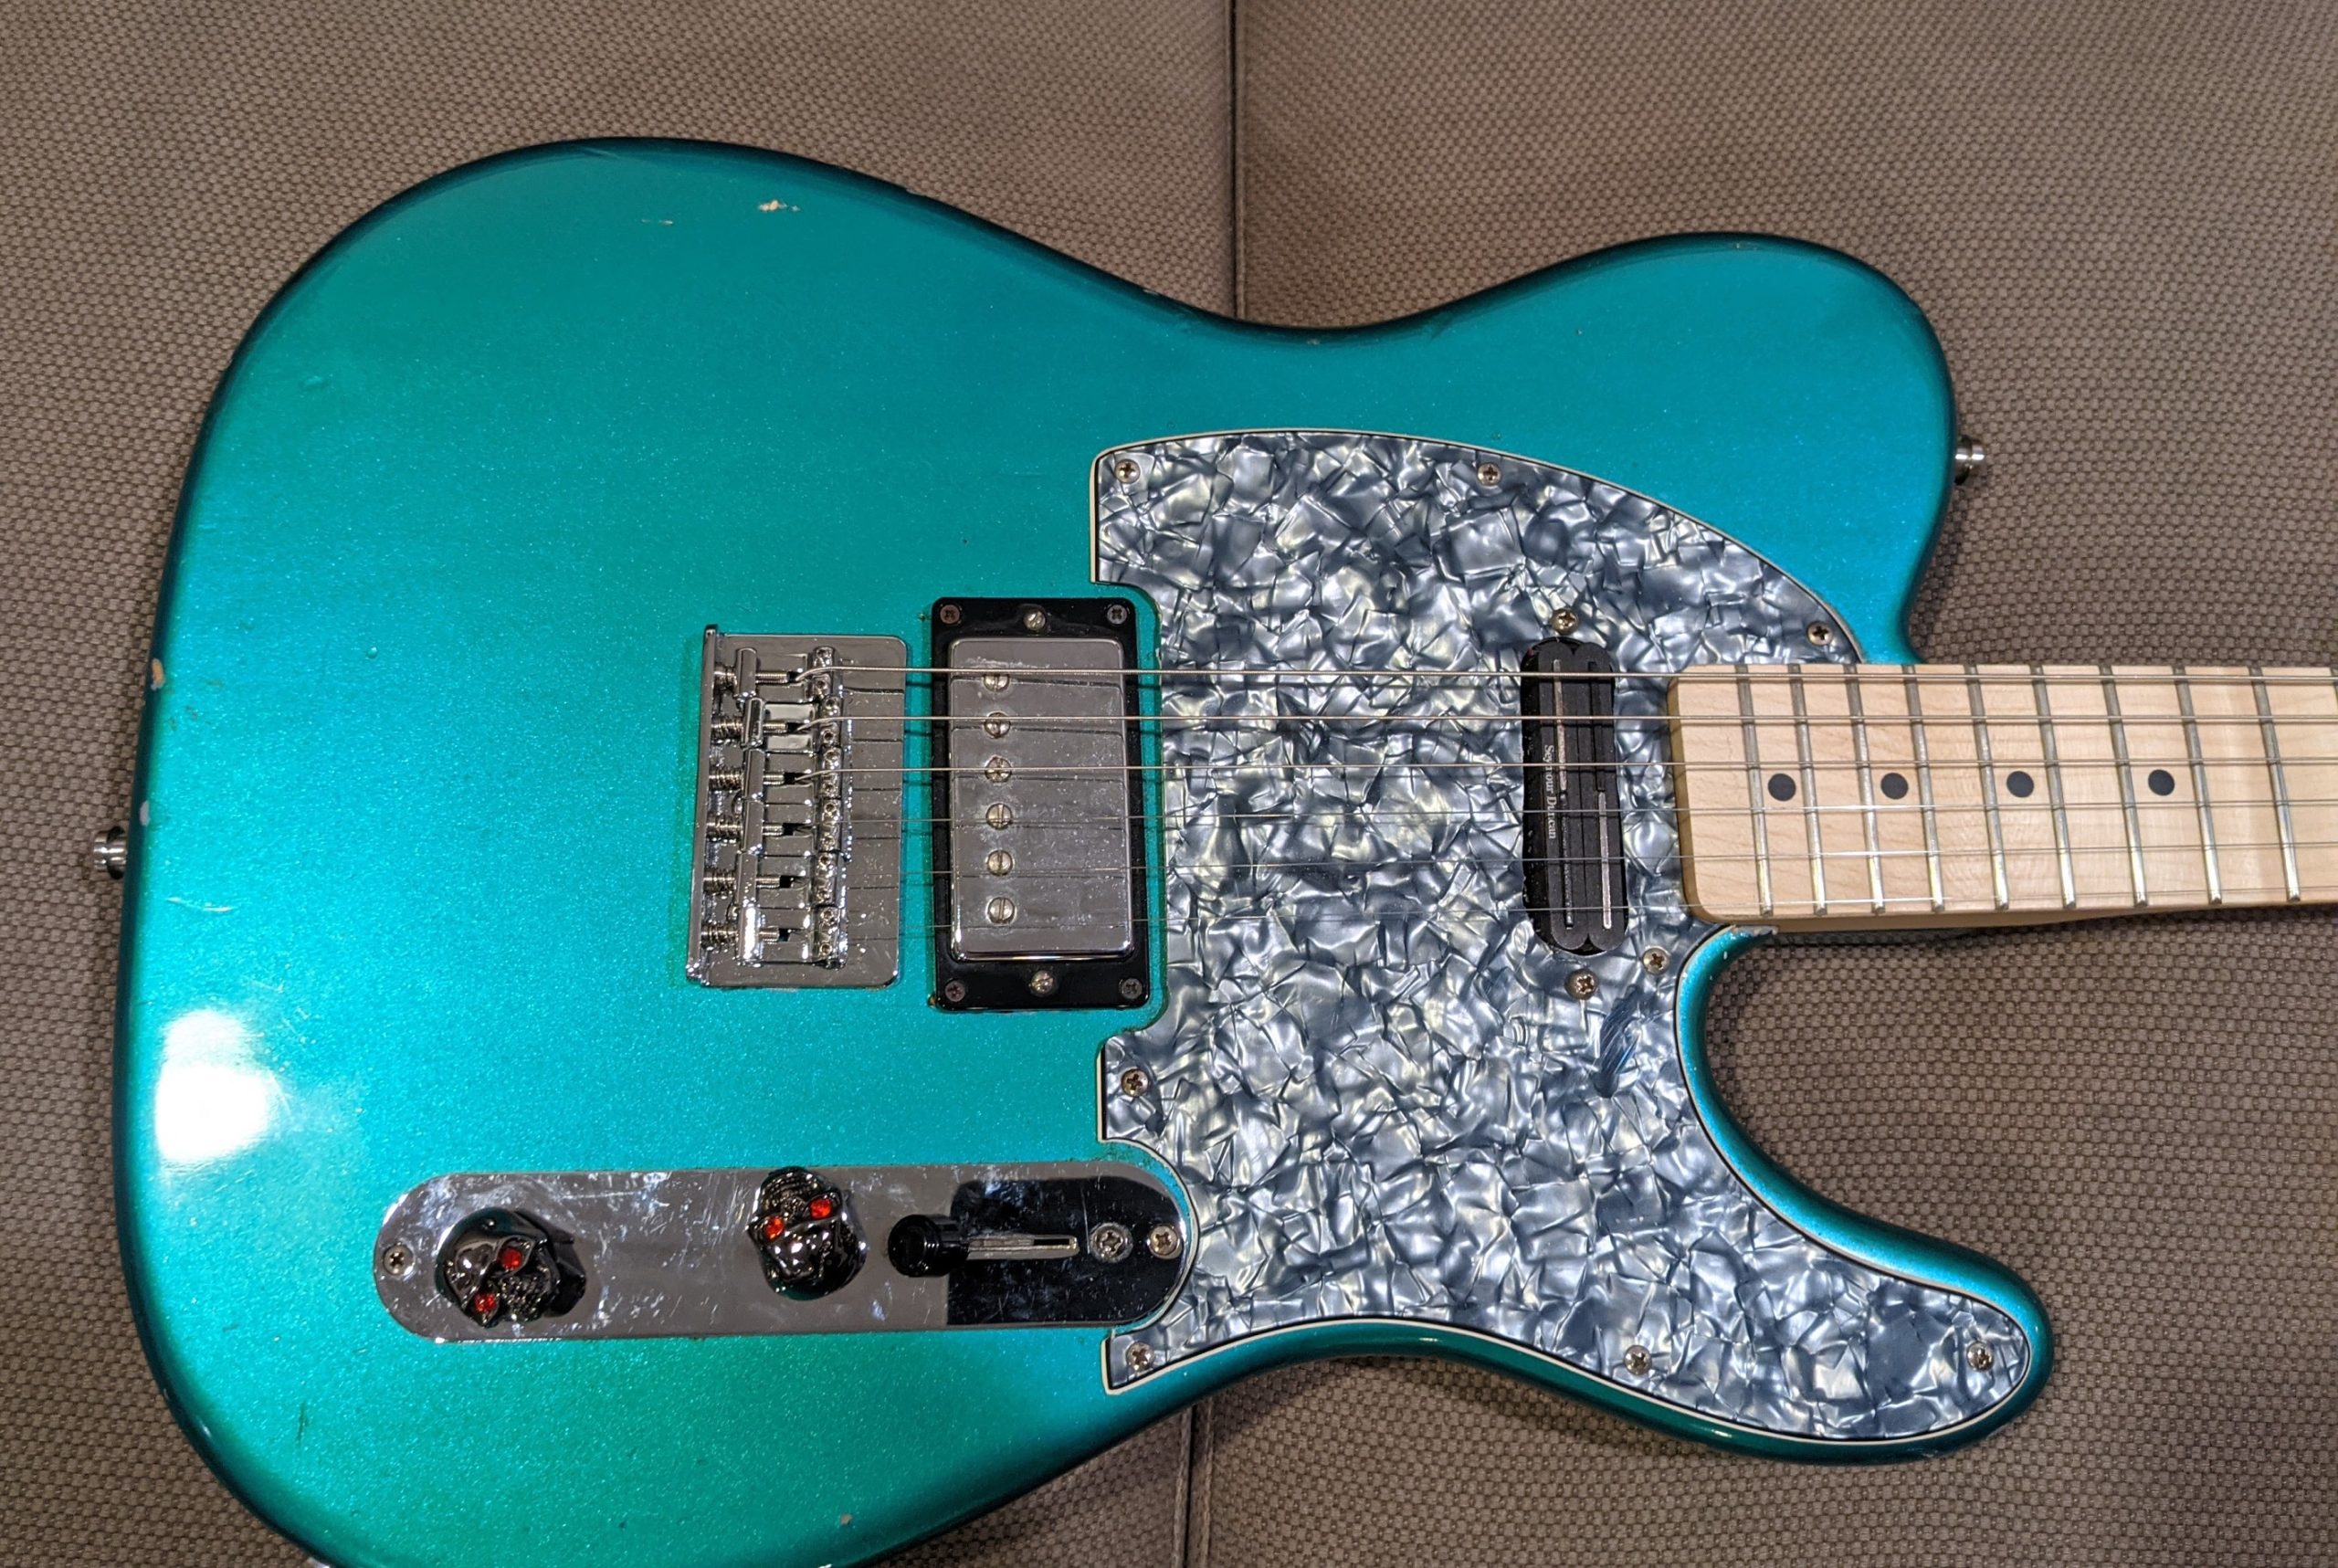
The pick guard on the guitar was not the right one and did not fit the control plate. On top of that the hole for the neck pickup was cut with a chainsaw. The pearly black pick guard did not look good with the rosewood fretboard.
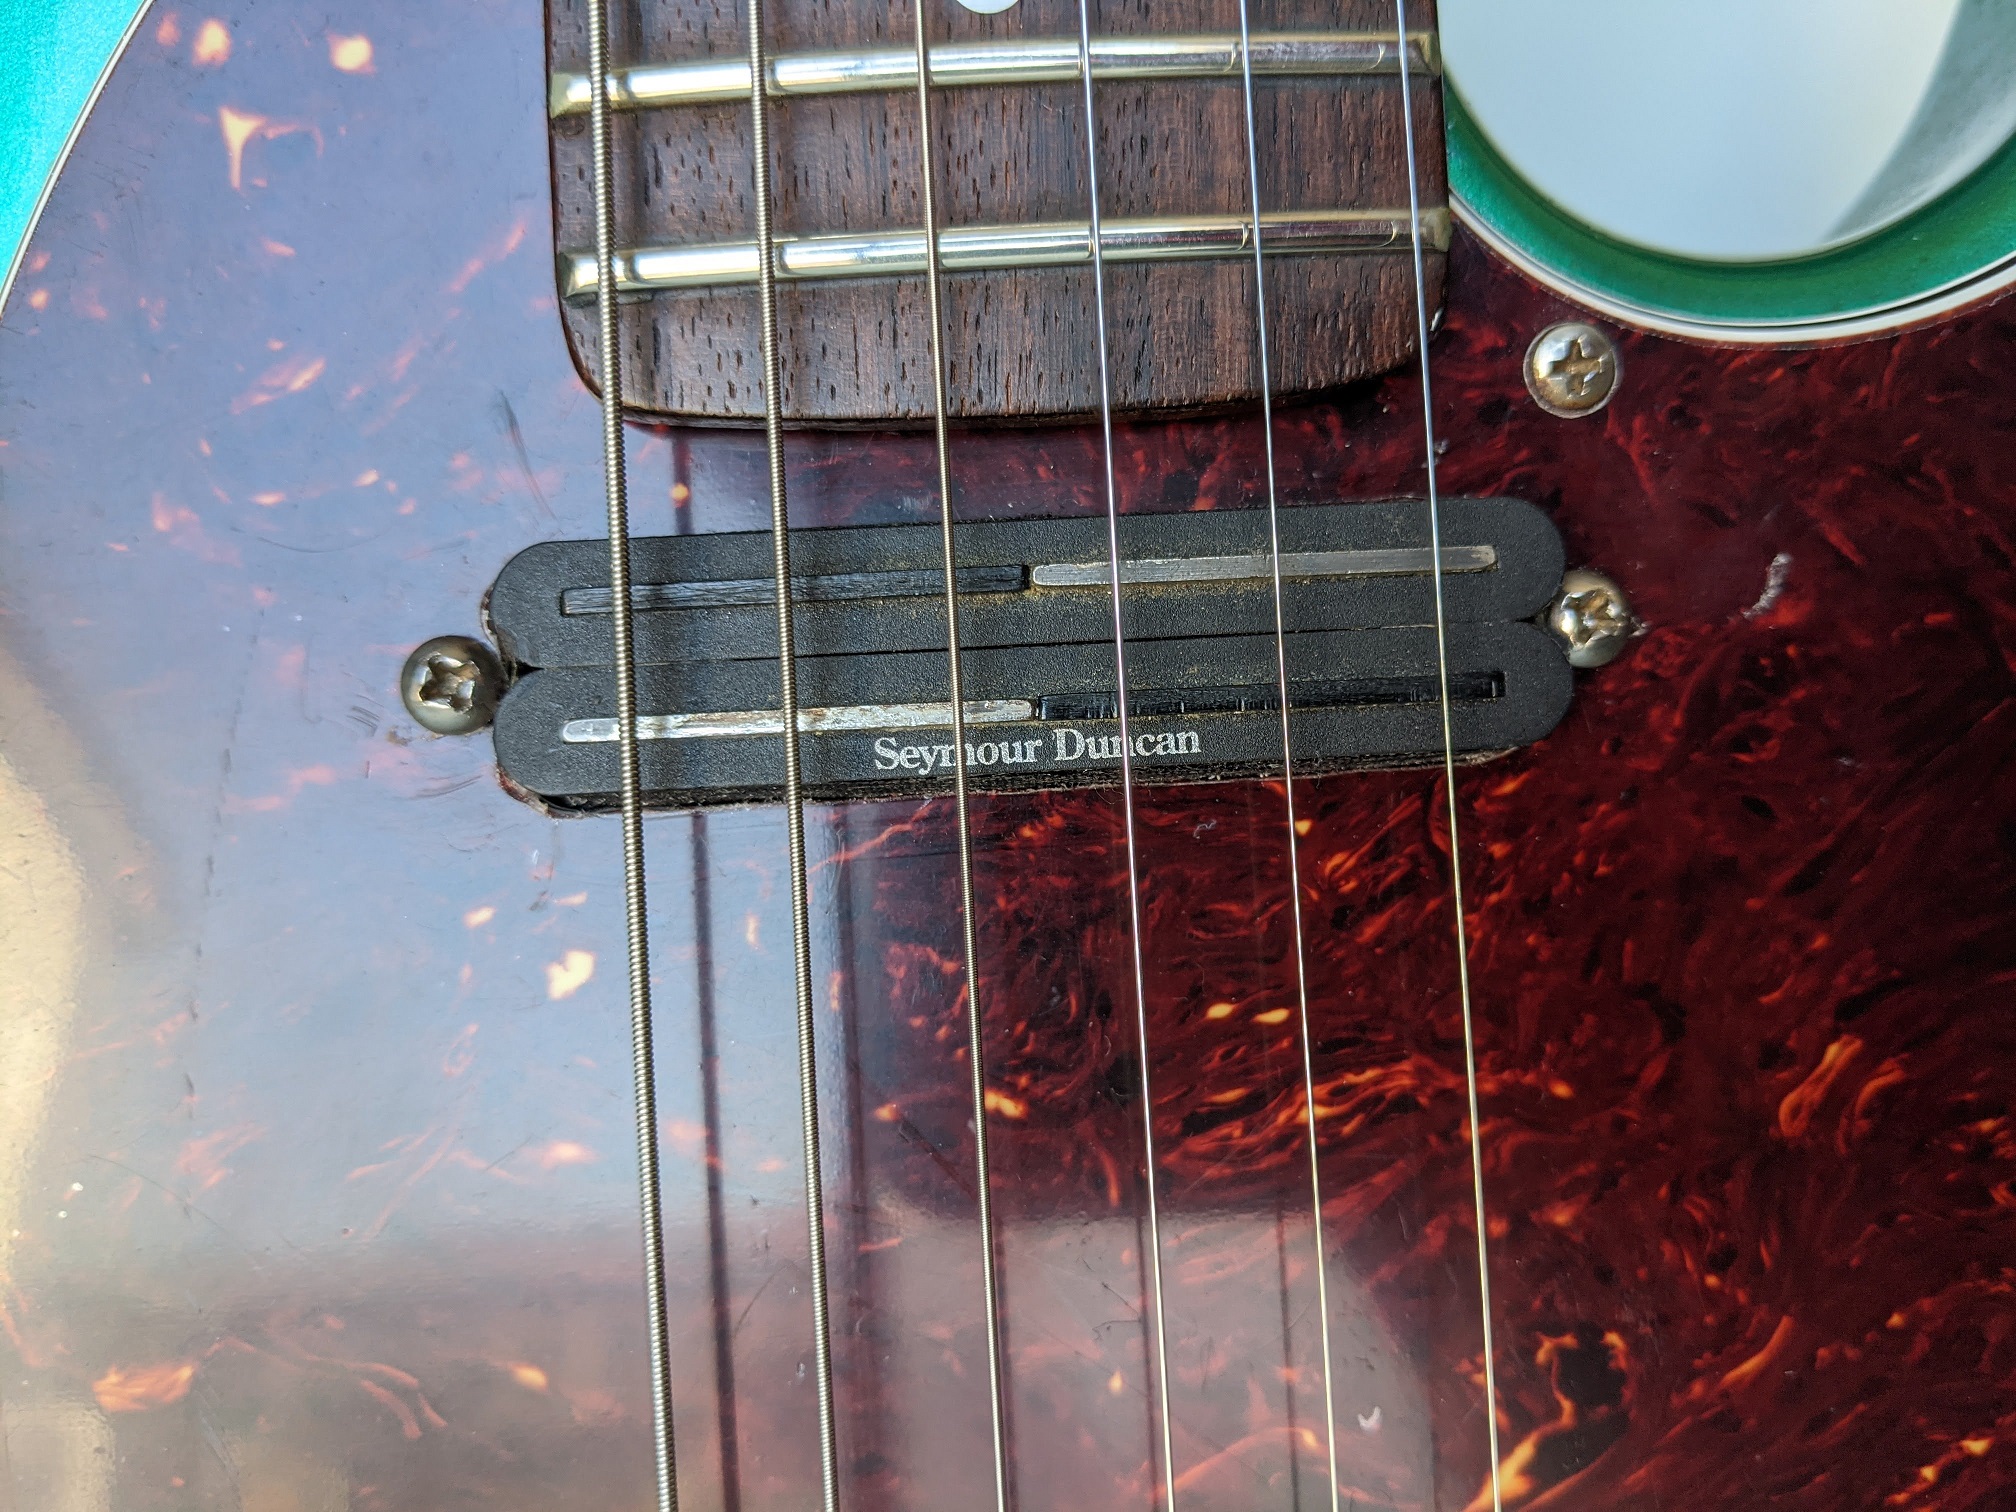
I got a new Fender tortoise color pick guard that looks sweet with the neck. I carefully enlarged the opening for the bridge (the Les Paul pickup ring is bigger than the OG Tele bridge) and the neck pickup (it is larger than a Fender single coil).

The nut
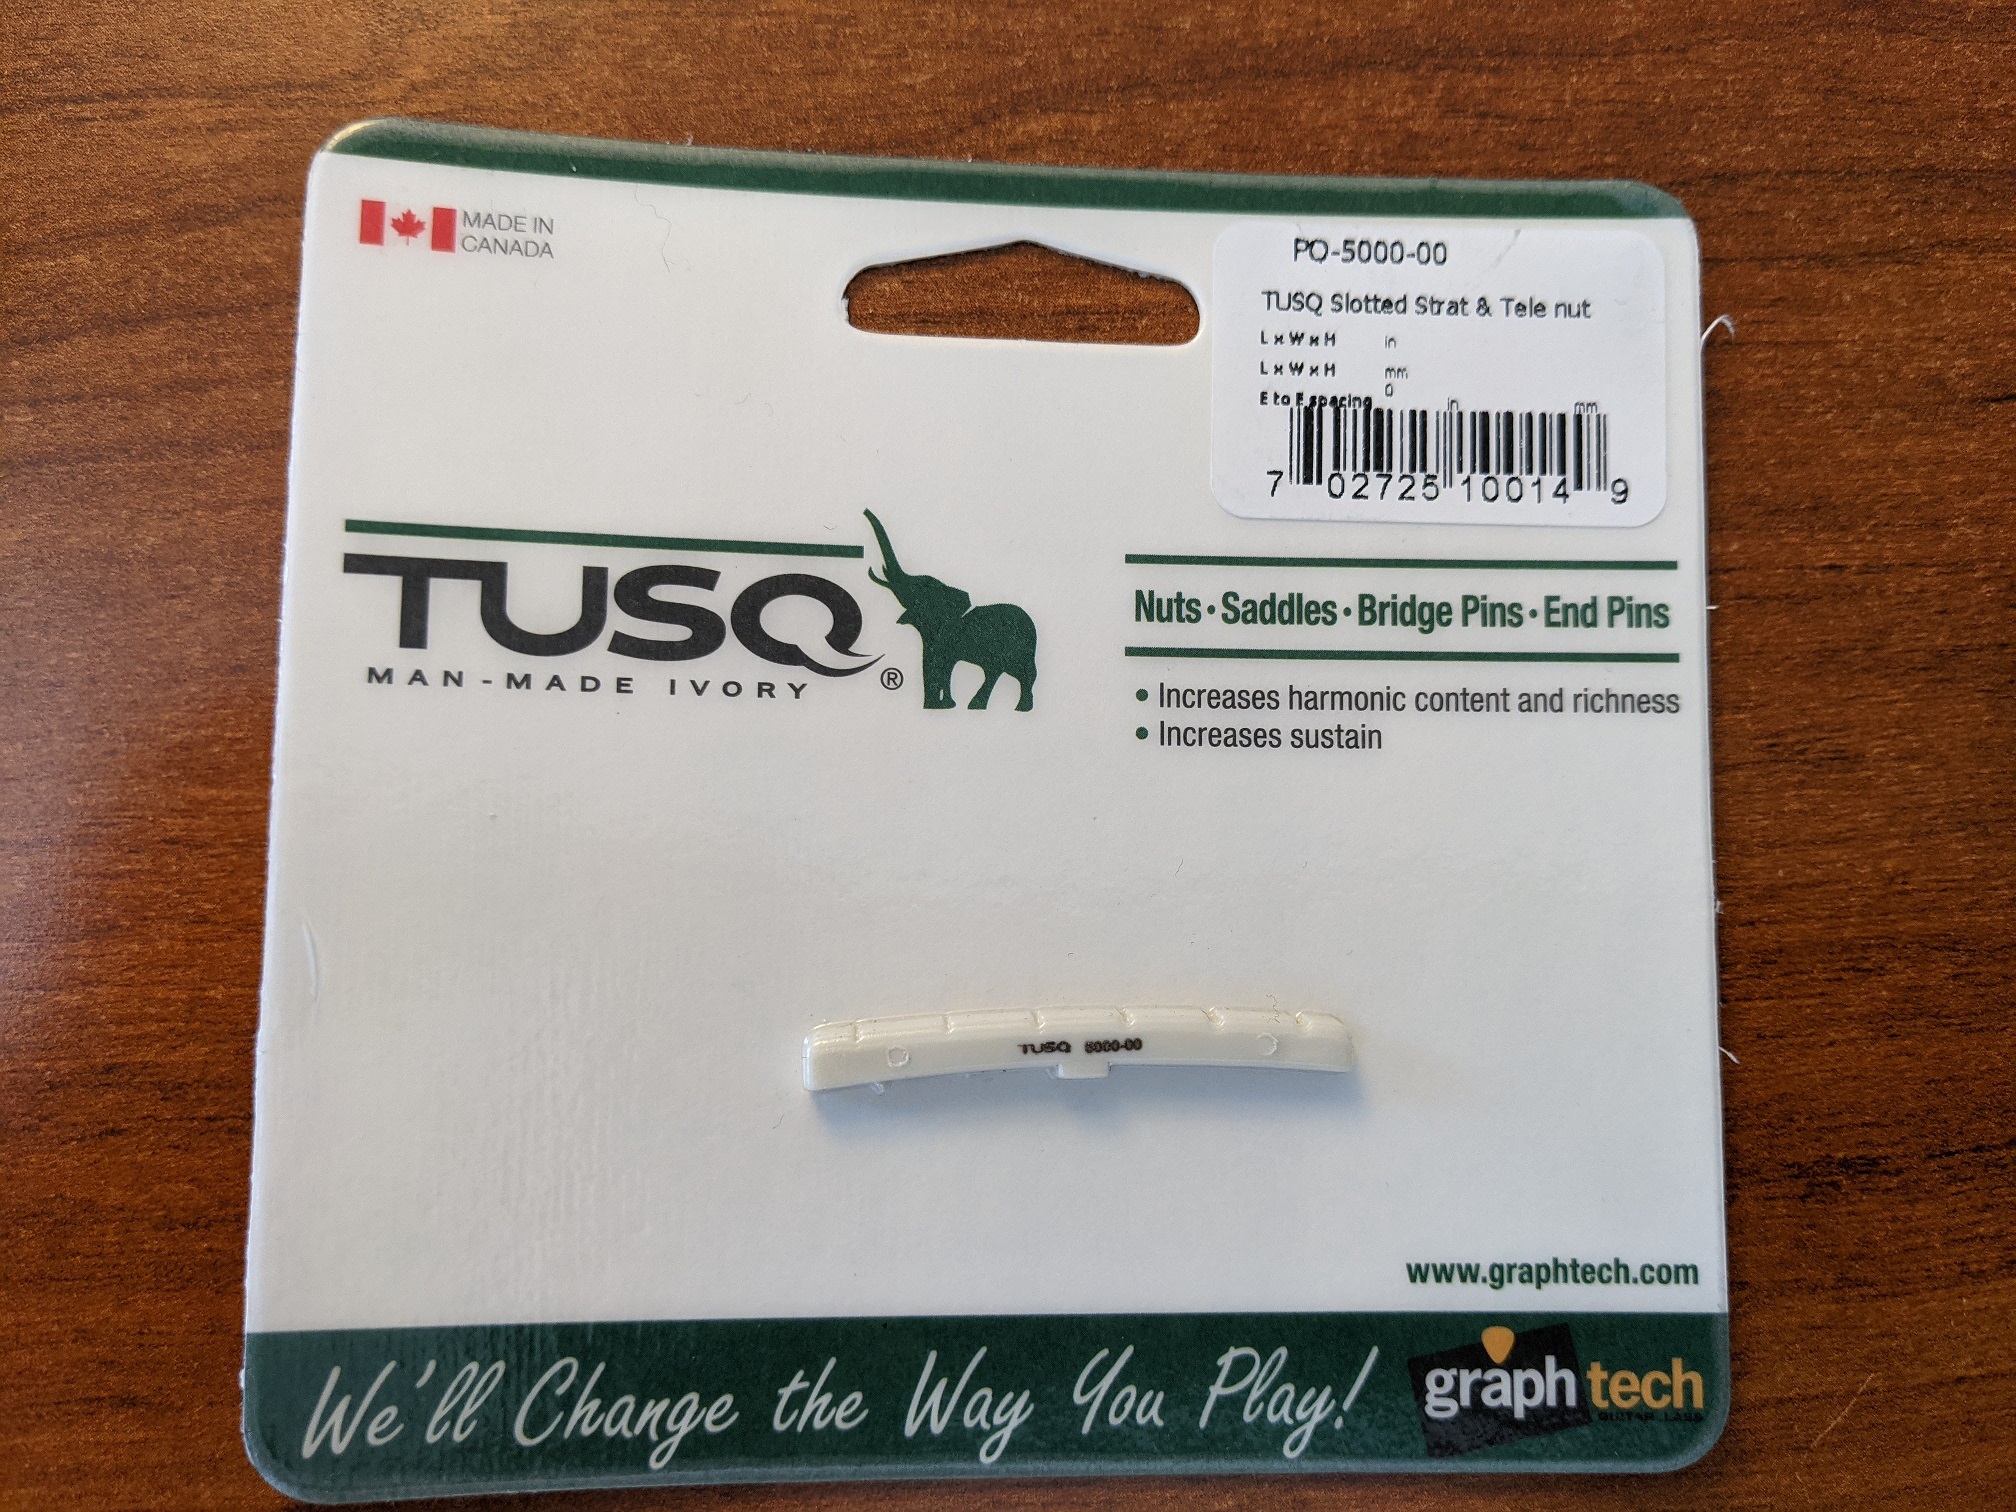
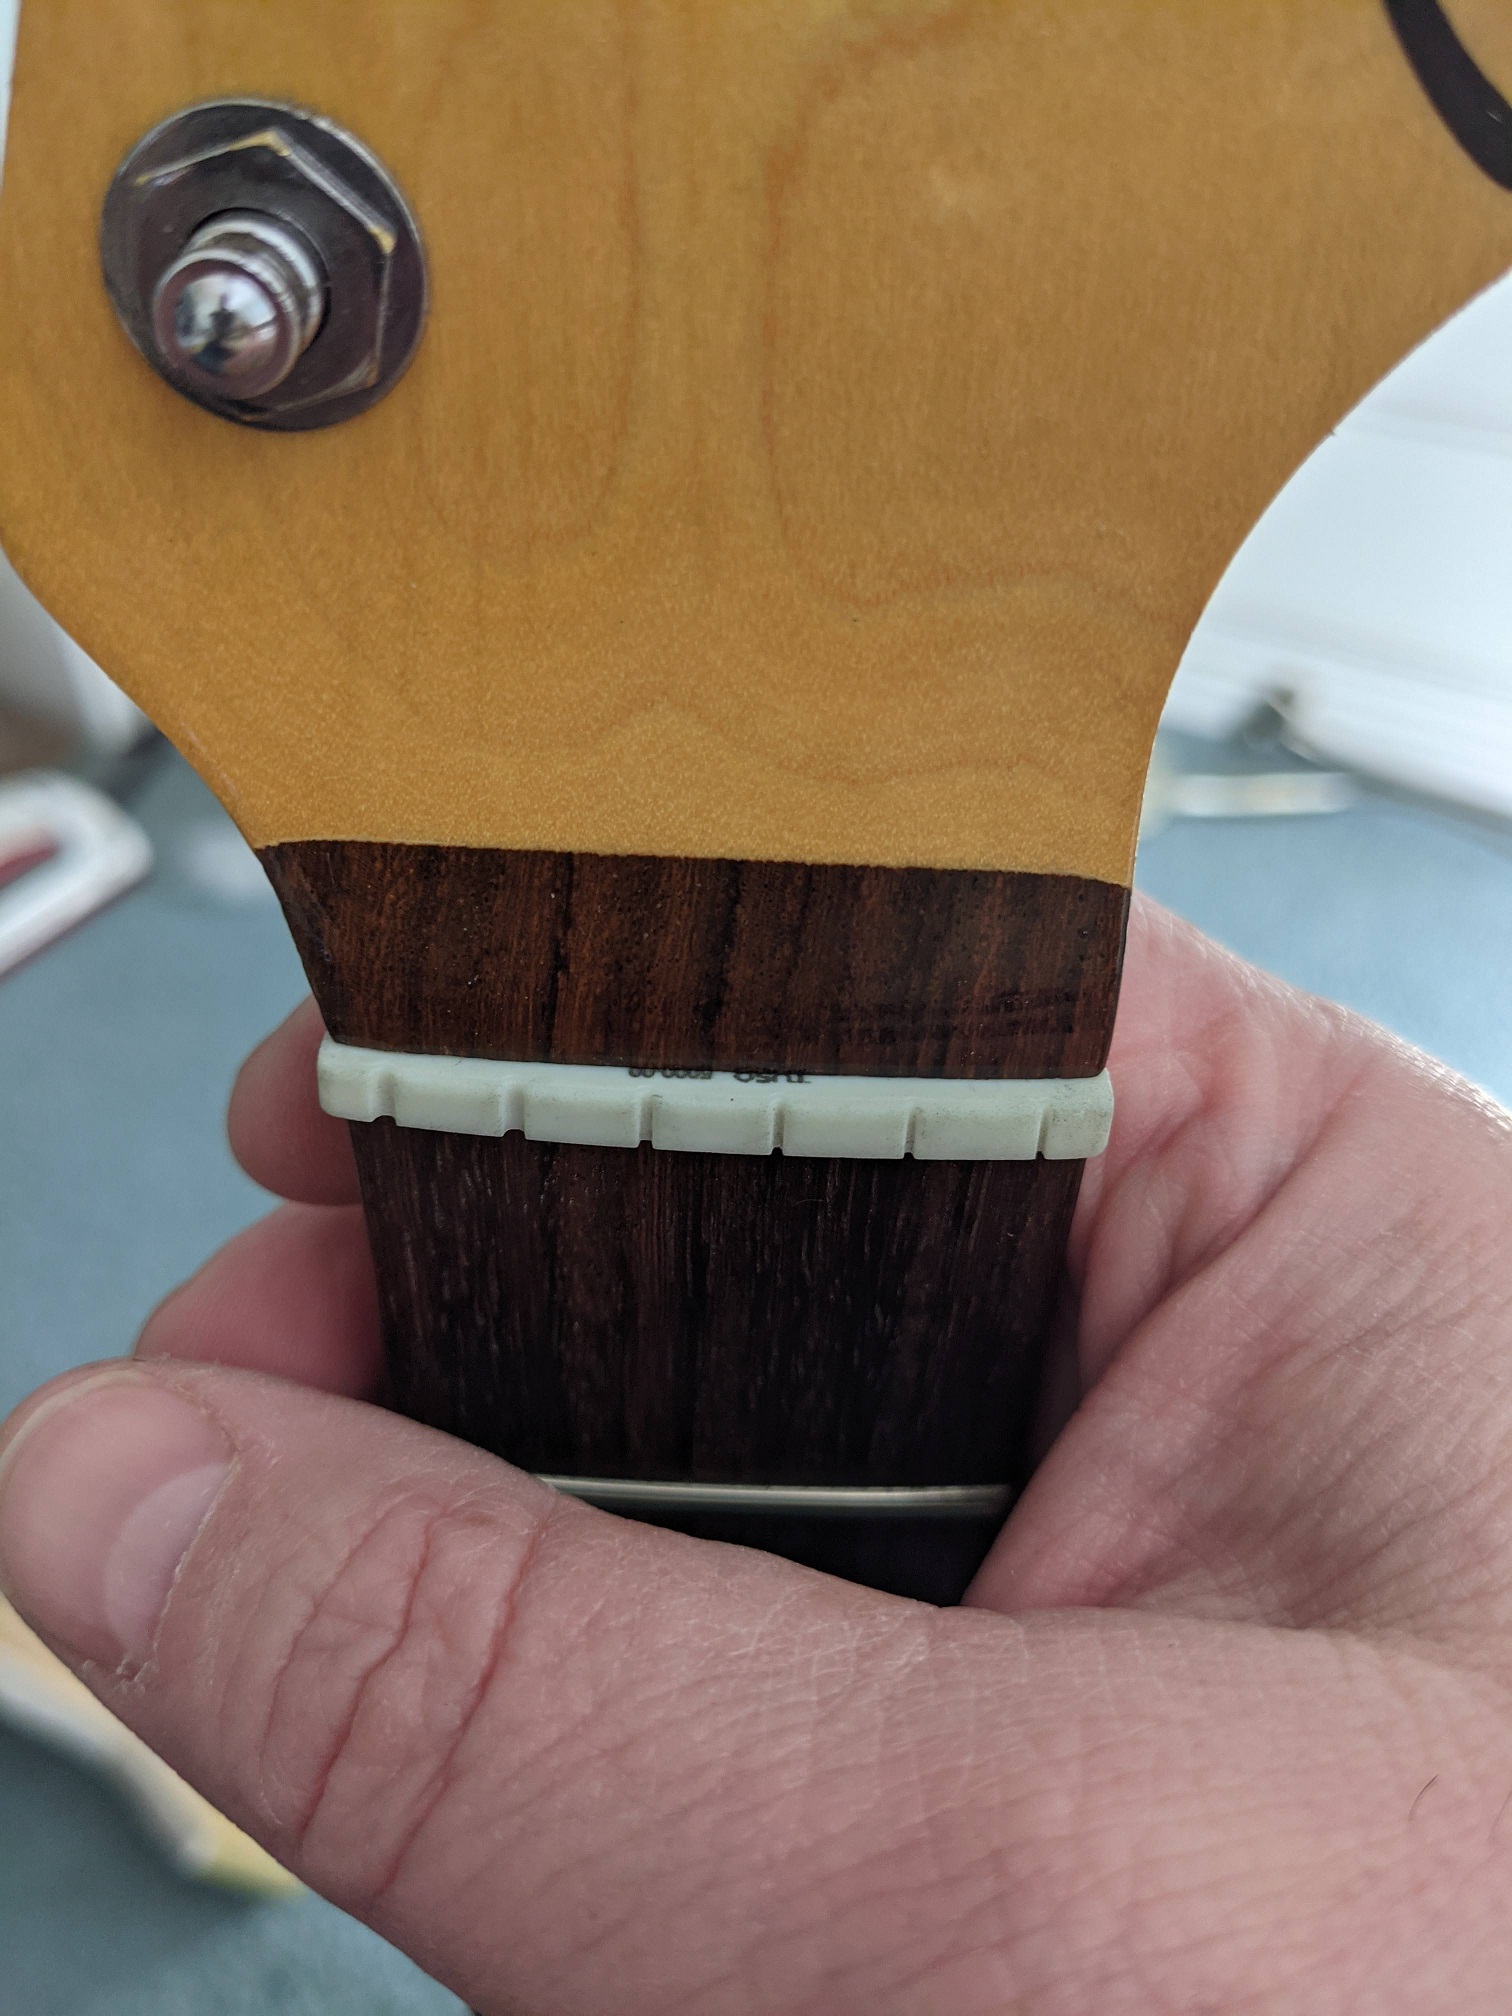
The old strat neck didn’t come with a bit, so I needed to install one. The slot for the nut is flat (Fender slots are curved) so I bought a Graphtech Tusq nut. I sanded it down to a tight fit and installed it. I adjusted some of the slots with my nut files.
Inlays
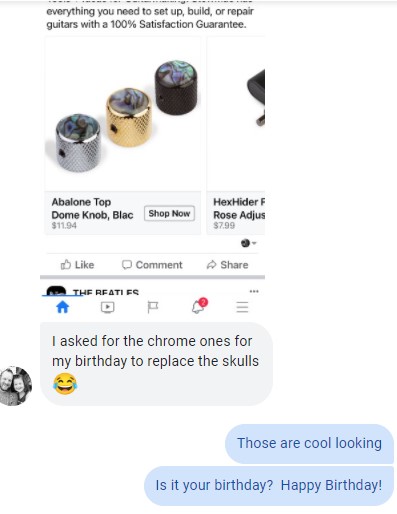
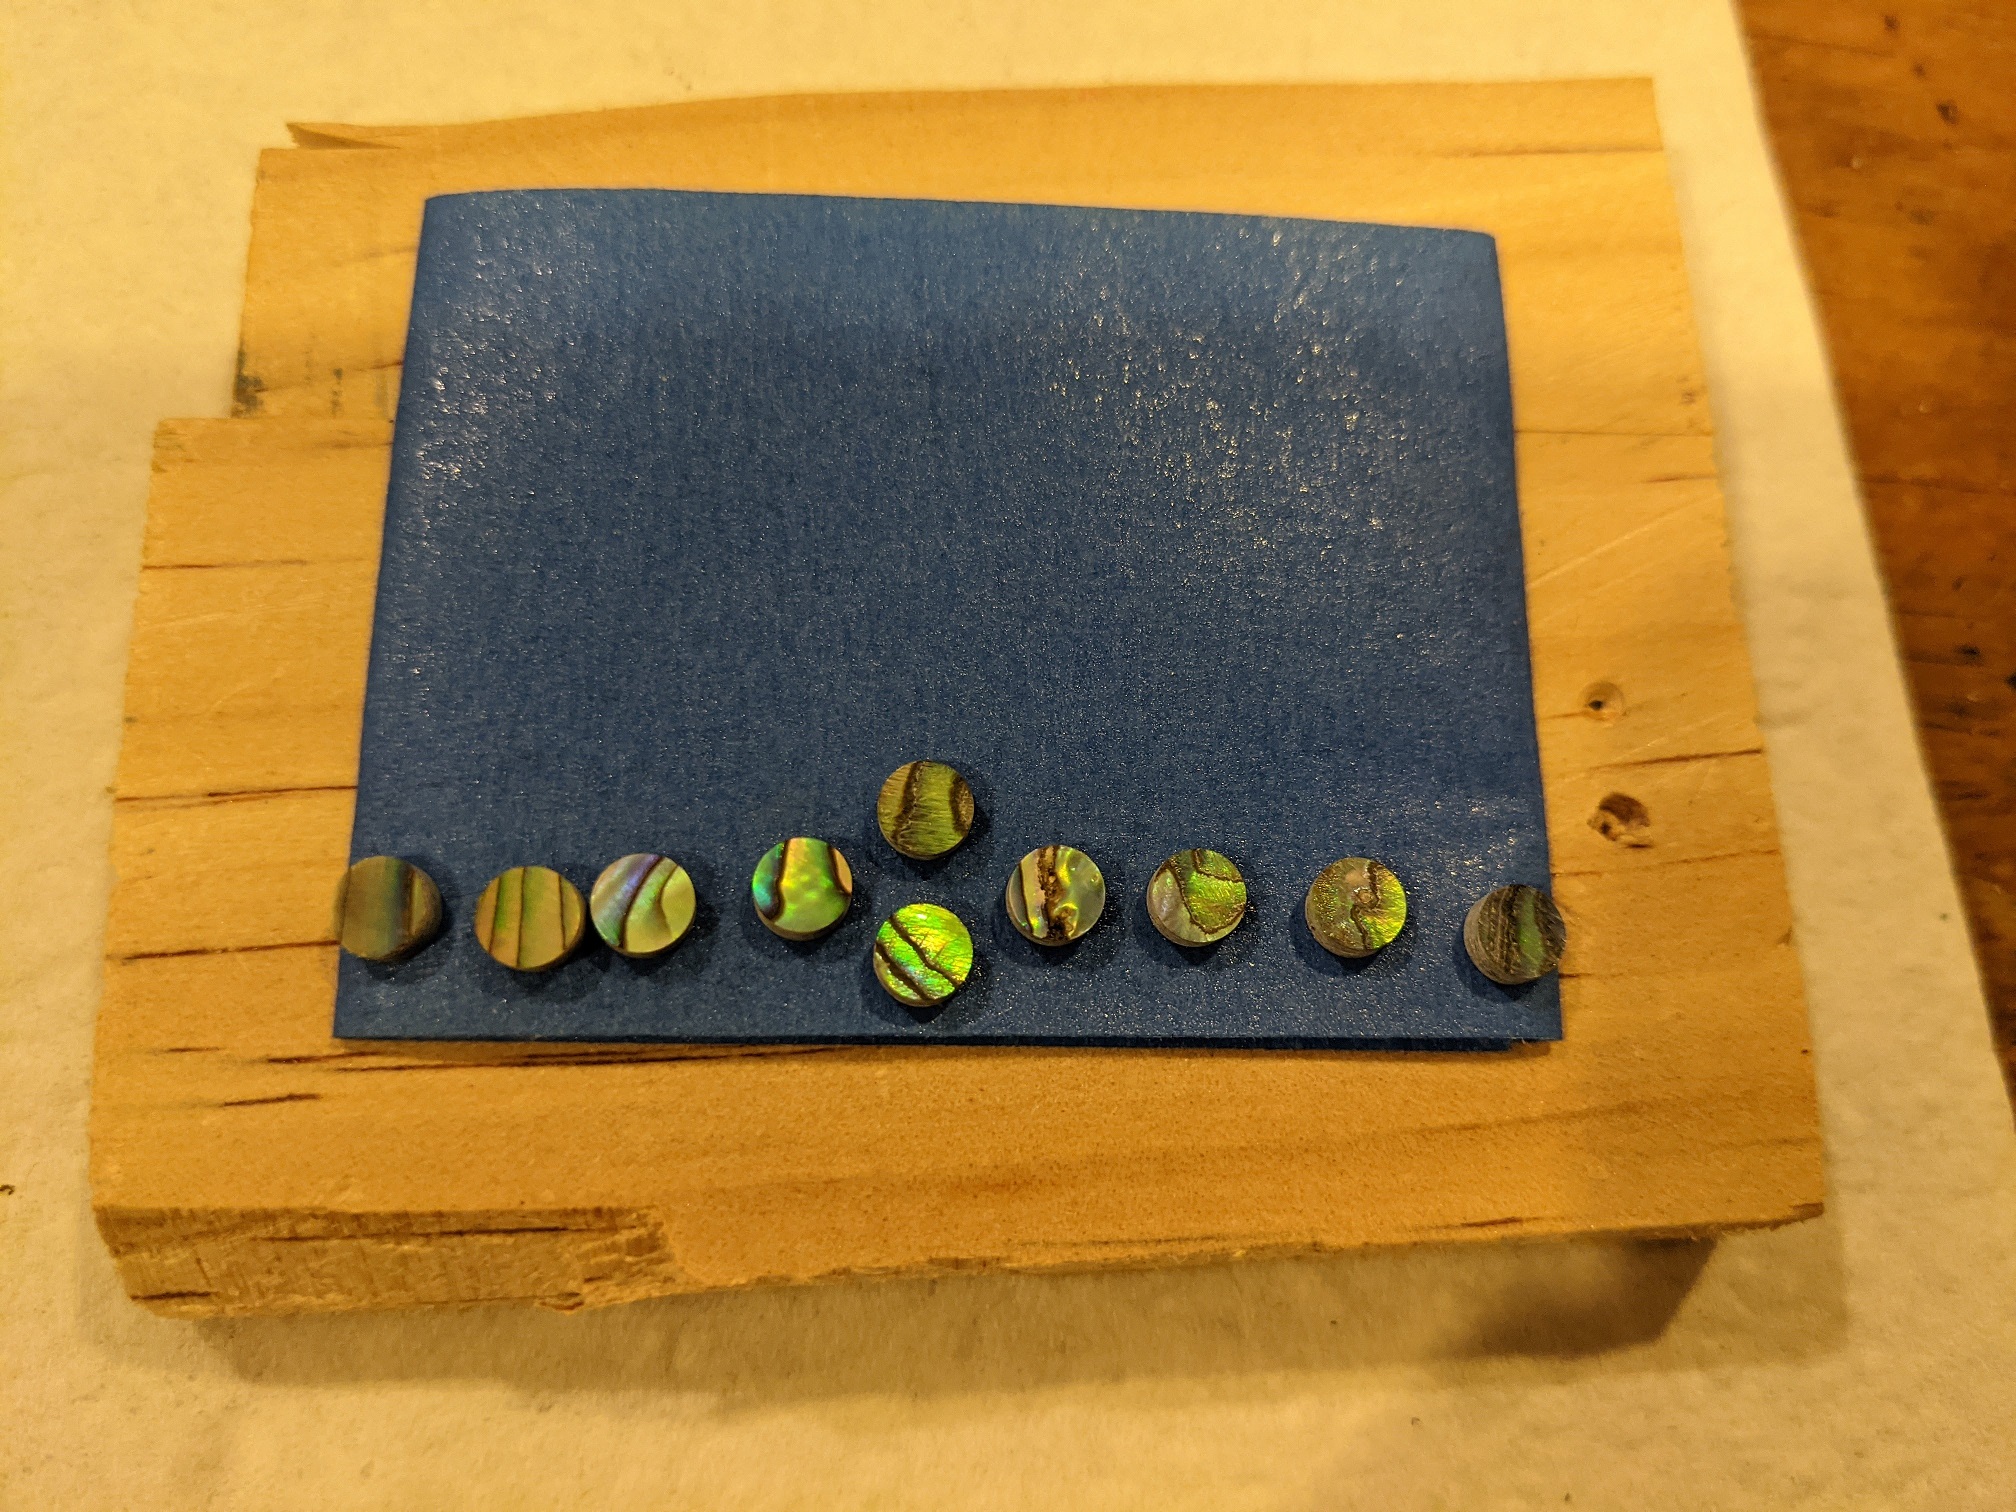
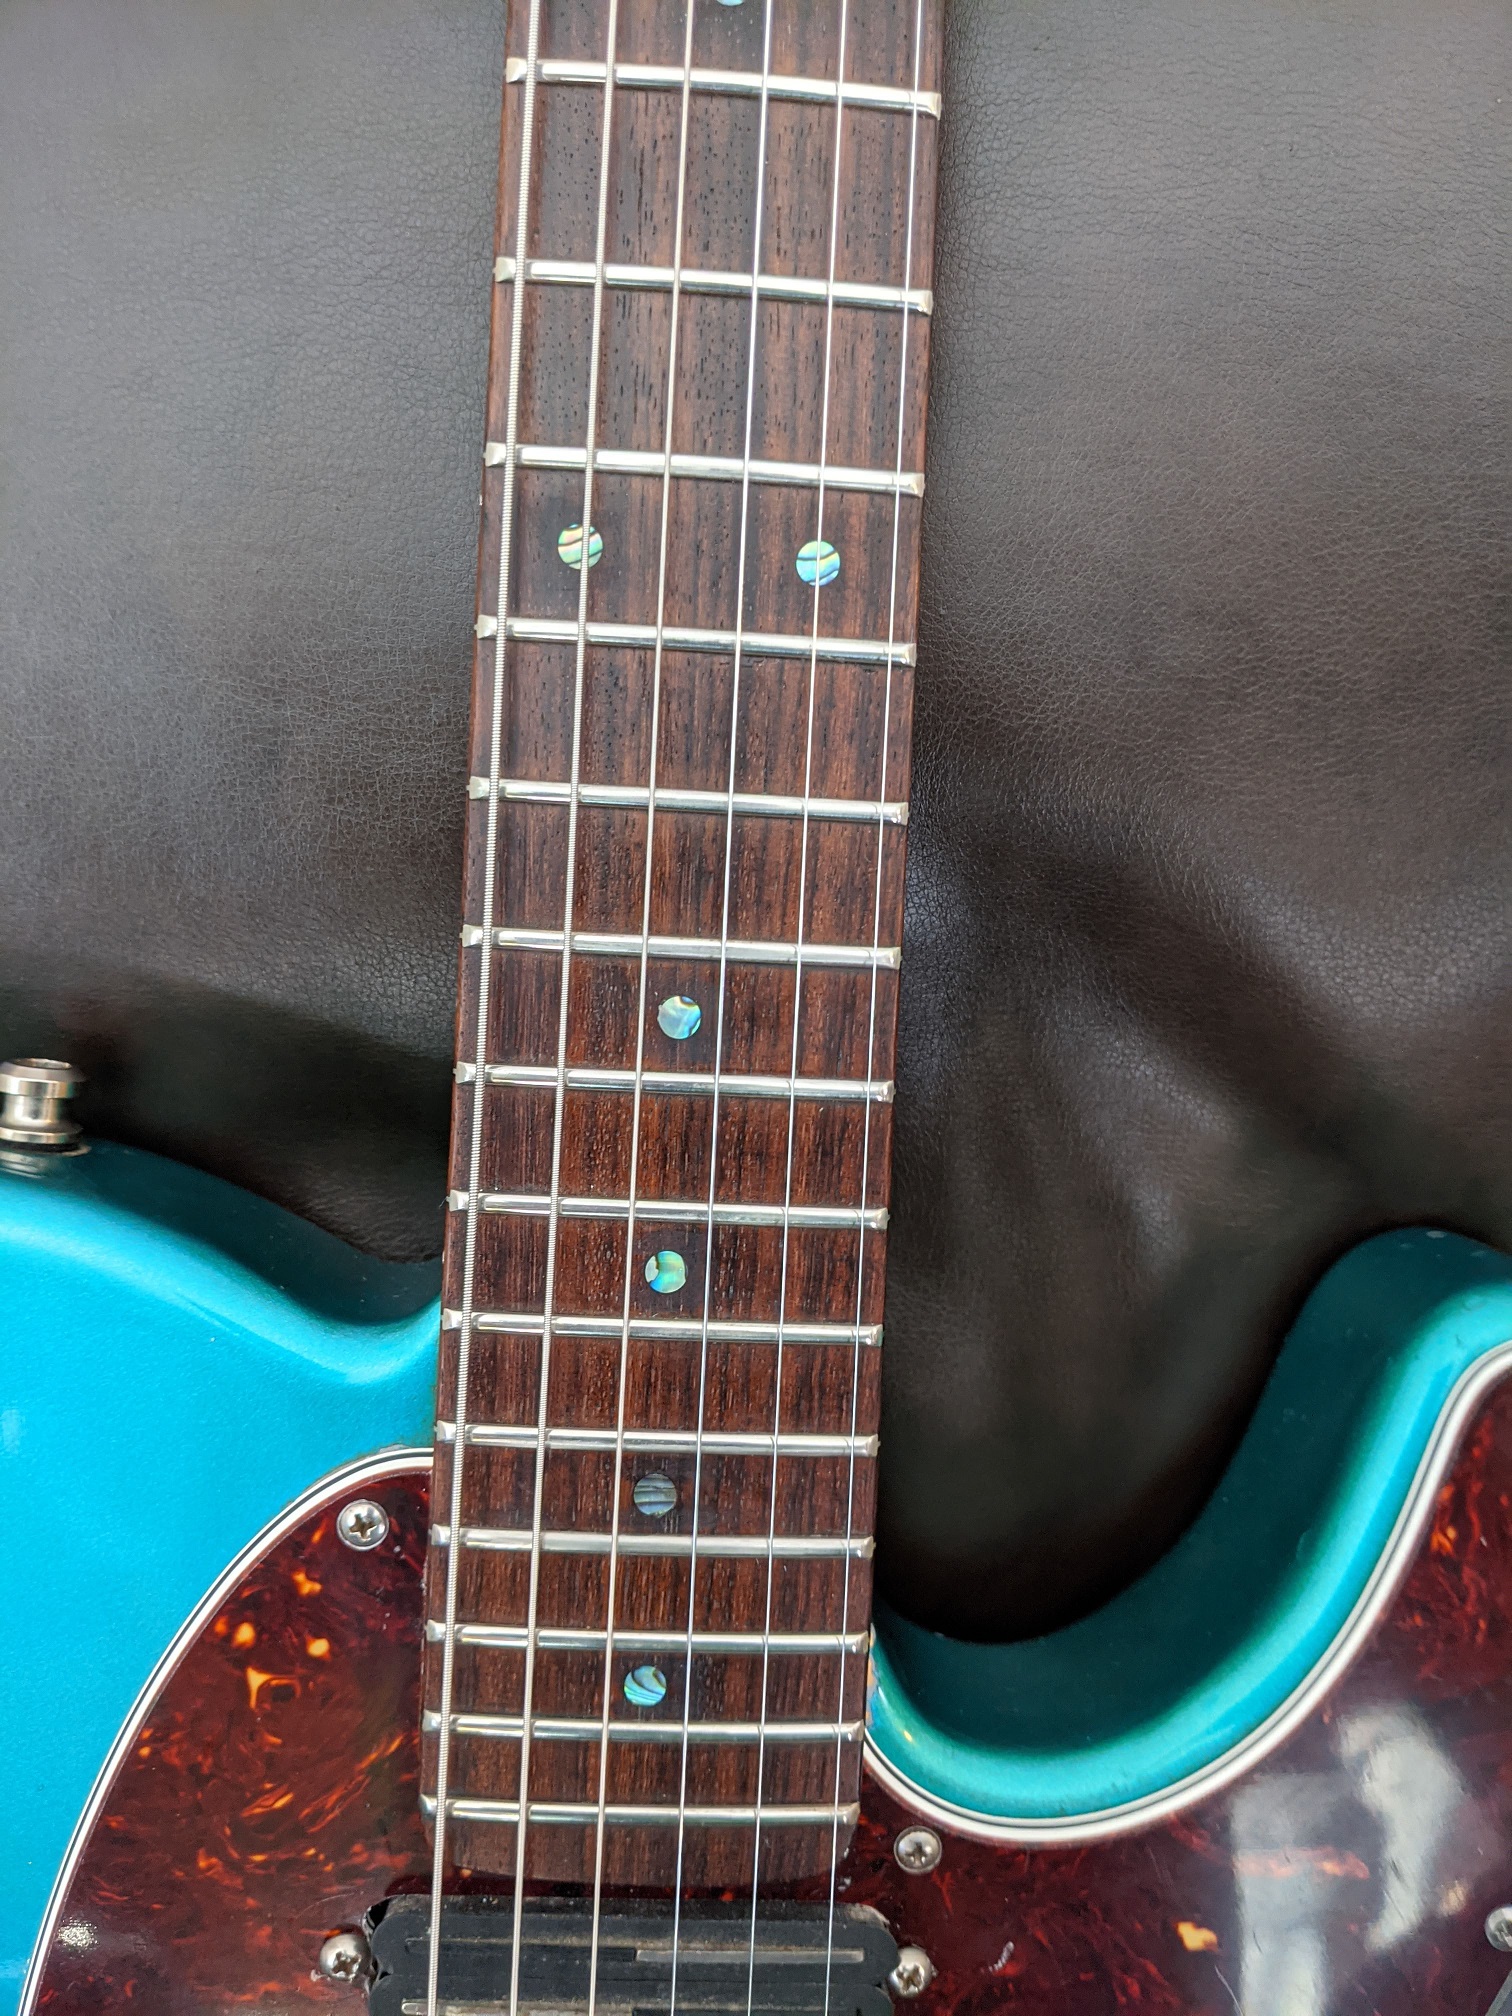
The guitar has these cool skull knobs. My friend said they get in the way and he wanted to replace them with some Tele style knobs with cool abalone inlays on top. This got me thinking… I should replace the plastic fret dots with cool abalone ones!
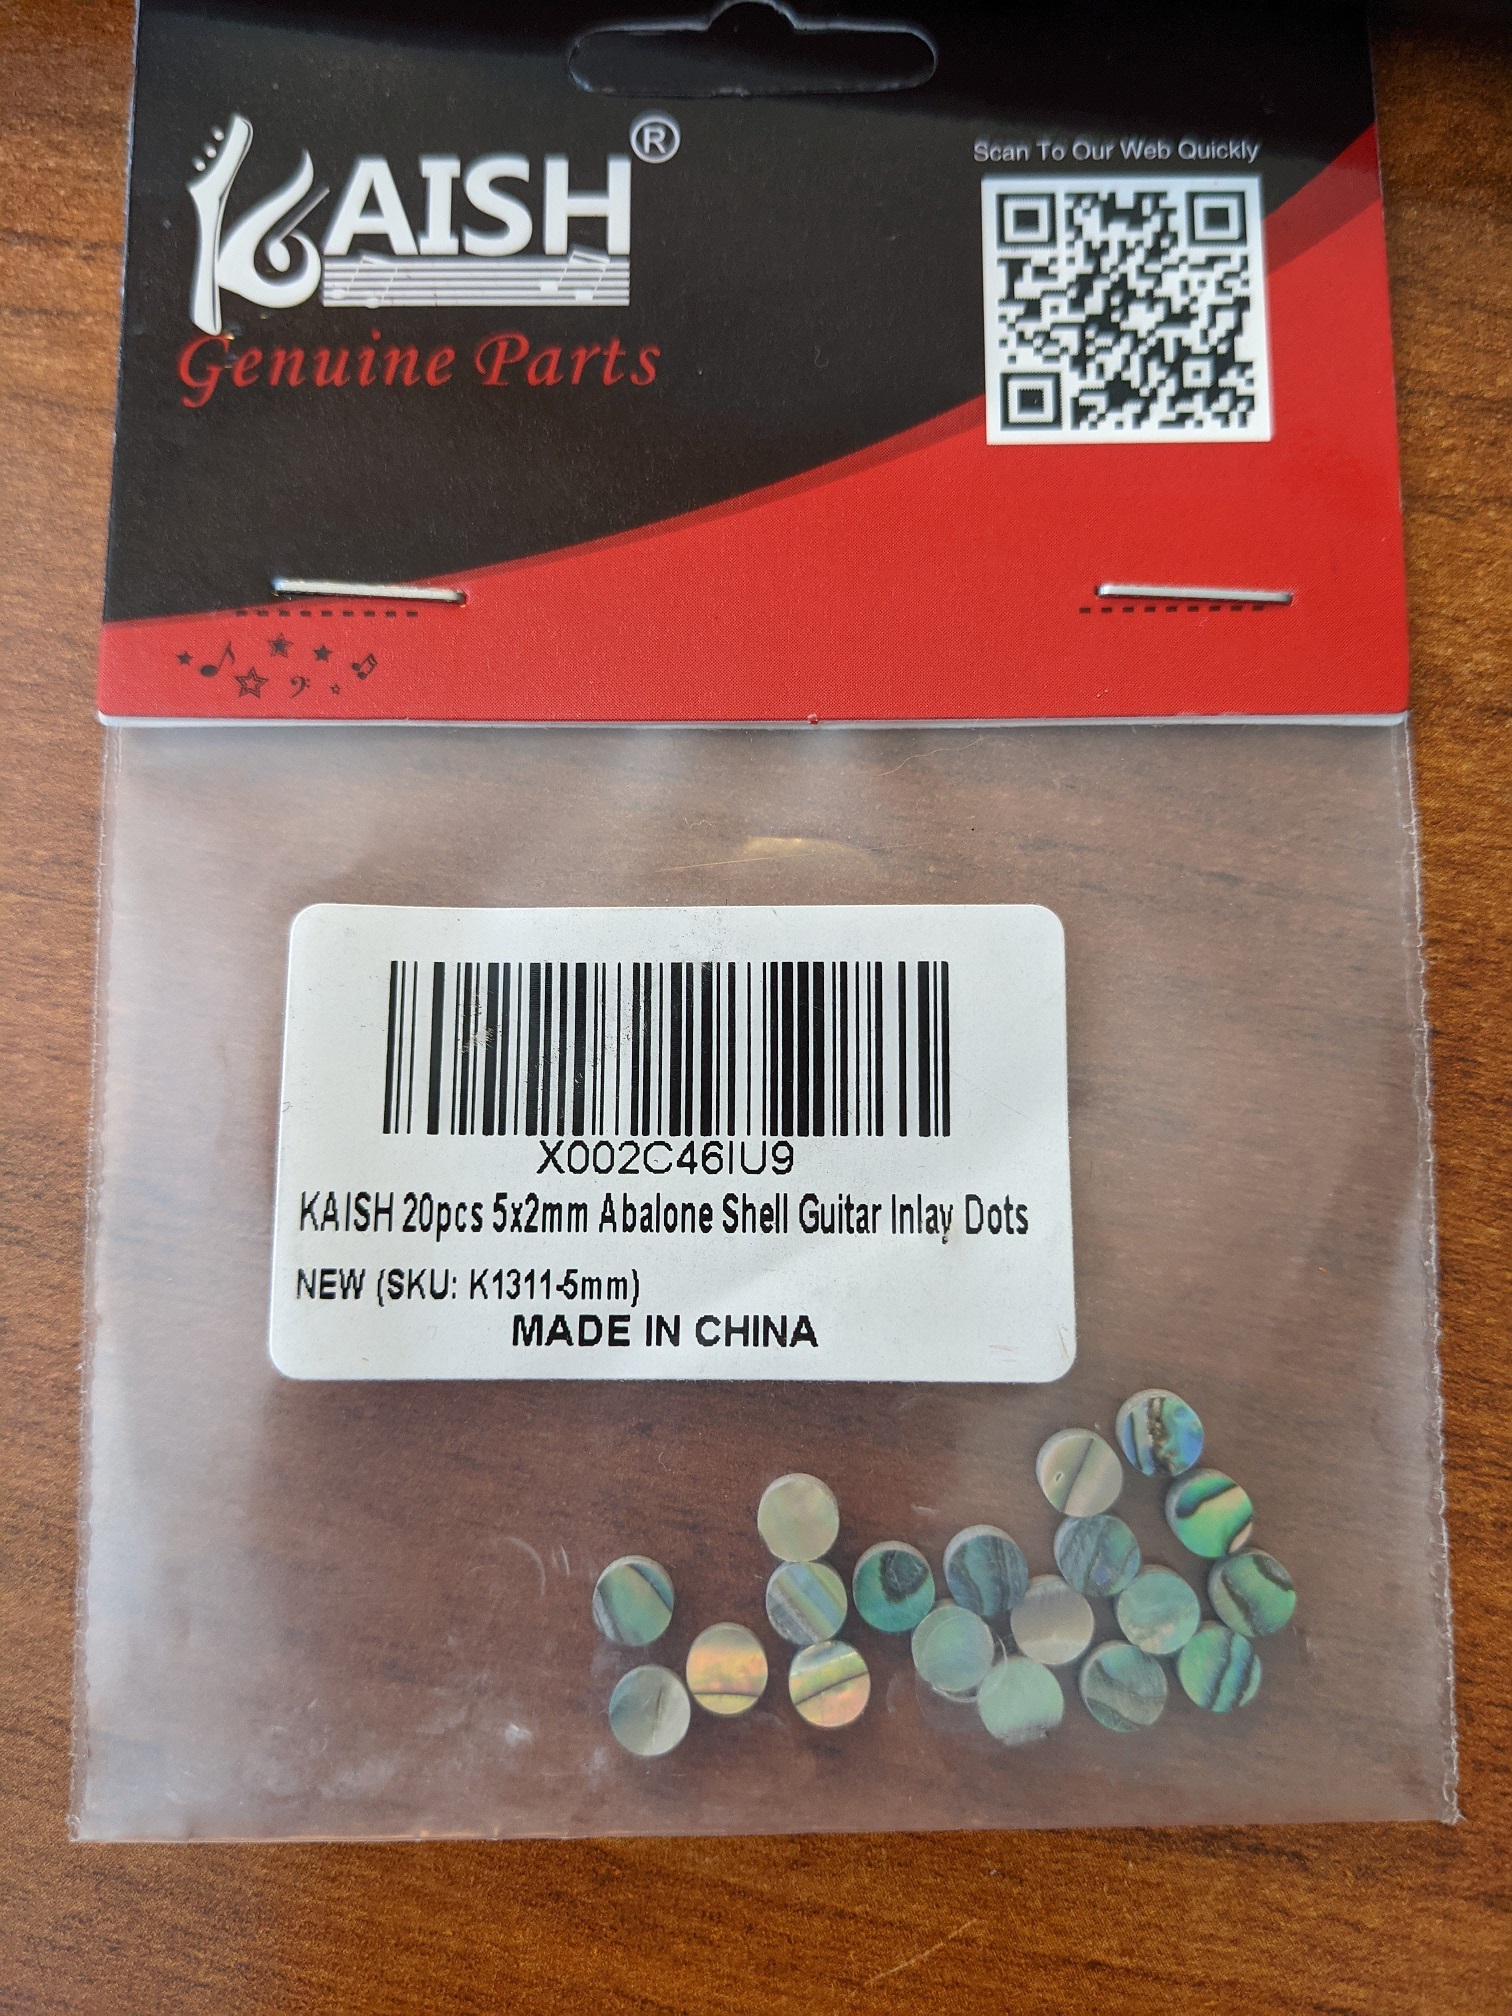
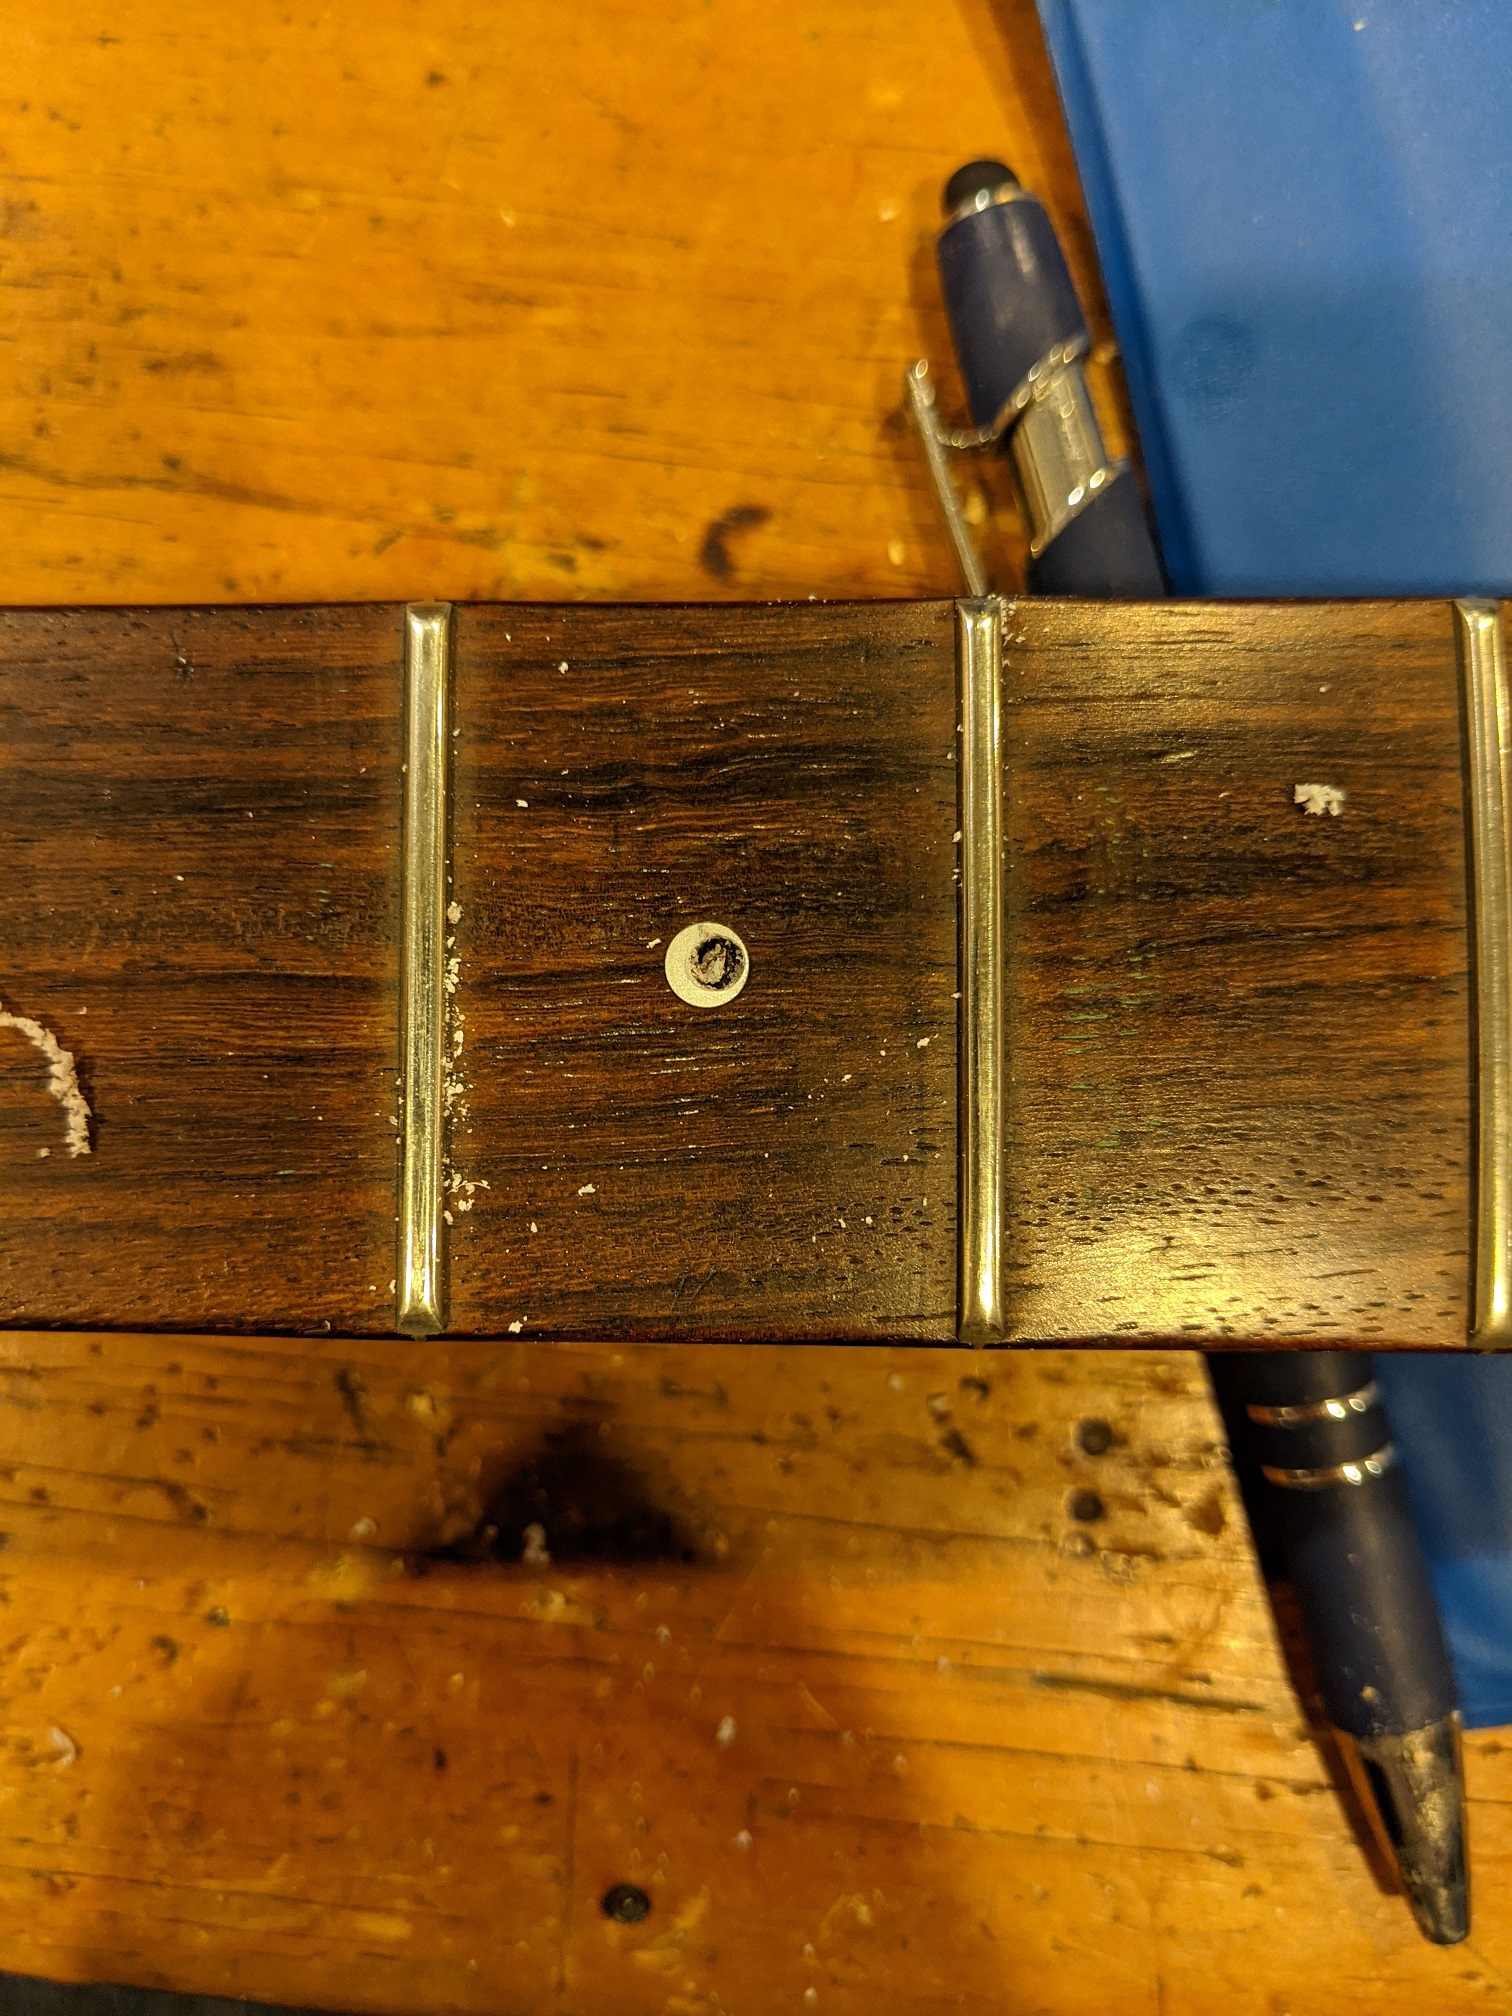
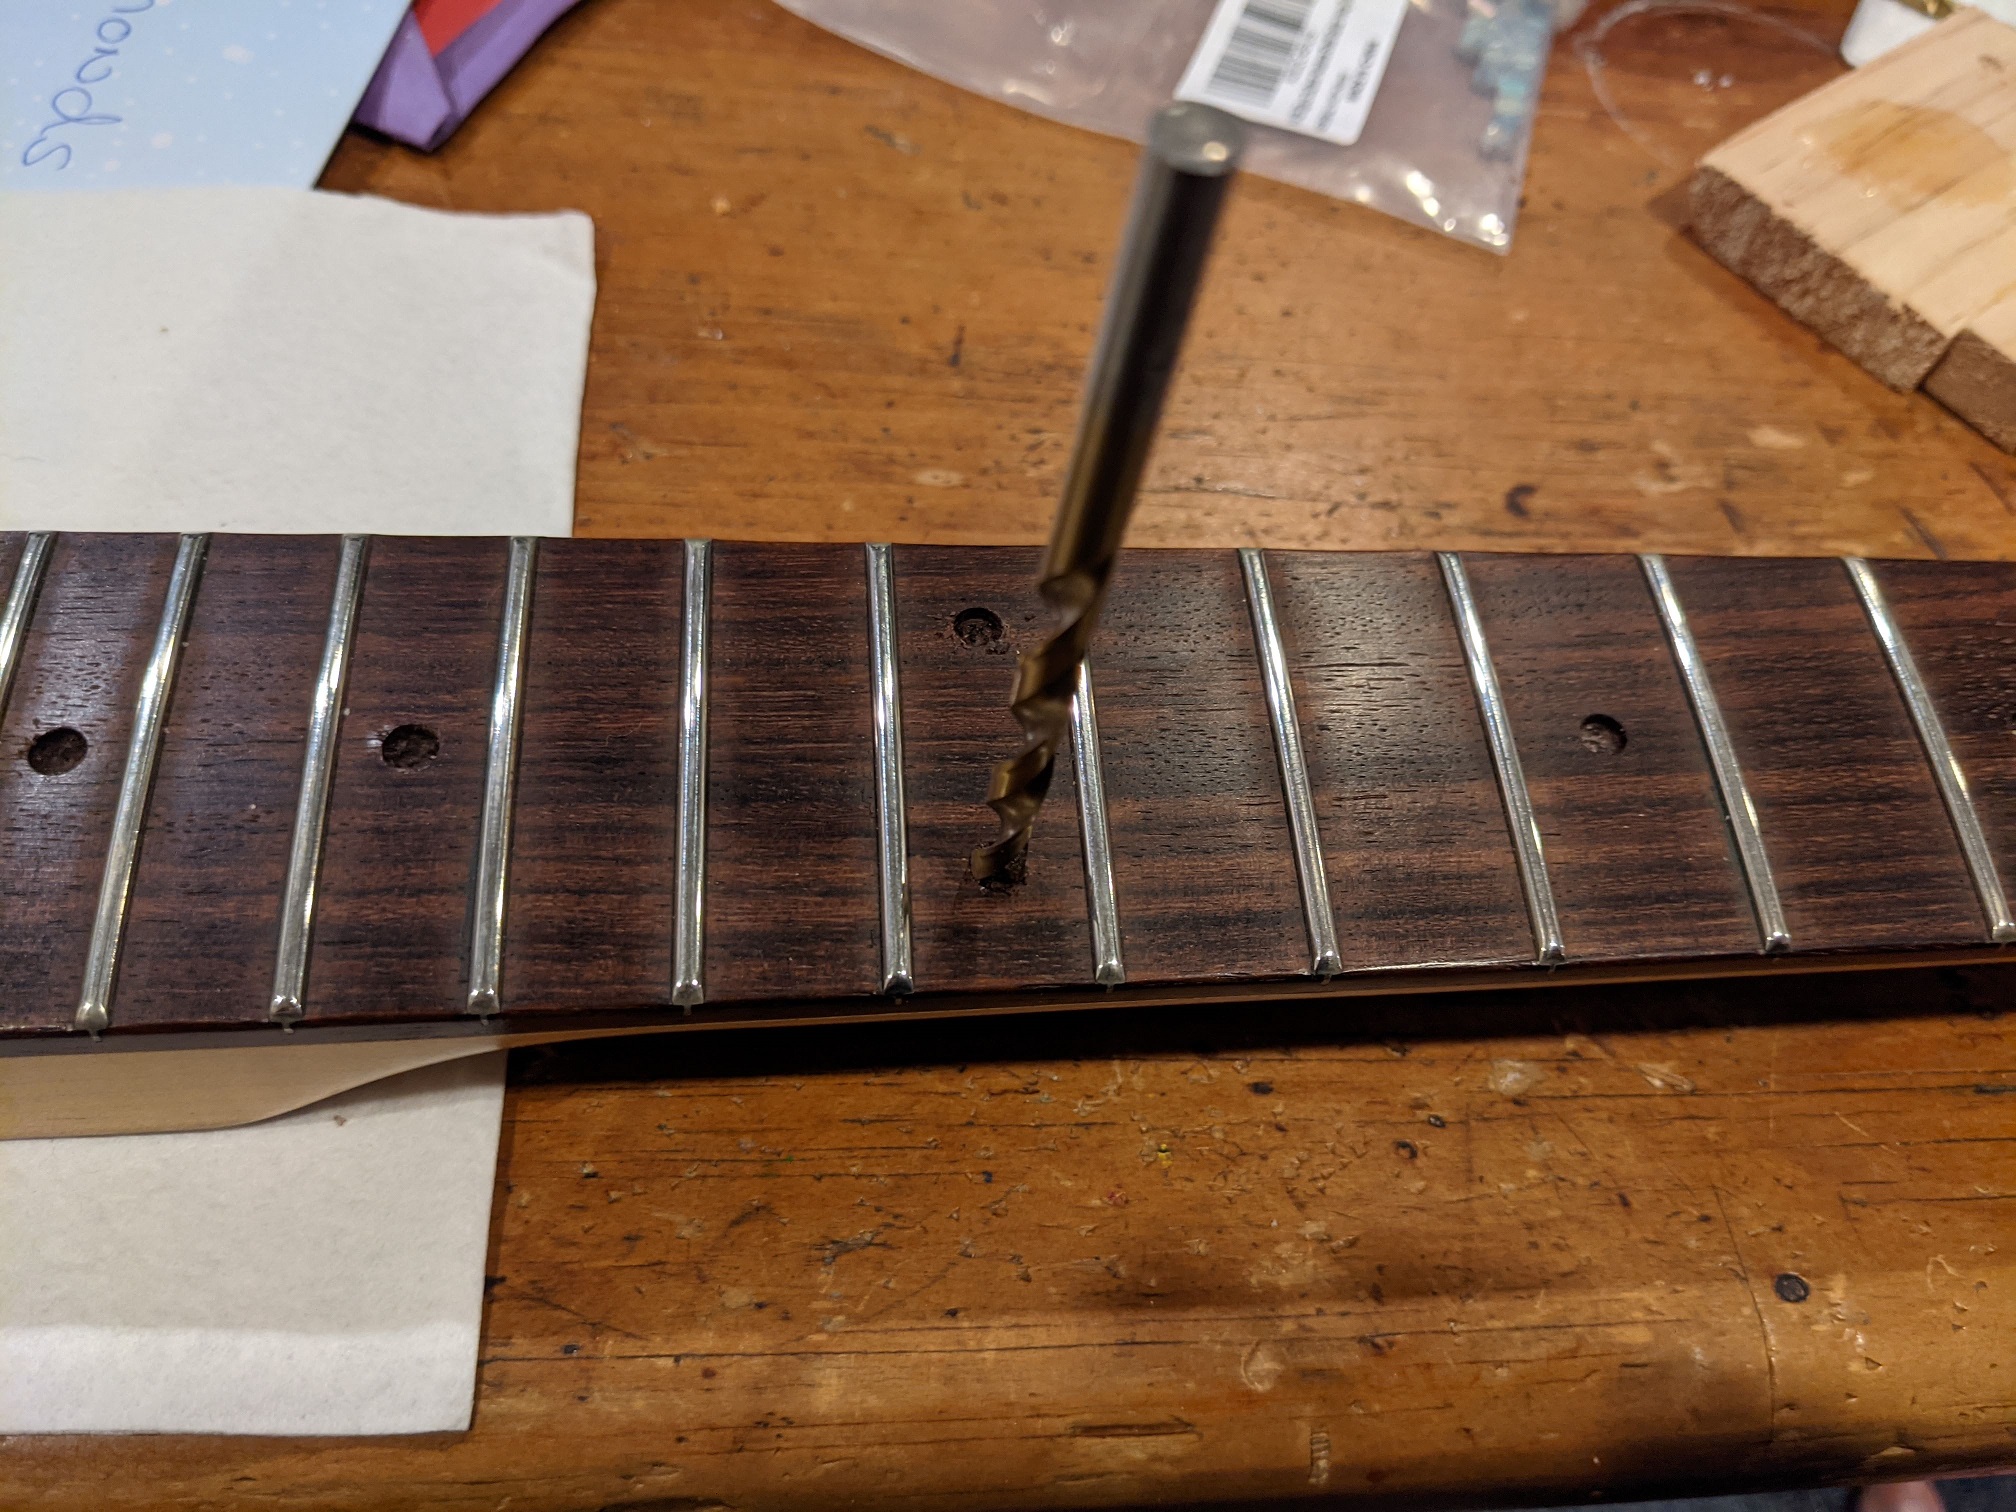
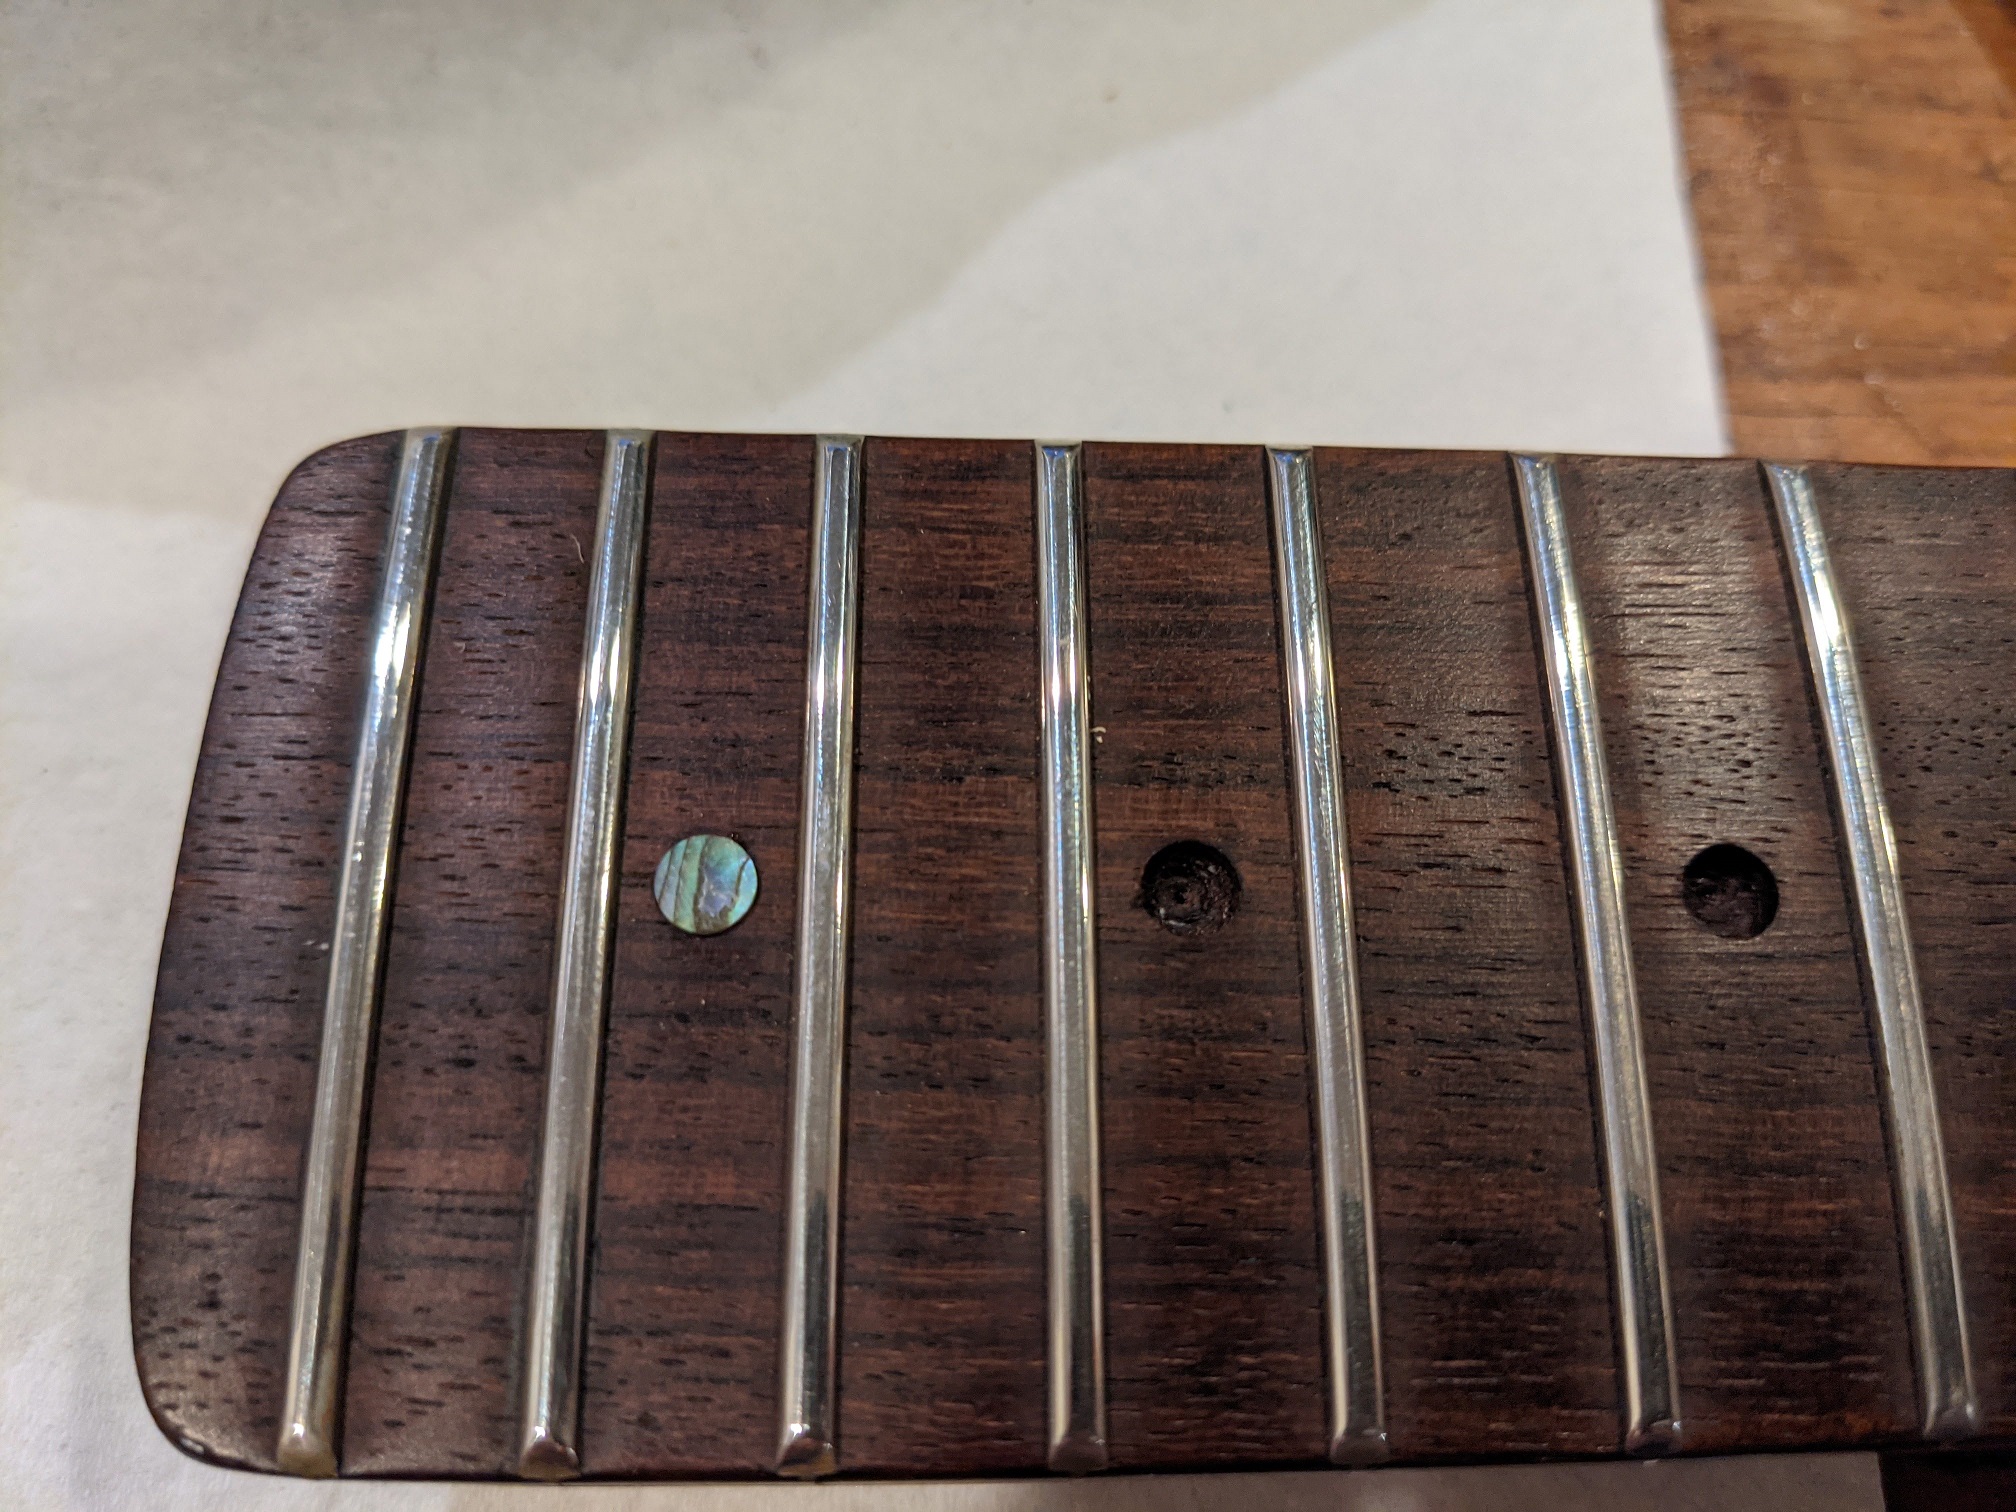
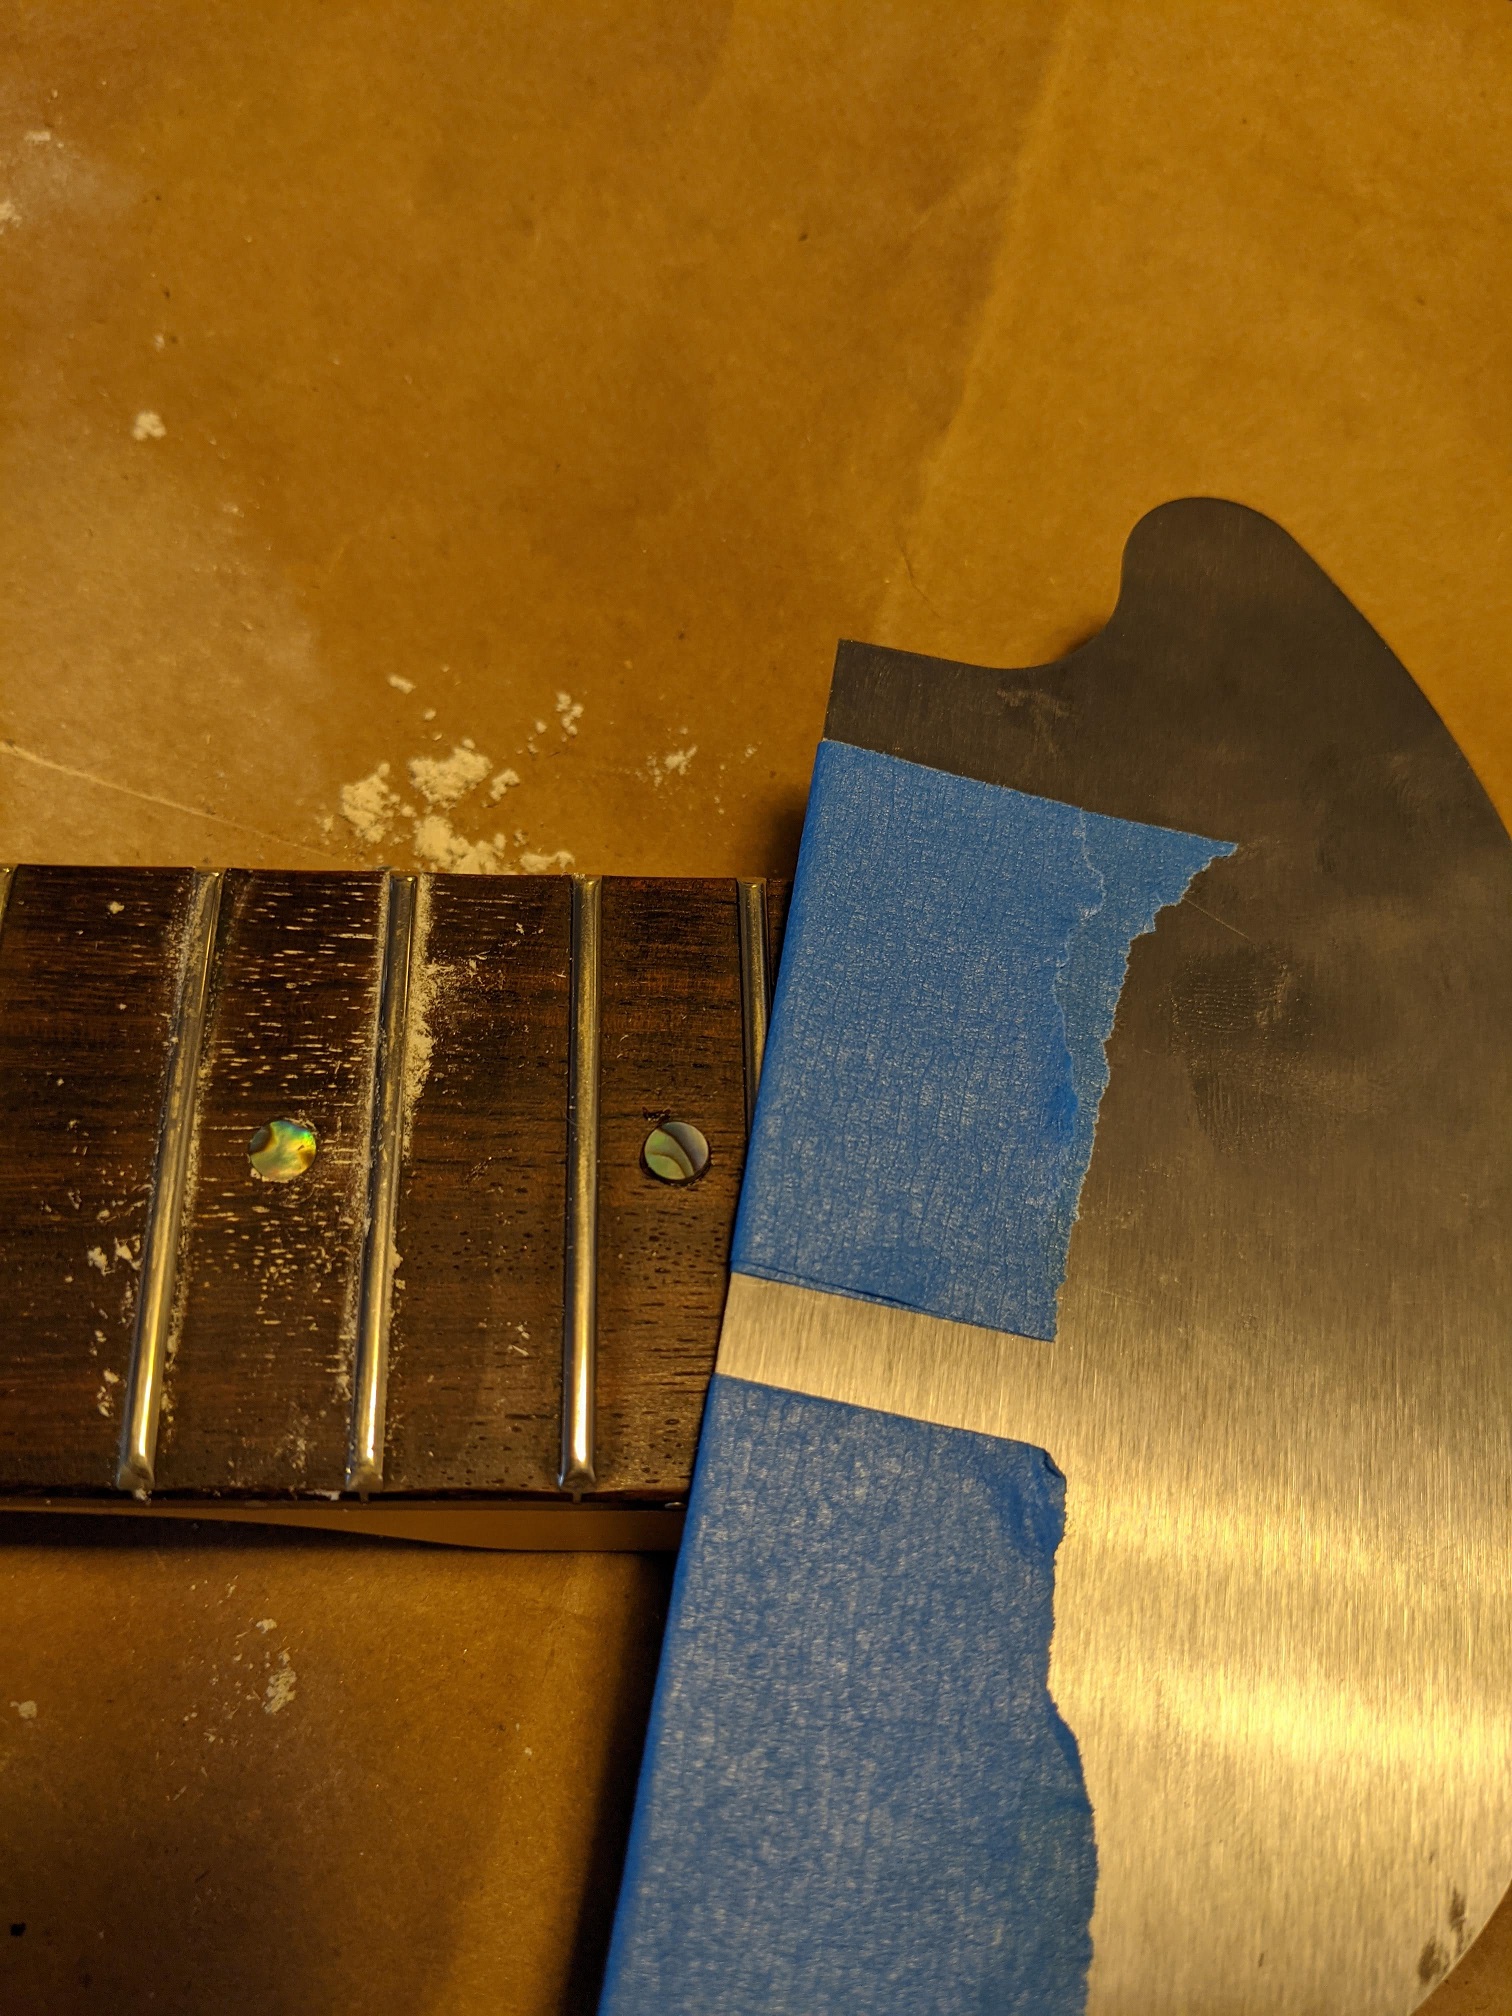
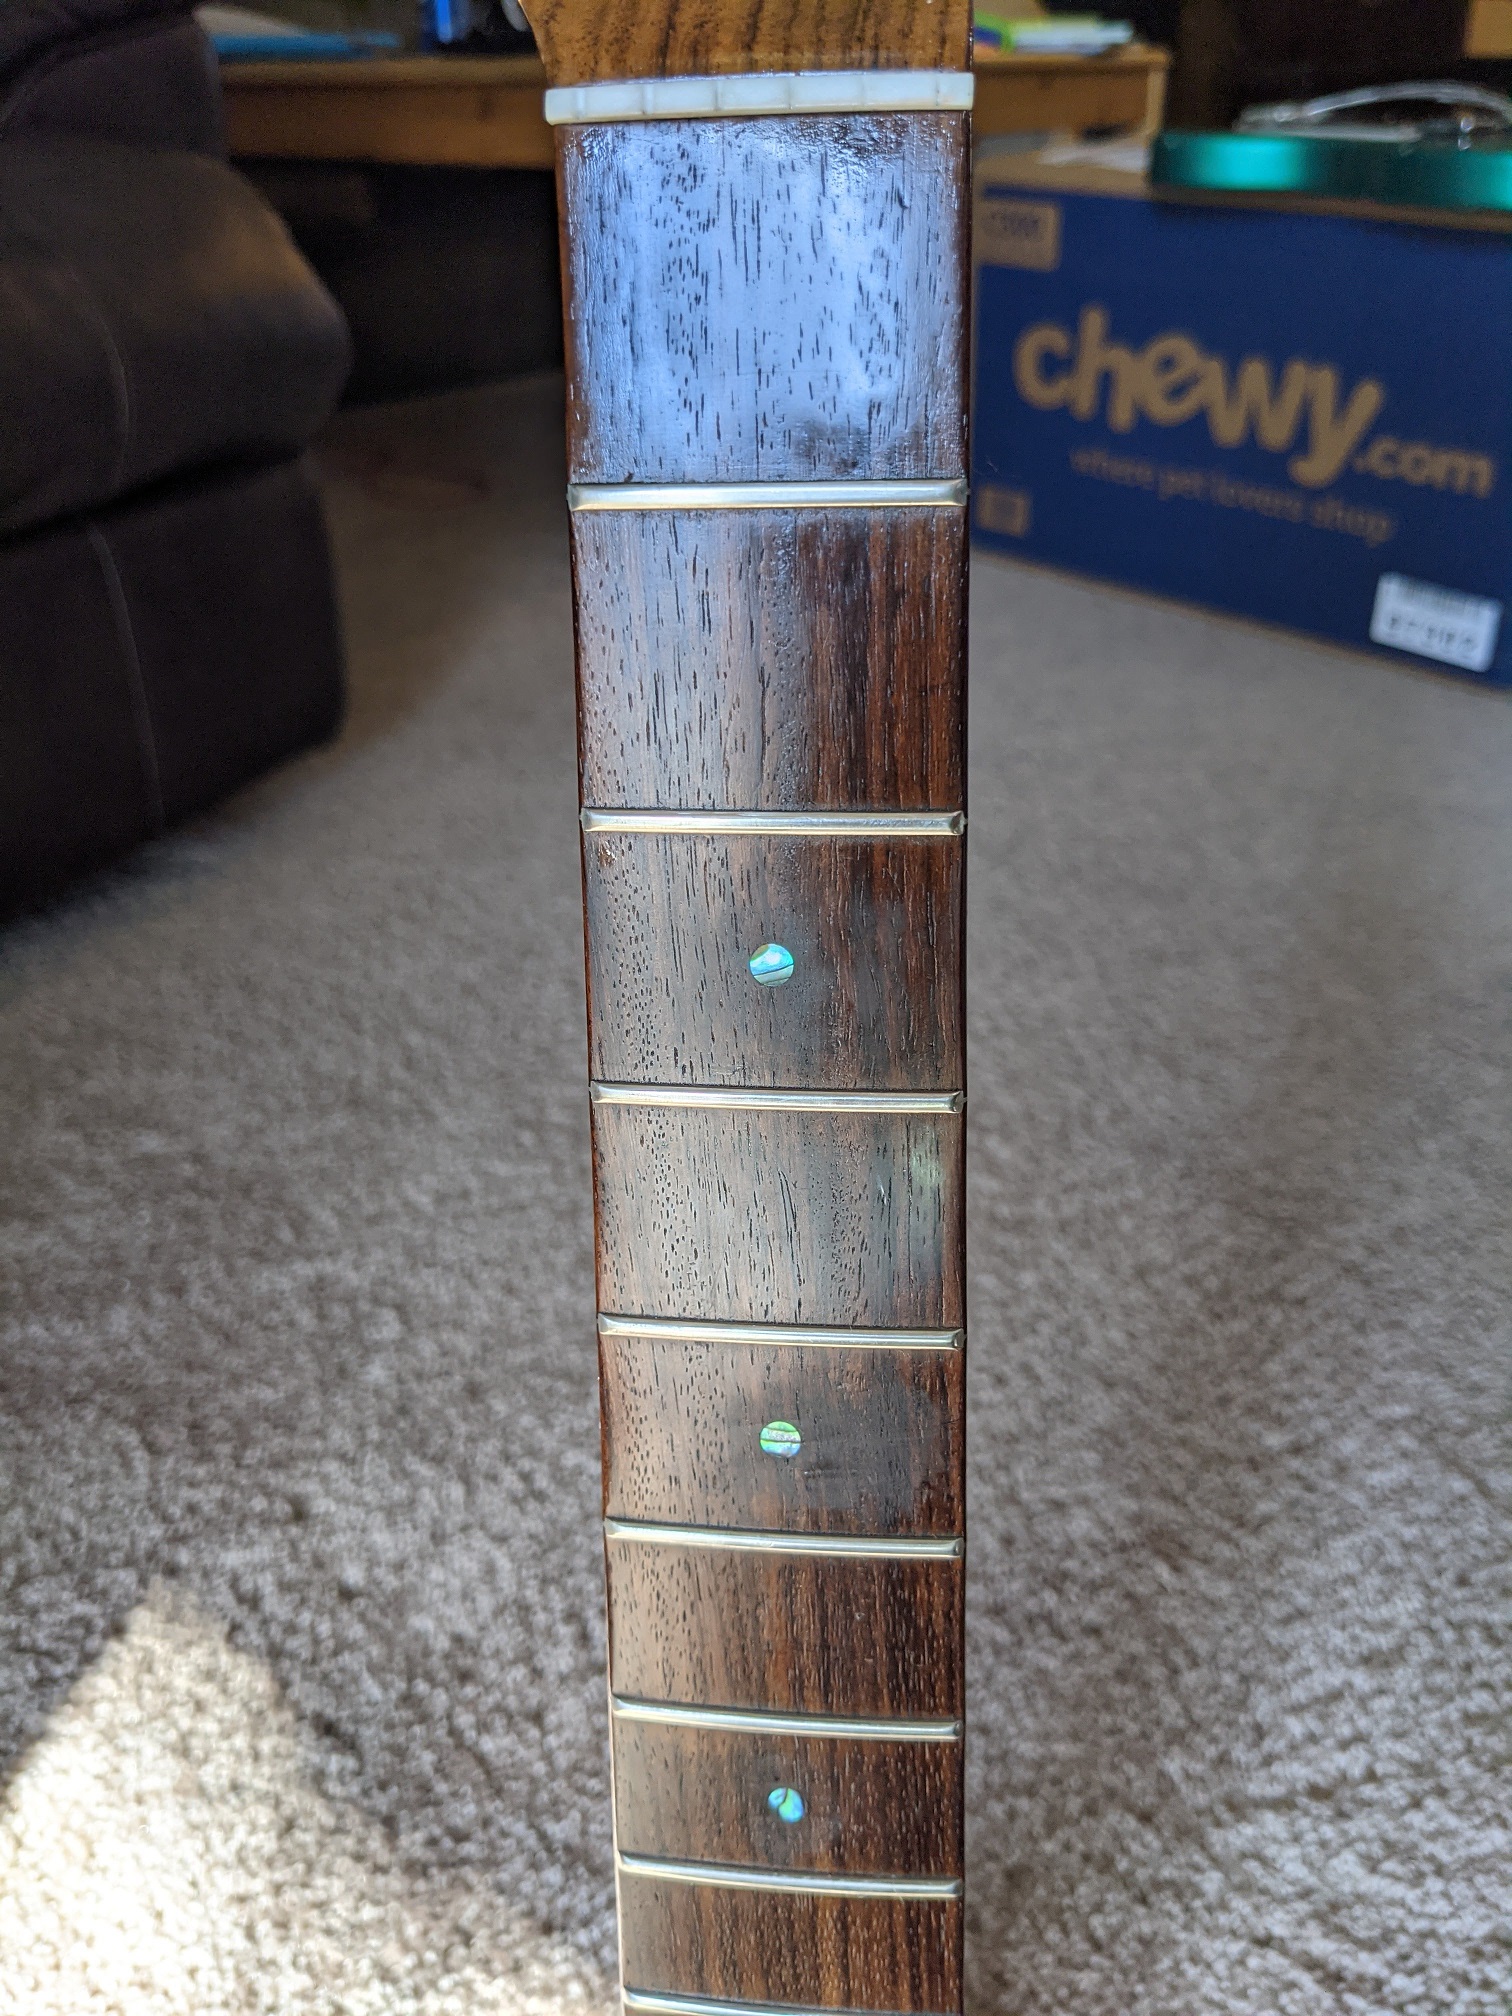
I ordered some 5mm diameter abalone inlays. I drilled out the white plastic ones and removed them. Then I opened the holes slightly with a 5mm drill bit and super glued the new inlays in. I scraped the inlays flush with a card scraper and sanded the whole fretboard again. It looks sweet!
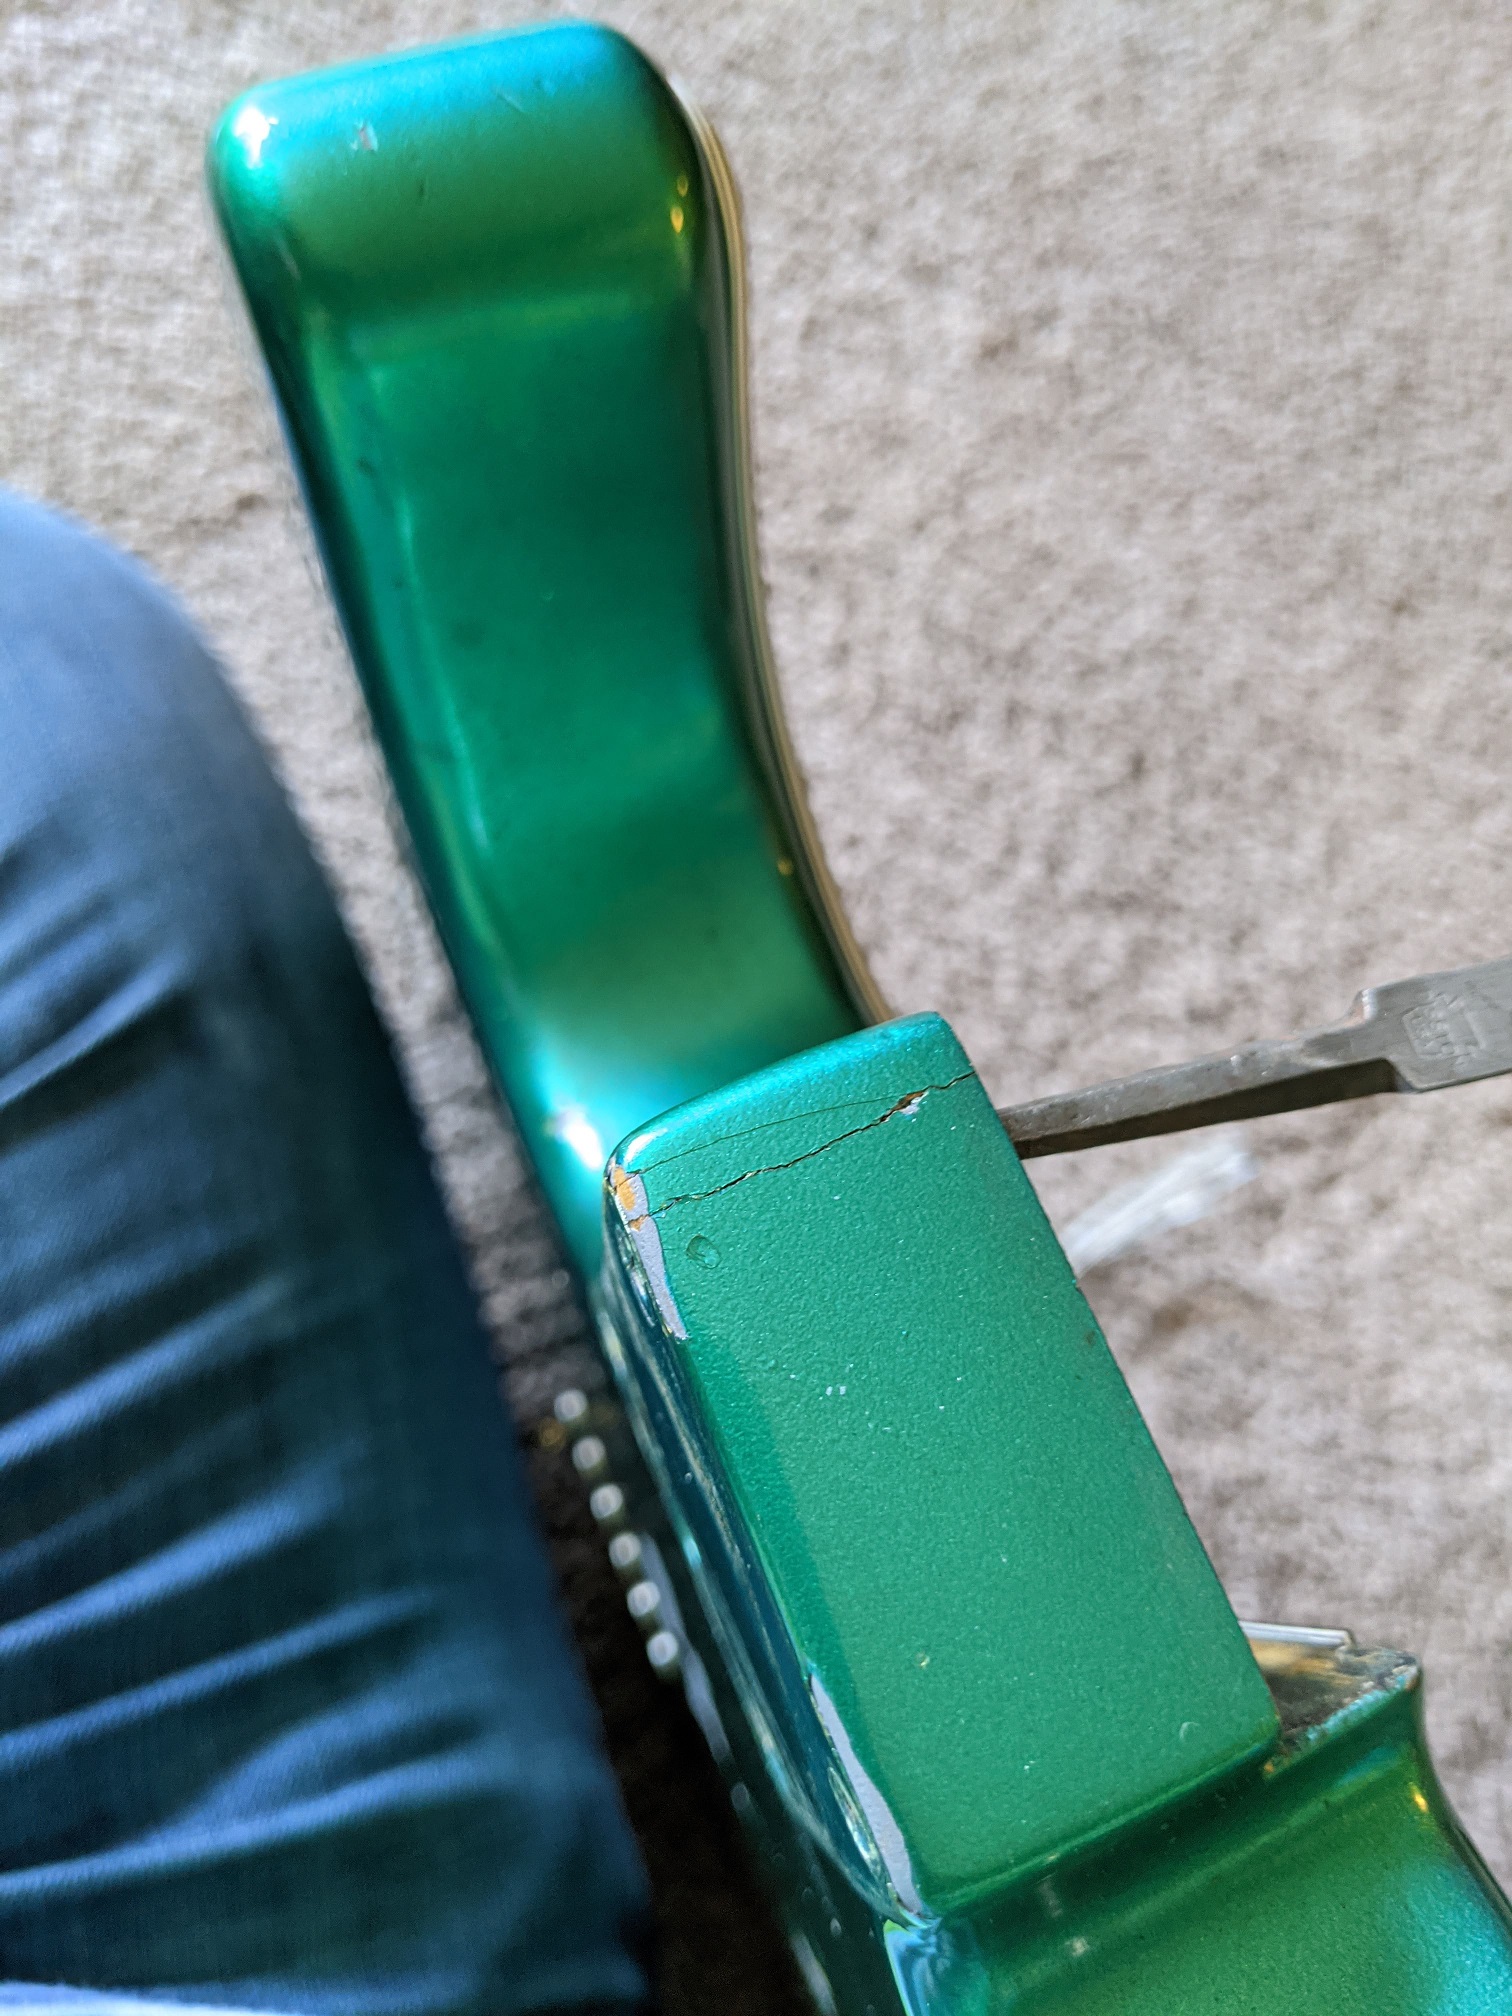
Body crack
After the first assembly, I noticed a crack in the body near one of the neck screws. I opened the crack with a pointy file and squeezed in a ton of thin super glue. Hopefully it stays closed.
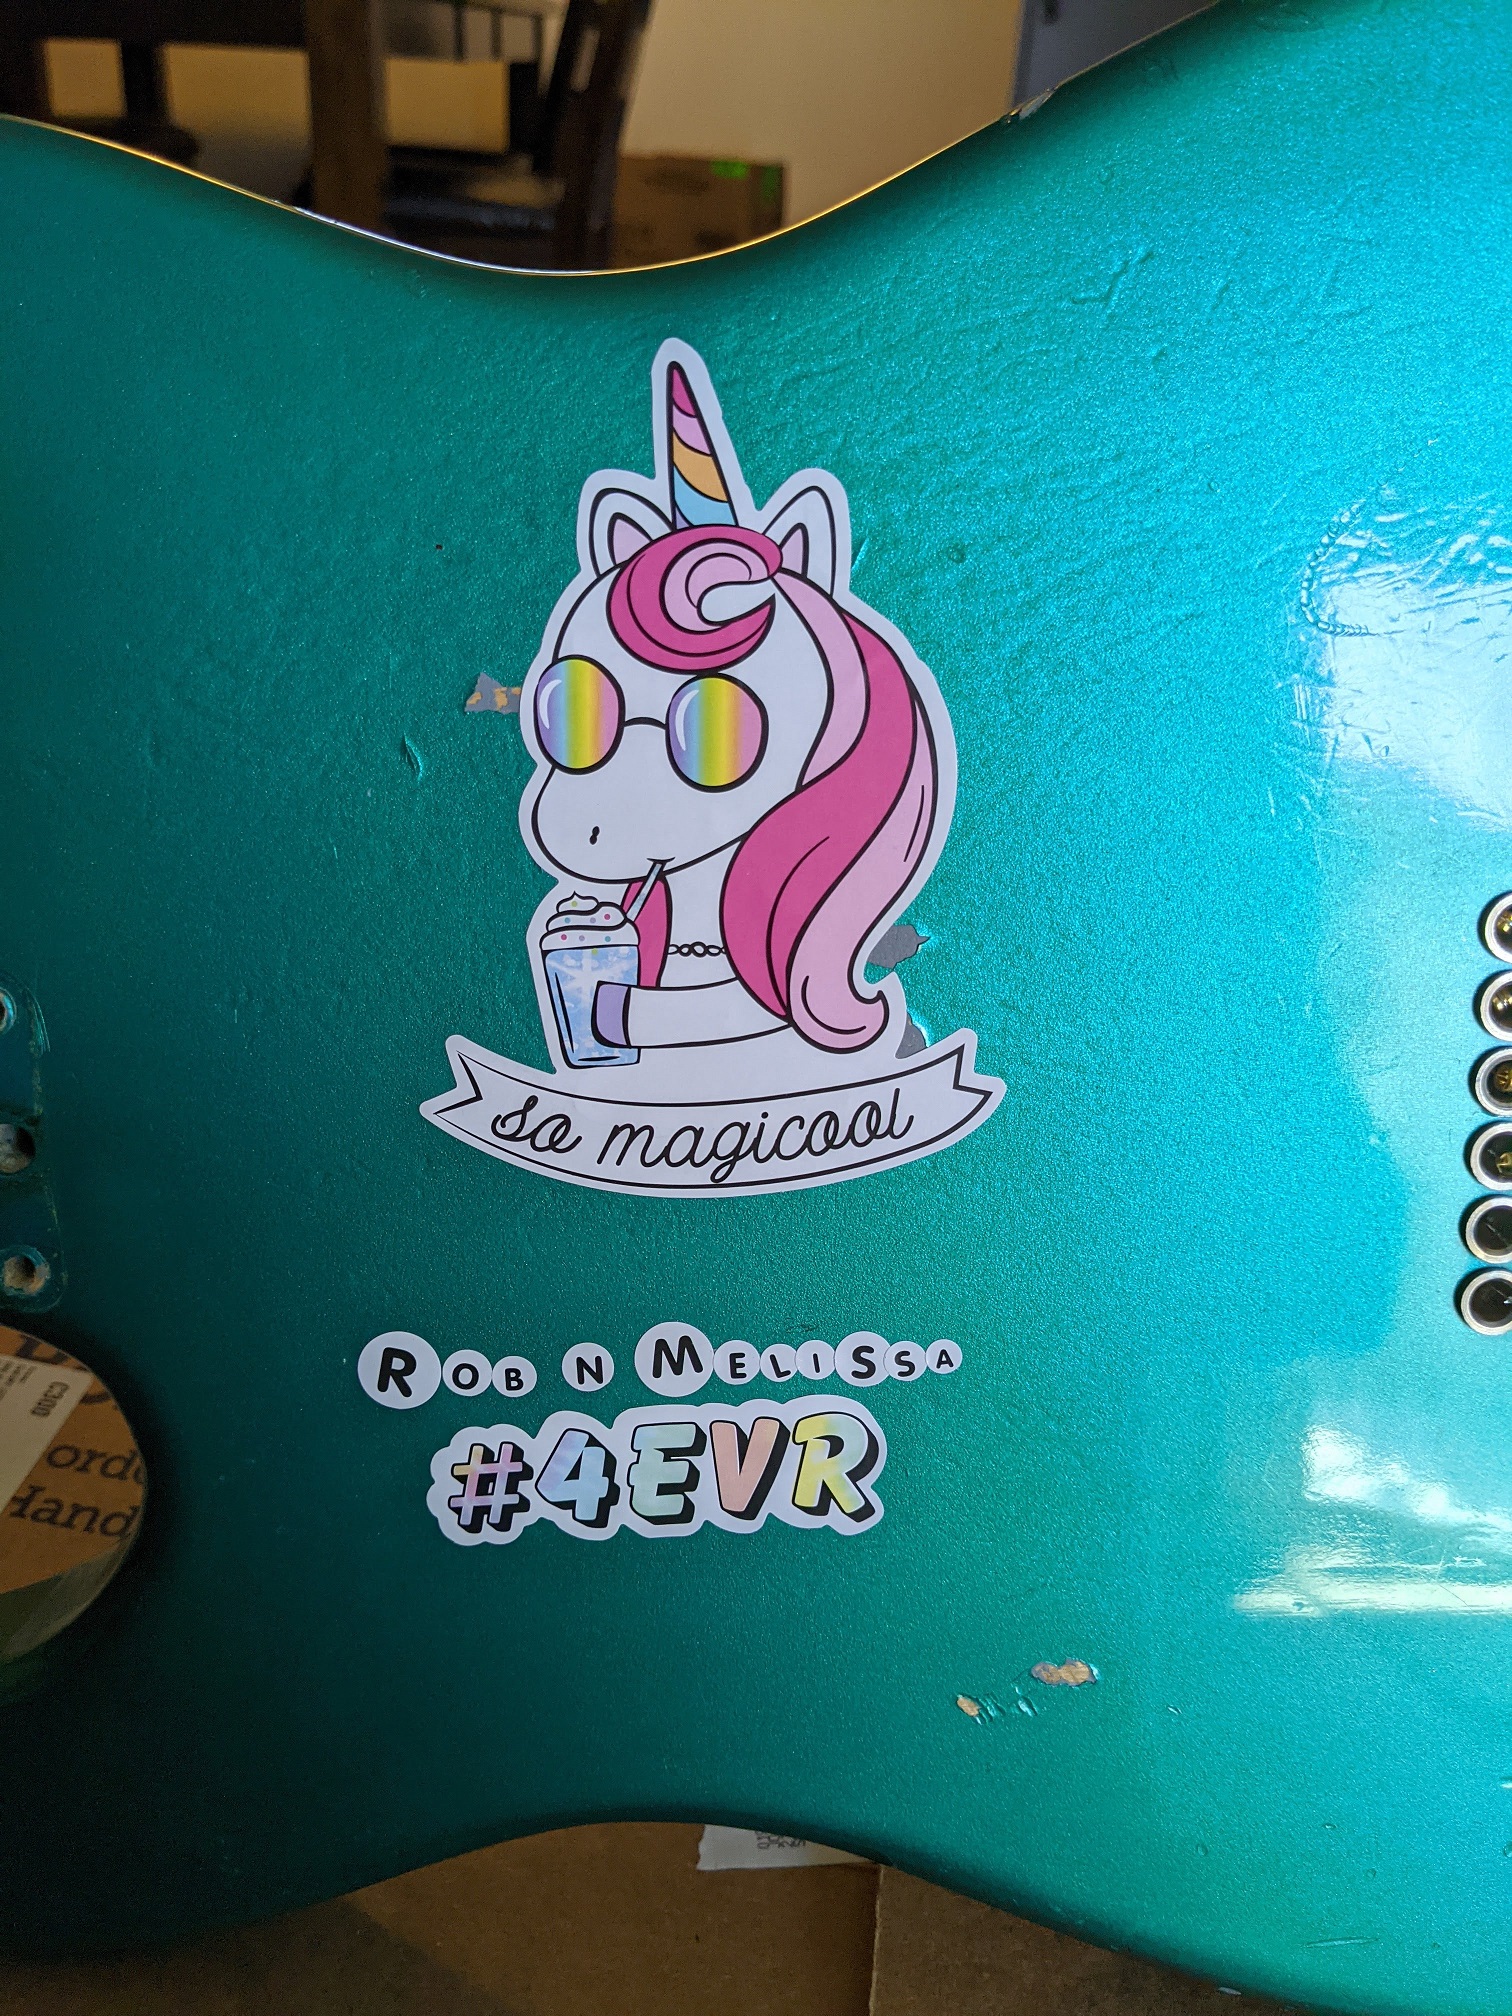
Story
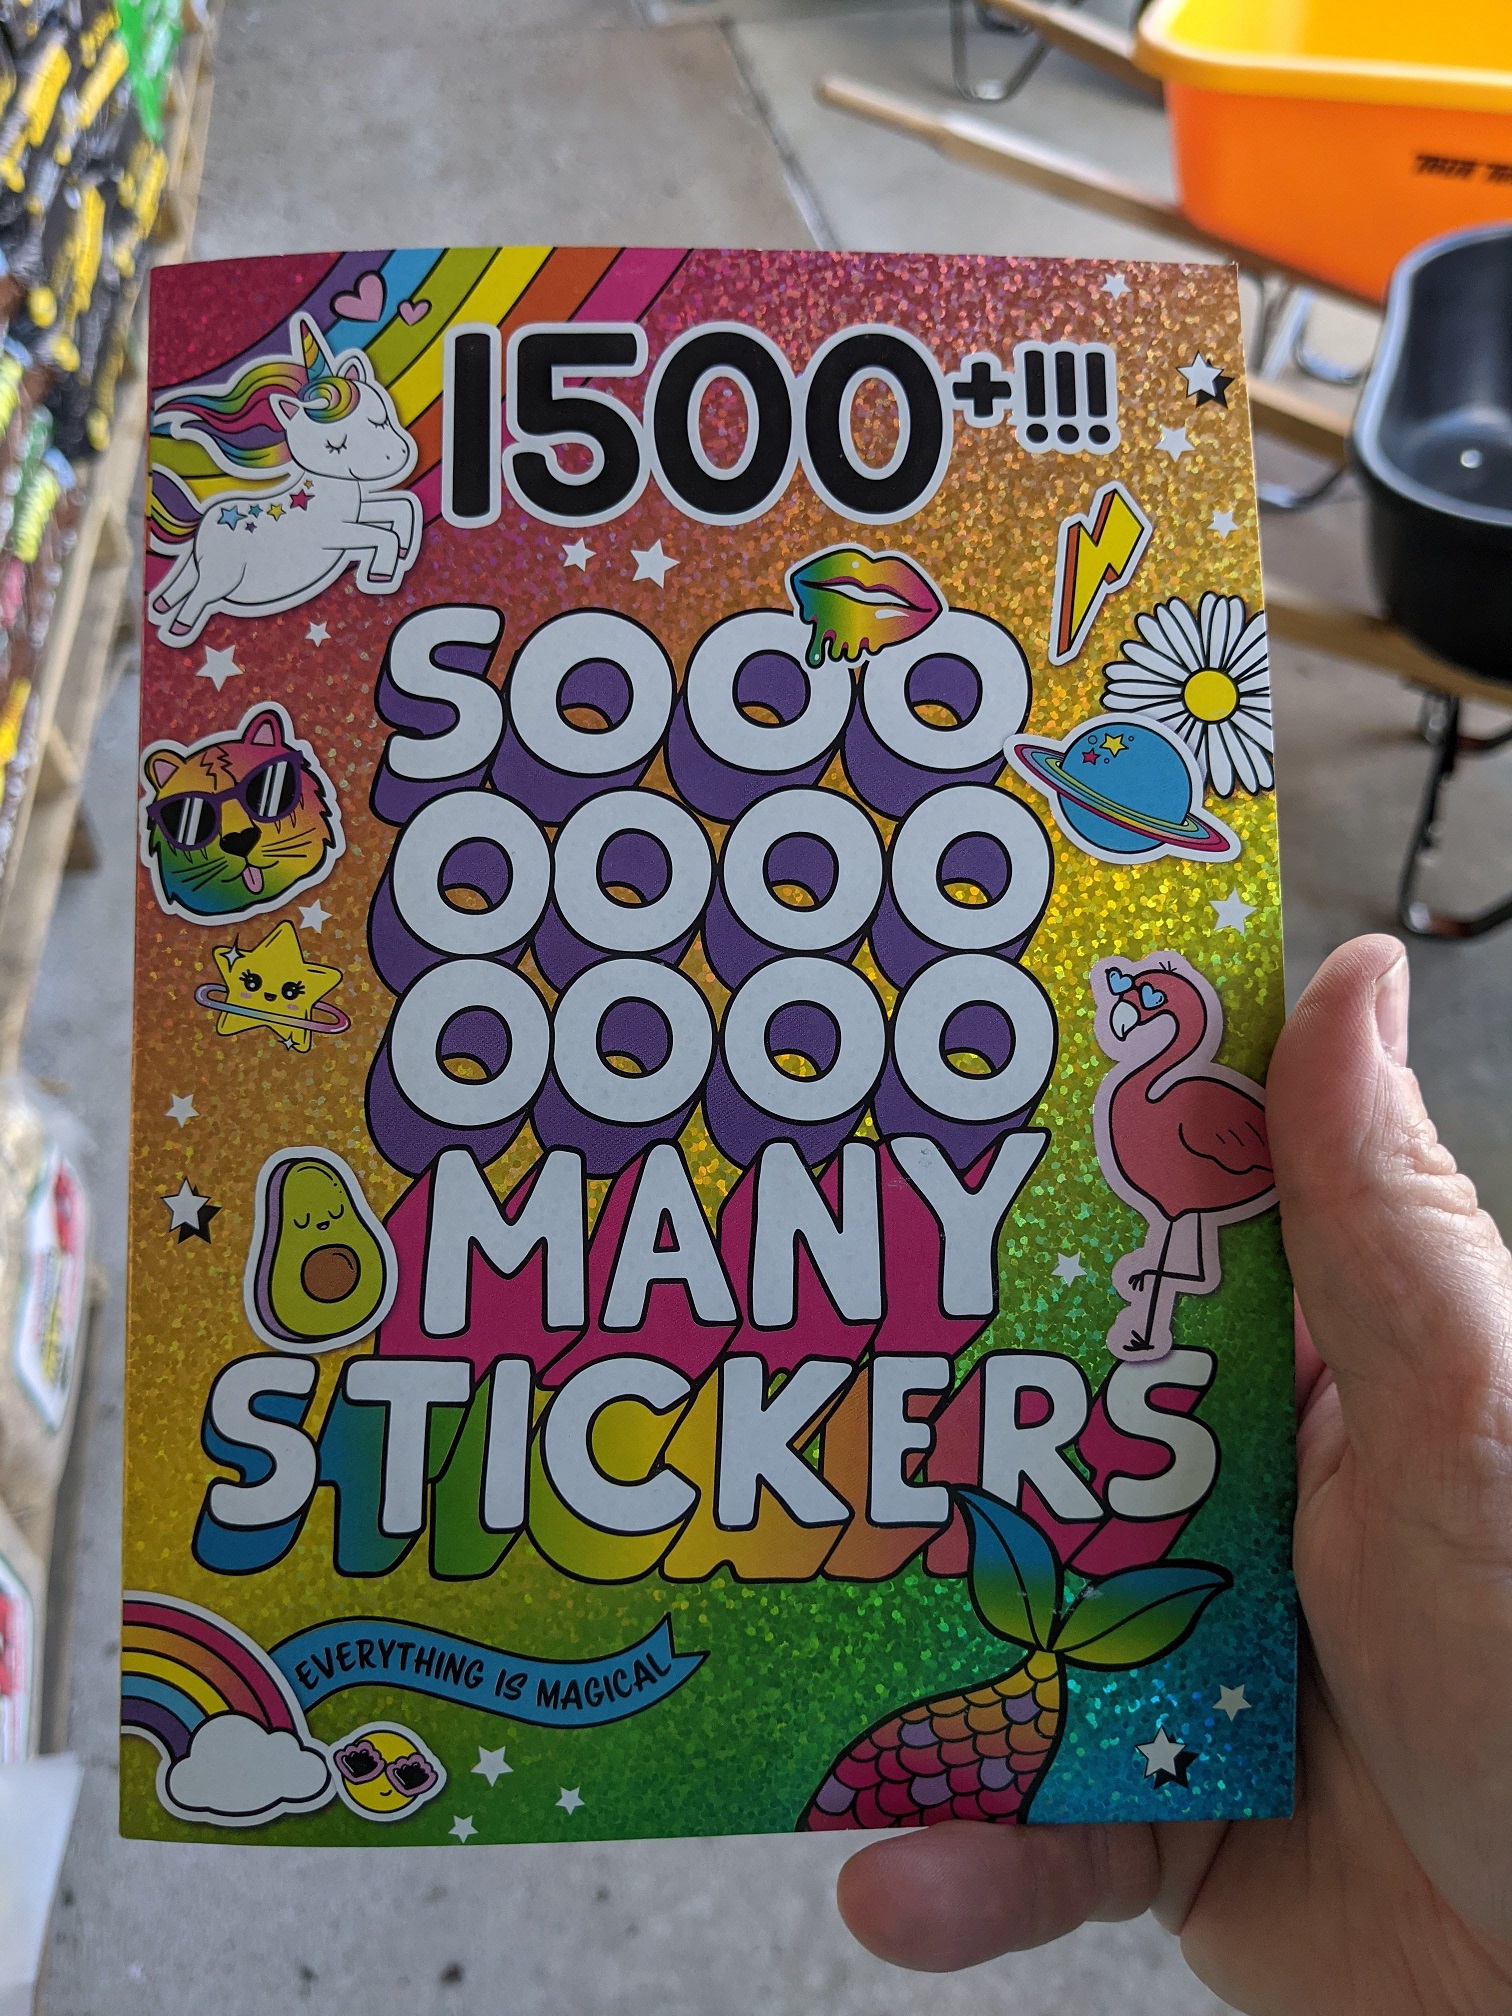
The back of has some bad buckle rash from a bad paint job. I had a little fun with a unicorn sticker. I also put his and his wife’s name on the guitar like a middle school girl would. Hopefully he doesn’t kill me.
Assembly
I used contact cleaner to remedy the scratchy 3 way switch. After the first assembly the truss rod needed to be loosened a bit. I reassembled everything and got the neck relief and action set up so there is no buzzing. I tweaked the intonation and everything is ready to go!
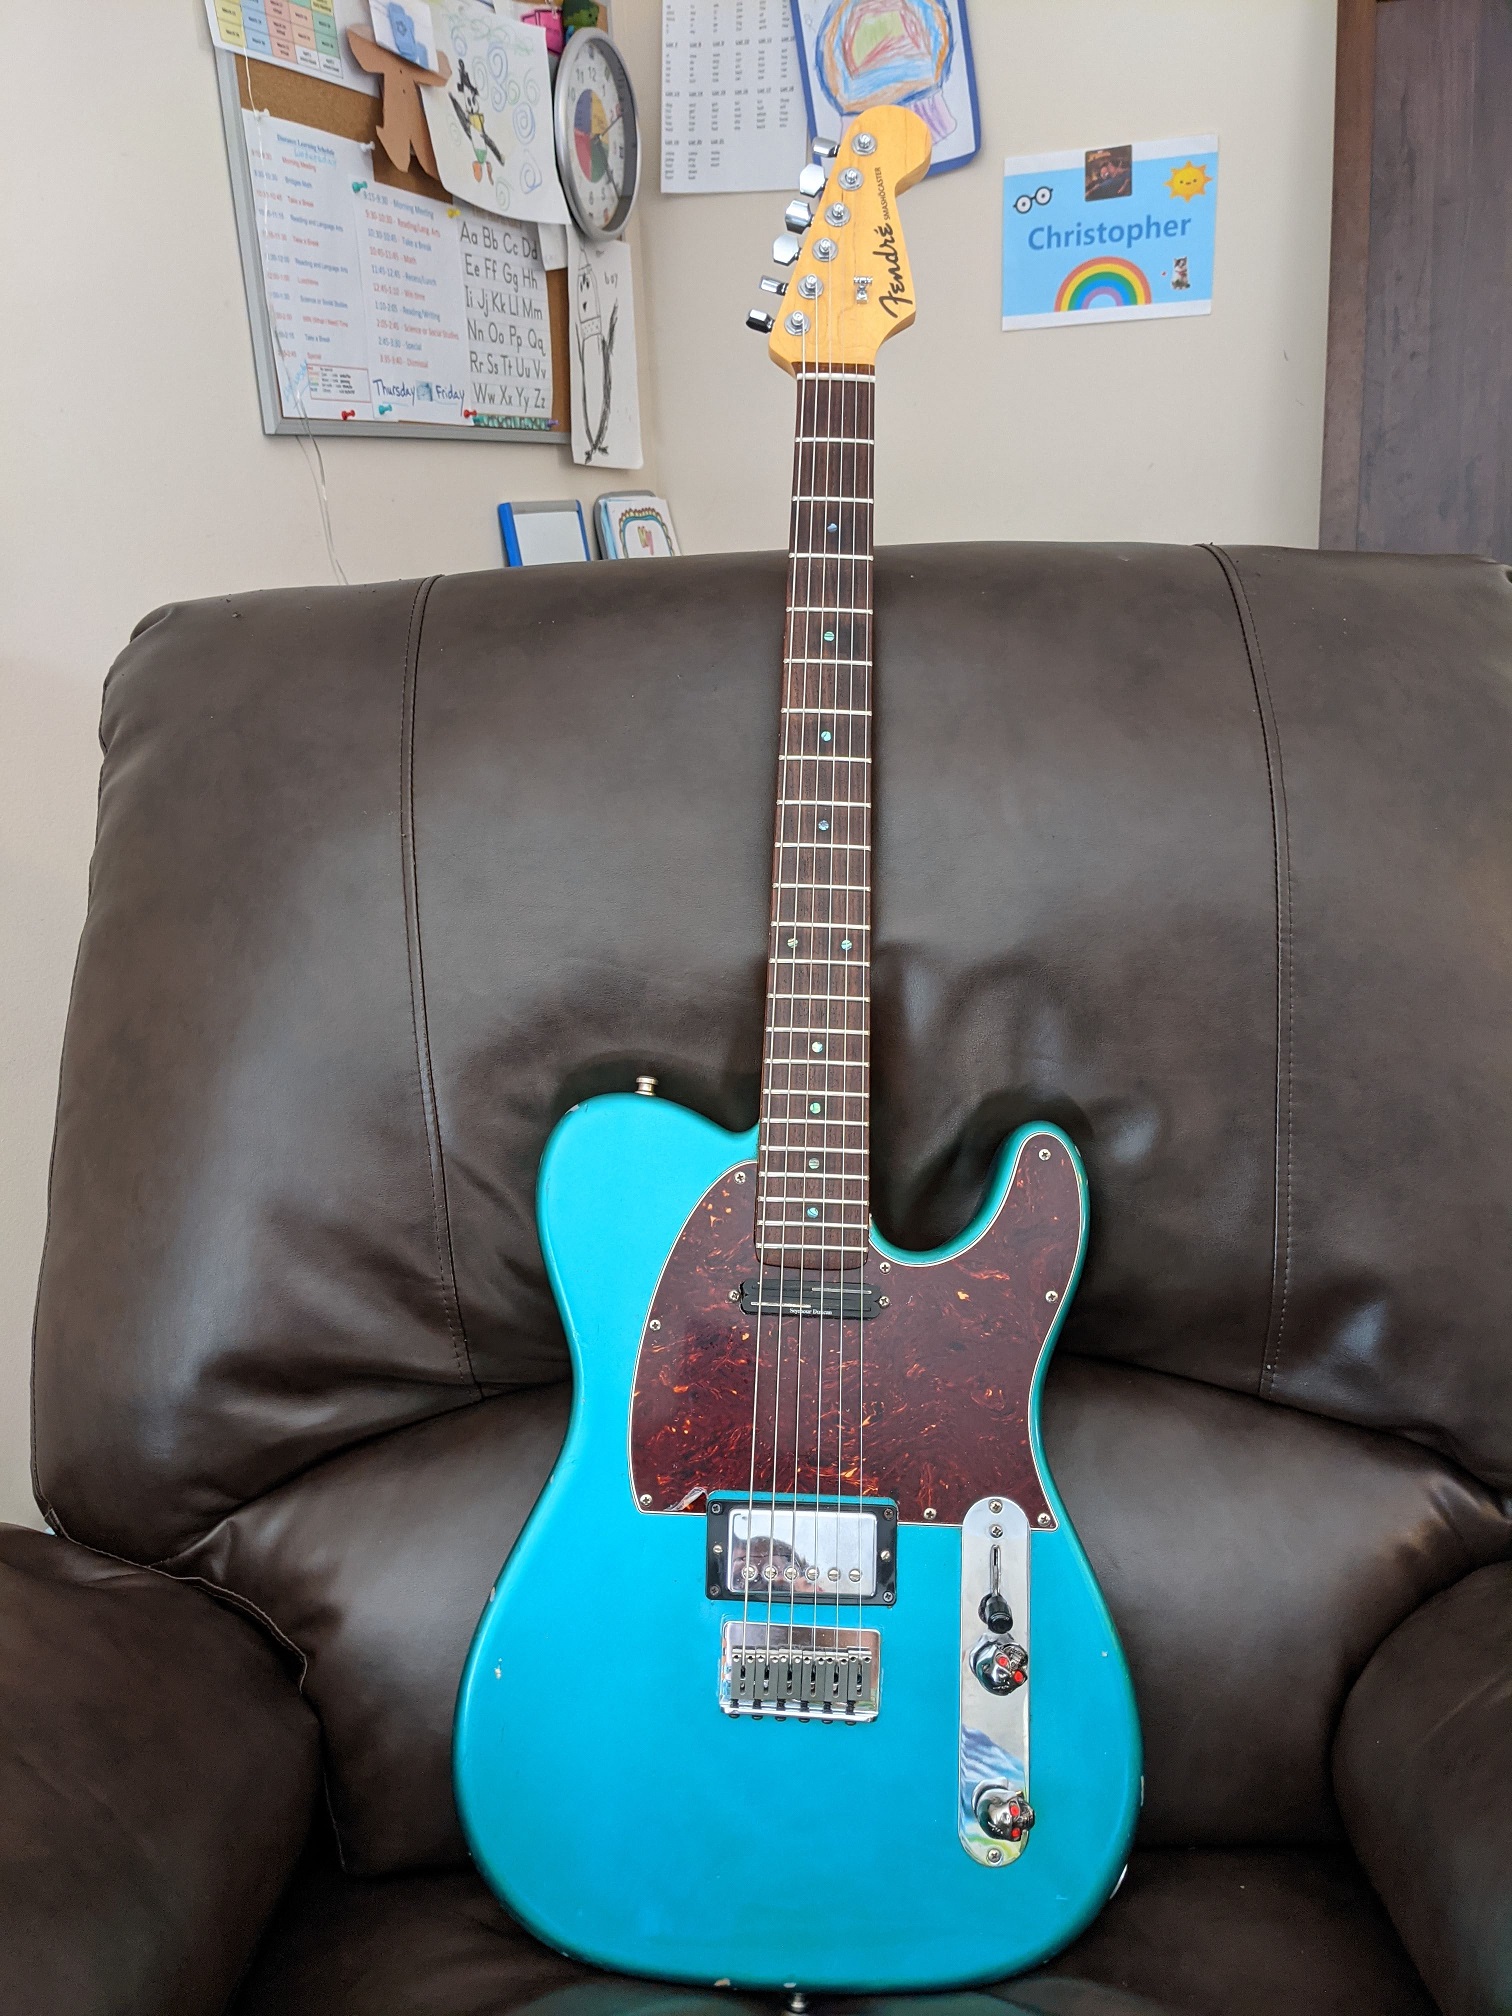
Voila,It looks and plays sweet now. I hope you like it!
You must be logged in to post a comment.